When you click on links to various merchants on this site and make a purchase, this can result in this site earning a commission. Affiliate programs and affiliations include, but are not limited to, the eBay Partner Network.
Using an existing hole on the upper rail, will add a threaded insert for the other mounting point
*not pictured* I also ran the engine bay harness across under the radiator, got it safely routed and secured to the fan shroud. Got the fans plugged in.
I now have a 2003 with FACTORY ELECTRIC FANS!!!
its really starting to look like a complete engine bay!
Next up: Frame rail harness, gonna thin this one out a bit. Shouldnt take very long.
Took me about 30 minutes to identify and label all the connectors on this harness
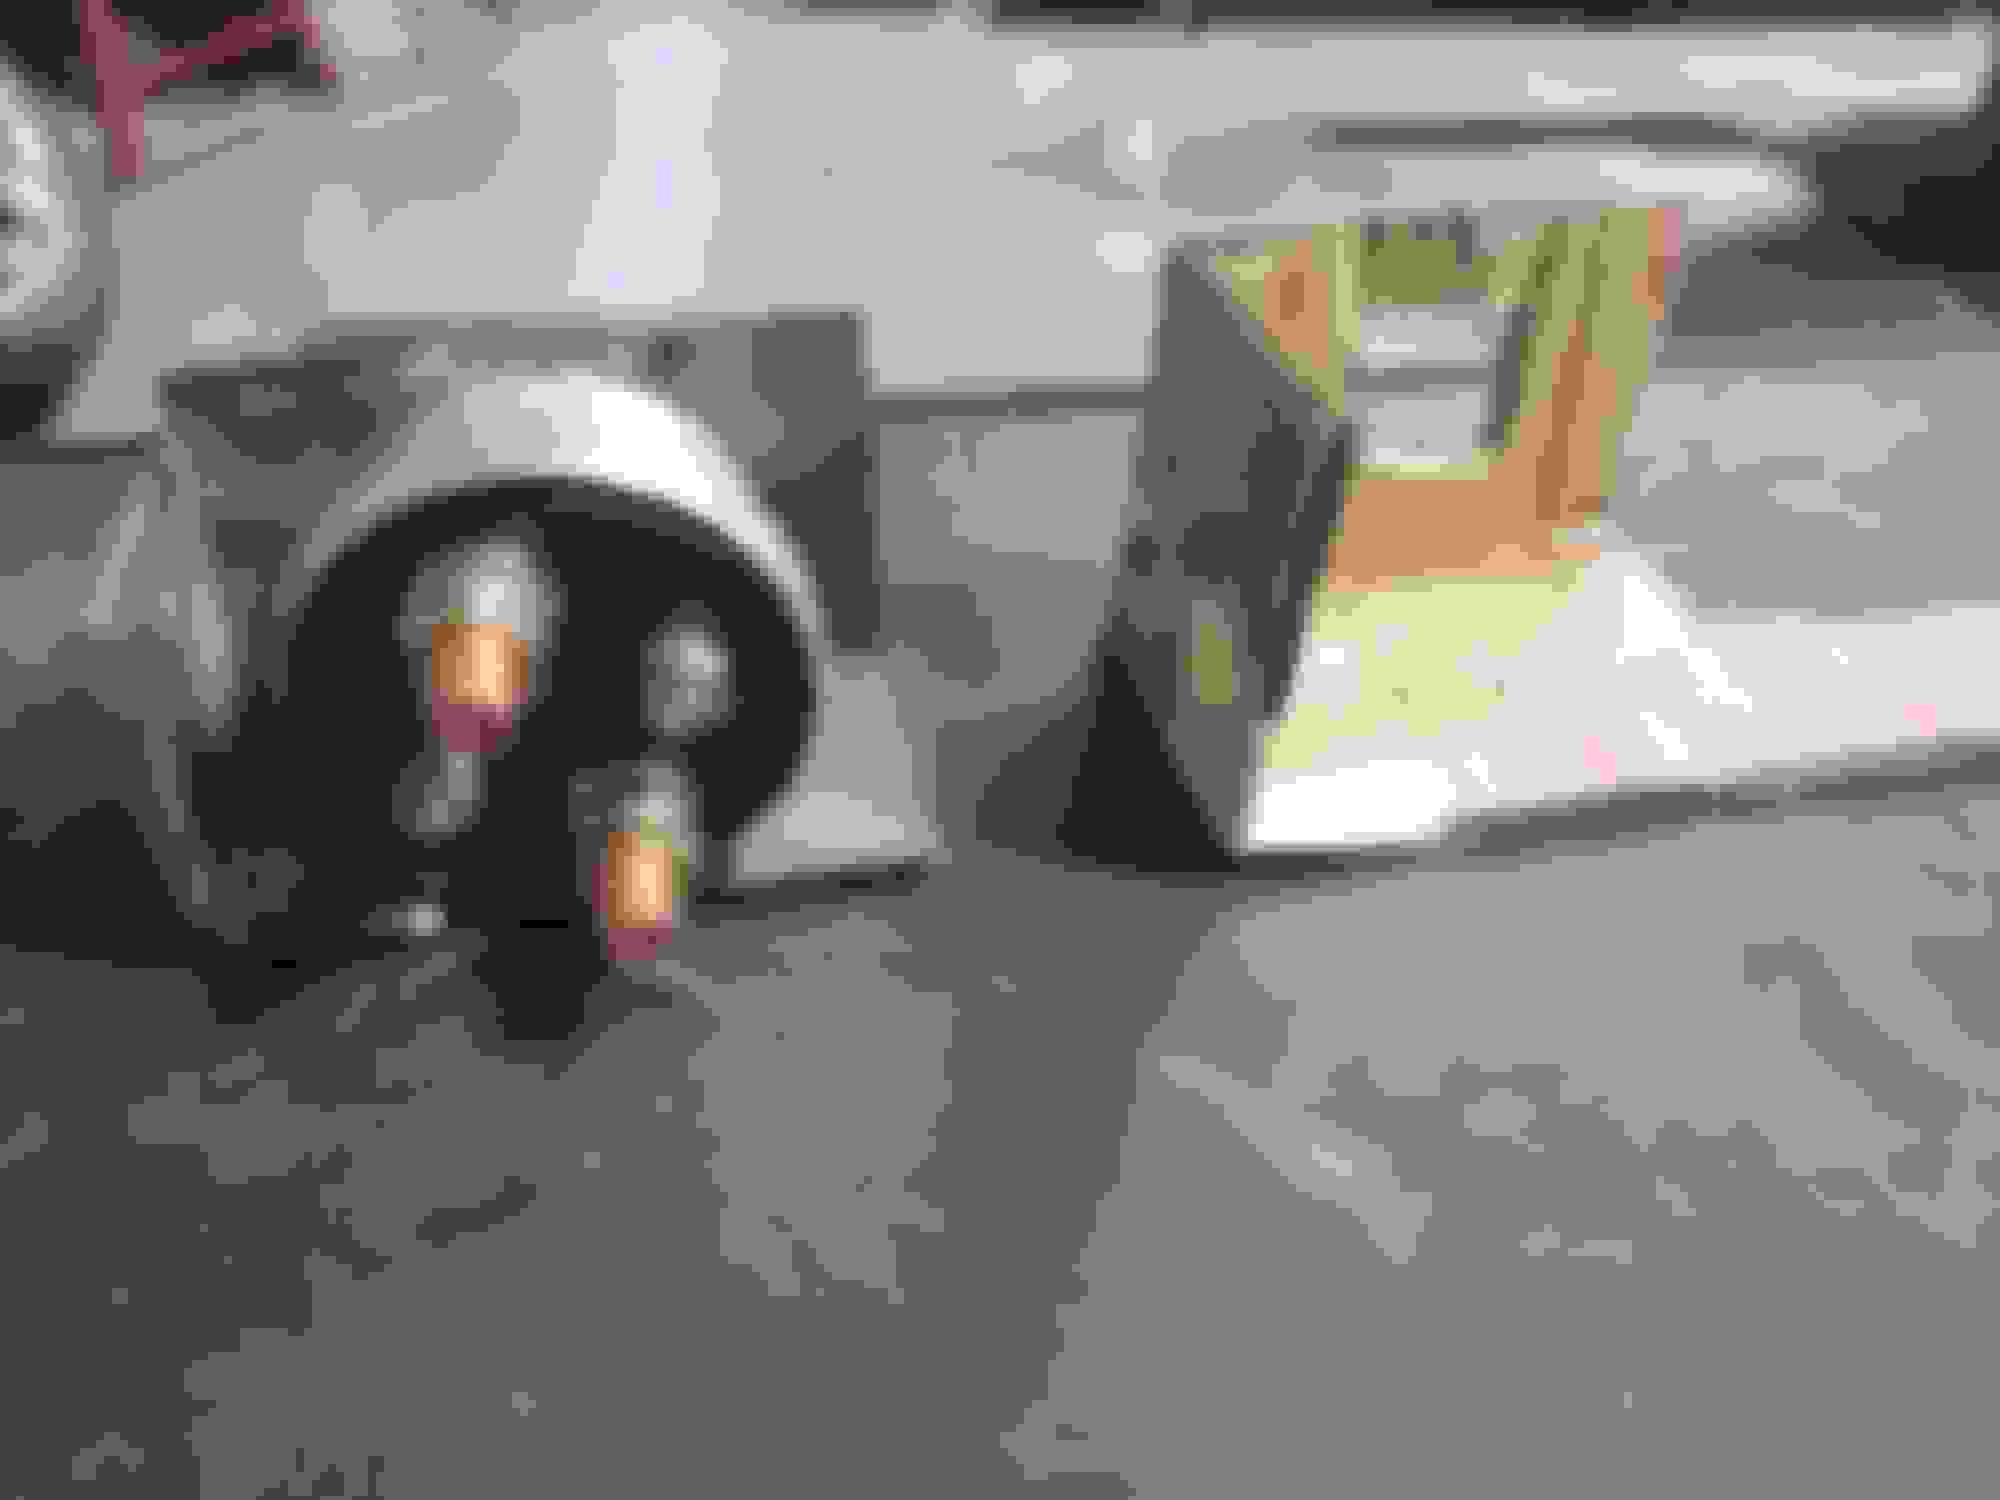
sneak peek of another side project that I've got in progress
As of Monday night I've personally invested 190 hours in the project now!!!
I haven't totaled up the work other people have put in, I'd guess somewhere around 20-25 hours of additional friend help/work
Thats all for now. I'll try and stay motivated and keep on rocking through this project.
Wow Patman, thanks for documenting this whole thing. I'm just about to pull the trigger on a coyote/6R80 4x4 setup for my 2001 Reg cab. Been trying to ditch the thirsty 5.4 for a long time now!
Just a few questions and thoughts...
It looks like the frame/subframe differences between a 2x4 and a 4x4 truck would allow me to skip the Moroso oil pan.
Did the stock mounts bolt up or did they require some modification? In the pics it looks like you reused the 4.6 mounts?
I was wondering if the alternator would collide with the steering box or shaft, did you get a sense of that before you removed it in favor of the EPAS?
In all of my research, I recall reading somewhere the importance of using minimum 12AN fittings and hoses for remote oil filter setups. I can't remember exactly where I saw it but I'm almost positive it was a Ford Racing document. Just food for thought!
Thanks again for sharing your work complete with photos. A great contribution to the forum! Actually found your project on the FB group, followed it here.
Wow Patman, thanks for documenting this whole thing. I'm just about to pull the trigger on a coyote/6R80 4x4 setup for my 2001 Reg cab. Been trying to ditch the thirsty 5.4 for a long time now!
Originally Posted by MattyFatty
It looks like the frame/subframe differences between a 2x4 and a 4x4 truck would allow me to skip the Moroso oil pan.
Not as familiar with the 4x4 variant in relation to the cross member, cant give you a great answer for that
Originally Posted by MattyFatty
Did the stock mounts bolt up or did they require some modification? In the pics it looks like you reused the 4.6 mounts?
I bought new factory 2003 4.6 mounts. Its modular block design so they bolted right up using 2003 hardware. The Coyote bolts would have been too long
Originally Posted by MattyFatty
I was wondering if the alternator would collide with the steering box or shaft, did you get a sense of that before you removed it in favor of the EPAS?
my plan all along was to use EPAS. That's actually another reason why I was willing to spend the time to chop up the factory harnesses. The alternator clearance was very tight near the head of the rack.
I believe most people put the PS pump back on in the lower left corner and move the alternator up top with an aftermarket bracket.
Originally Posted by MattyFatty
In all of my research, I recall reading somewhere the importance of using minimum 12AN fittings and hoses for remote oil filter setups. I can't remember exactly where I saw it but I'm almost positive it was a Ford Racing document. Just food for thought
I'll be honest, didnt spend a ton of time researching traditional automotive use of filter relocation. I saw several 10AN kits and didnt think much of it. Maybe it's a bigger deal if you're using several feet of hose and not a few inches?
Originally Posted by MattyFatty
Thanks again for sharing your work complete with photos. A great contribution to the forum! Actually found your project on the FB group, followed it here.
Thanks for stopping by and keeping me encouraged to keep moving
Thanks for the info. I'll surely be following along as you beat down the tall grass. Wish I was of more help, although you don't look like you need it.
Believe it or not I actually had a 2.7 EB motor sitting in this frame before I learned it had a cracked block. Luckily I saw it, reversed course and drove the 5.4 out of there not more than 6 hours later. Removed the cab for that one too. Thinking the 5.0 will be a hoot in this truck.
And here's some updates on two brackets I fabricated, first one is aluminum for remote jump start posts. These will make a nice additional functionality, but more importantly a logistical convenience of merging the two harnesses
I may have missed it, but did you get the exhaust fabricated after getting everything lined up on the transmission? I assume a custom driveshaft will be needed as well.
Earlier this week I started trying to make a plan for the main battery relocation cables, and remote jump posts. I think I've got it all figured out. Still need to run the main power cable to the back. But happy having a plan and starting in on it. Pics later this weekend