When you click on links to various merchants on this site and make a purchase, this can result in this site earning a commission. Affiliate programs and affiliations include, but are not limited to, the eBay Partner Network.
Proposed oil filter location (back of oil pan LH side)
I had to order AN10 45* fittings to come off the block adapter
After researching the oil filter I can use with this kit, I will likely be mounting the filter horizontal instead of vertical, but still in the same location since the filter is just over 5" tall
I've also got a long list of parts I need to order from Ford too
Here is where we left off, with the MMR bracket bolted to the block
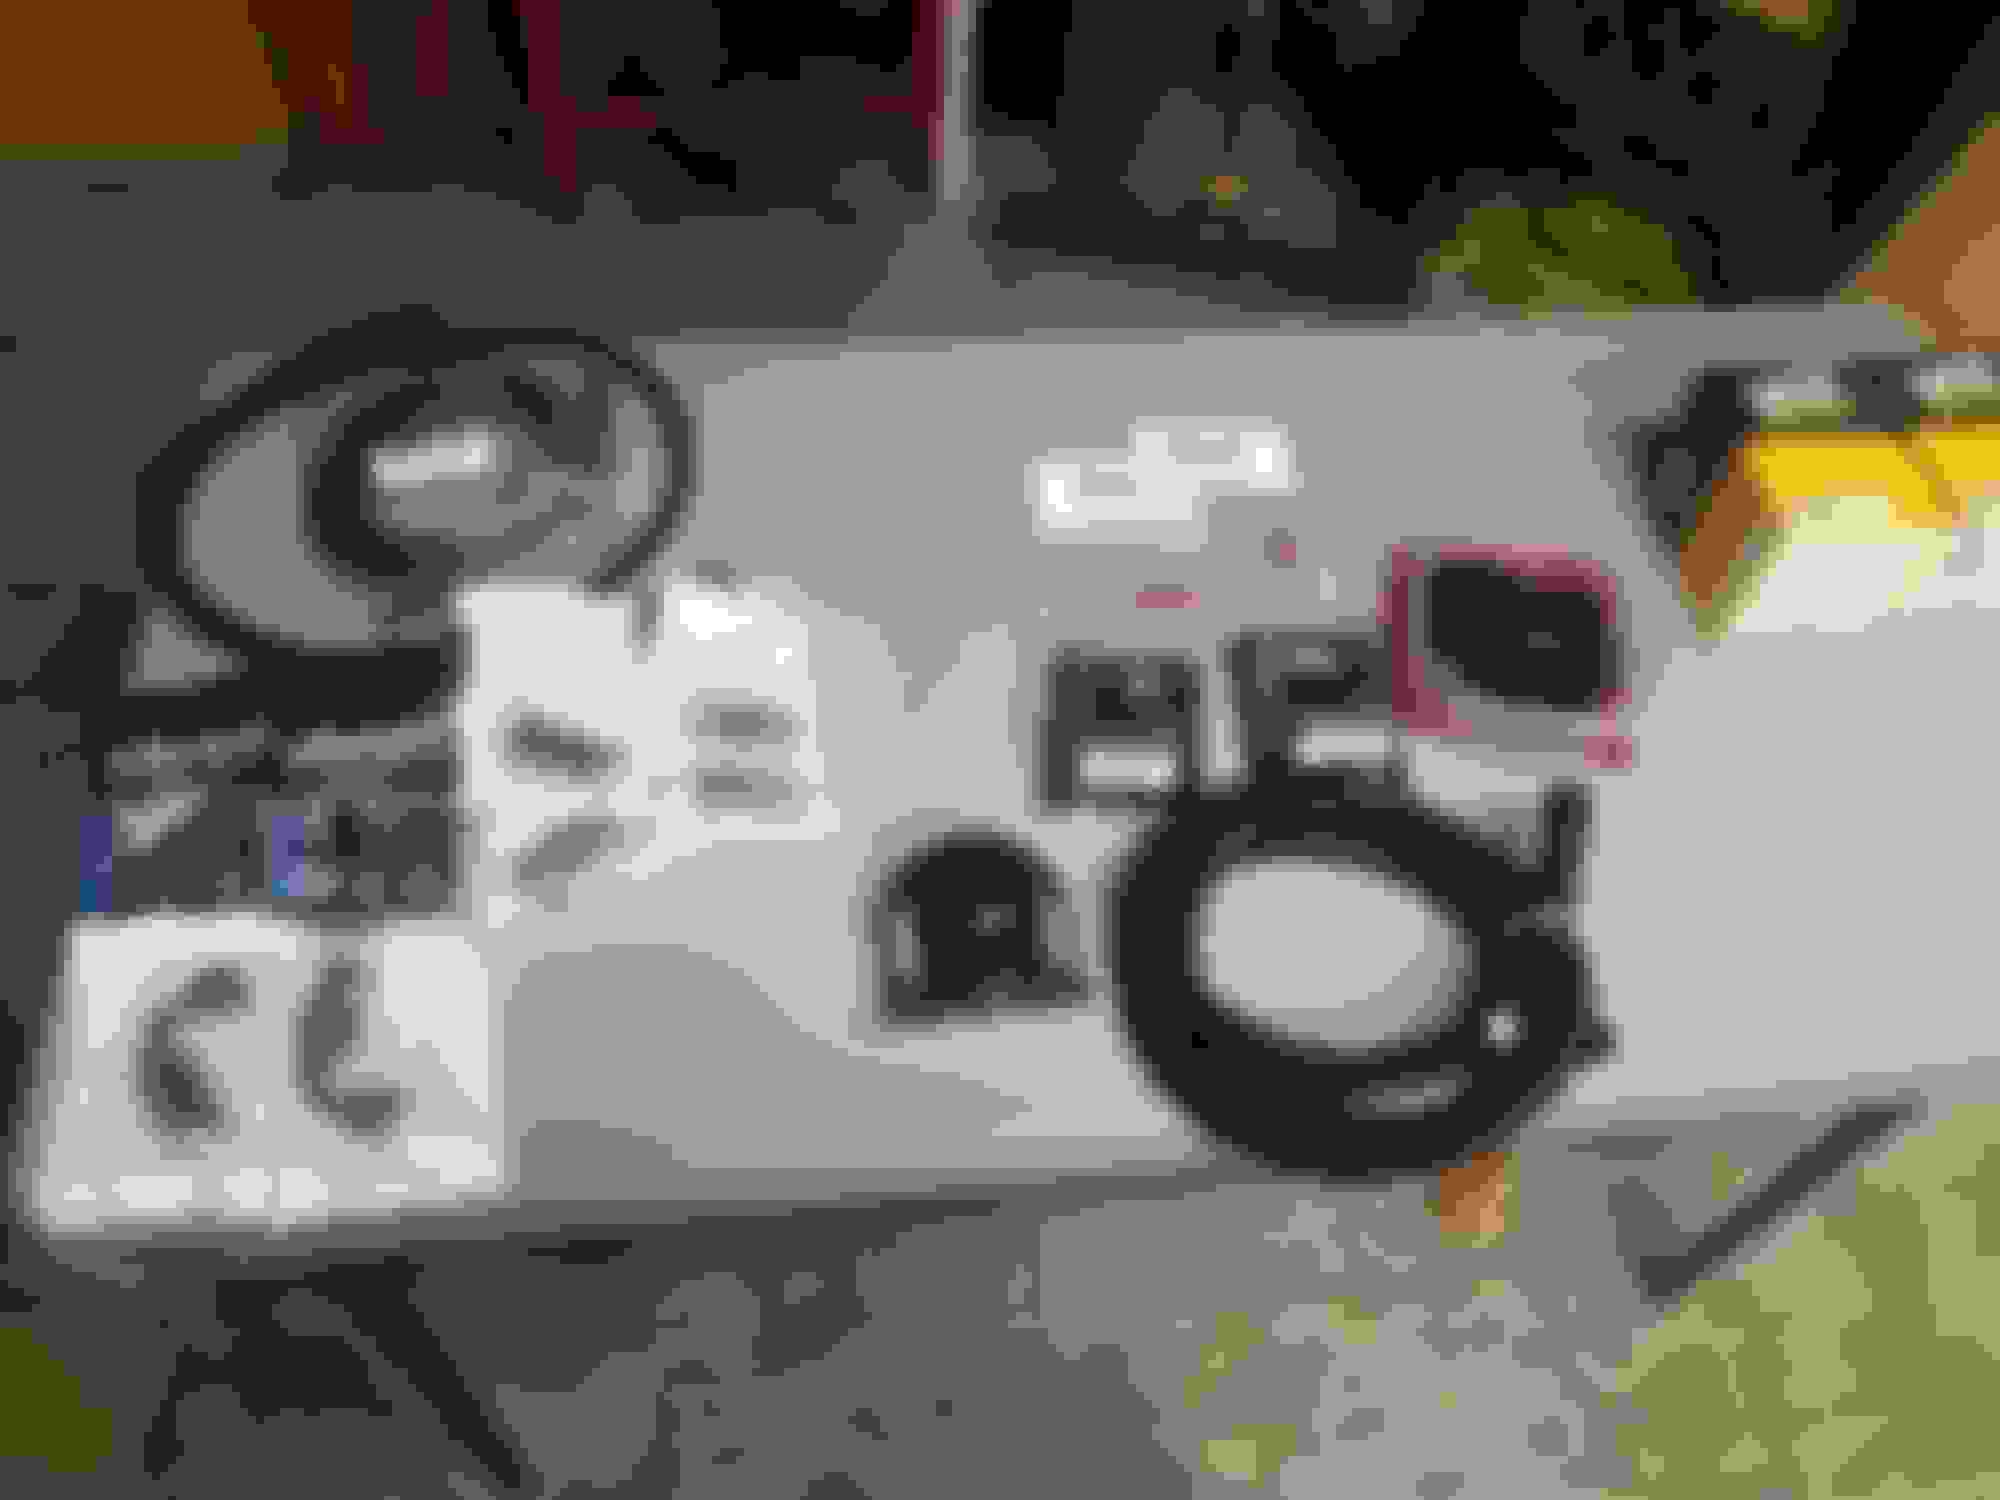
Lots of AN8 and AN10 hoses and fittings (and my new giant filters)
I designed and fabricated a bolt on bracket to hold the oil filter flange
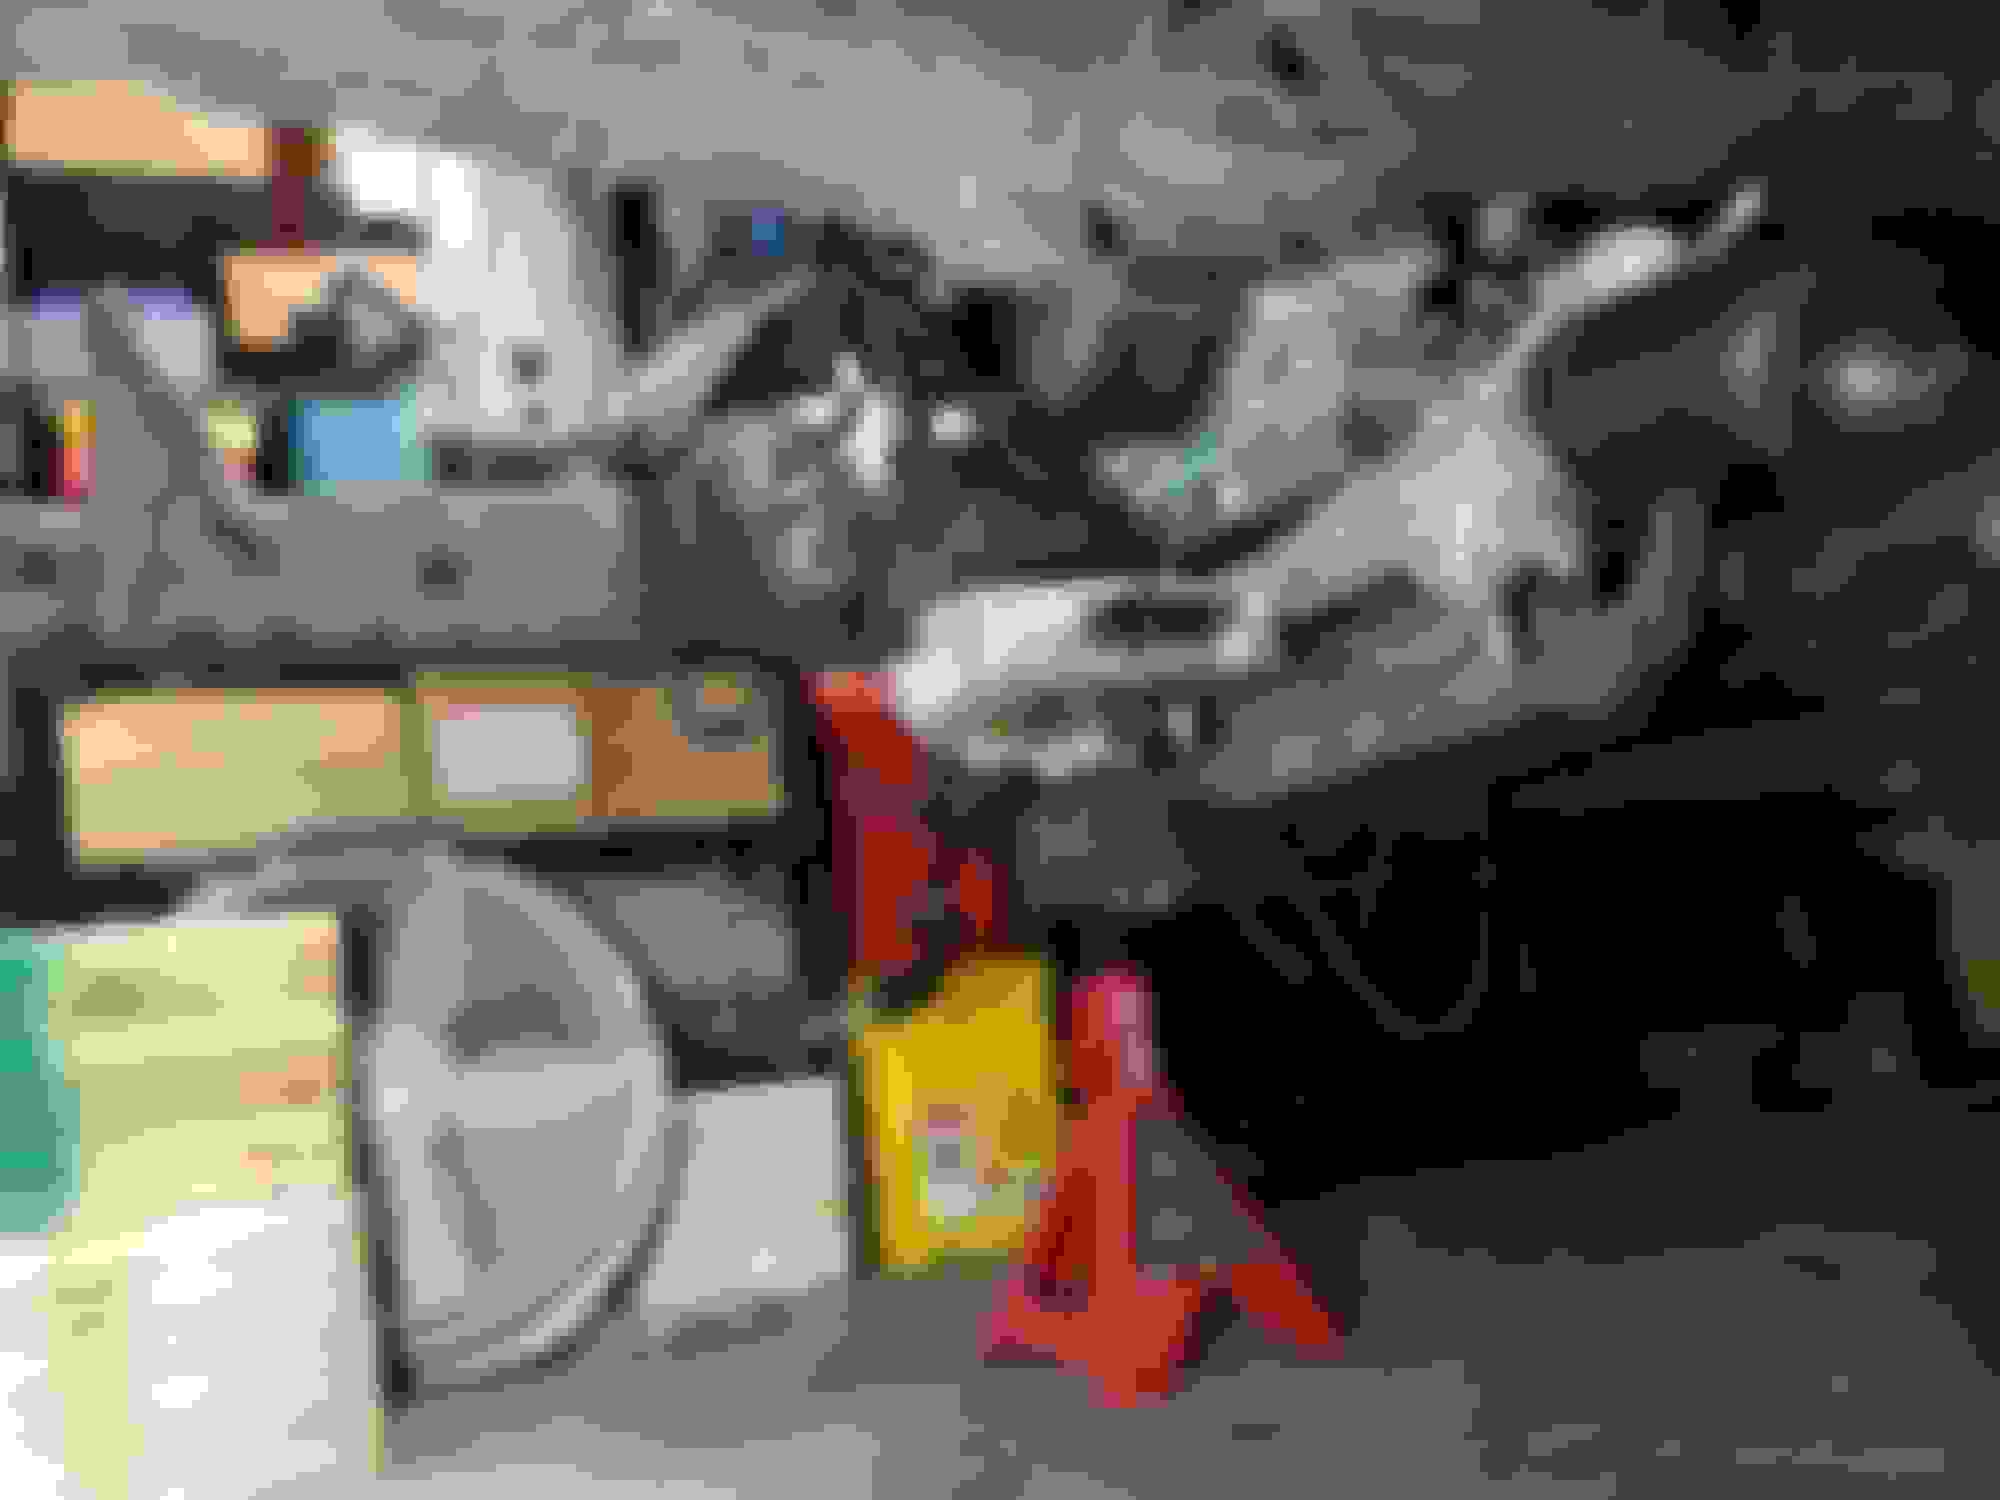
With the oil filter installed in its final location
Really really tight fitment up against the oil pan. If it fits it ships
Tight squeeze to get the hoses routed around the engine mount, but everything seems to live happy in there
Much cleaner, and will allow for room to play with the steering setup
As a side note I've also [not pictured]
Got my harnesses back out
hooked up fuel tank to the fuel lines [donor fuel tank lying on floor under the truck]
temporarily looped the transmission cooler line
bolted down the intake manifold [the 5 connectors on the back up against the firewall were a pain]
did a short test fire or two on the engine
I previously only had a crank signal and have bumped the starter. So this was pretty exciting to get a real fire, even if it was only 30 seconds or so
My next task is making a temporary crossmember to test to see if I can get the electric steering rack to actually assist or not. Once its tested/verified I will be designing and fabrication brackets to weld to the subframe for the rack.
Very nice! I like it... makes me want to tear into my 2000 Dodge and put a different engine in it or rework the one that's in it for a project. Just wish I had the time.
On another note, (since you had the gauge cluster out like that, it reminded me) say I wanted to grab on of these engines and use it for a project (build my own genset), does for make a powertrain control system that one could buy?
So I started to build a temporary crossmember for my steering rack, and gave up pretty quickly. Since this was a rough test purpose, I quickly realized it doesnt have to look pretty just to test it briefly. Then I also realized I also only need to bolt one side to the suspension to test it, so that broke the mold even more about the angle in which I could install it for a dry run.
Here's what I came up with.
Success! I was able to crank and run the engine, and feel that the rack was actually assisting like it was supposed to. Happy dance!!!
Now into the real fabrication work
Estimated area of concern that needs to be notched for clearances
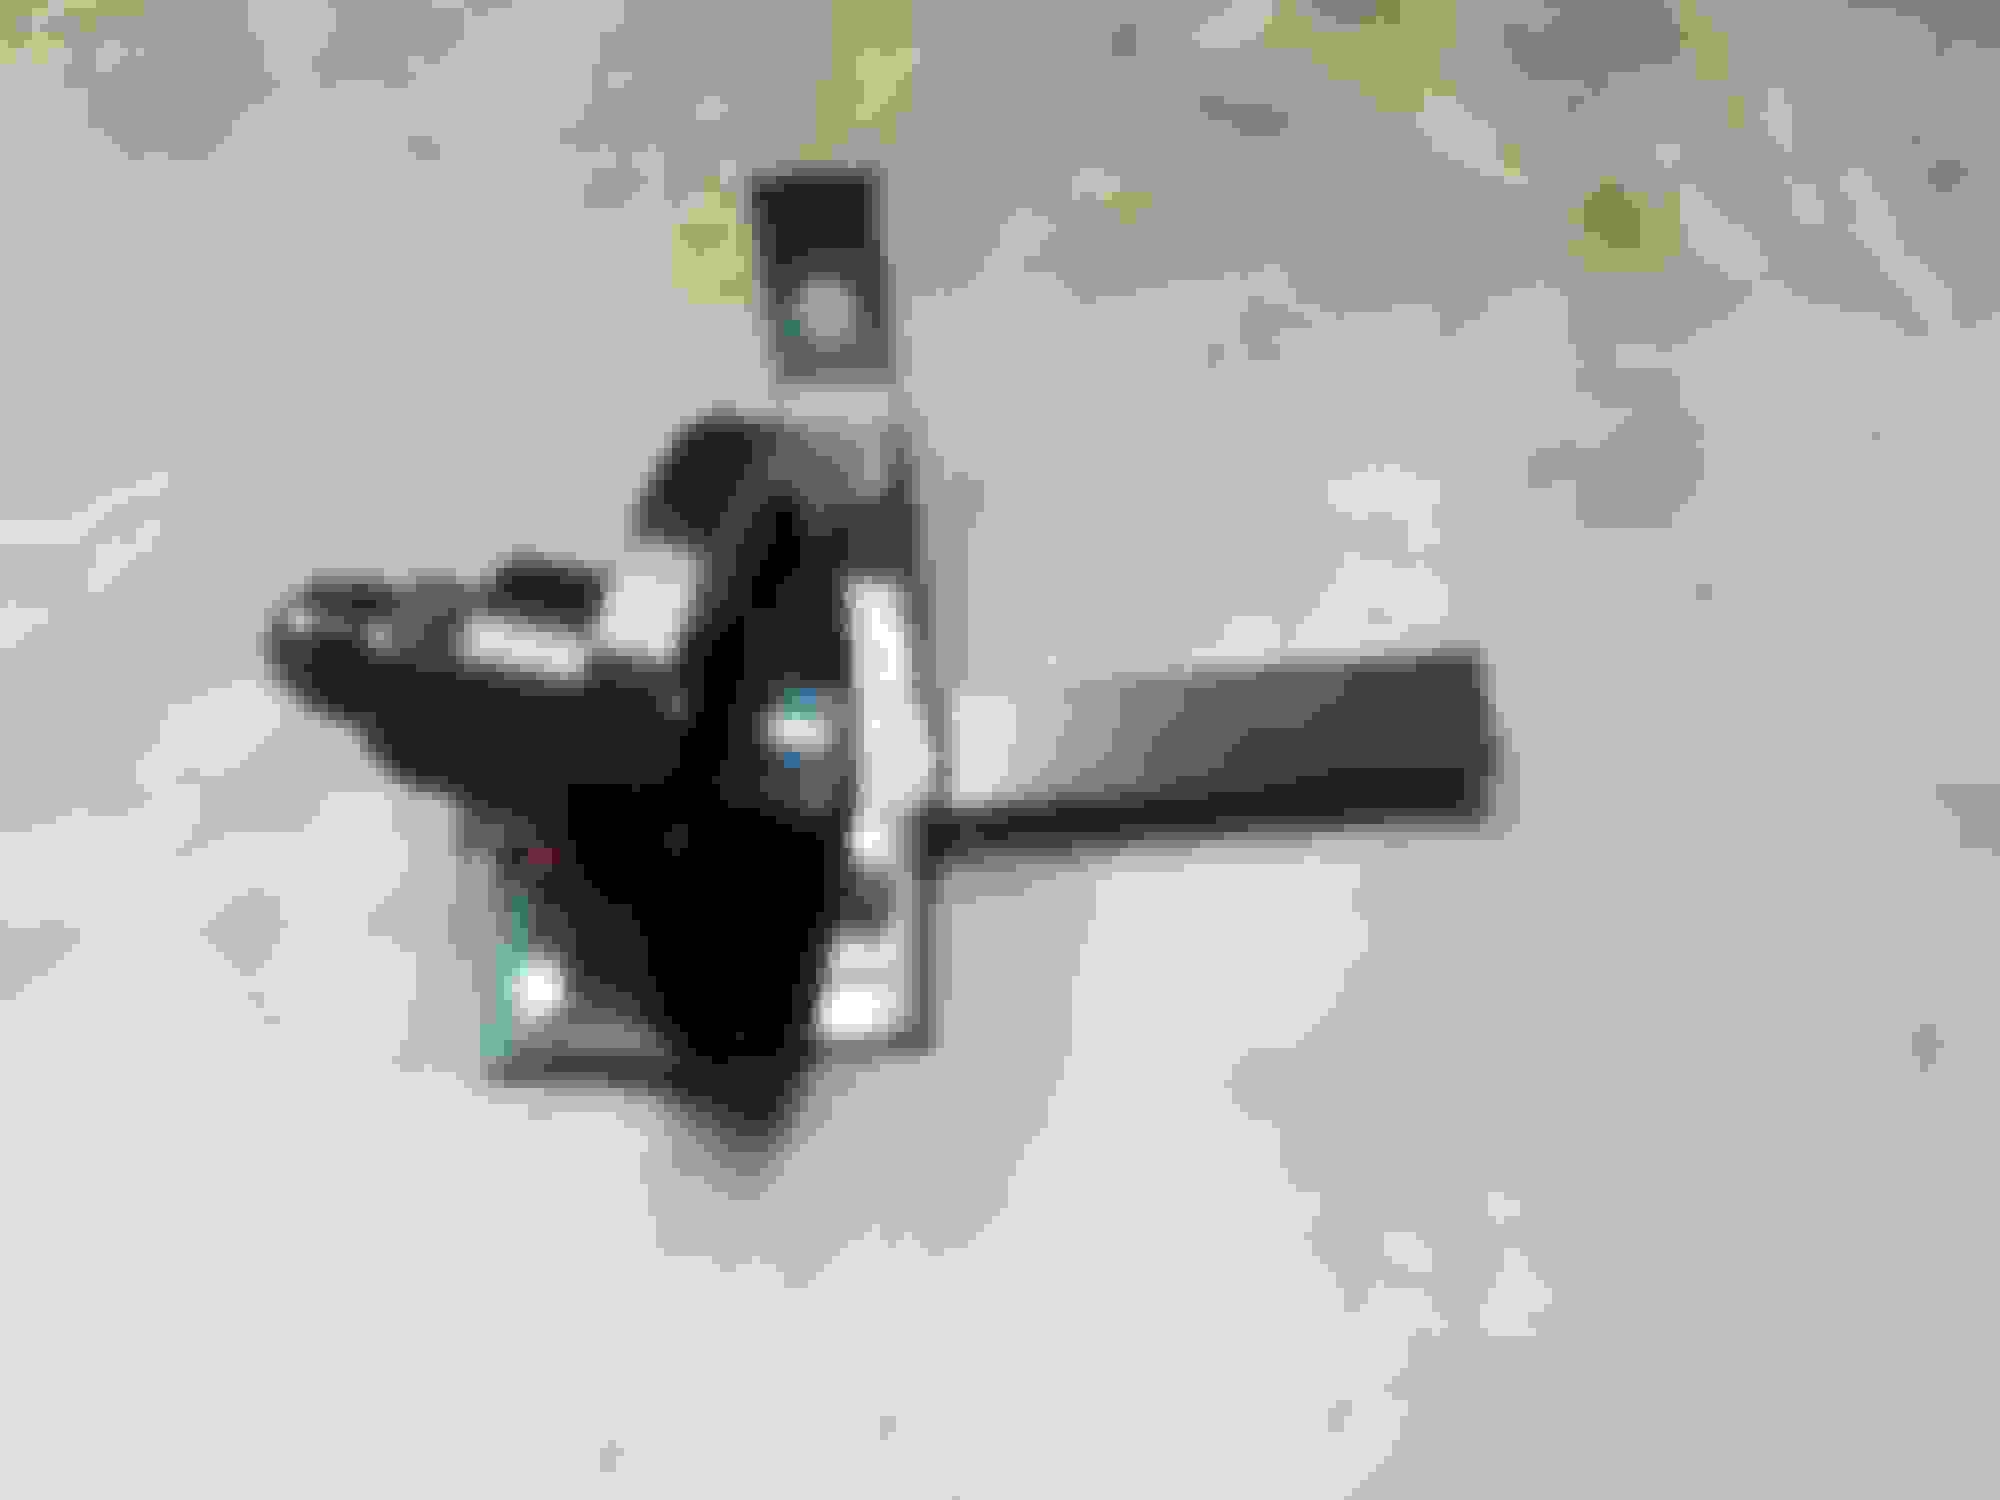
First round of cutting, rack on jack stands, making more notes about more cutting
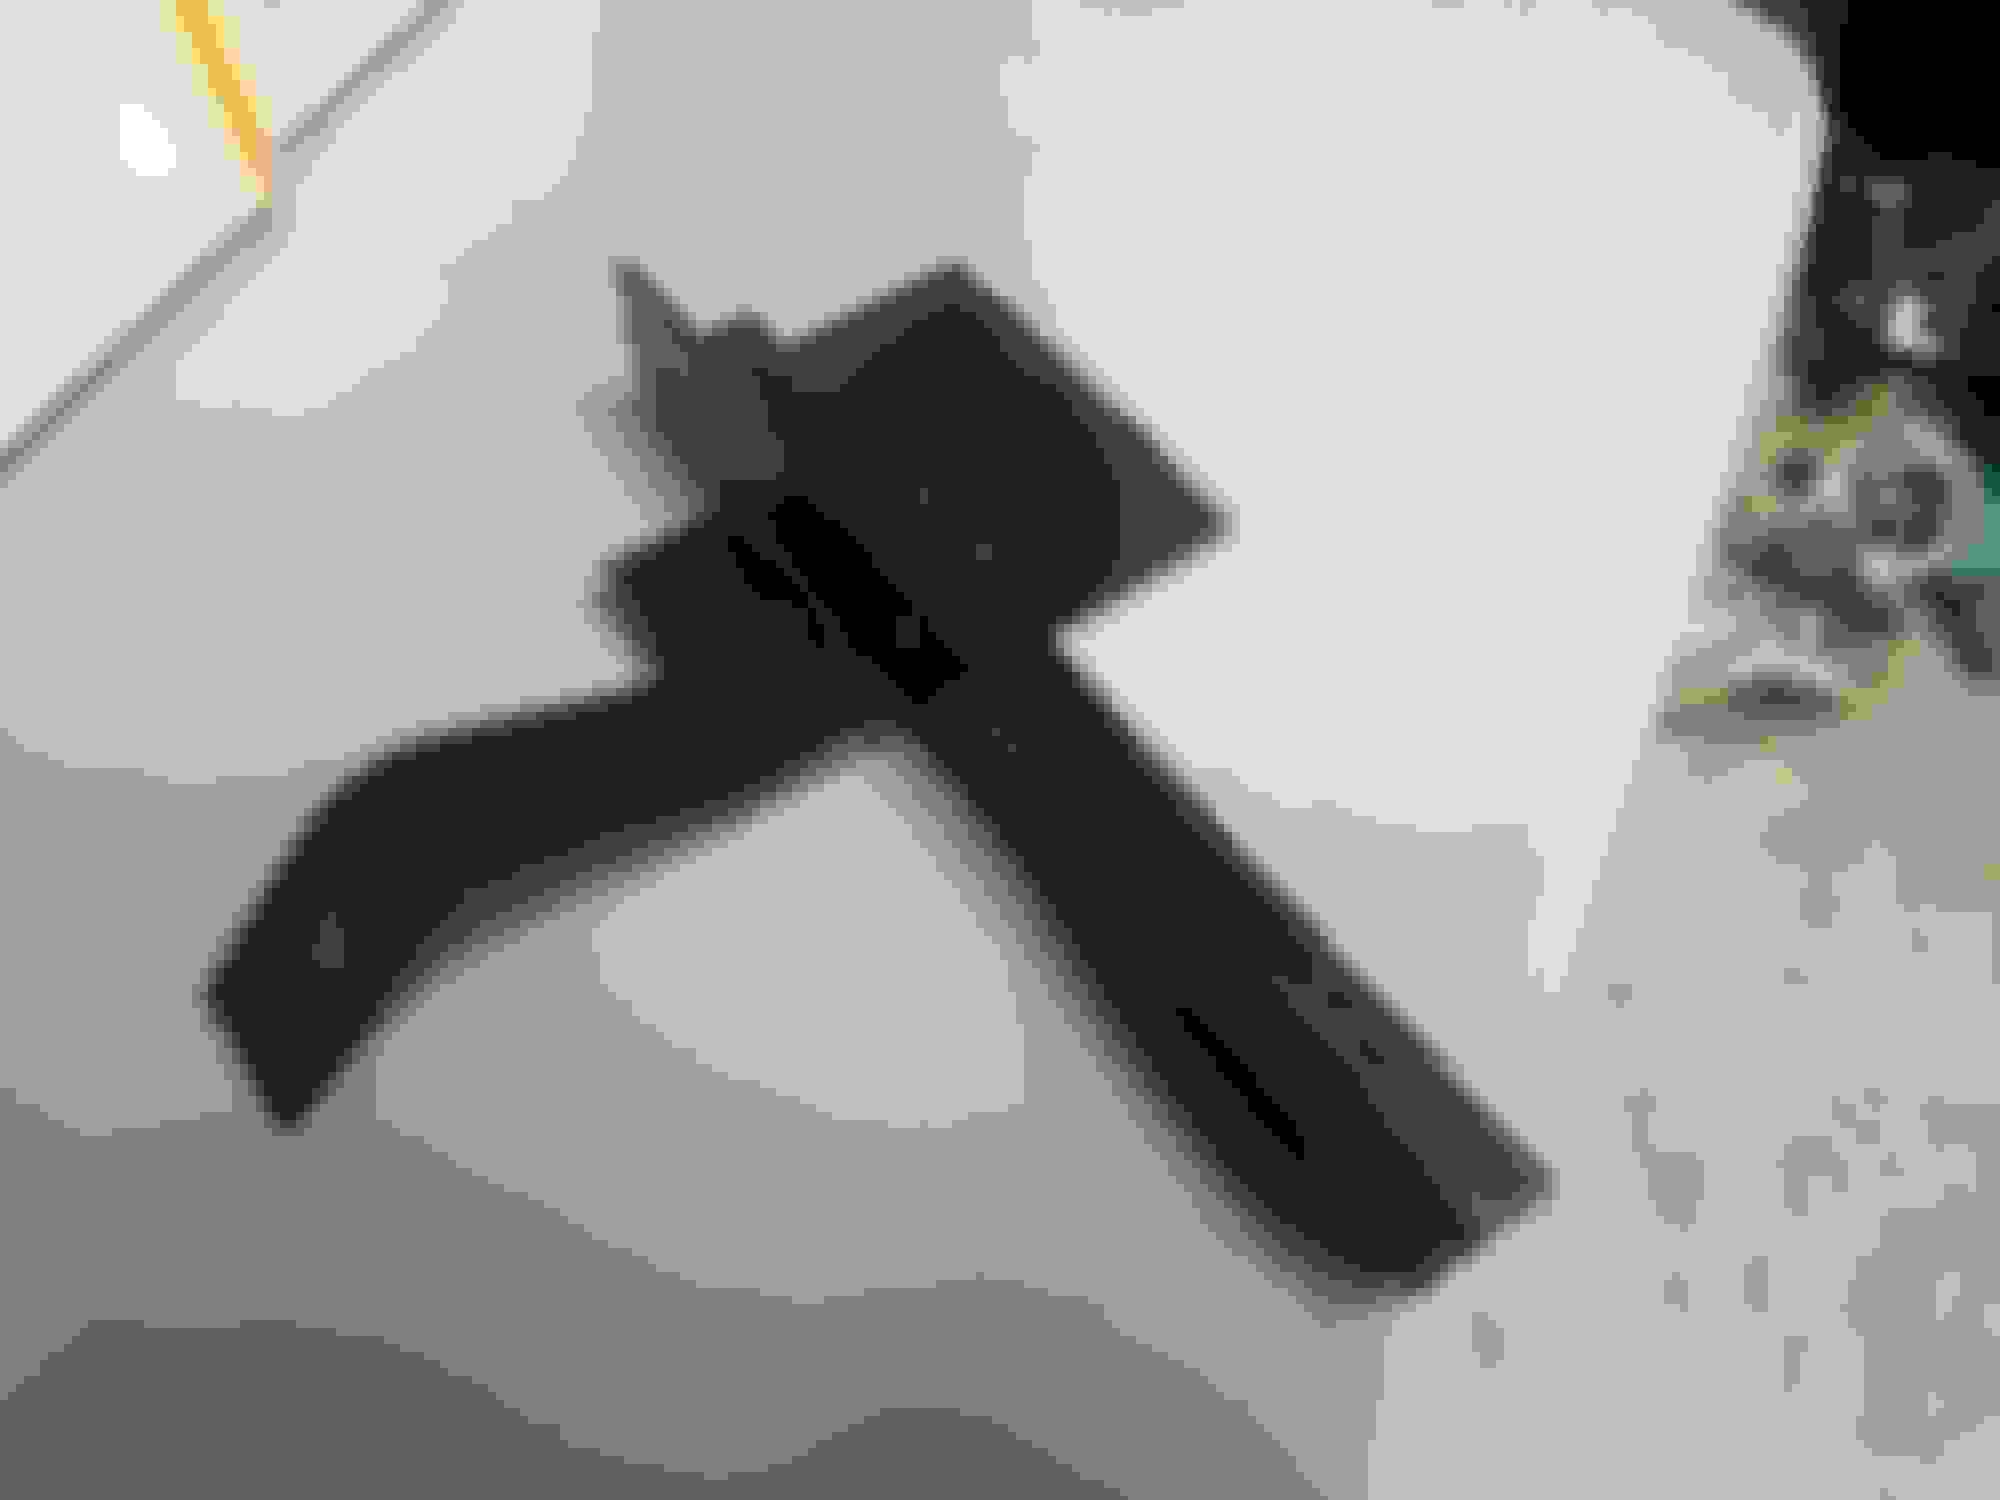
*Side note, I figured this would be a good reason to use my family heirloom hammer* (Note was written by my grandfather)
Fabricating some filler plates to reinforce the notched area of the frame crossmember
All the new filler reinforcements and the new brackets all laid out together
Final mock up before welding
Now we weld all the new fabricated brackets (approximately 2hrs of welding)
All done with the welding. very beefy!
[I still need to order the correct factory bolts for the Mustang rack]
Still need to go back and grind down a few welds, and prime the metal and redo all the undercoating in the area... That's all for now
Took a little bit of time to get the electrics figured out, and I have a ton of time thinning out the wiring harness, but still not done
This is all that's left of my dash and body harness. I quoted above picture from my first post in the thread for reference..... basically everything "behind" the transmission in the original post is the dash and body harness (black and green looms)
Anyways life got in the way of the project, and made me step away for a little more than two months. Back on track. Worked about 15 hrs on the wiring in the past few days.
It took me 2 hours to correctly identify and label all the various connectors in the dash harness, so I could figure out what can be removed, and what needs to stay
Wiring time invested so far 29.5 hours
Total project time up to this point is 95 hours
From this point, I plan to put the harness back on top of the truck and test and make sure everything still works like it should. I plan on "merging" the body and dash harnesses to some extent. Since there isn't very much left from my body harness. Then redo all the loom and taping that I removed, then its back onto other items on my To-Do list.