When you click on links to various merchants on this site and make a purchase, this can result in this site earning a commission. Affiliate programs and affiliations include, but are not limited to, the eBay Partner Network.
ran into an issue early in the week. Put the harness on the truck just to discover i had a no start condition. traced it back to the PCM, found out I had removed a wire from the BJB to BCM that sends power to wake up the PCM. set me back about 2 hours to diagnose it and repair it. But luckily i didnt just hack up the wiring, and I've be actually depinning connectors, so the repair was super quick
got all the wiring sorted out. still may end up thinning the frame rail harness out, but for now its onto other parts of the project....
here's a few pics of the beginning stages of replacing the core support and correctly repairing the damages from the front end wreck from 2009
Ive got the engine all covered up, and started by removing the LH core support area. I've got a junkyard donor core support, RH apron and inner fender structure (upper rail) that will be installed. We will be repairing the cowl area where the hood hinge got pushed back and down into the cowling of the firewall. Stay tuned for more updates
Finally letting the cat out of the bag. I've had a busy few weeks, and no where near done
Earlier this year I purchased a 2015 Gen2 Coyote and 6R80E from an F150 with 8400 miles. Took a little bit of time to get the electrics figured out, and I have a ton of time thinning out the wiring harness, but still not done
Don't you hate it when your truck is too low to get the drain pan under it....
Continuing the tear down for ease of removal
And the 4.6 is out!
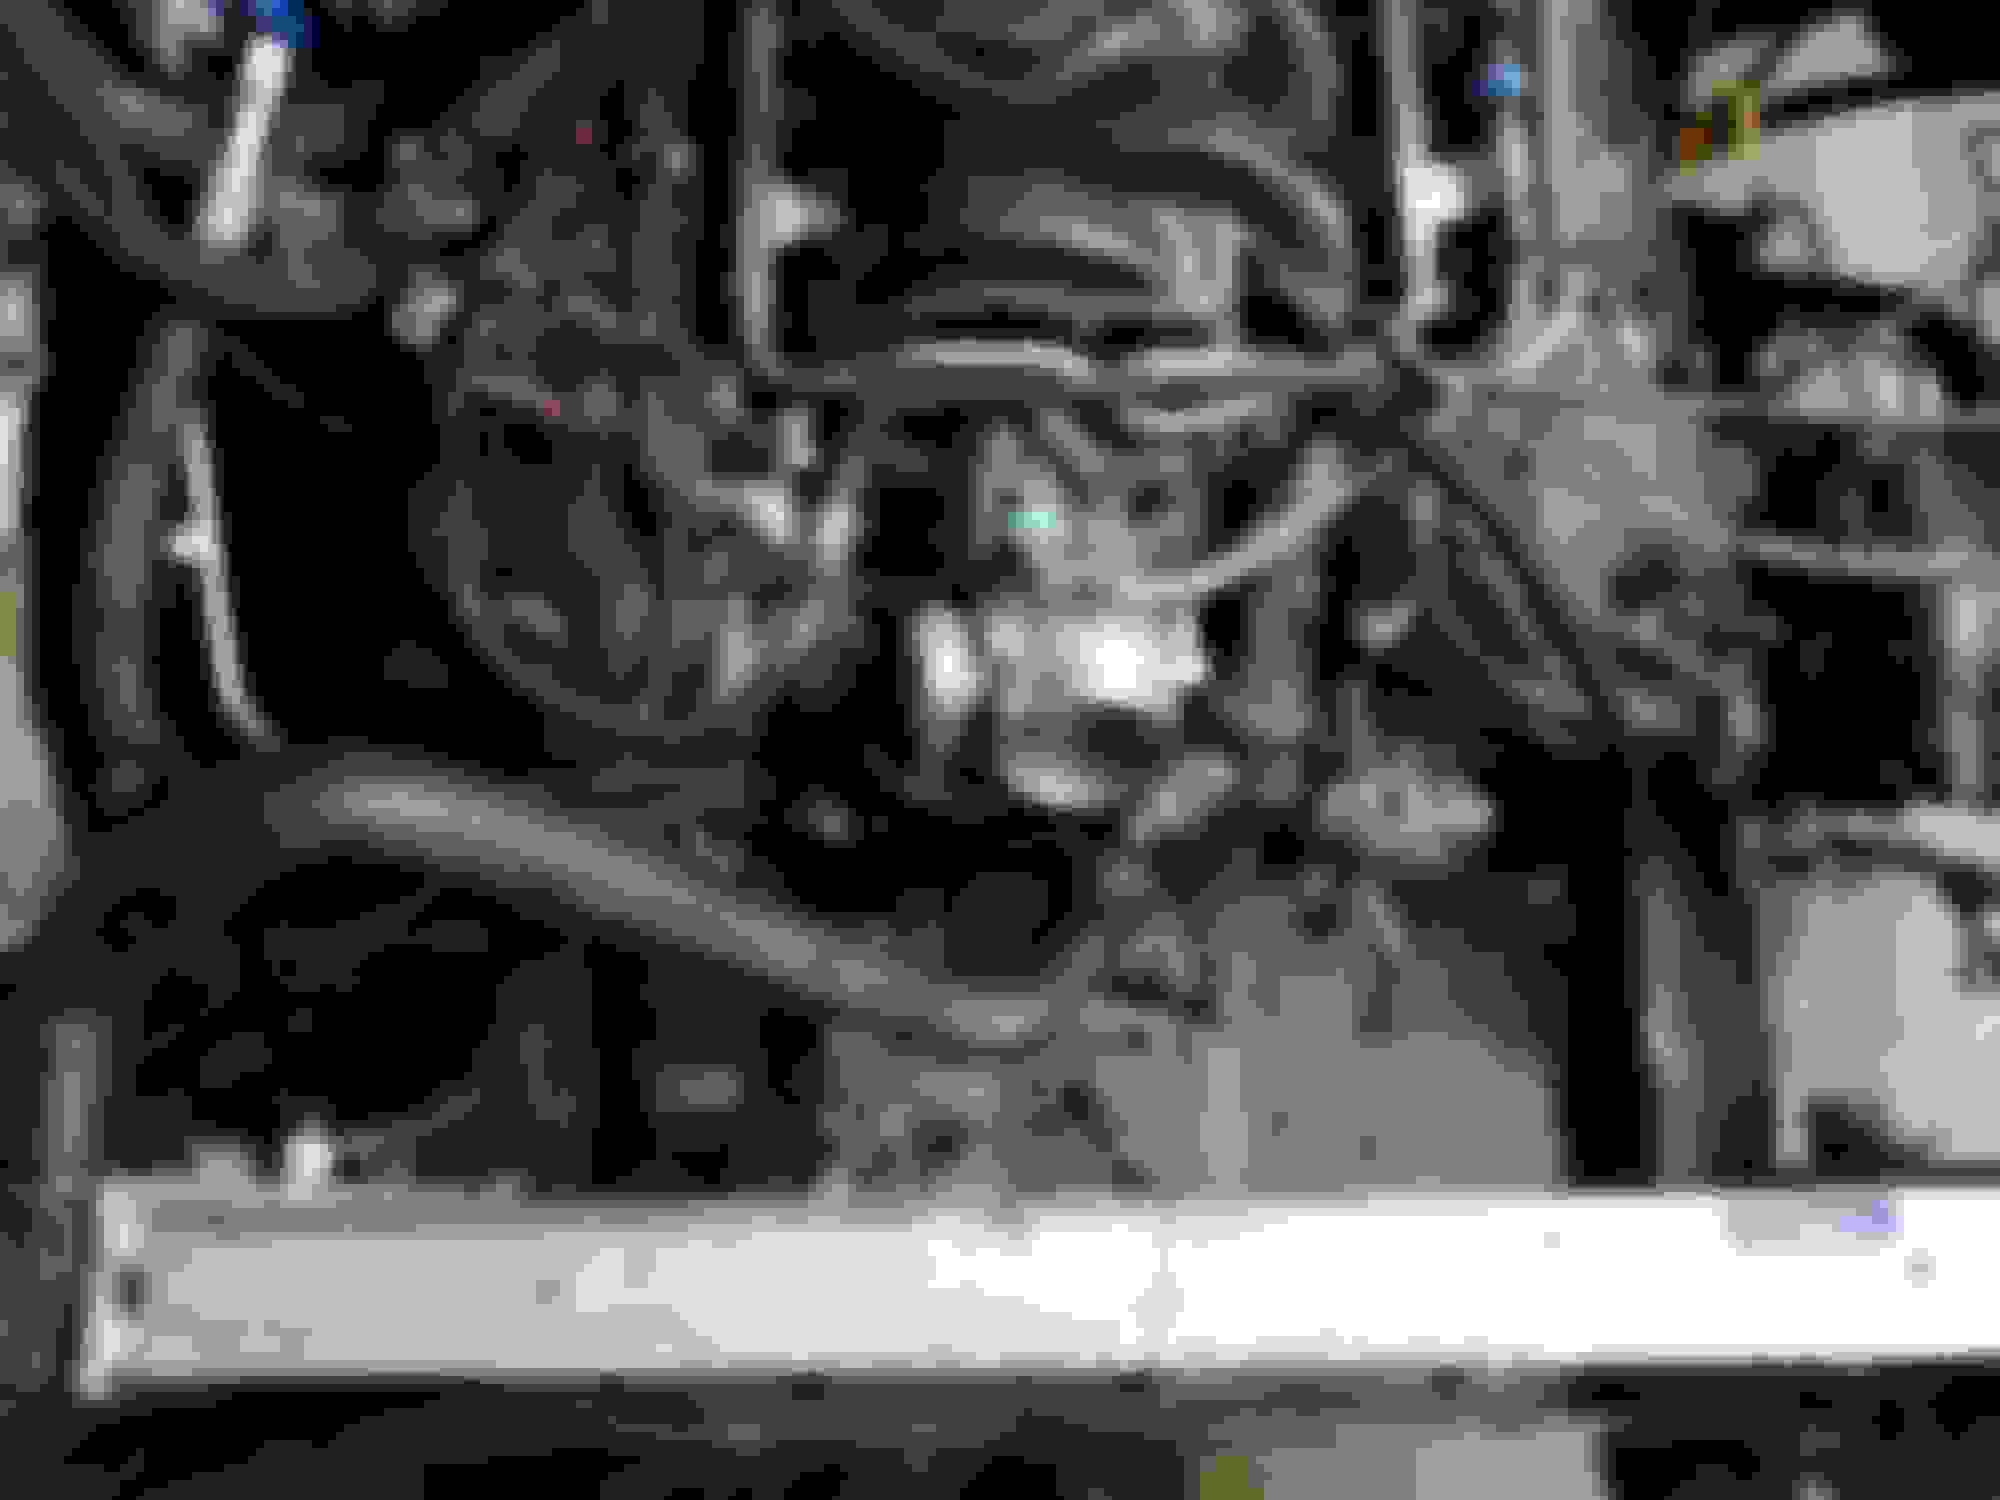
Obligatory engine bay picture
By any chance still got the 4.6? Is it a Windsor or a Romeo block? If its a Windsor what year is the truck is it an 02 if it is how much for the timing cover?
By any chance still got the 4.6? Is it a Windsor or a Romeo block? If its a Windsor what year is the truck is it an 02 if it is how much for the timing cover?
2003, I believe the engine is spoken for, not looking to part out the engine......
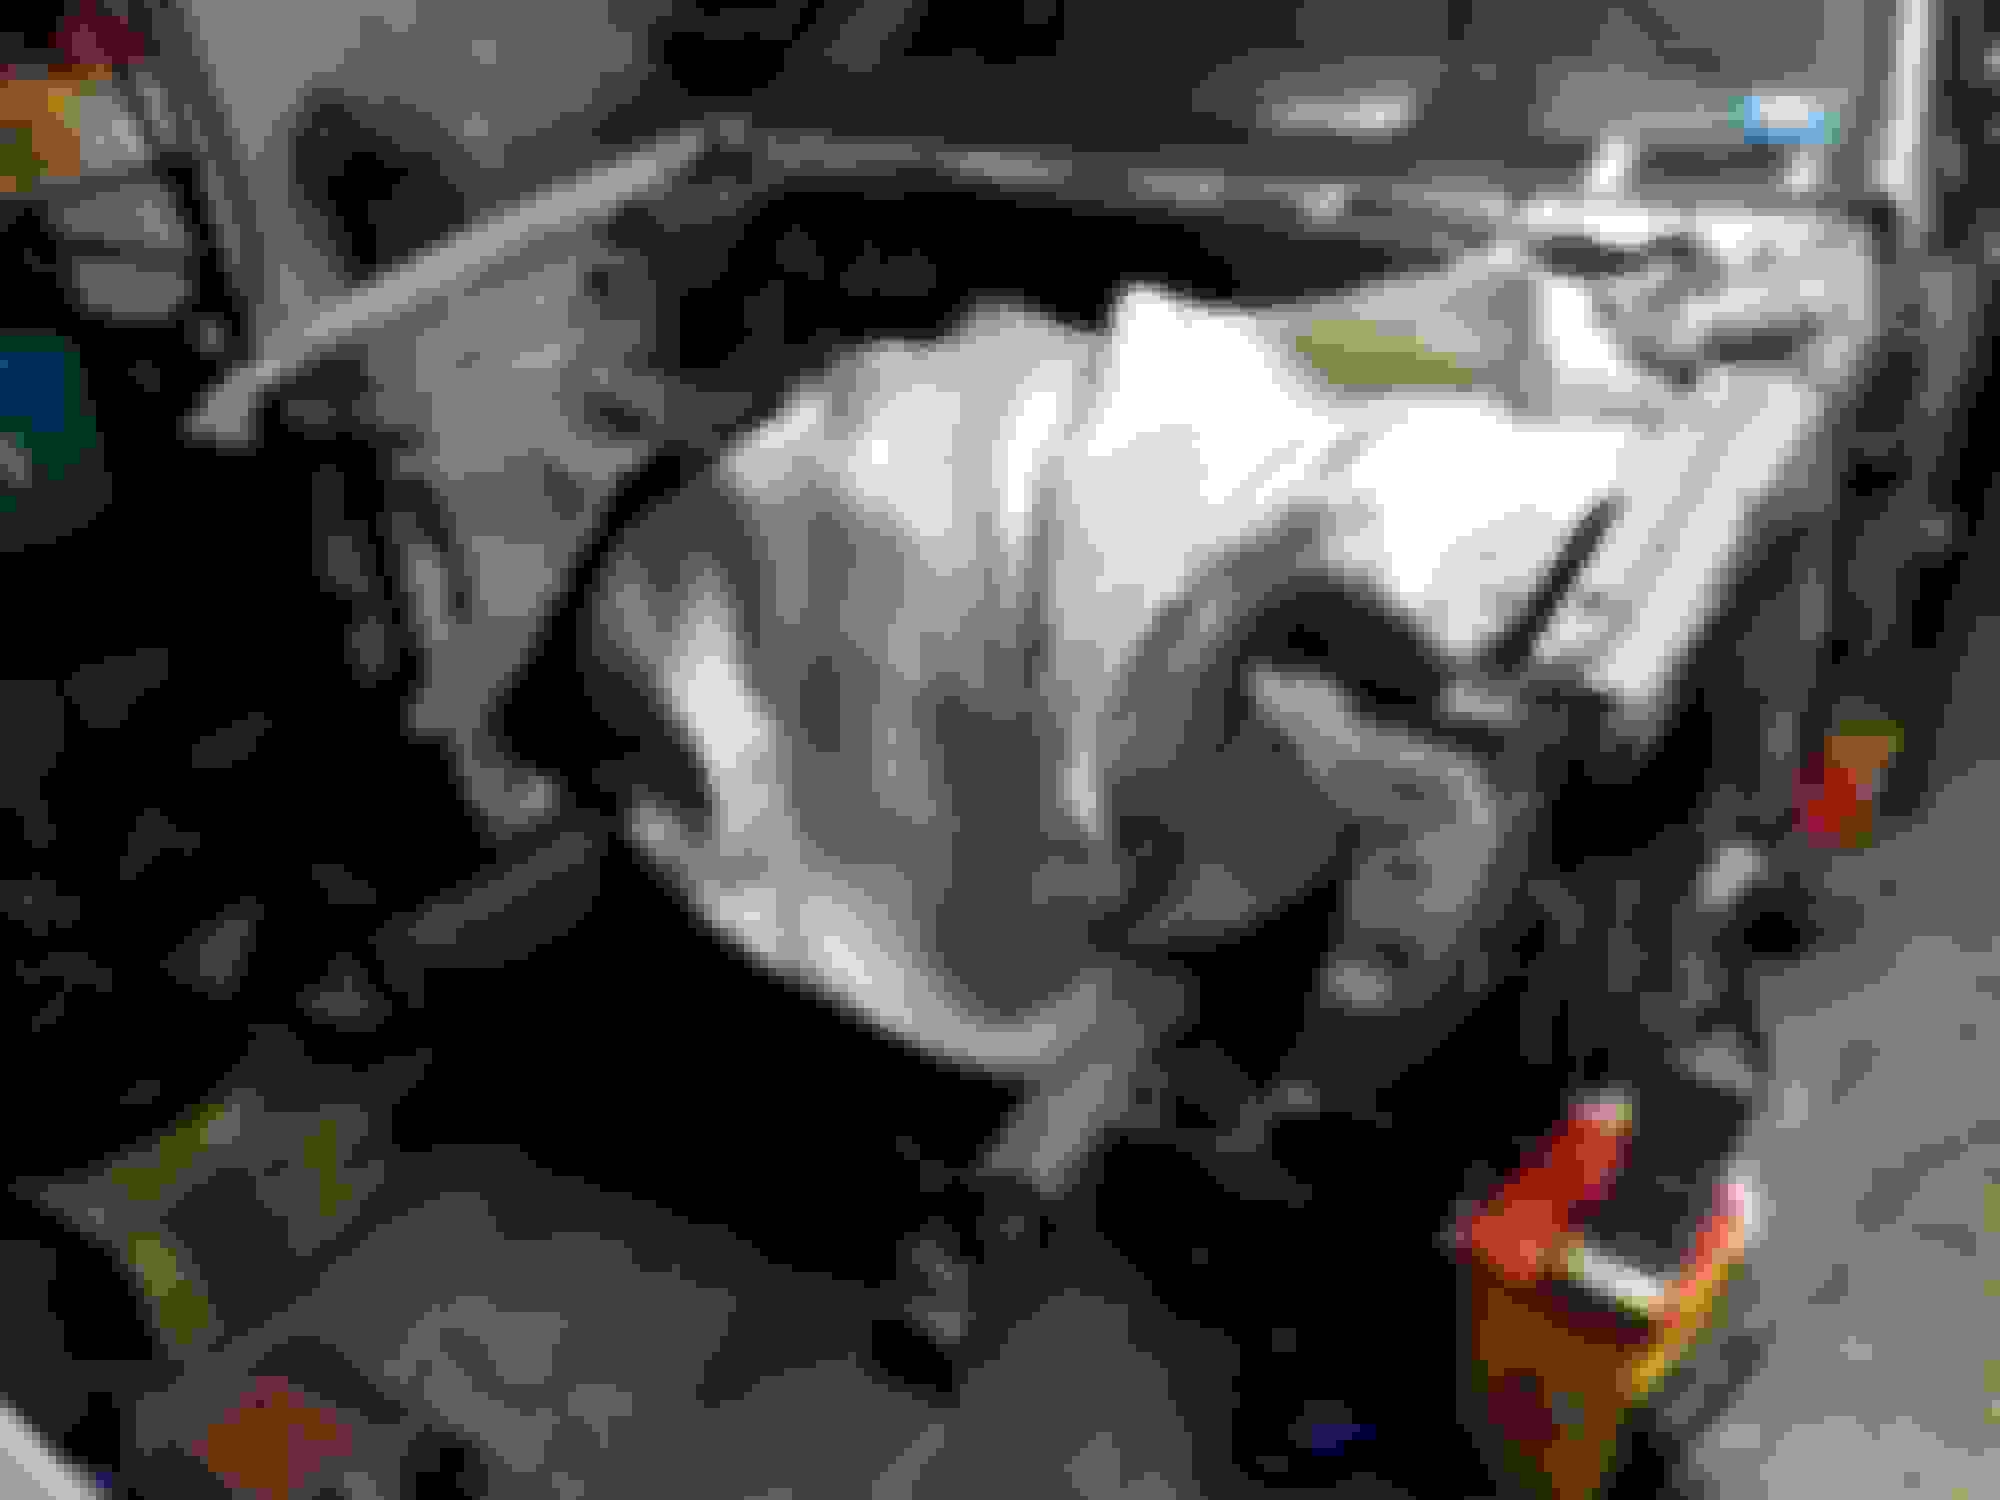
over the 3 day weekend I did a rough fitment of the hood and fenders to see how squared up the new core support really is....
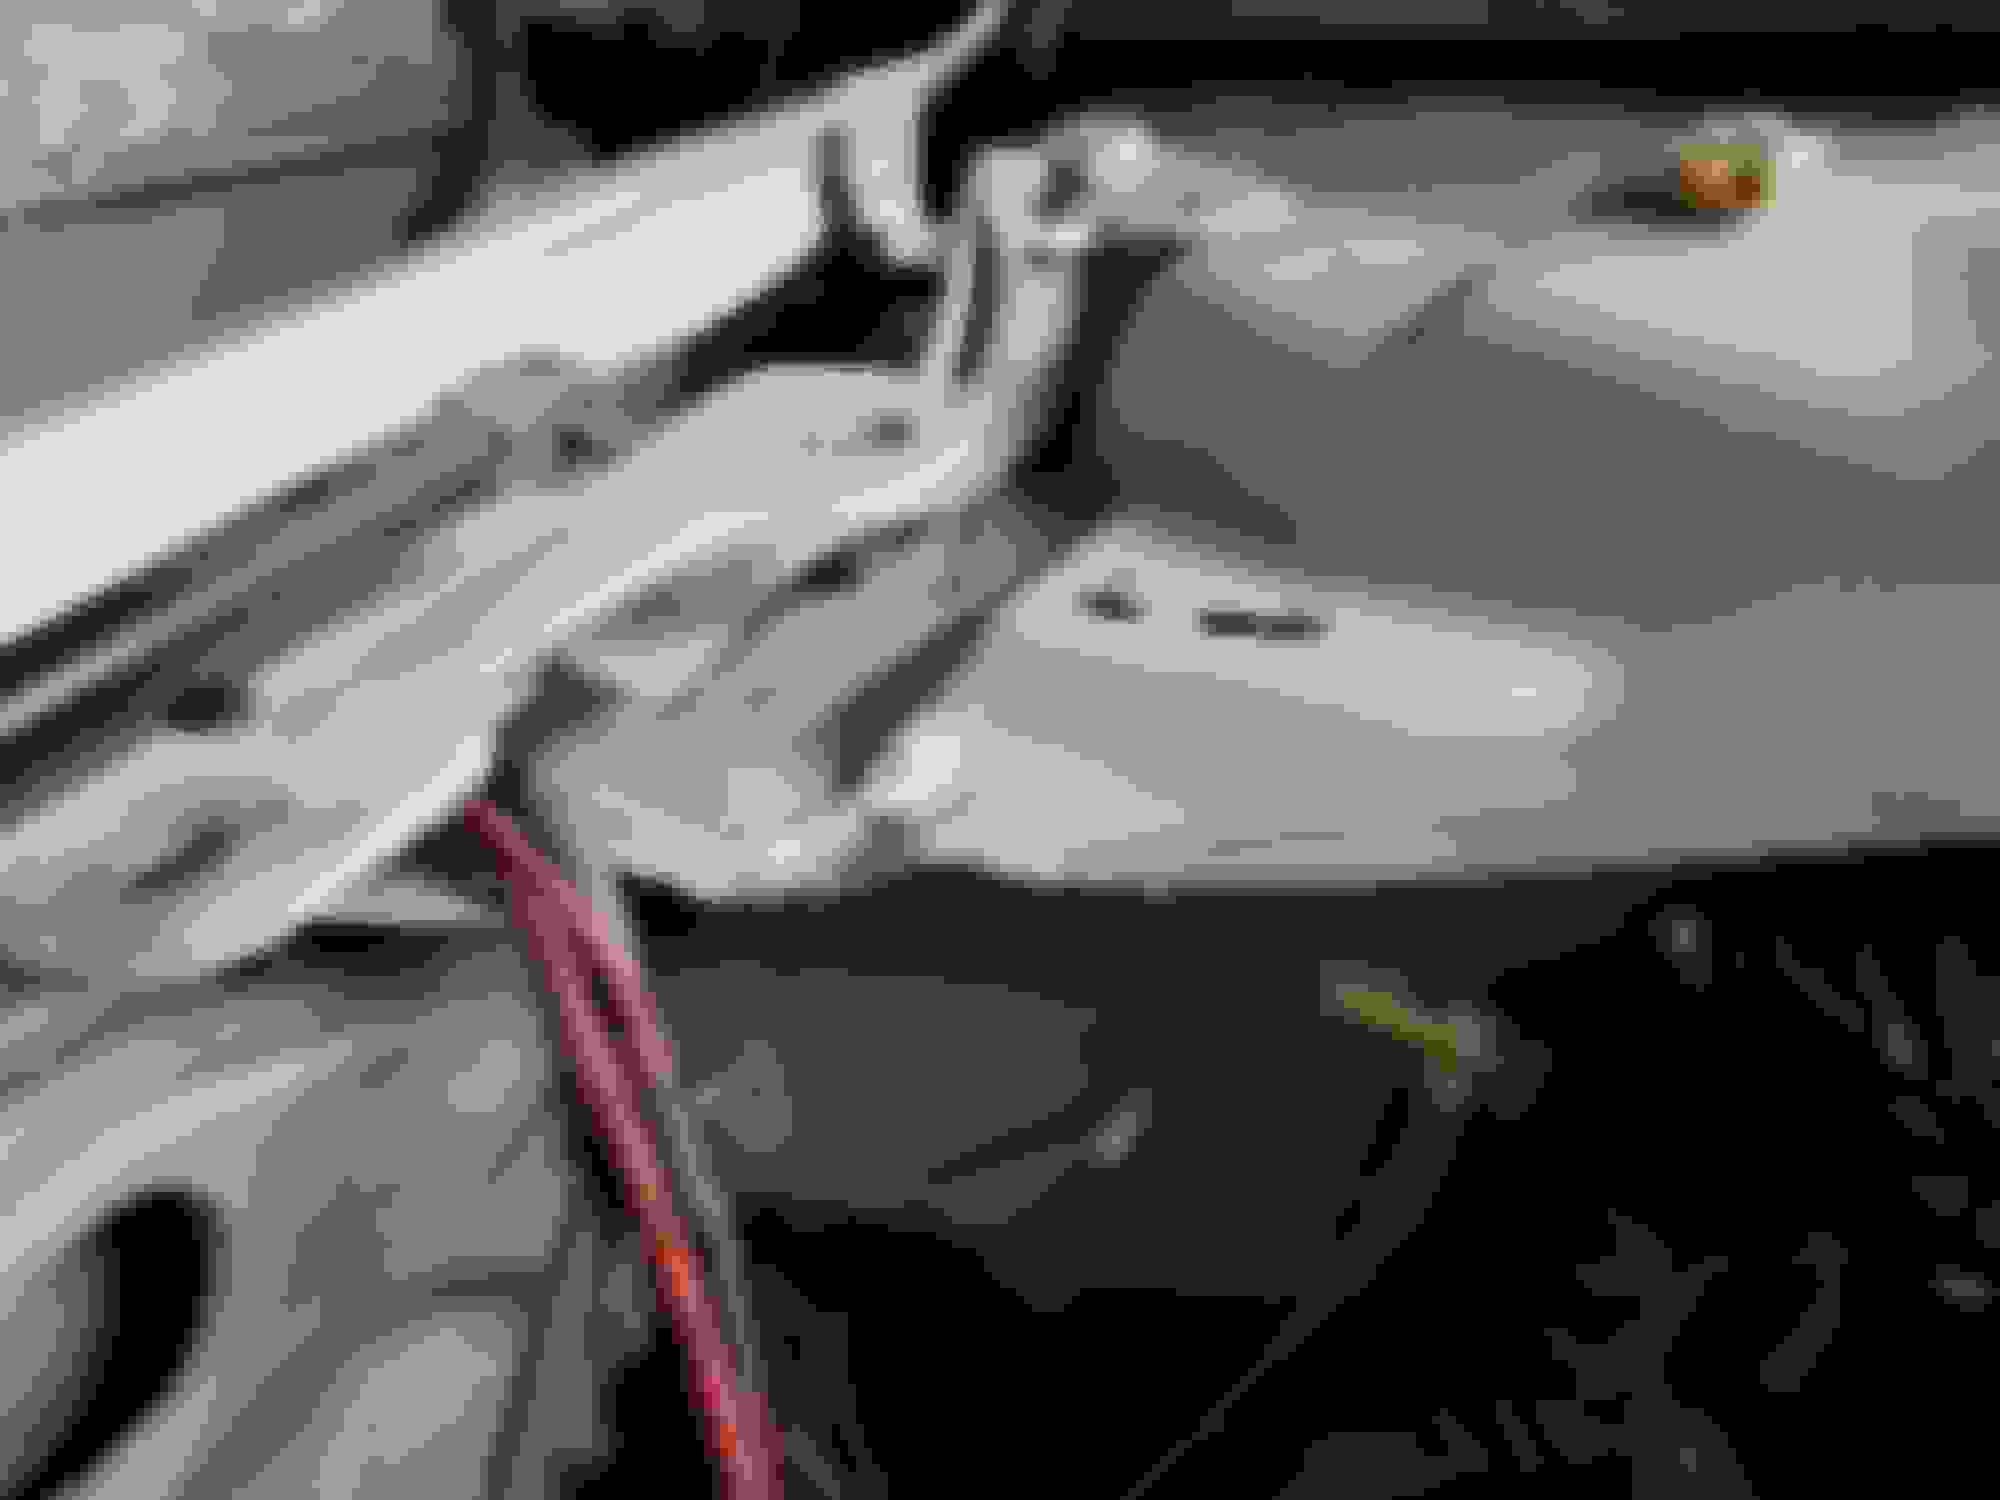
I also started to fabricate a bracket for the transmission thermal unit. Attempting to get it to sit about the same location/angle as the factory trucks use
I also started to fabricate a bracket for the transmission thermal unit. Attempting to get it to sit about the same location/angle as the factory trucks use
after fabrication, welded it to the truck
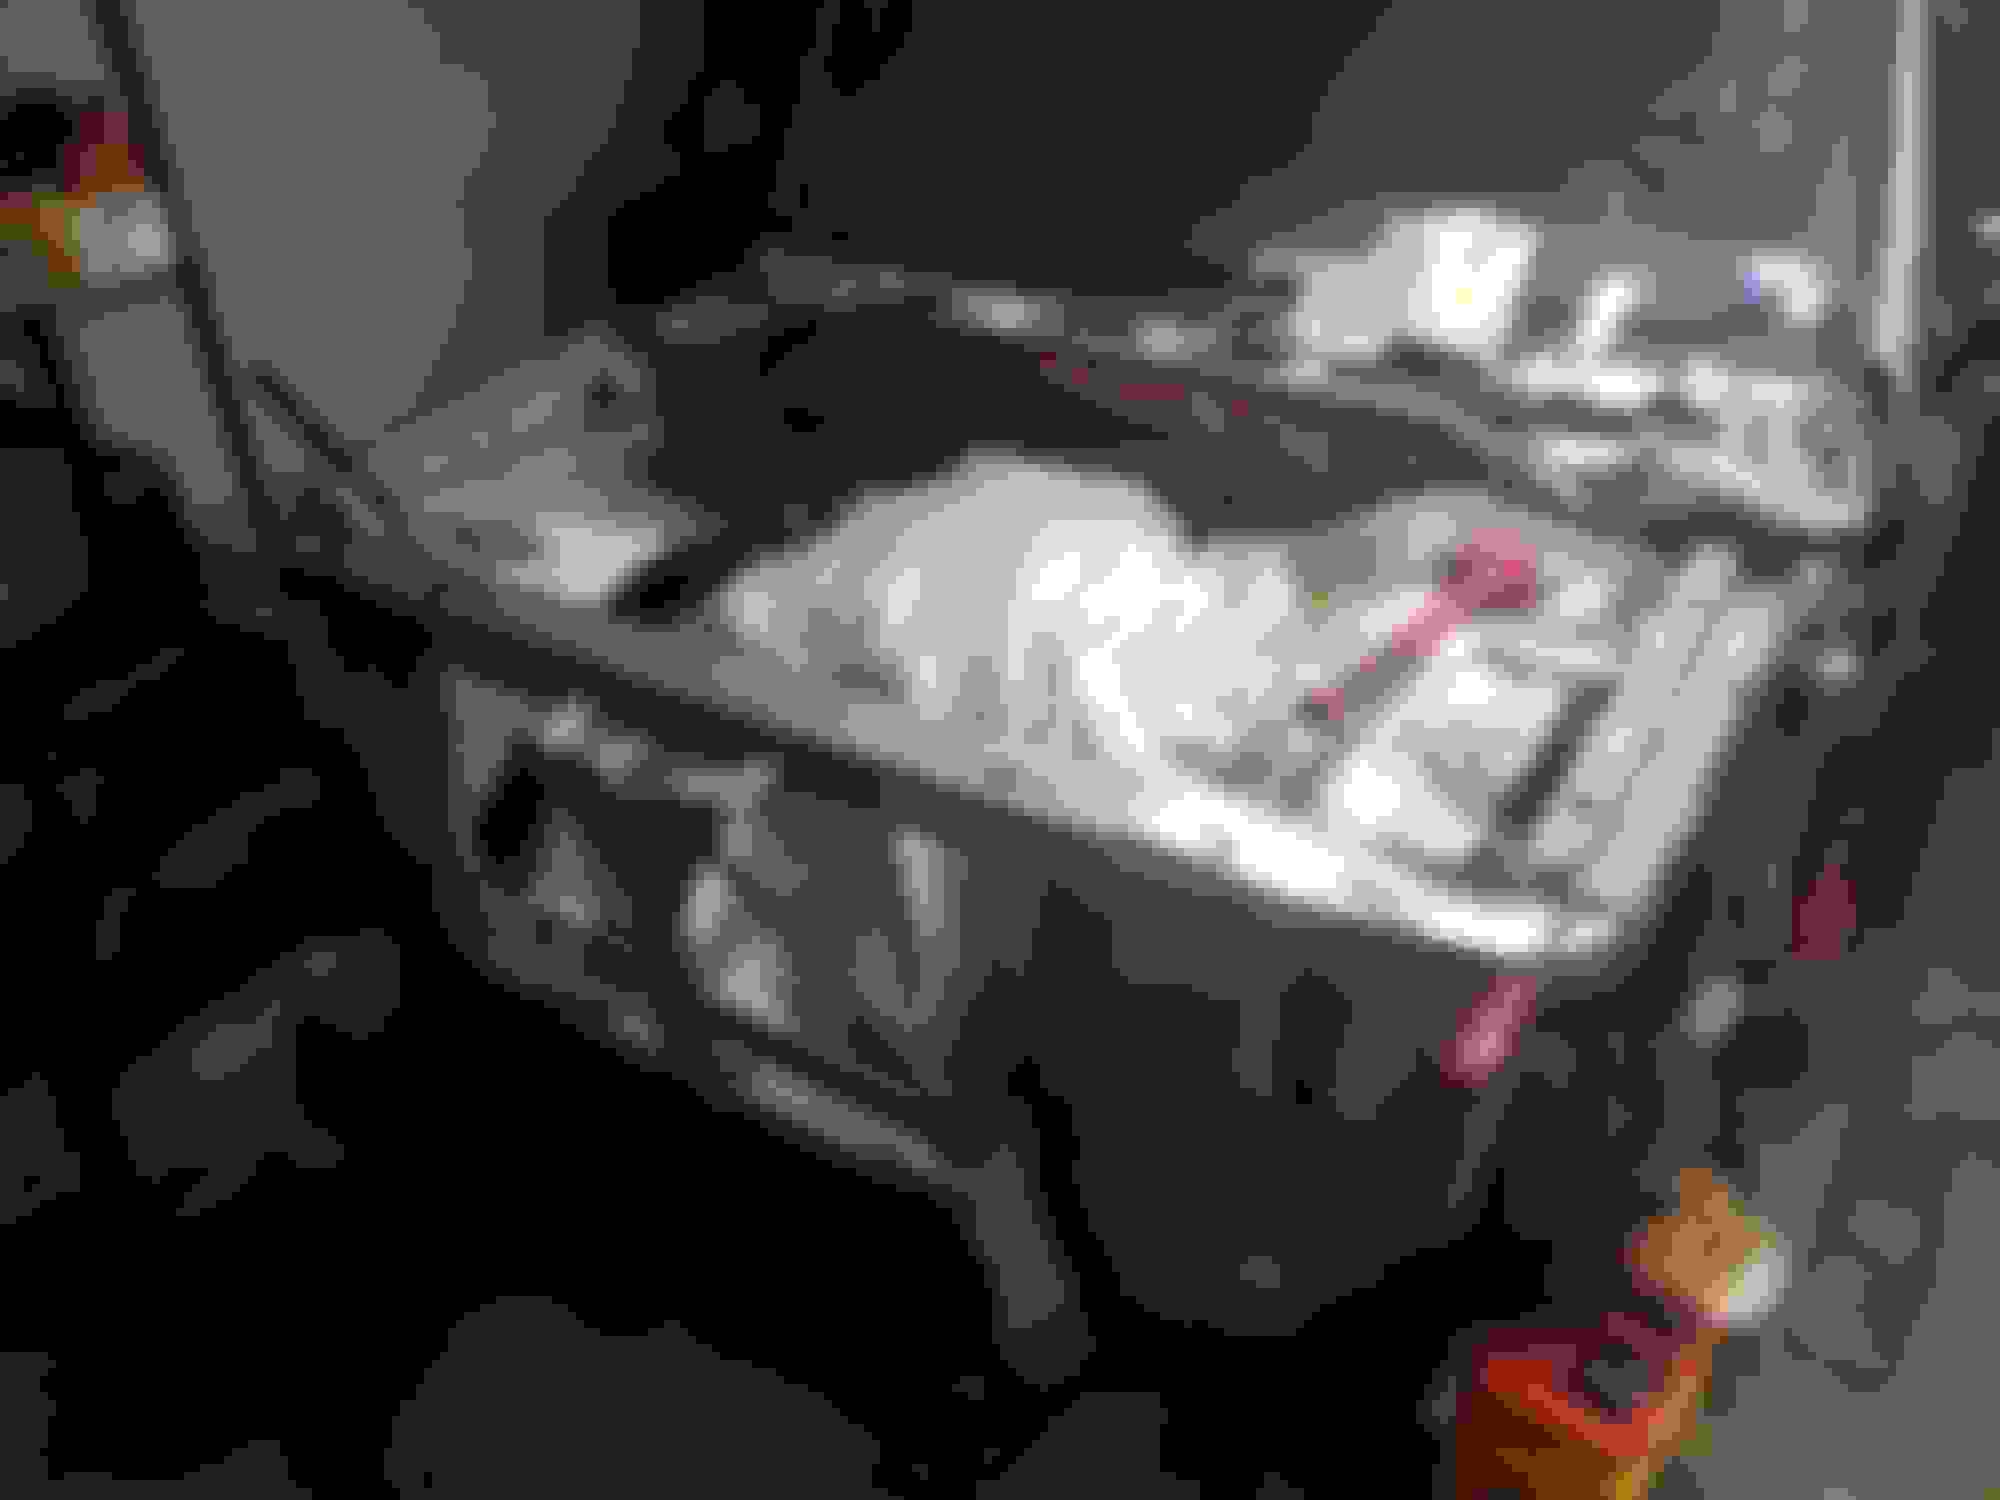
lots of racecar goodies
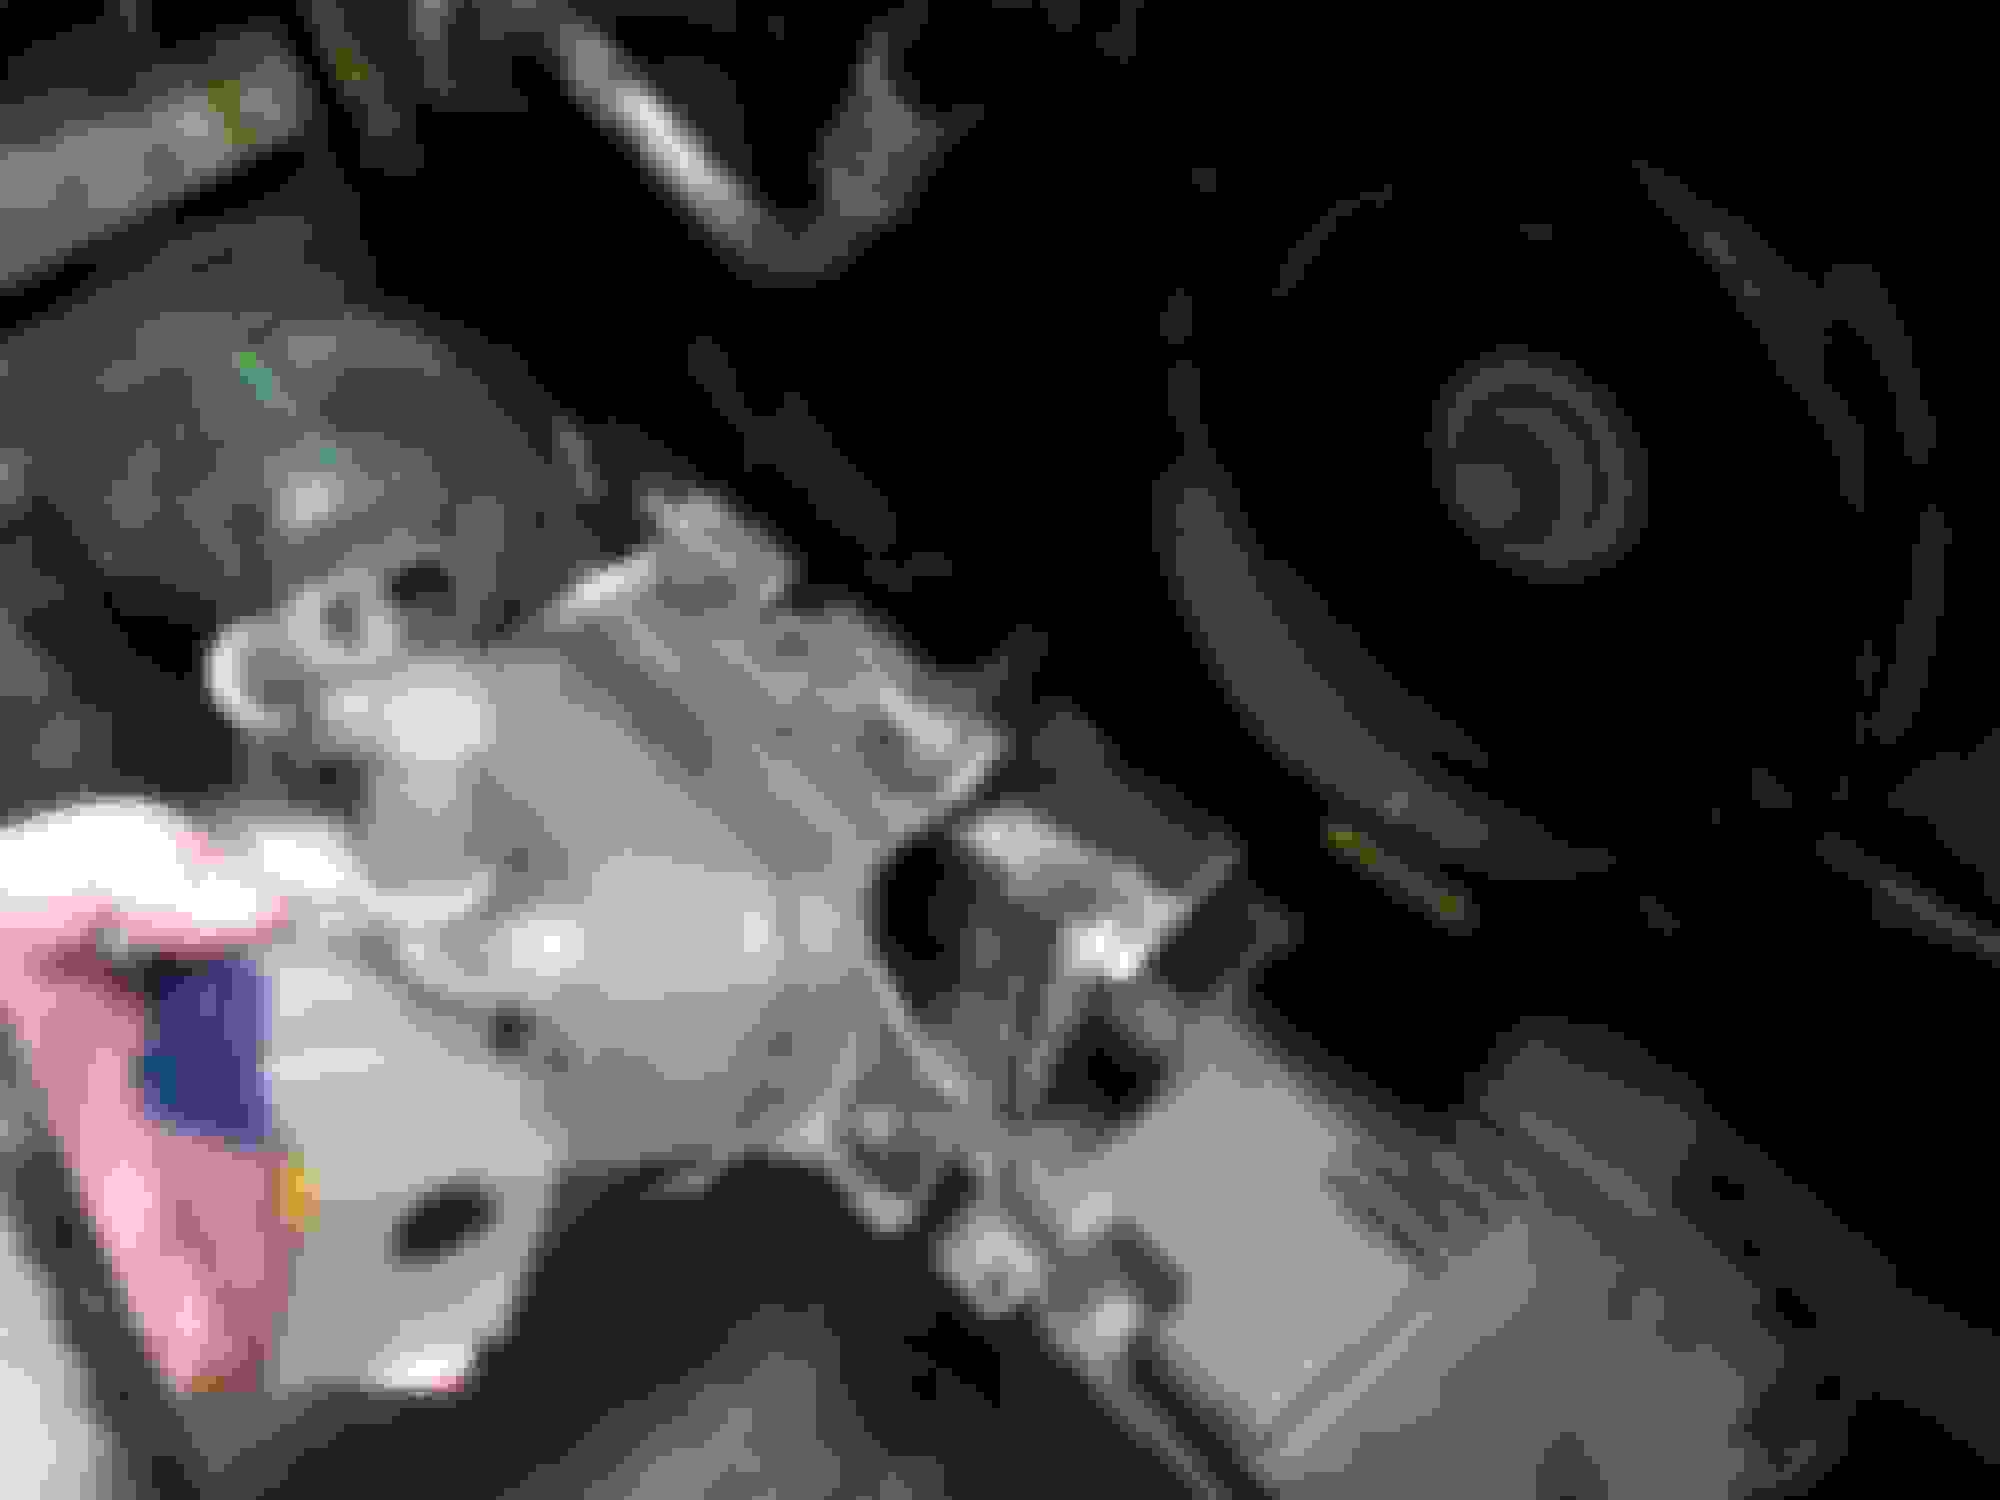
Built the cooler lines from the transmission to the thermal unit
Underside of the new lines. Used factory connections on the thermal unit, and went from 1/2" Hardline to 8AN to 3/8" braided flex hose
These are the brand new donor lines going from the thermal unit to the external cooler
Going to have to order two more fittings to get the donor lines to play nice with my external cooler
Ran down to Summit to grab the last 8AN fittings i needed to finish the trans cooler lines up
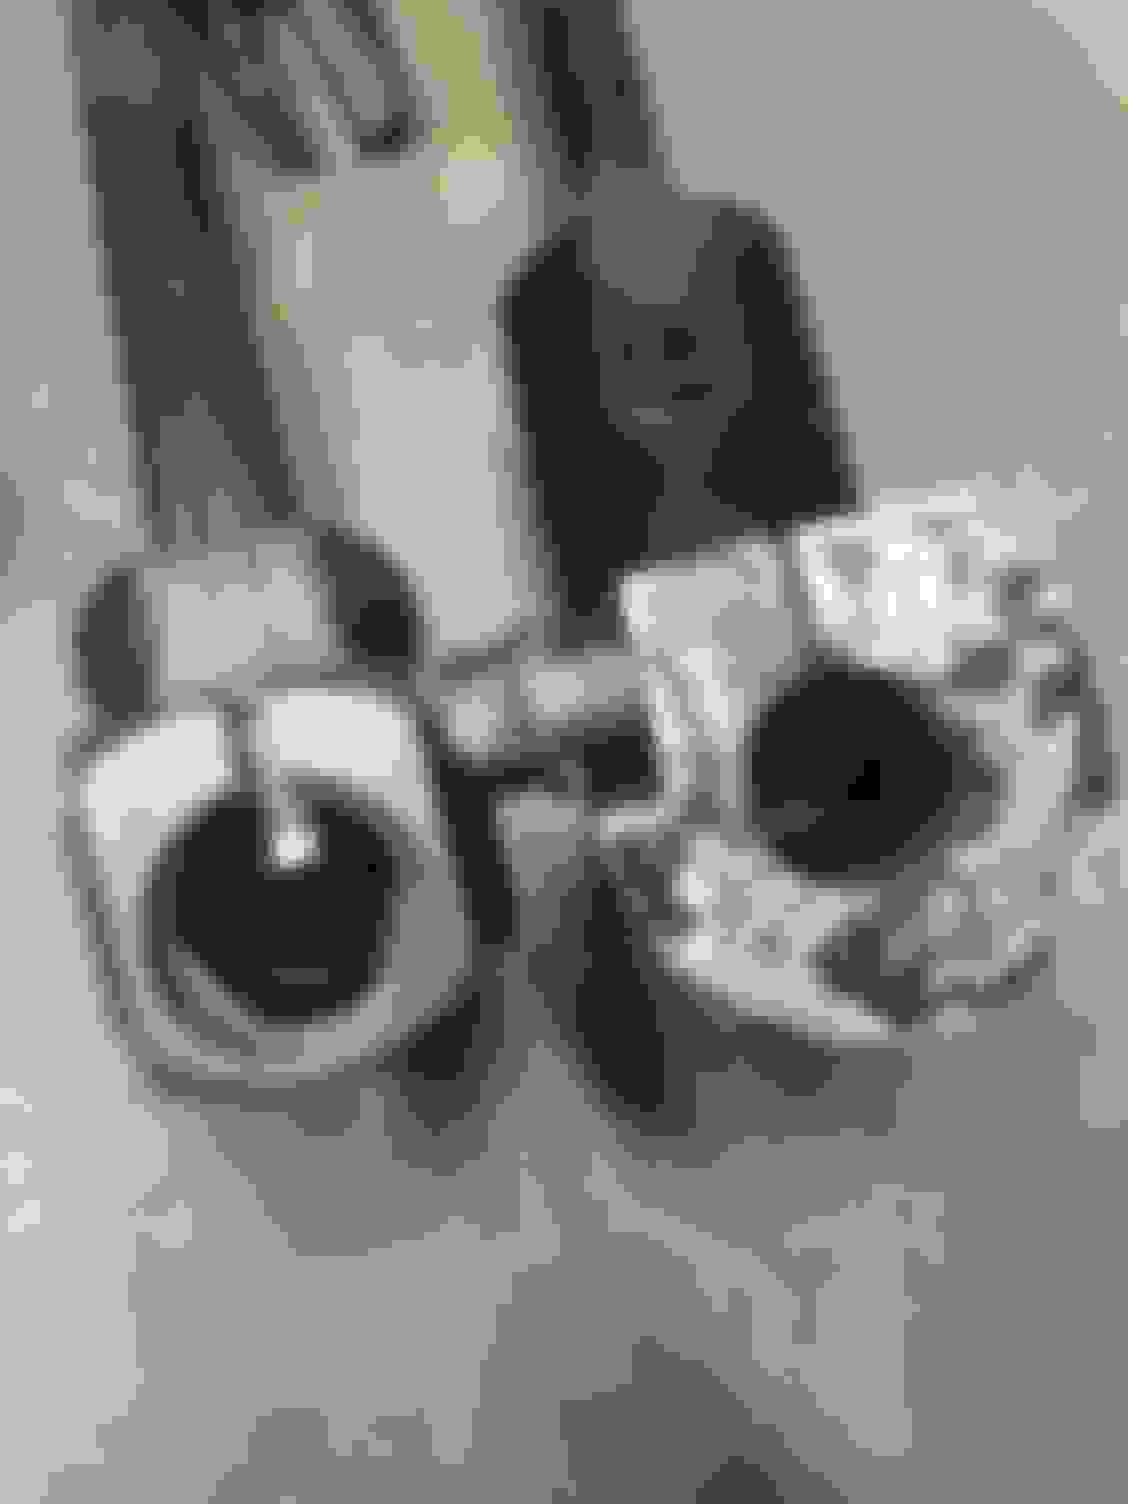
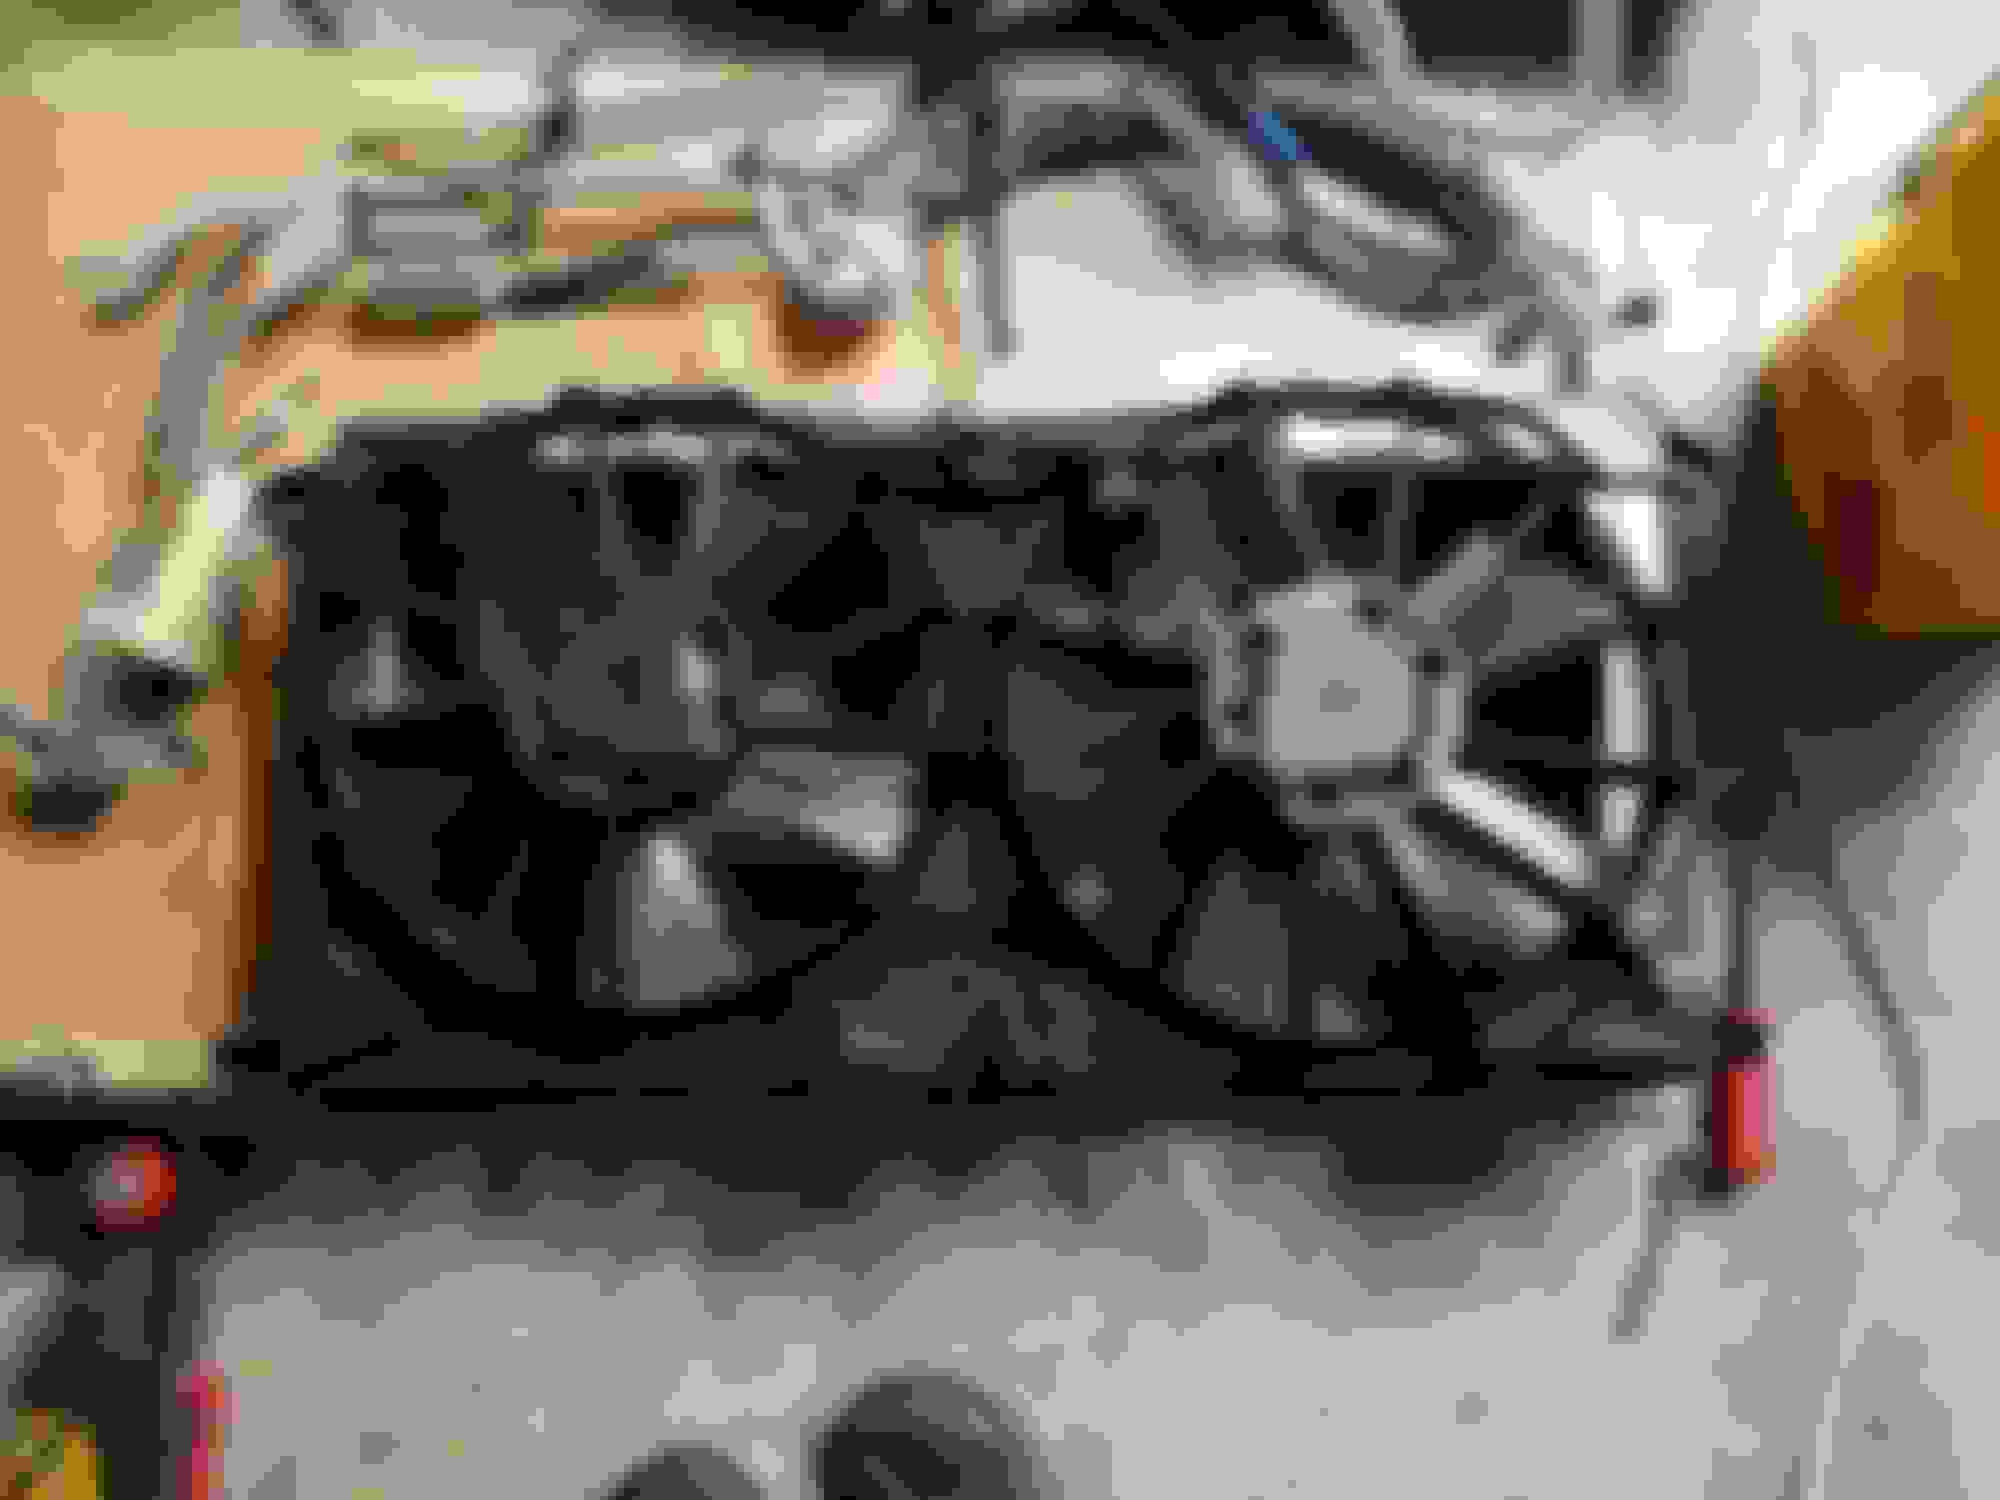
My old cooling fans on my factory 2003 radiator
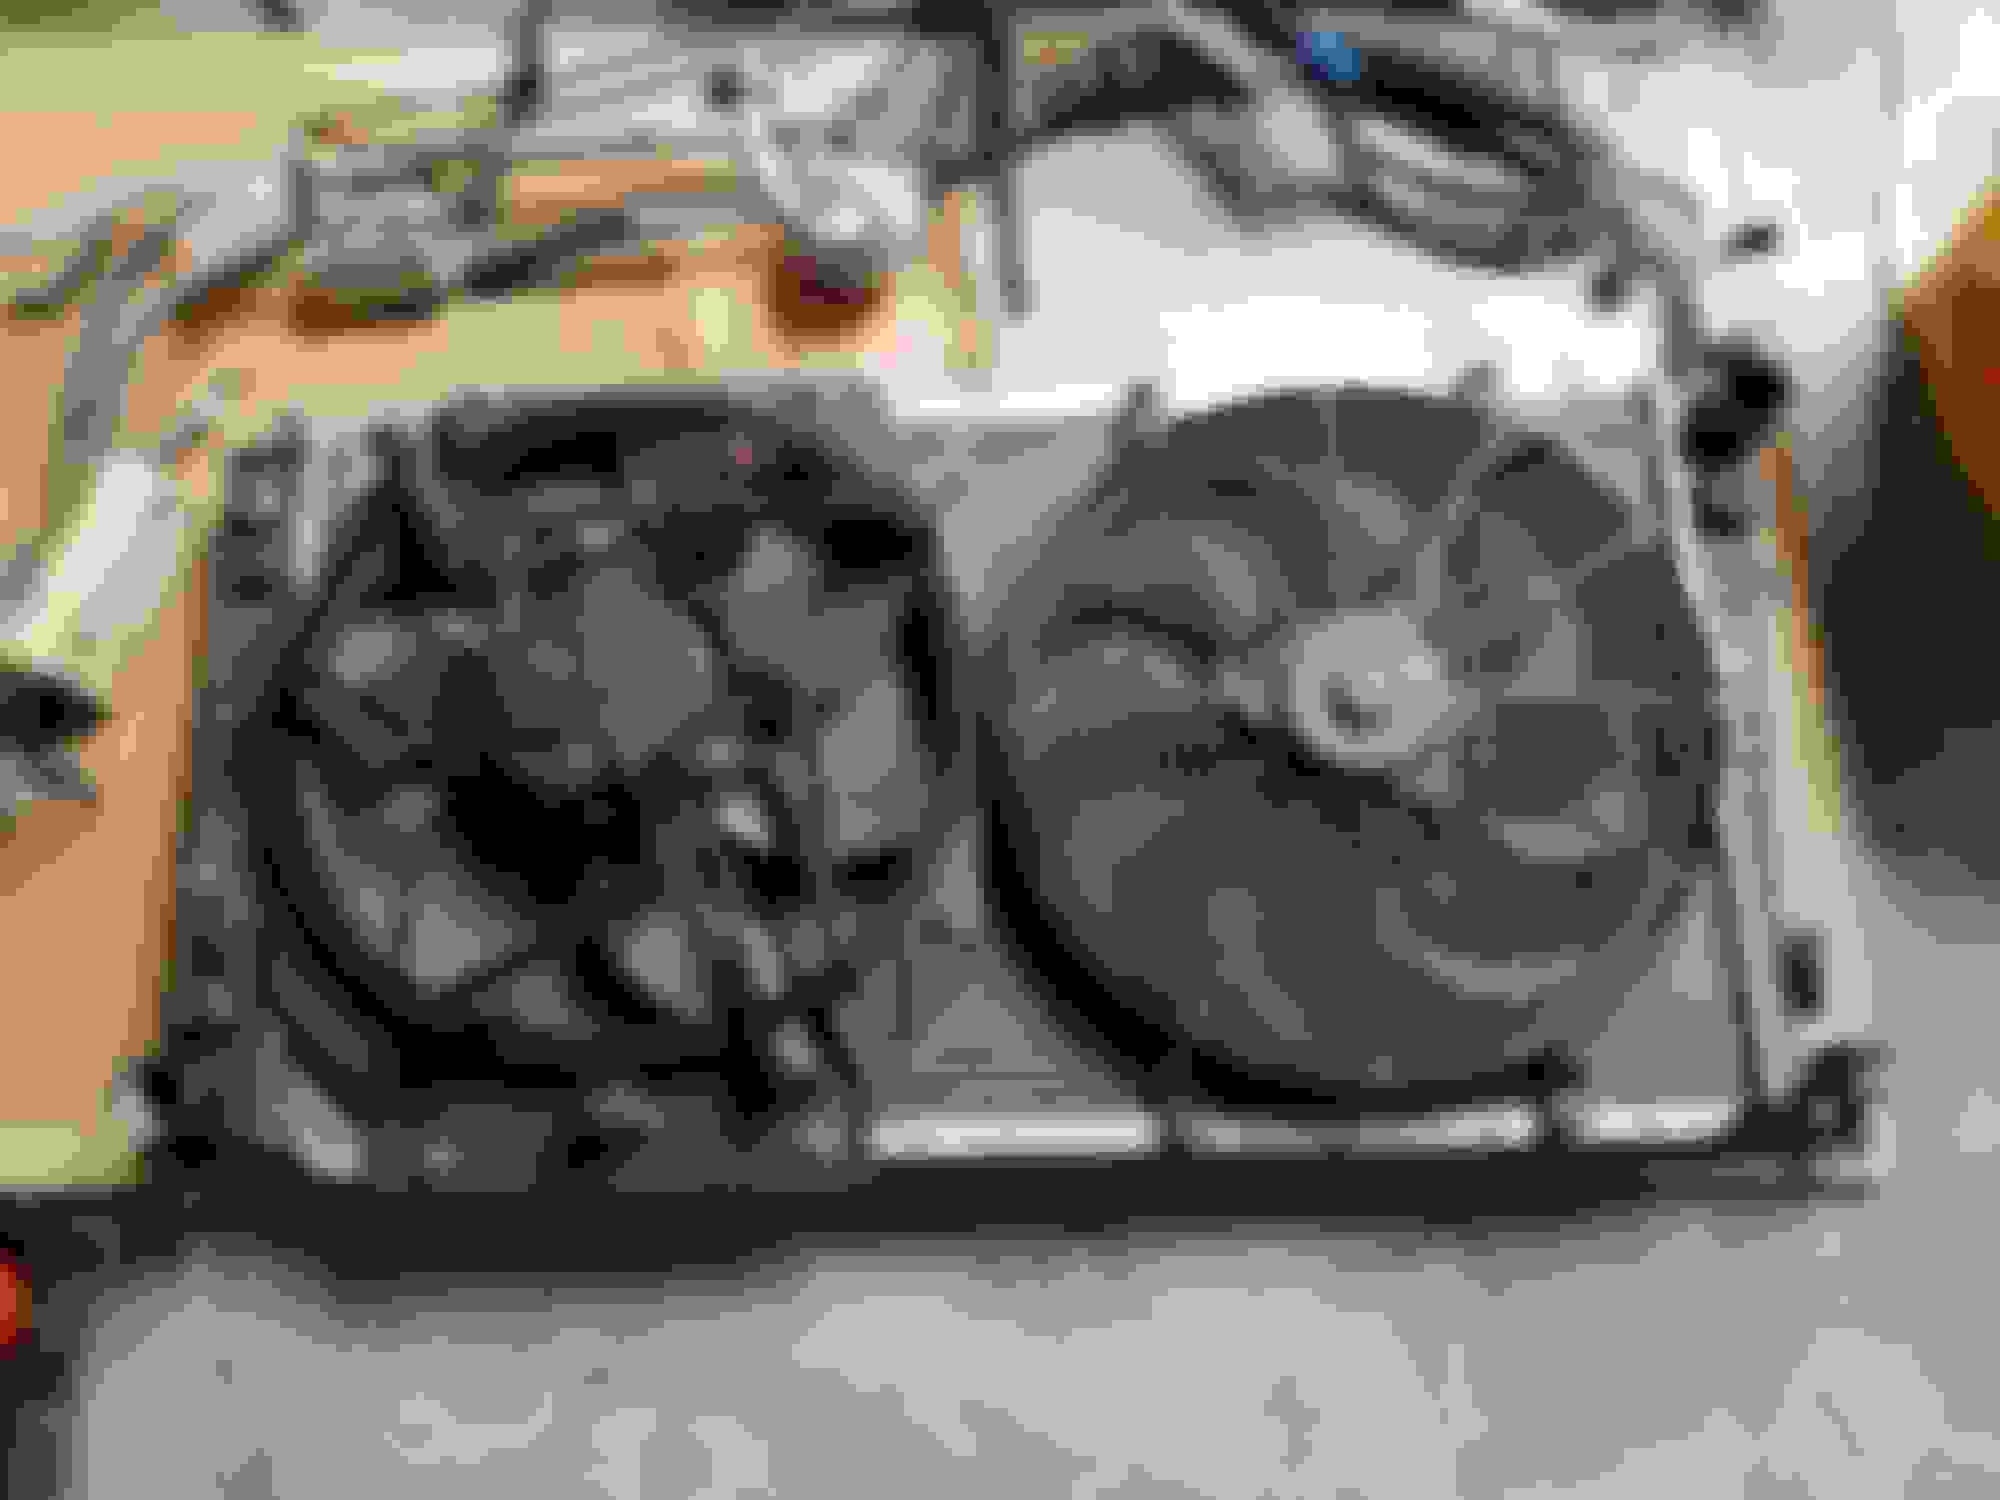
set the 2015 electric fans on top of the 2003 radiator, gonna have to cut the corners to fit and play nice. Gonna have to come up with my own mounting brackets to make it mount securely on the 2003 radiator
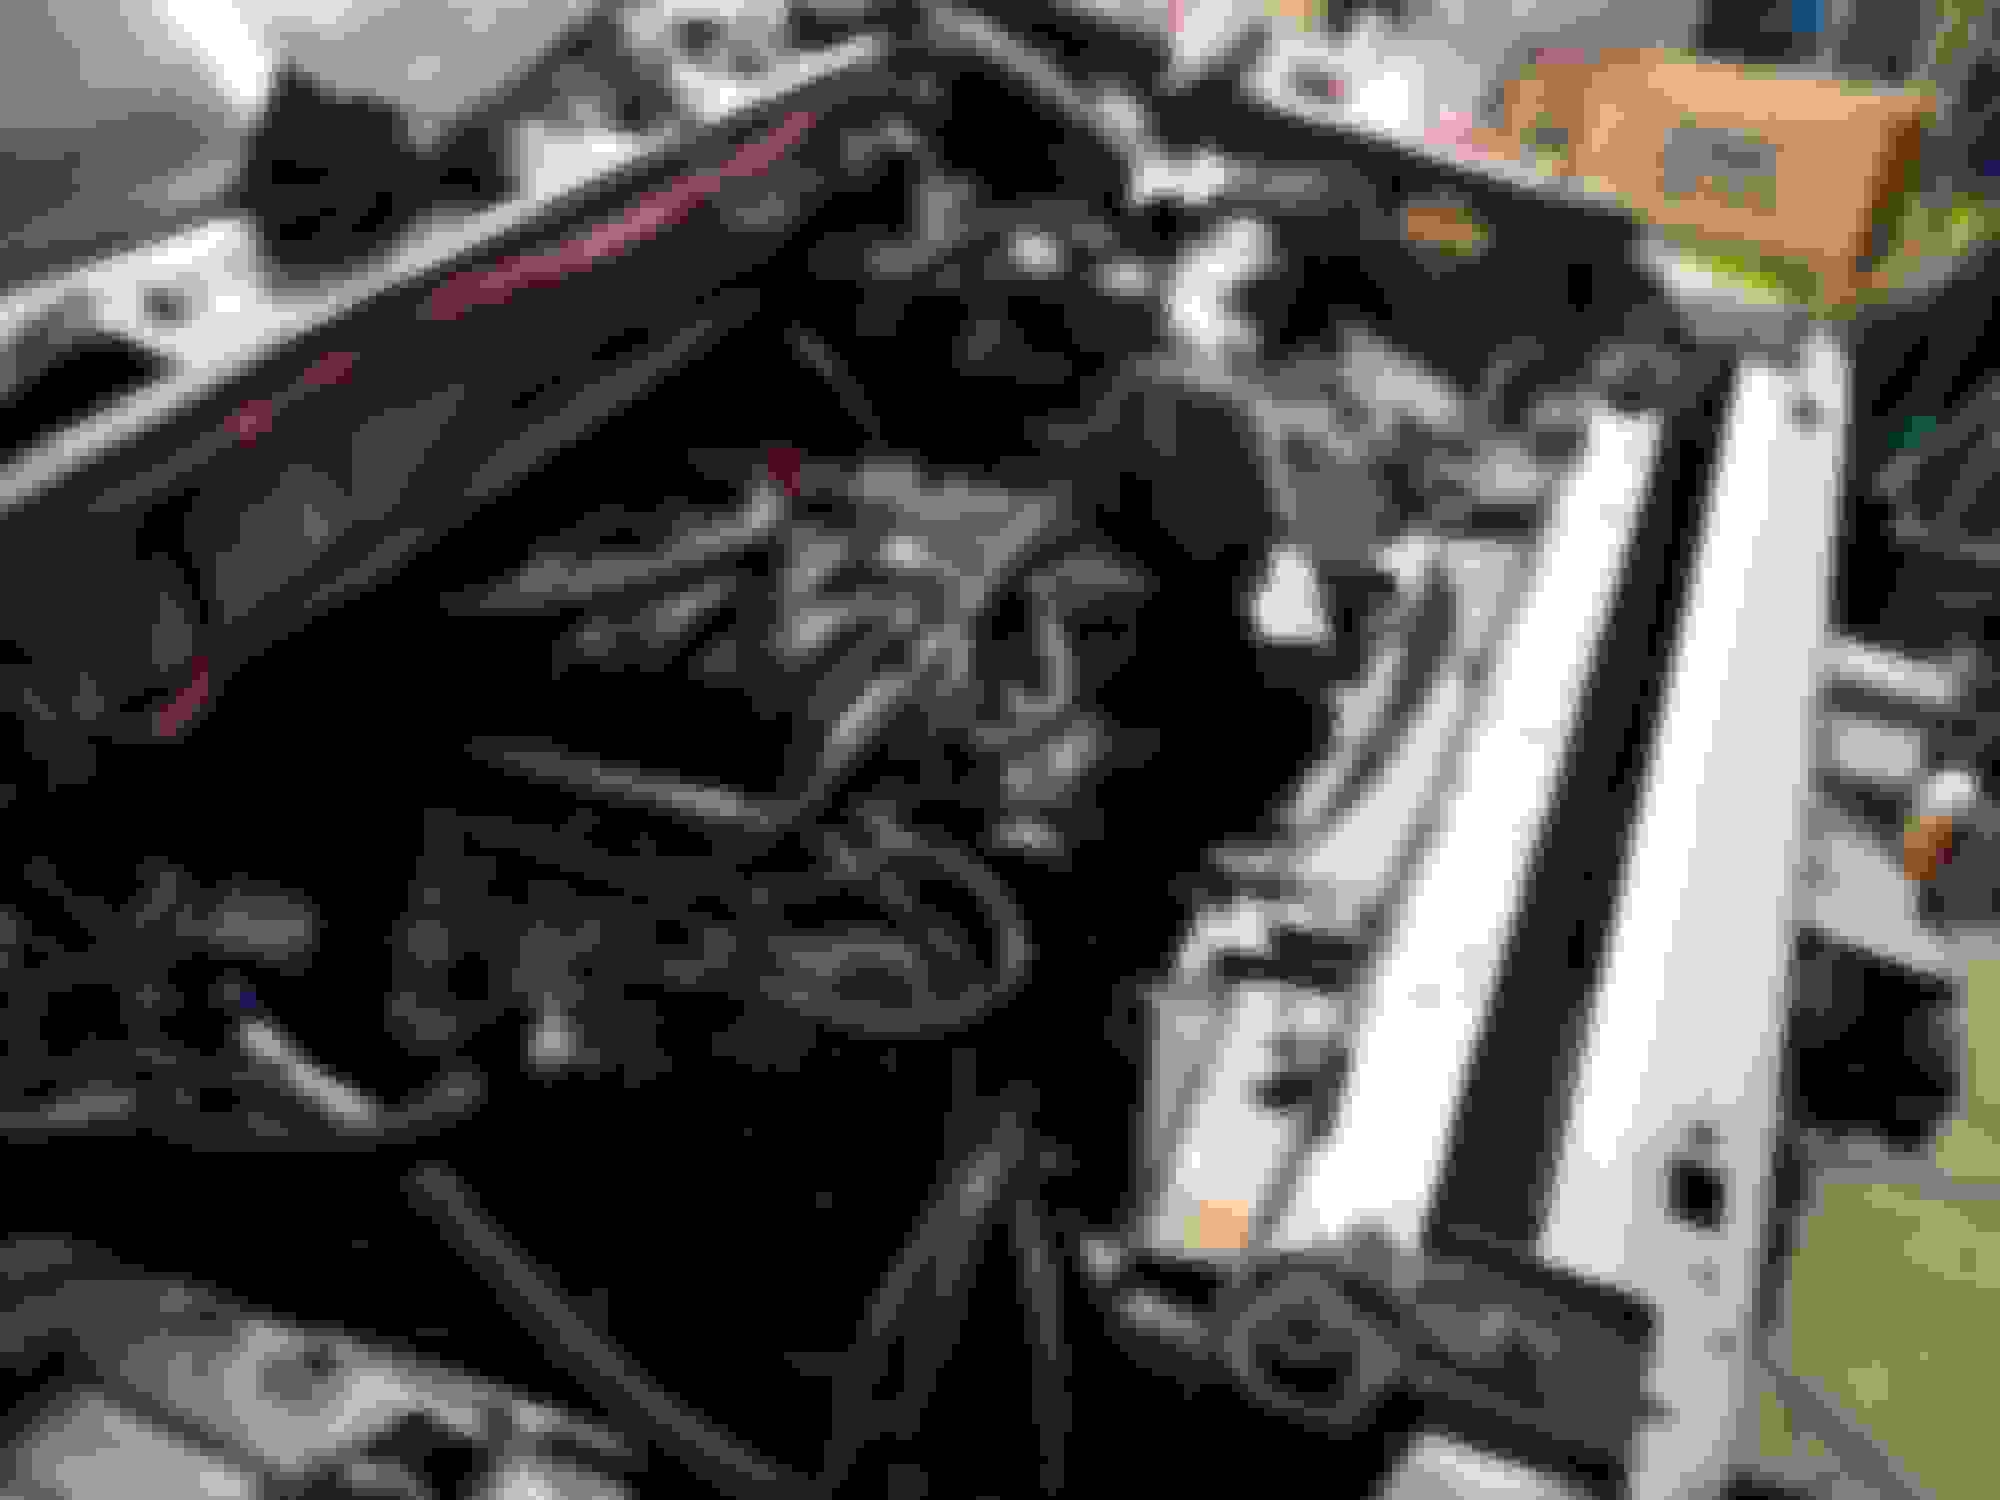
made some clearance modifications to the fan shroud, fit. I'll also need to modify the 2015 intake tube to get down between the engine and the fan shroud
I think the 2015 intake tube should line up with the 2003 air box...... More to come as I get to that step later on
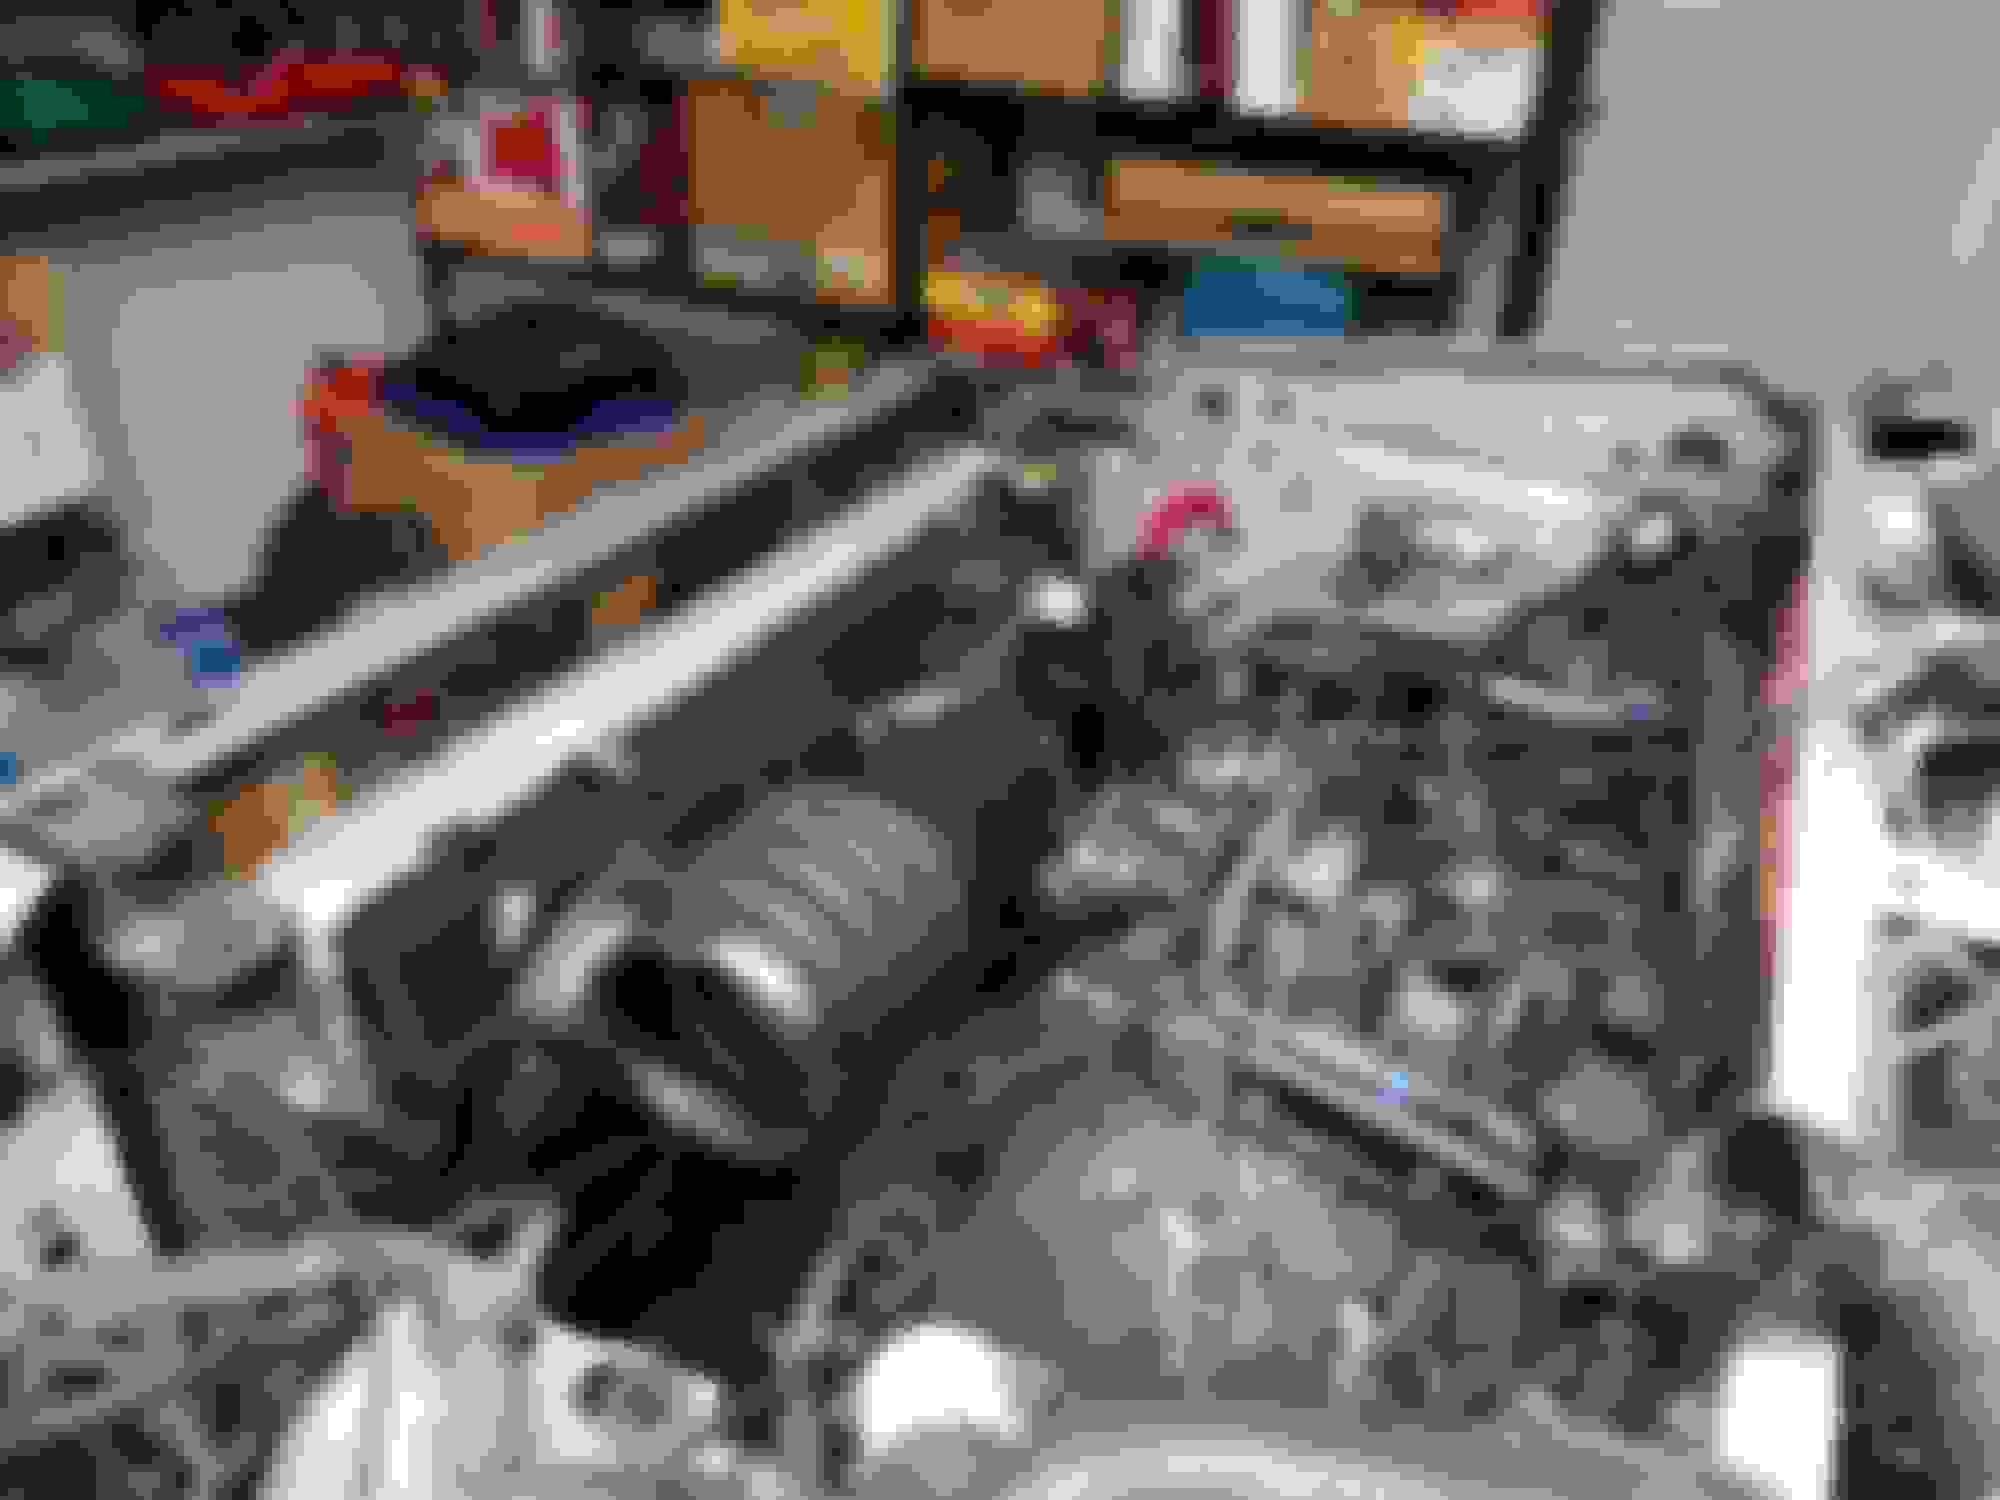
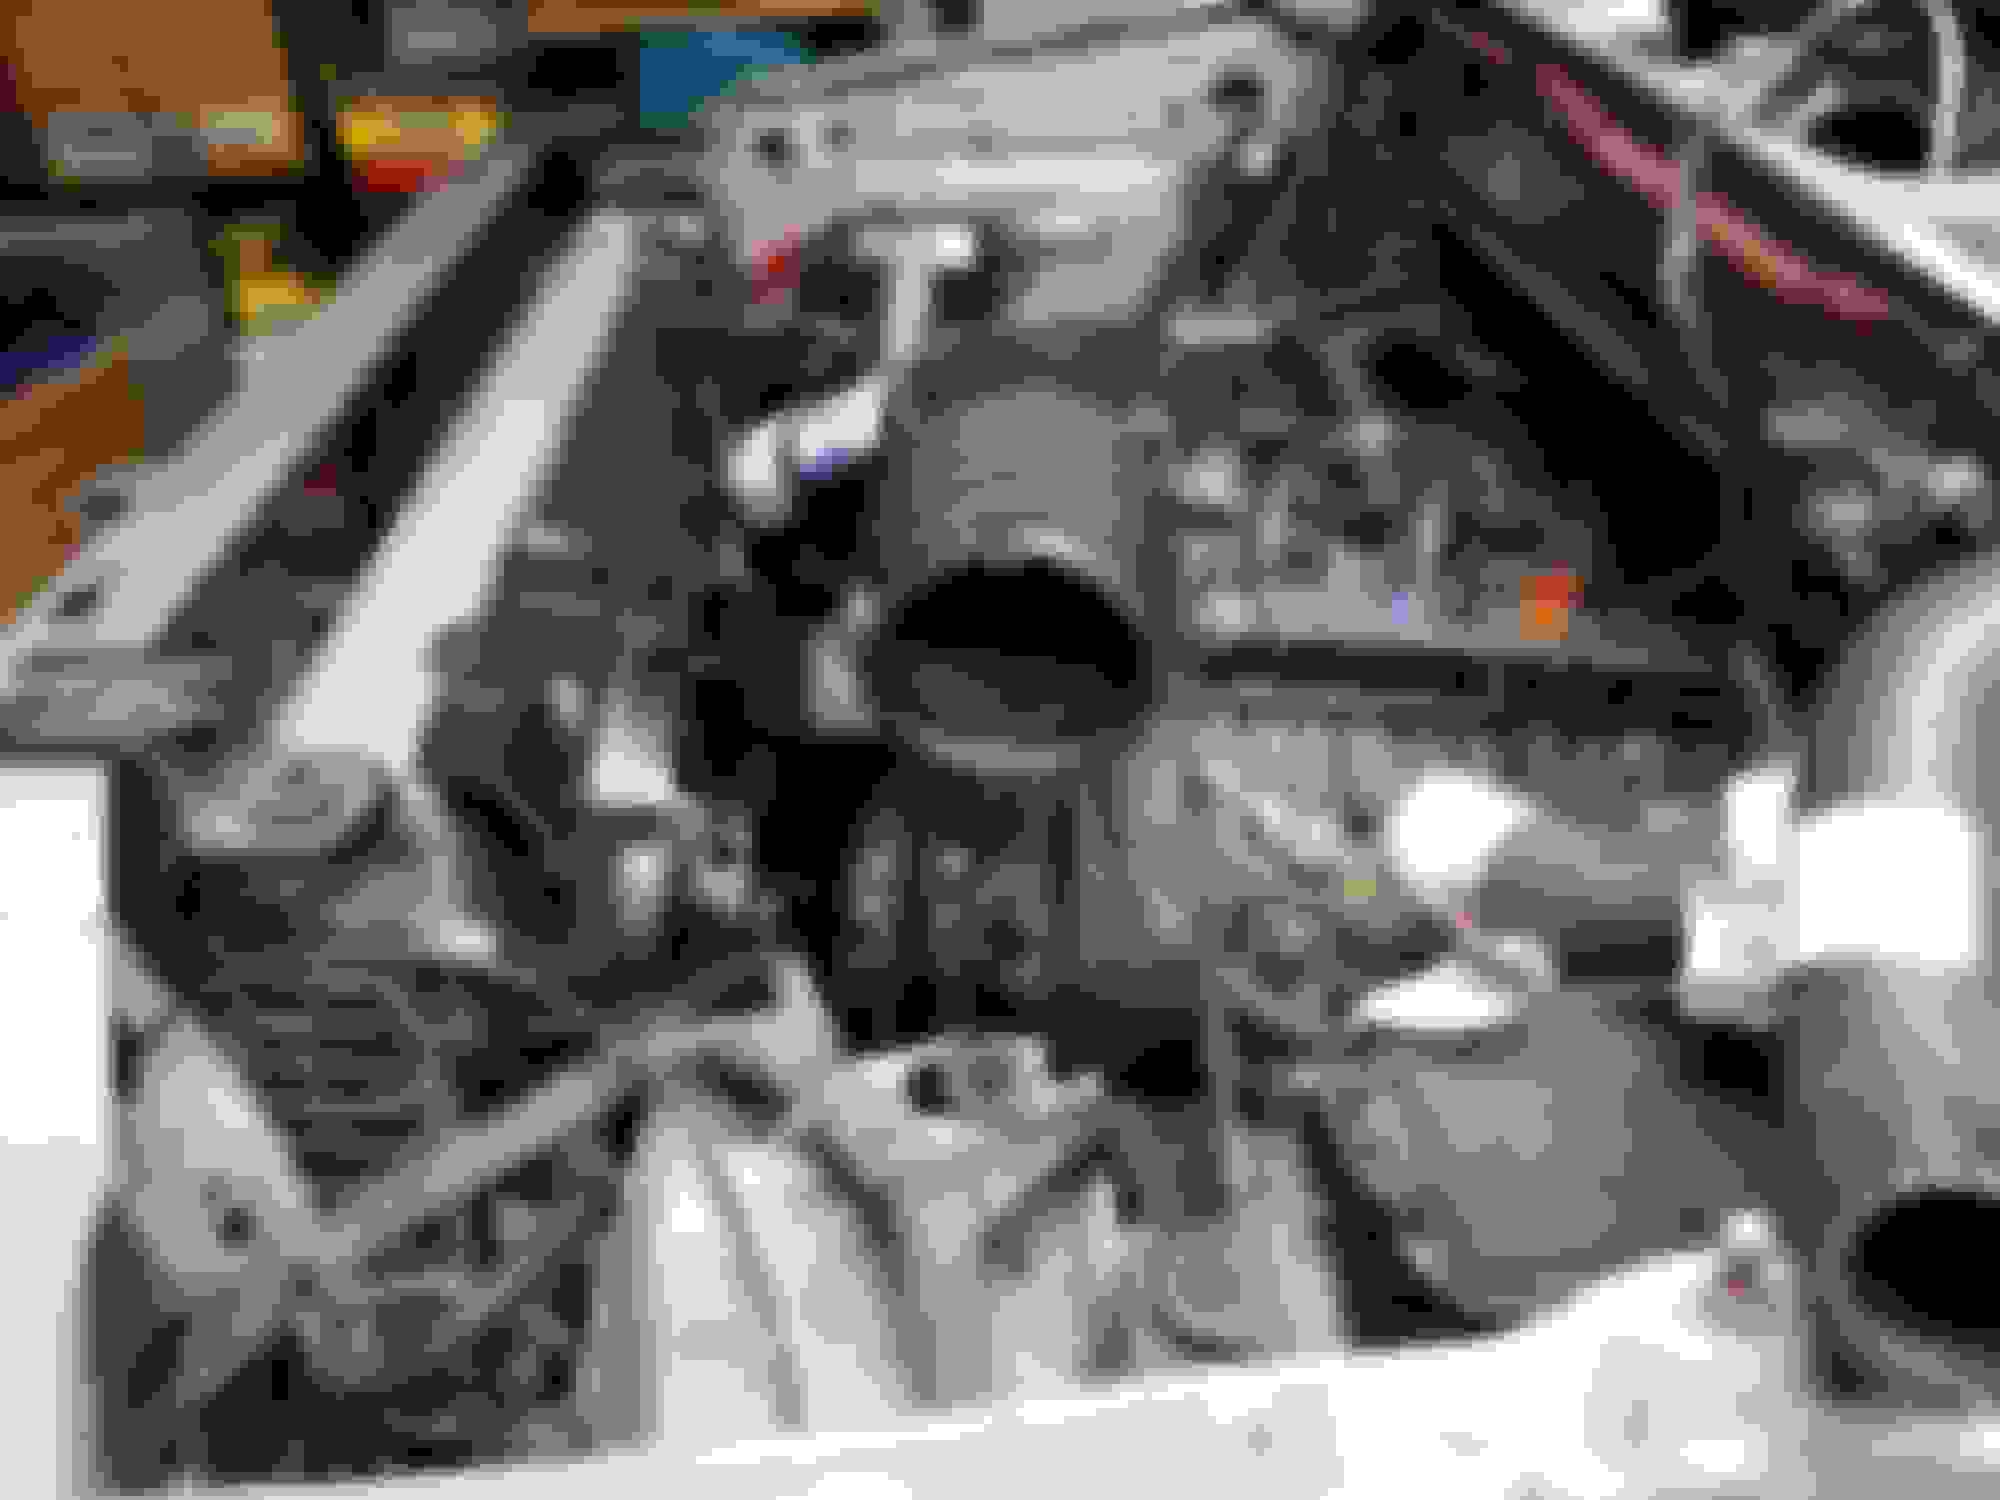
test fitment of the upper radiator hose. I believe im gonna have to modify this to get it to fit in the same space as the fan shroud.
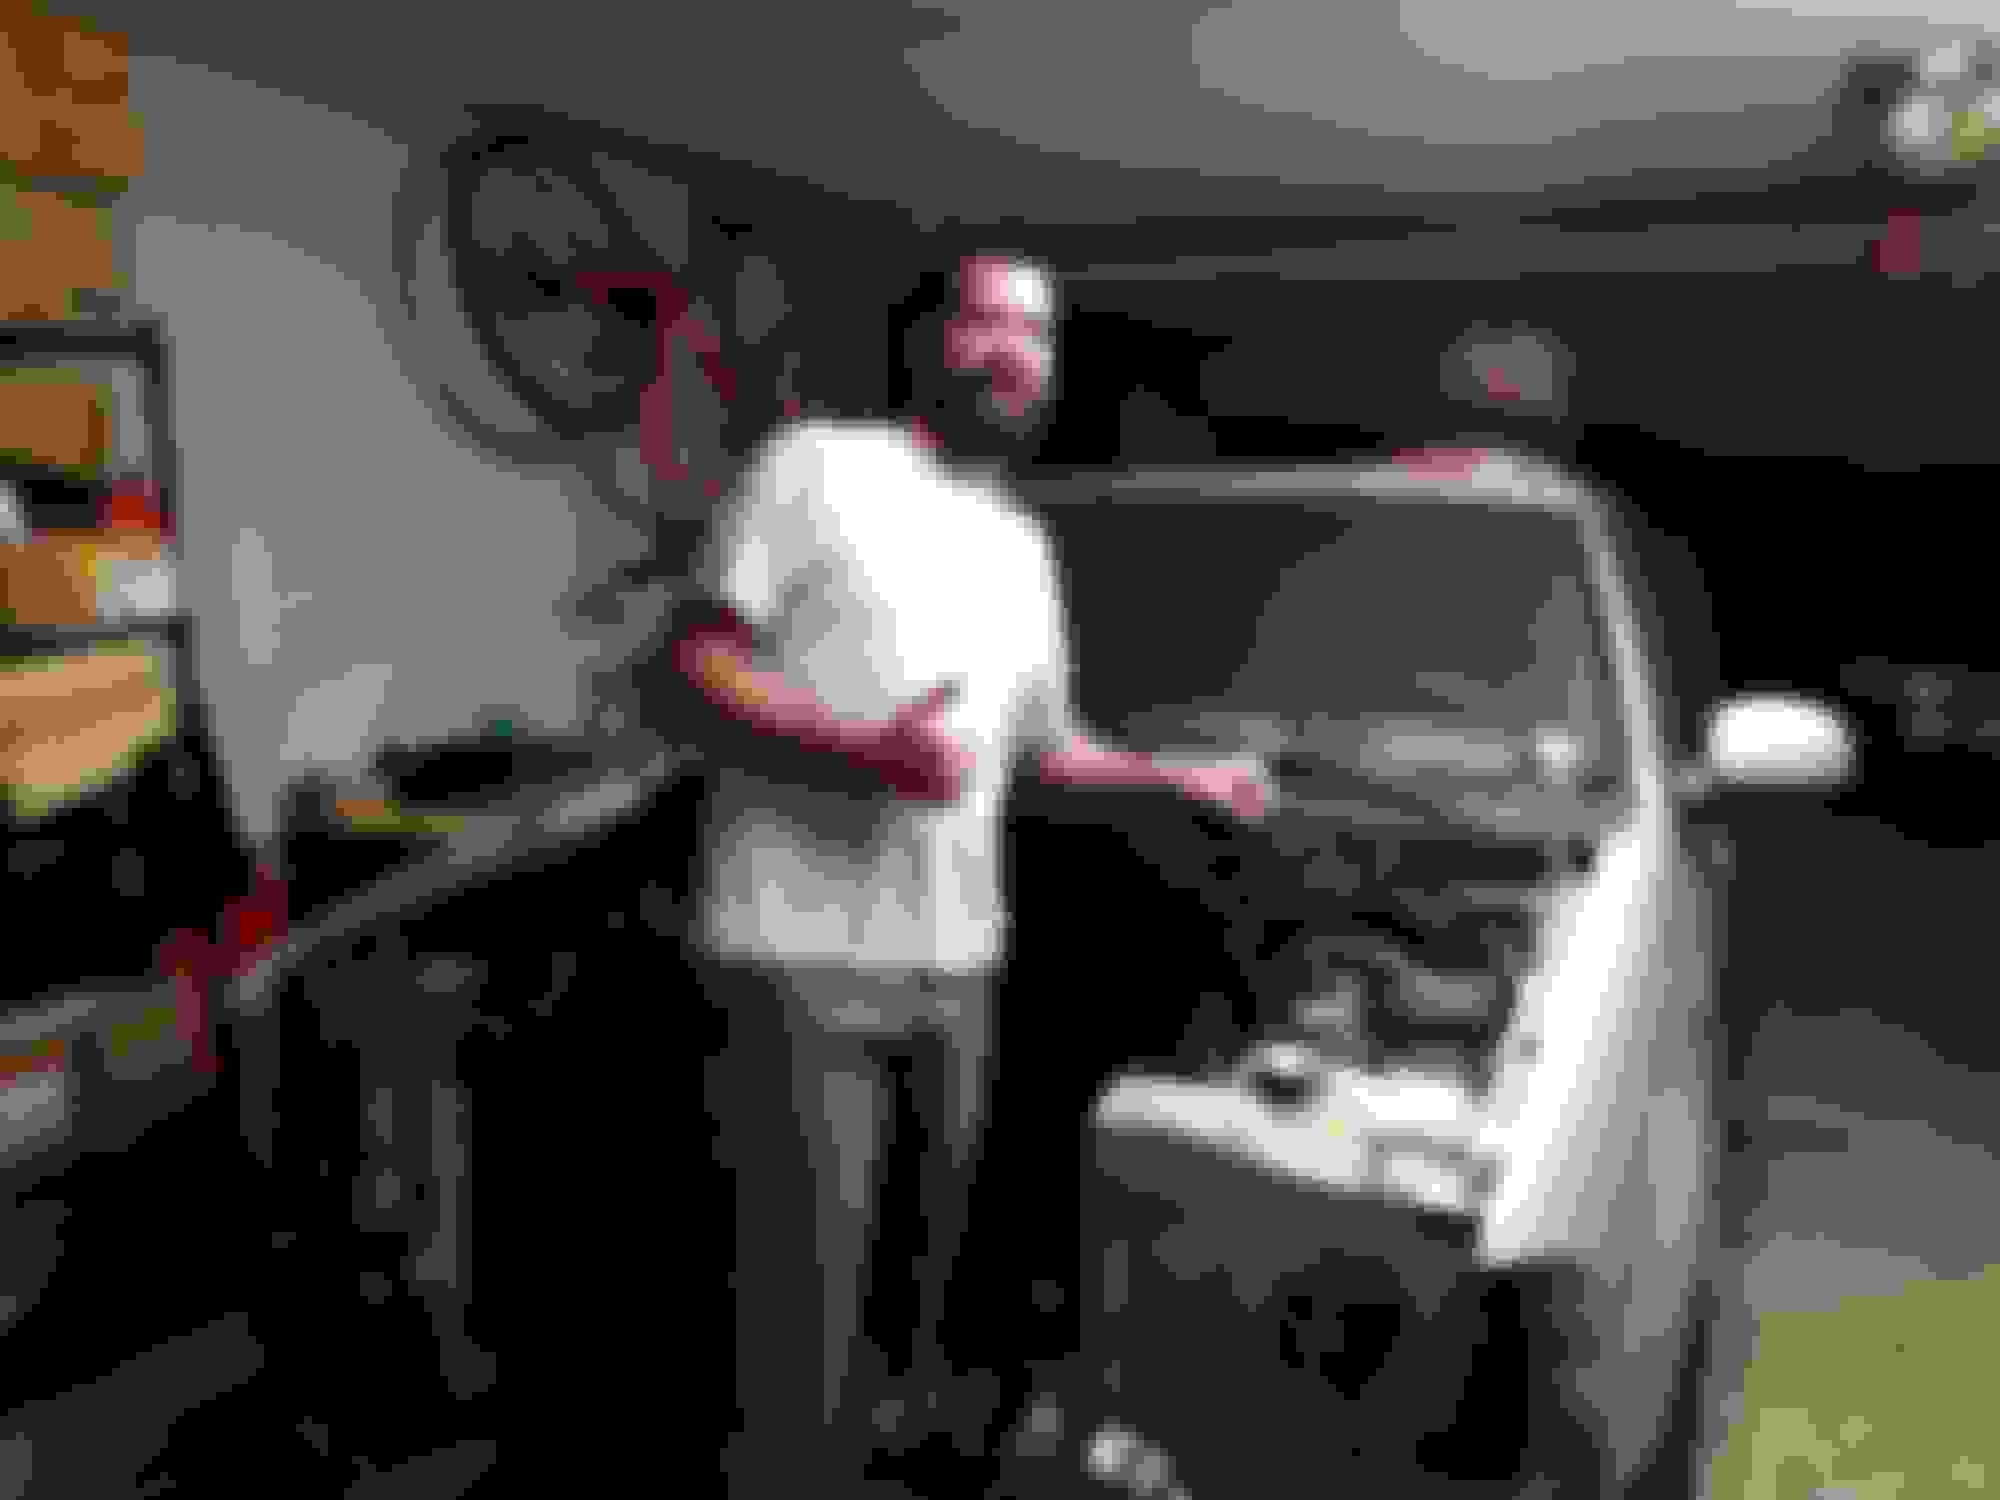
Really exciting to see it with the radiator, and fans. Its almost starting to look like a real engine bay again