1997 - 2003 F-150

Fiddy + Coyote = Patman

Thread Tools
 
Search this Thread
 
  #1  
Old 12-02-2017, 01:40 AM
Patman's Avatar
Global Moderator &
Senior Member


Thread Starter
Join Date: Aug 2005
Location: DFW
Posts: 21,312
Received 134 Likes on 112 Posts
Fiddy + Coyote = Patman

Finally letting the cat out of the bag. I've had a busy few weeks, and no where near done


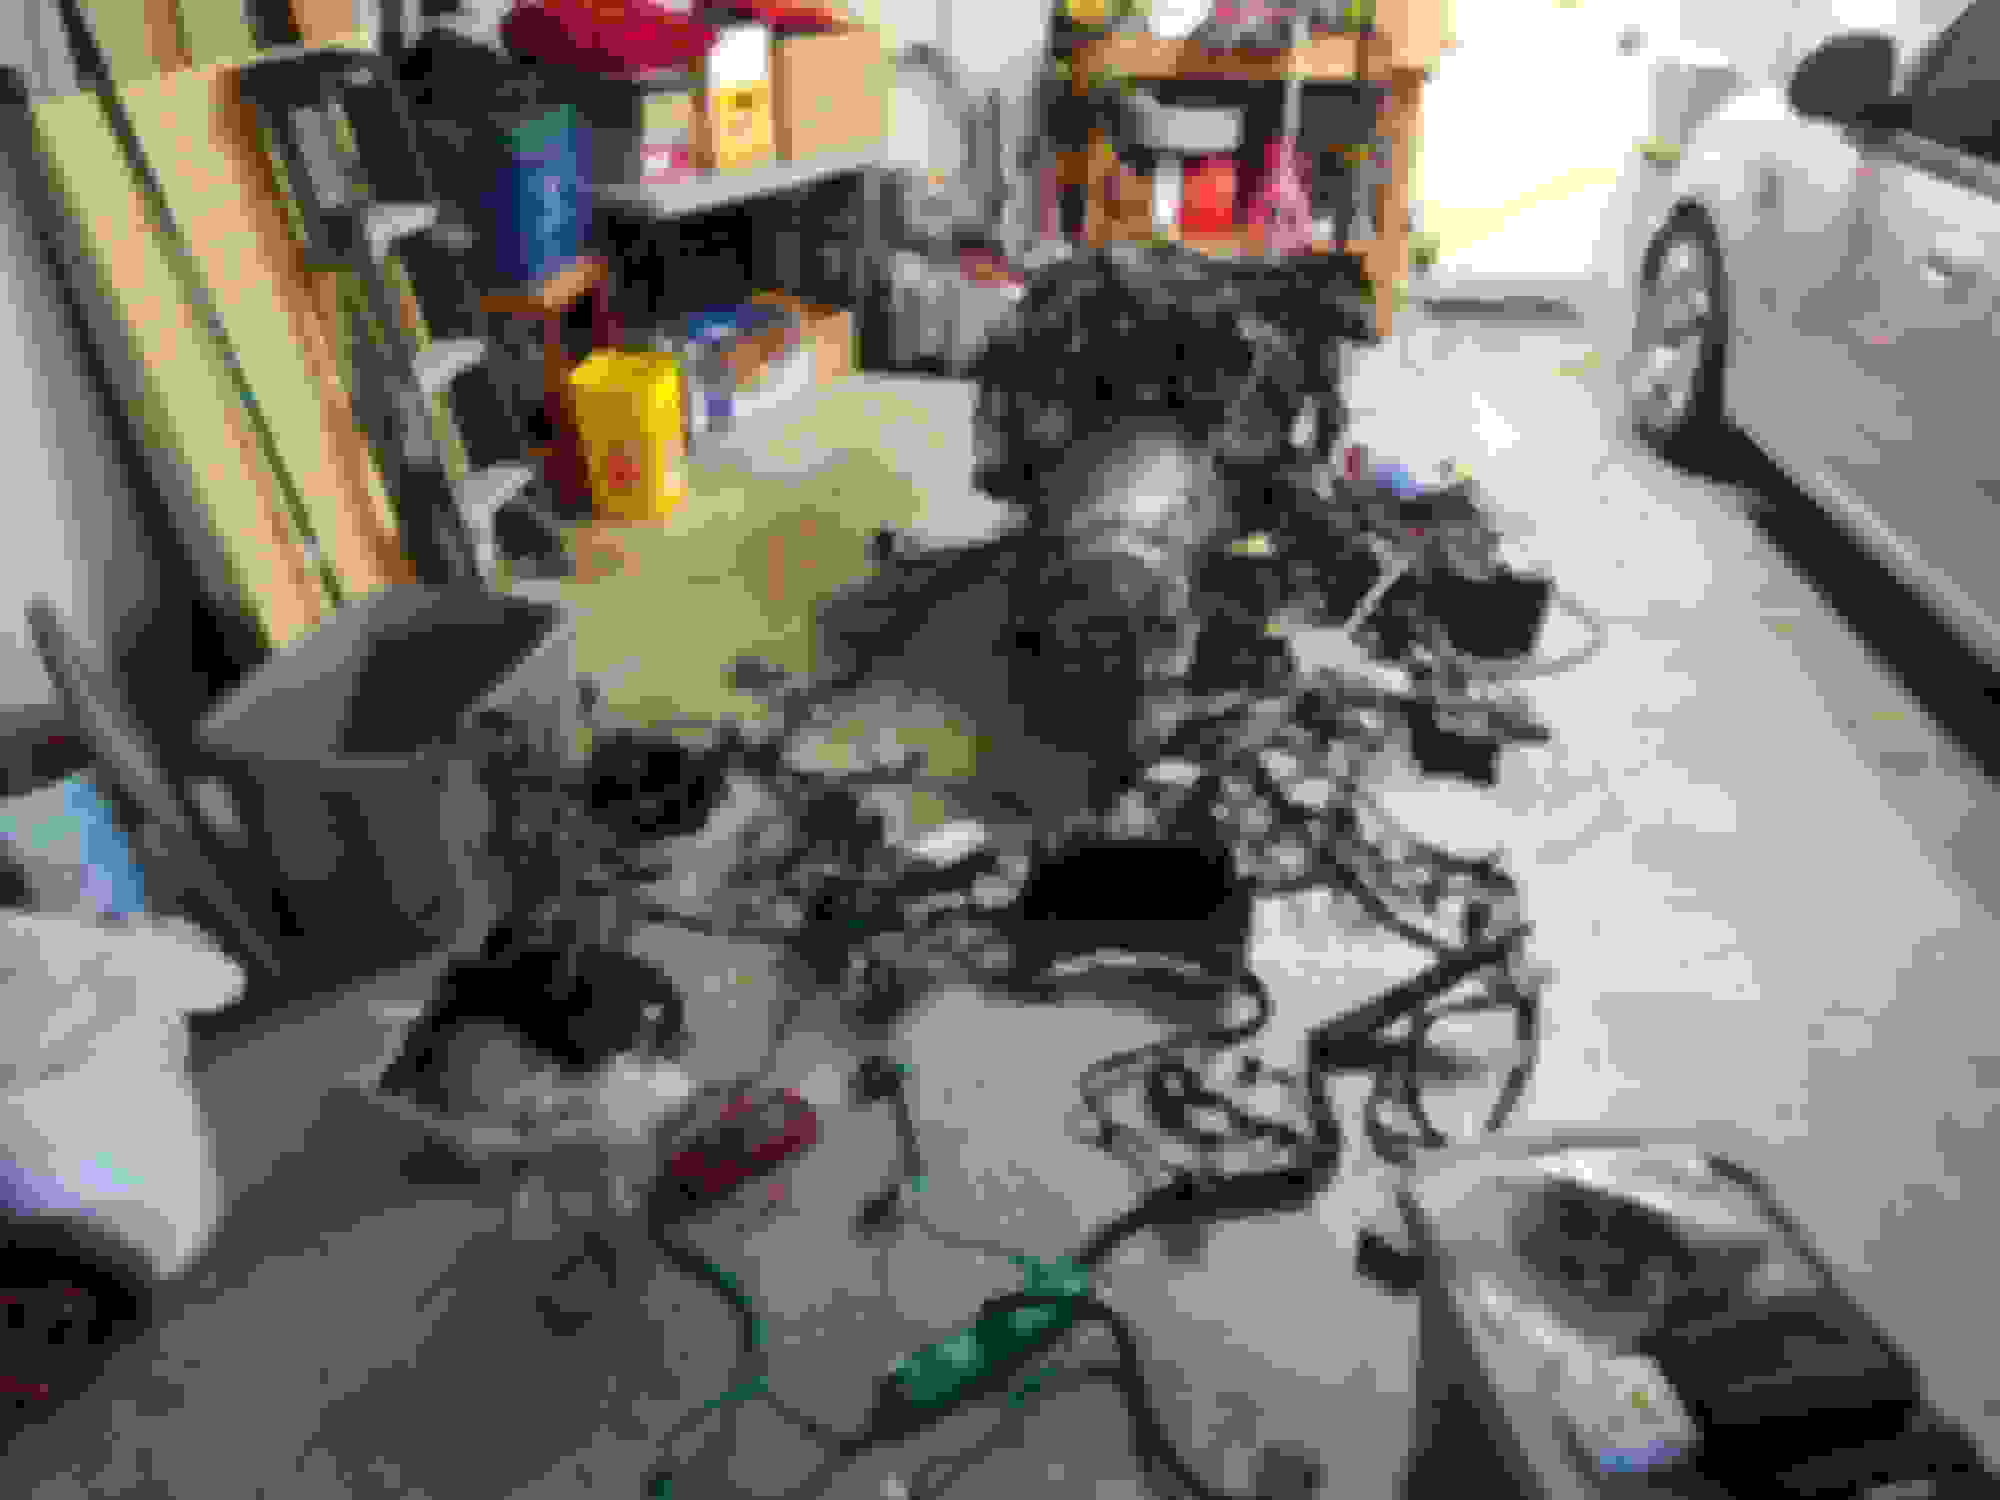
Earlier this year I purchased a 2015 Gen2 Coyote and 6R80E from an F150 with 8400 miles. Took a little bit of time to get the electrics figured out, and I have a ton of time thinning out the wiring harness, but still not done


Don't you hate it when your truck is too low to get the drain pan under it....


Continuing the tear down for ease of removal


And the 4.6 is out!


Obligatory engine bay picture

 
The following users liked this post:
  #2  
Old 12-02-2017, 01:42 AM
Patman's Avatar
Global Moderator &
Senior Member


Thread Starter
Join Date: Aug 2005
Location: DFW
Posts: 21,312
Received 134 Likes on 112 Posts
Comparing 4.6L and 5.0L parts (should be pretty self explanatory


  #3  
Old 12-02-2017, 01:49 AM
Patman's Avatar
Global Moderator &
Senior Member


Thread Starter
Join Date: Aug 2005
Location: DFW
Posts: 21,312
Received 134 Likes on 112 Posts
First test fitting of the Coyote in her new home


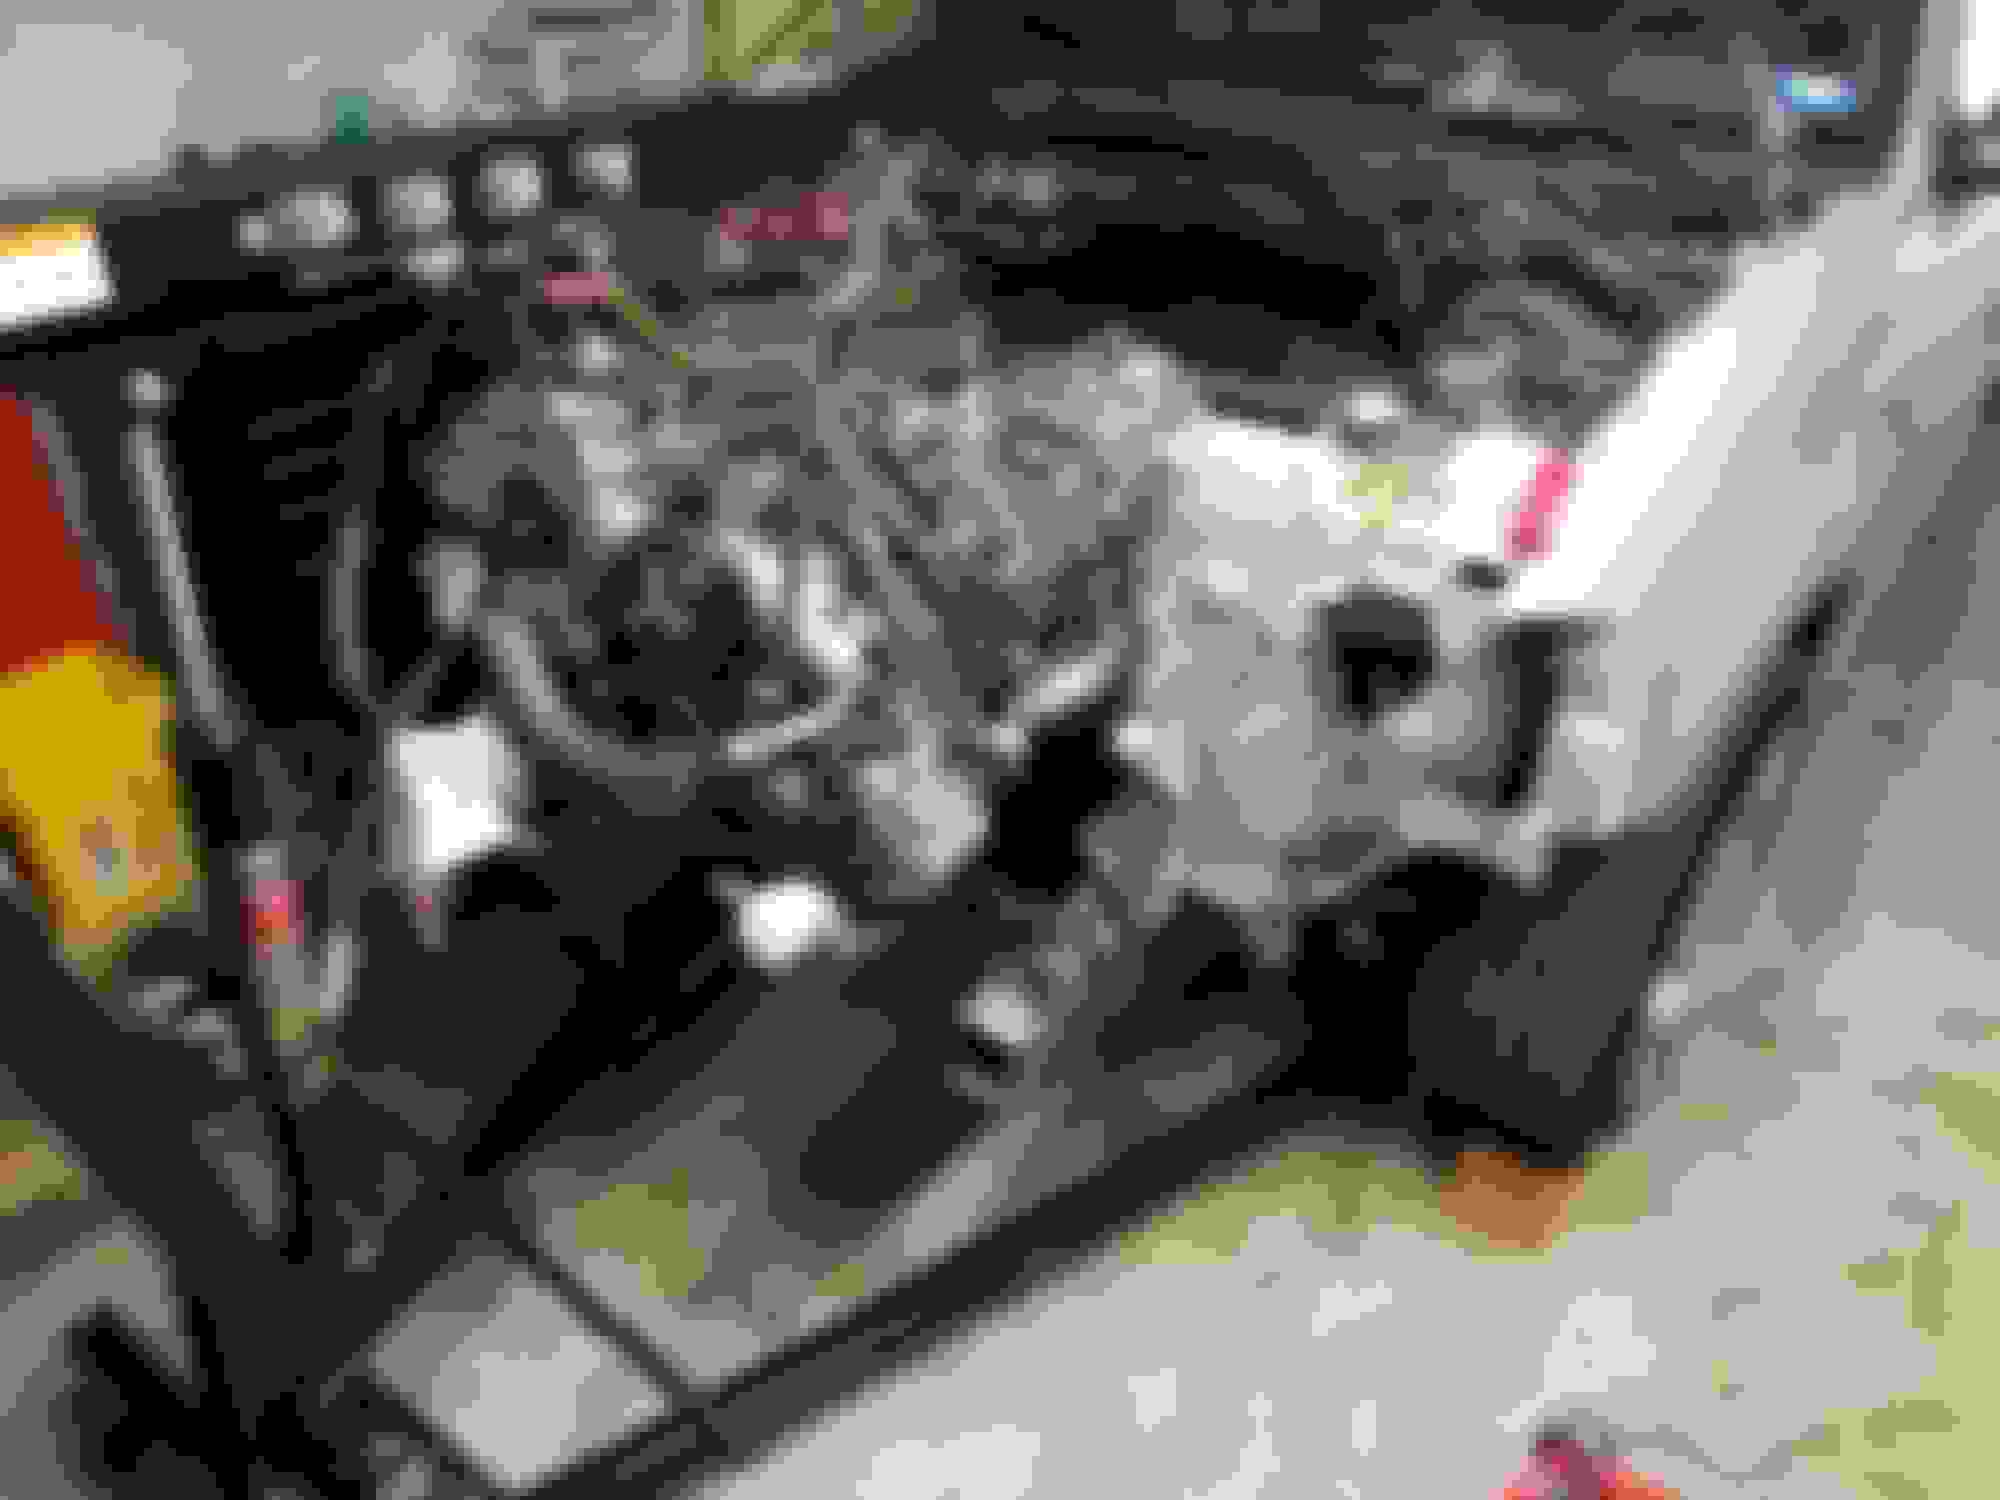
And here is where I ran into my first major clearance issue. Oilpan hits subframe on the passenger side.


Ordered a Moroso oil pan to hopefully take care of that problem, but still keep 8qt oil capacity


I also managed to mangle up the cam sensor and harness on the back of the driver's side cylinder head. Will obviously need to fix that before its all said and done


Here's one of my late nights burning the candle on both ends working through the paperback complete vehicle wiring diagram book


I will update more when I have more progress.
 
  #4  
Old 12-02-2017, 10:31 AM
Roadie's Avatar
Senior Member
Join Date: Jan 2002
Location: Wilmington,NC
Posts: 5,994
Received 220 Likes on 200 Posts
Wow! What a project you have undertaken! Keep us updated.
 
  #5  
Old 12-02-2017, 10:42 AM
Sam I Am's Avatar
Member
Join Date: Jul 2010
Location: Fort Smith, AR
Posts: 71
Likes: 0
Received 0 Likes on 0 Posts
I cut the top rail of the radiator support on my truck, but I found it unnecessary to cut the lower part. With the angle that the engine & transmission had to tip to get it in past the frame it cleared the lower beam of the radiator support no problem.
 

Last edited by Sam I Am; 12-02-2017 at 10:44 AM.
  #6  
Old 12-02-2017, 11:33 AM
MitchF150's Avatar
Senior Member
Join Date: Mar 2001
Location: Puyallup, WA
Posts: 4,506
Likes: 0
Received 6 Likes on 6 Posts
That is just damn cool! Nice work and quite the project! That wire harness would scare the crap out of me!

Mitch
 
  #7  
Old 12-02-2017, 02:33 PM
Patman's Avatar
Global Moderator &
Senior Member


Thread Starter
Join Date: Aug 2005
Location: DFW
Posts: 21,312
Received 134 Likes on 112 Posts
Originally Posted by Sam I Am
I cut the top rail of the radiator support on my truck, but I found it unnecessary to cut the lower part. With the angle that the engine & transmission had to tip to get it in past the frame it cleared the lower beam of the radiator support no problem.
The core support needs to be replaced anyways (prior collision)

Also hoping to do EPAS steering, and the more room I have to work up front the better
 
  #8  
Old 12-03-2017, 11:07 PM
Patman's Avatar
Global Moderator &
Senior Member


Thread Starter
Join Date: Aug 2005
Location: DFW
Posts: 21,312
Received 134 Likes on 112 Posts
Originally Posted by MitchF150
That wire harness would scare the crap out of me!

Mitch
It's a little intimidating, but it's better than spending 2k for a harness online, and not getting what I really want out of the swap
 
  #9  
Old 12-04-2017, 01:12 PM
01 gt f150's Avatar
Senior Member

Join Date: Aug 2007
Posts: 1,867
Received 9 Likes on 9 Posts
Dam Pat, I'm Jealous as hell. That will be a huge improvement over the 4.6.
Can I bring my truck out to Texas after your done to do mine?... LOL JK
Looking good Bro..Looking good.
 
  #10  
Old 12-05-2017, 02:28 PM
dewalt17's Avatar
Senior Member
Join Date: Oct 2003
Location: Sparta, IL
Posts: 1,017
Likes: 0
Received 0 Likes on 0 Posts
That looks like one hell of an undertaking. I thought of such a swap, then decided if I wanted a 5.0, the new modular boss block was an easier option.
 
  #11  
Old 12-19-2017, 11:51 PM
Patman's Avatar
Global Moderator &
Senior Member


Thread Starter
Join Date: Aug 2005
Location: DFW
Posts: 21,312
Received 134 Likes on 112 Posts
I'm on my computer this evening, so its time for another update

I built modular wooden blocks to get the truck up higher, but still have the weight on the suspension (2x12 planks)


Also means I have room to store more spare parts under the truck when I'm not working on it


  #12  
Old 12-20-2017, 12:01 AM
Patman's Avatar
Global Moderator &
Senior Member


Thread Starter
Join Date: Aug 2005
Location: DFW
Posts: 21,312
Received 134 Likes on 112 Posts
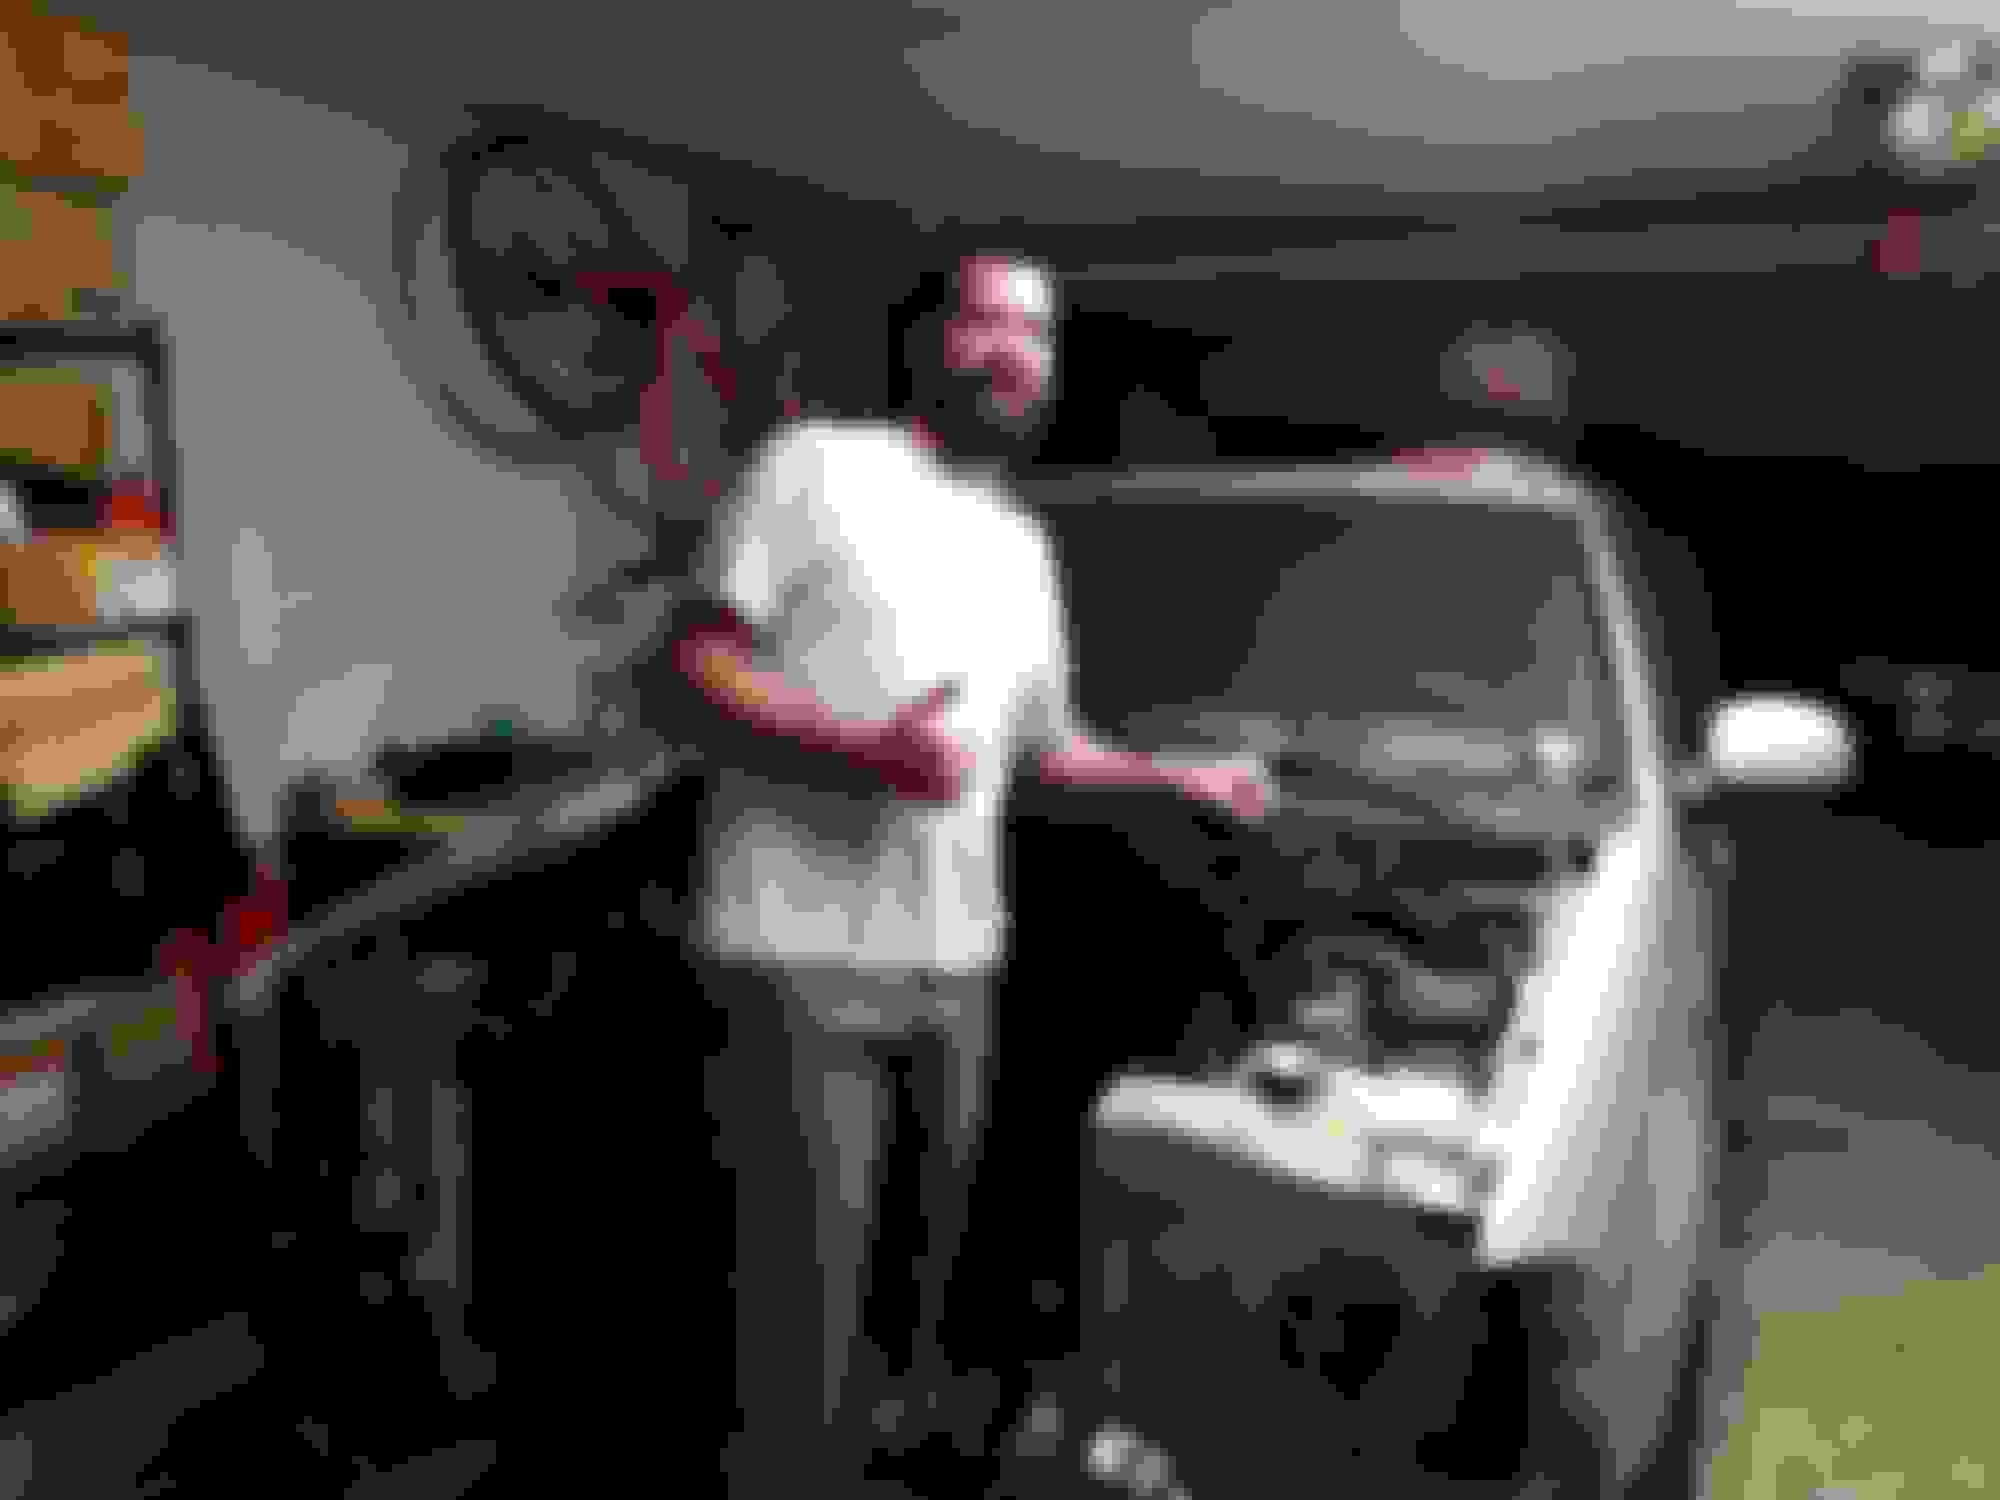
with that sorted out, and the garage somewhat back to normal operation, and a happy wife that her car fits in the garage again, it was time to get back to the truck project


I ordered a Mustang GT transmission mount because the F150 mount was way too tall for my application

After getting the GT Trans mount in my hand, I was able to figure out what I needed to do on the transmission crossmember.


I also moved the transmission crossmember back to the further holes in the frame (I presume this is for the 4R100 trucks)


visual mock up of location


removed, marked up for cutting. I purchased 1.5" angle iron from Lowes


Welded up the angle iron and cut the center out


New bolt spacing, I reused the center section from the original cross member mount


Primed and painted. It almost looks too nice to go back in under the truck


And reinstalled.


  #13  
Old 12-20-2017, 09:55 AM
JackandJanet's Avatar
Global Moderator &
Senior Member

Join Date: Aug 2007
Location: Among javelinas and scorpions in Zoniestan
Posts: 7,781
Received 51 Likes on 48 Posts
Good Lord! Pat, I doubt I have enough years left in my life to try anything like this. What a lot of work! Looking forward to seeing it all assembled.

- Jack
 
  #14  
Old 02-18-2018, 12:34 AM
Patman's Avatar
Global Moderator &
Senior Member


Thread Starter
Join Date: Aug 2005
Location: DFW
Posts: 21,312
Received 134 Likes on 112 Posts
I'm past due for an update. After sitting untouched for most of December and a good chunk of January Ive been a busy beaver trying to get this in a position to get it running in the hole.

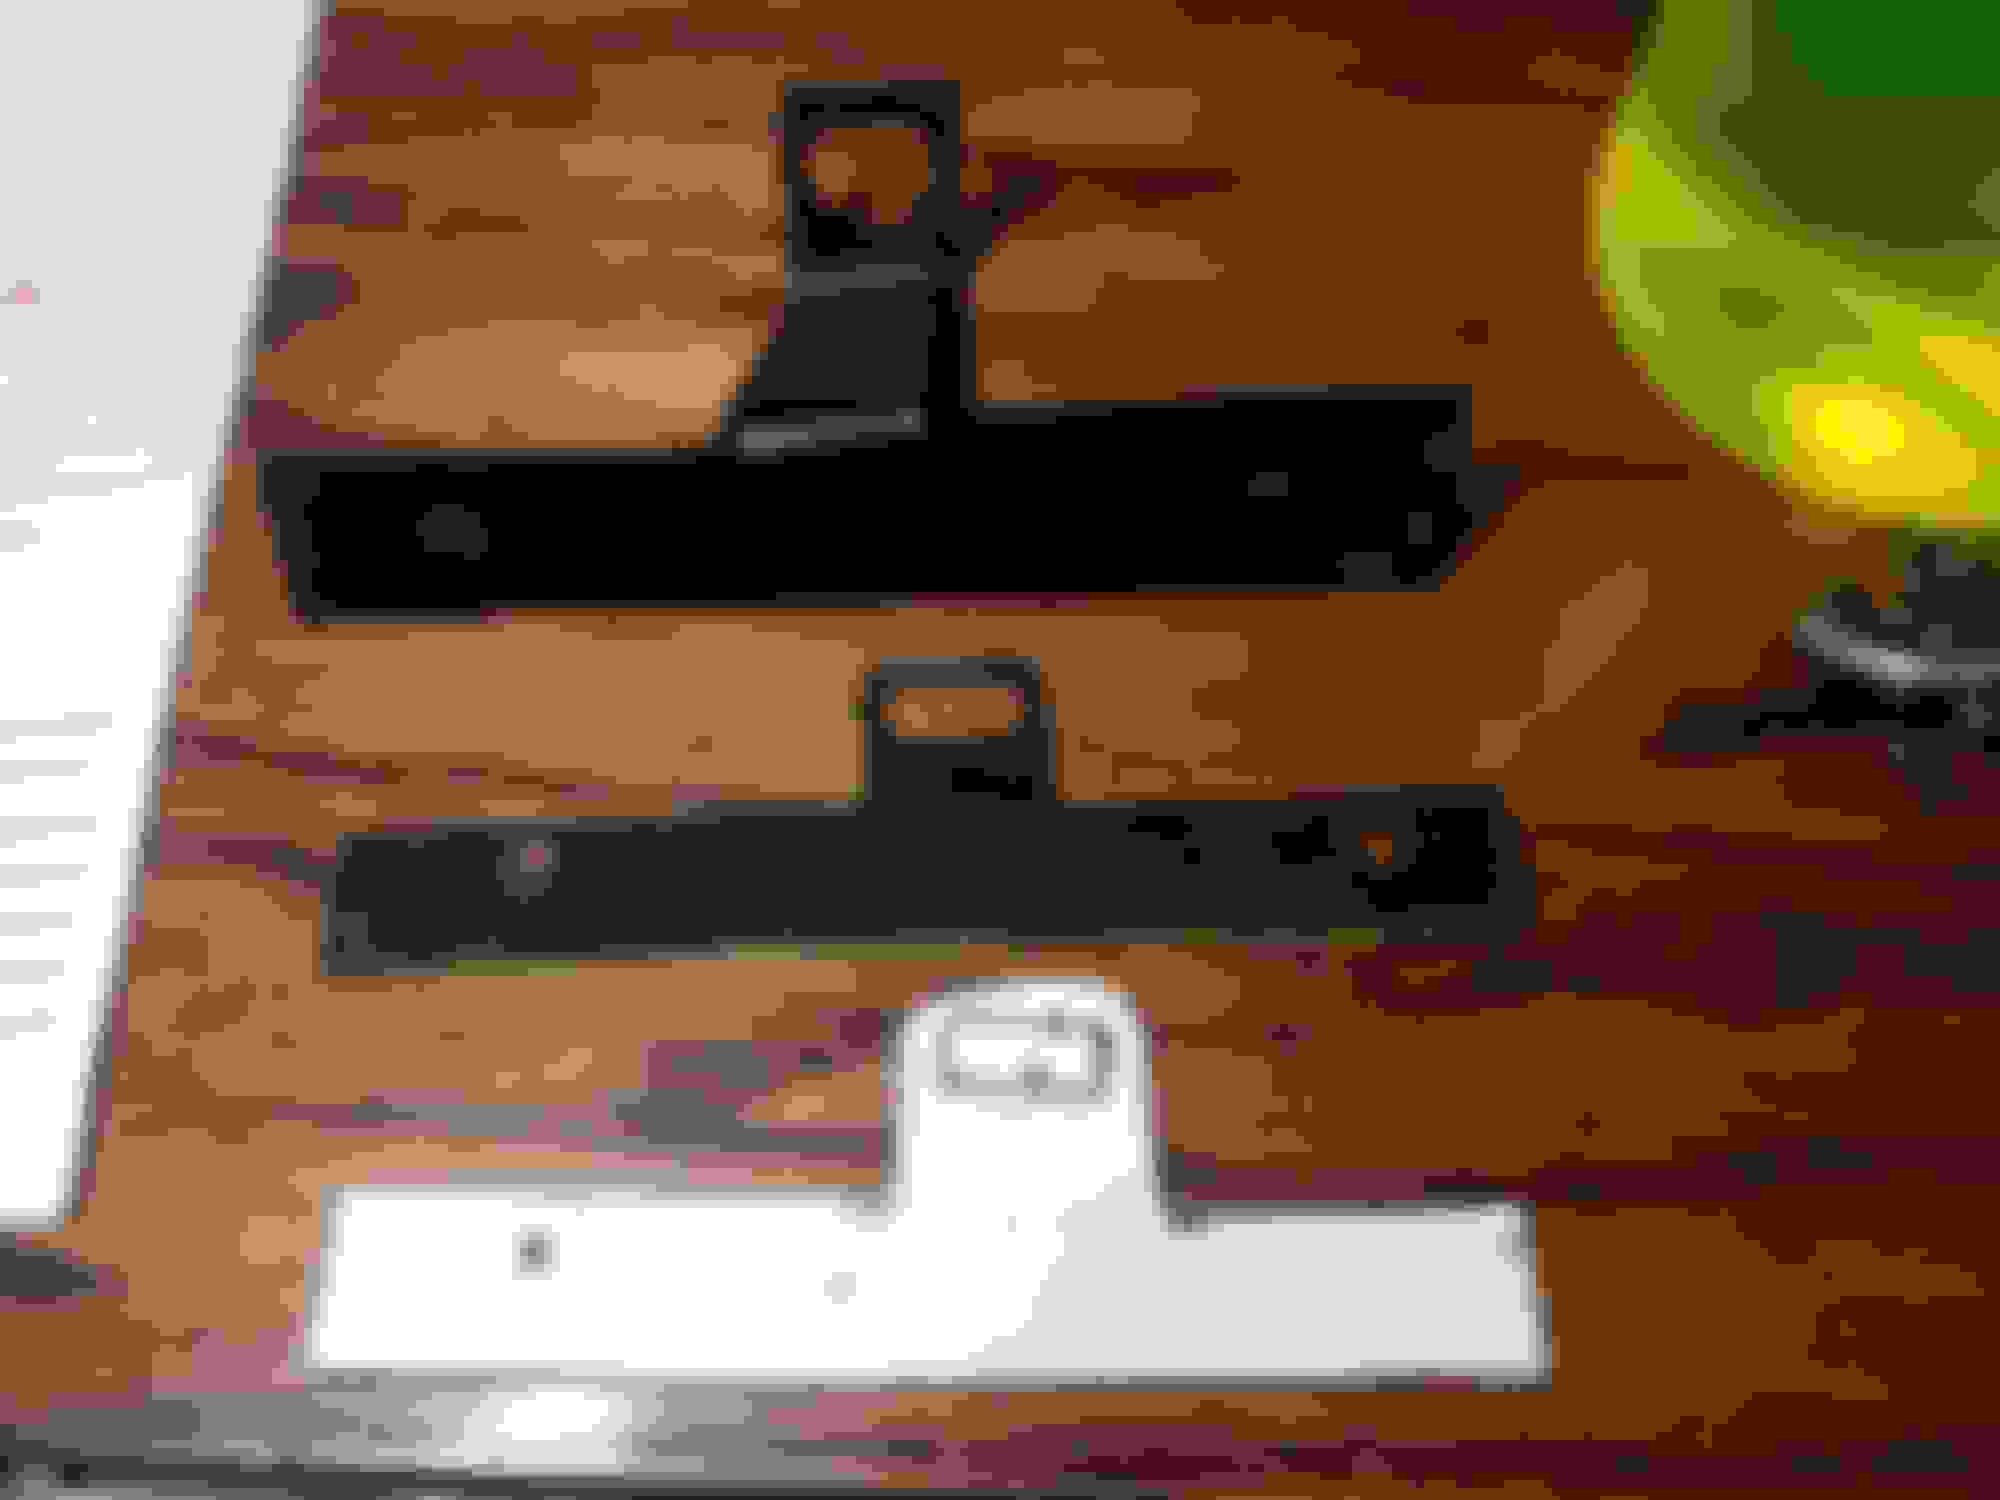
Made a quick bracket for the starter harness since my Moroso oil pan didnt have one


After test fitting I realized I needed a around 1.5" lift in the bracket to get the harness high enough to play nice with my subframe


Installed w/o harness attached


Installed w/ harness attached
 
  #15  
Old 02-18-2018, 12:38 AM
Patman's Avatar
Global Moderator &
Senior Member


Thread Starter
Join Date: Aug 2005
Location: DFW
Posts: 21,312
Received 134 Likes on 112 Posts
I also played with my exhaust downpipes

I unbolted the left and right, and then cut the Y pipe off behind the RH side for now


Had to modify the factory 2003 heat shields to cooperate with the different locations for the 02 sensors on the Coyote catalyst


I'm gonna have to modify the LH side to get it to tuck up a little higher, but it will work for now


[I apparently don't have a picture of the RH side installed]


Quick Reply: Fiddy + Coyote = Patman


All times are GMT -4. The time now is 06:56 PM.