


My install experience - long writeup


Thread Starter
|
Senior Member
Joined: Oct 2010
Posts: 327
Likes: 1
From: Austin, Tx
Ok,
My original plan was to use a Kicker ZX350.4 for the components and rear fill. Well this has changed and I just bought a Diamond 6700.4, got a great deal on a NIB. I did a little research on Diamond and they seem to be decent. I really was thinking Arc Audio but this is kind of a budget build and I might be caught by the wife with another $350 purchase.
I was wanting a little more headroom on the fronts and I didn't feel that 60-70rms from the Kicker was going to be enought. The diamond is 115 rms at 4 Ohm and that should be good.
The only problem is that sucker is 20in long. I am going to have to build another amp rack and run the diamond along the bottom all the way to the passenger vent.
As a side note the ID10D4 sub and speaker box were ordered last night.
My original plan was to use a Kicker ZX350.4 for the components and rear fill. Well this has changed and I just bought a Diamond 6700.4, got a great deal on a NIB. I did a little research on Diamond and they seem to be decent. I really was thinking Arc Audio but this is kind of a budget build and I might be caught by the wife with another $350 purchase.
I was wanting a little more headroom on the fronts and I didn't feel that 60-70rms from the Kicker was going to be enought. The diamond is 115 rms at 4 Ohm and that should be good.
The only problem is that sucker is 20in long. I am going to have to build another amp rack and run the diamond along the bottom all the way to the passenger vent.
As a side note the ID10D4 sub and speaker box were ordered last night.

Senior Member
Joined: Aug 2007
Posts: 2,441
Likes: 0
From: Scottsdale, Arizona
Looks nice...very clean install. Looks professional from a DIY.
Youll love that ID10. I did an install for a member here that brought me one. Ran it off an Alpine MRP-M500 and it sounded great.
Youll love that ID10. I did an install for a member here that brought me one. Ran it off an Alpine MRP-M500 and it sounded great.
Thread Starter
|
Senior Member
Joined: Oct 2010
Posts: 327
Likes: 1
From: Austin, Tx
Regarding the ID10, did you use polyfill? I read that using the supercrews box and the ID10 that 1 pound of polyfill made it sound even better. It is only a dollar or two for the fill and I figure it won't hurt anything to try.

Technical Article Contributor
Joined: Aug 2006
Posts: 7,862
Likes: 0
From: Northern California
Yes on the polyfill. Matter of fact I always use it in sealed boxes no matter what, even if the enclosure is to spec. No harm in the woofer seeing a bit larger than a .707 qtc, I'd rather EQ down the lower octave then bump it up.
Thread Starter
|
Senior Member
Joined: Oct 2010
Posts: 327
Likes: 1
From: Austin, Tx
My deal for the Diamond D6700.4 fell through "I hate EBay".
I went ahead and got a Clarion XH5410 instead. Everything I have read about the Clarion says it is based on the same main board and internals as the Arc Audio KX300.4
The Clarion puts out an underated 90X4 RMS at 4 Ohm. I hope that will be fine for the Focal 165VR fronts which are 75rms and the 165CA1 rears which are 60rms. I think the extra headroom will help with getting all I can without clipping.
Supercrews sub box was delivered and I crammed 1 pound of fill in it. The black carpet is a nice match for the truck and it fits really well. It also appears to be really well built.
I am still awaiting delivery of the Image Dynamics ID10D4 sub. Should be here in a day or two. The Clarion amp will be middle of the week.
I already have another sheet of MDF layed out and ready to go for a new amp board.
I have a friend who has 2 yards of black vinyl that he is going to let me have for the amp rack.
I hopefully will have this new amp rack done this weekend and will post picks when completed.
I went ahead and got a Clarion XH5410 instead. Everything I have read about the Clarion says it is based on the same main board and internals as the Arc Audio KX300.4
The Clarion puts out an underated 90X4 RMS at 4 Ohm. I hope that will be fine for the Focal 165VR fronts which are 75rms and the 165CA1 rears which are 60rms. I think the extra headroom will help with getting all I can without clipping.
Supercrews sub box was delivered and I crammed 1 pound of fill in it. The black carpet is a nice match for the truck and it fits really well. It also appears to be really well built.
I am still awaiting delivery of the Image Dynamics ID10D4 sub. Should be here in a day or two. The Clarion amp will be middle of the week.
I already have another sheet of MDF layed out and ready to go for a new amp board.
I have a friend who has 2 yards of black vinyl that he is going to let me have for the amp rack.
I hopefully will have this new amp rack done this weekend and will post picks when completed.
Last edited by Langlowe; Nov 8, 2010 at 12:47 PM.

Member
Joined: Jun 2010
Posts: 82
Likes: 0
From: West Deptford, NJ
I actually drilled a pilot hole and then used standard metal screws. I originally was going to use pan head self tappers but I kept blowing through my little spacers when I was trying to make counter sink holes.
On the back wall about 2/3 of the way up there is a raised area. There is actually two layers of metal. I figure for support of the back wall. I was real carefull and drilled a pilot hole through the first layer of metal and sound deadner and then made sure I had the right length of metal screws for my little spacer blocks. I then just screwed the amp board to the blocks.
I needed the extra 1/2 of space for the power and ground cables.
On the back wall about 2/3 of the way up there is a raised area. There is actually two layers of metal. I figure for support of the back wall. I was real carefull and drilled a pilot hole through the first layer of metal and sound deadner and then made sure I had the right length of metal screws for my little spacer blocks. I then just screwed the amp board to the blocks.
I needed the extra 1/2 of space for the power and ground cables.
Technical Article Contributor
Joined: Aug 2006
Posts: 7,862
Likes: 0
From: Northern California
I actually missed the raised area of the back wall and used one of the lower verticle ribs, sure enough I went through the back wall of the cab with my self tappers. Nothing a little OSI flashing caulk from Home Depot cant fix from under the truck. I'll just keep an eye on and check it from time to time to make sure the screws and back wall aren't rusting. A good amount of caulk and a little time under the truck should fix it. Oh well...
Member
Joined: Jun 2010
Posts: 82
Likes: 0
From: West Deptford, NJ
I thought of that after I was spreading the caulk with my finger because its so tight to get to. I can always try to scrap the caulk off and coat it with bed liner paint later.
I believe the bodies are made of galvanized steel just like the beds now, so rust shouldn't be a problem anyway.
I believe the bodies are made of galvanized steel just like the beds now, so rust shouldn't be a problem anyway.

Member
Joined: Oct 2010
Posts: 18
Likes: 0
Nice work. I am in the process of doing my install and was able to use a lot of the info you posted here. Thanks, it really helped me along.
I have an xl and there is no factory tweeter mount holes in the doors. I was looking at the sail panel area like you have yours. How does it sound with them mounted there?
I noticed when I removed the rear seat and took out the felt wall liner that the noise level went thru the roof. I had some mass loaded vinyl and lined the wall along the bottom and up about half way. The stuff works wonders. the mlv alone blocks almost all the noise. Once the seat goes back in it will be even better.
I have an xl and there is no factory tweeter mount holes in the doors. I was looking at the sail panel area like you have yours. How does it sound with them mounted there?
I noticed when I removed the rear seat and took out the felt wall liner that the noise level went thru the roof. I had some mass loaded vinyl and lined the wall along the bottom and up about half way. The stuff works wonders. the mlv alone blocks almost all the noise. Once the seat goes back in it will be even better.

Thread Starter
|
Senior Member
Joined: Oct 2010
Posts: 327
Likes: 1
From: Austin, Tx
Nice work. I am in the process of doing my install and was able to use a lot of the info you posted here. Thanks, it really helped me along.
I have an xl and there is no factory tweeter mount holes in the doors. I was looking at the sail panel area like you have yours. How does it sound with them mounted there?
I noticed when I removed the rear seat and took out the felt wall liner that the noise level went thru the roof. I had some mass loaded vinyl and lined the wall along the bottom and up about half way. The stuff works wonders. the mlv alone blocks almost all the noise. Once the seat goes back in it will be even better.
I have an xl and there is no factory tweeter mount holes in the doors. I was looking at the sail panel area like you have yours. How does it sound with them mounted there?
I noticed when I removed the rear seat and took out the felt wall liner that the noise level went thru the roof. I had some mass loaded vinyl and lined the wall along the bottom and up about half way. The stuff works wonders. the mlv alone blocks almost all the noise. Once the seat goes back in it will be even better.
I think having them point up instead of down would have actually been prefered but the way the sails are there was no choice. At least without glassing something and I don't fiberglass.
Thread Starter
|
Senior Member
Joined: Oct 2010
Posts: 327
Likes: 1
From: Austin, Tx
Almost done
Time for more work.
Got the Image Dynamics ID10D4 sub, Supercrews box, and Clarion HC5410 in during the last 10 days. This last Sunday I had the time to almost finish the install. The plan was to be 100% done but a few unexpected things came up. Don't they always.
Total time spend 9 hours.
I didn't take any pictures during this work, I left my camera at home. The new pictures that I have are all post install.
Things that have to be fixed.
1) Moving everything to the horizontal means my 3ft RCAs didn't reach to the Clarion amp. Had to temporarily use $1 el cheapos. Was very dissapointed in that. All my planning to make a simple error like that. Also, felt like I was putting cheap used tires on a new car. Kinda made me feel dirty.
2) Ground cable going into distro block. This was left over from previous amp rack and somehow it has a funny kink in it. I have another 5ft, 3ft extra just to be safe, and it will be replaced. It has got to be pretty you know.
3) Ran out of 1/2 grommets and need 3/4 grommets for RCAs. Went ahead and ordered more from KnuKonceptz along with the 4ga ground cable.
4) Need to fit trim that back felt a little more on the right side. Just about a 1/8 of an ich should do it. I was going to do it Sunday but I was tired and knew I was going to be changing out those cheap RCAs in a few days anyway.
Nexts steps
Sound deaden those doors. Don't really want to because the Dynamat and doors cut me up real good but it really needs to be done.
I am sure I will have questions for all the good fellows on here when that time comes.
It will be after the first of the year before I tackle that job.
Pictures
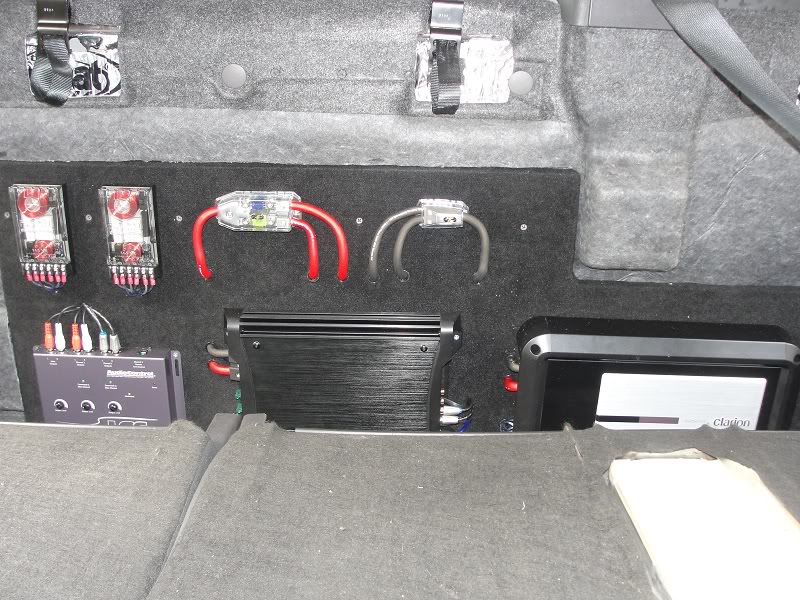

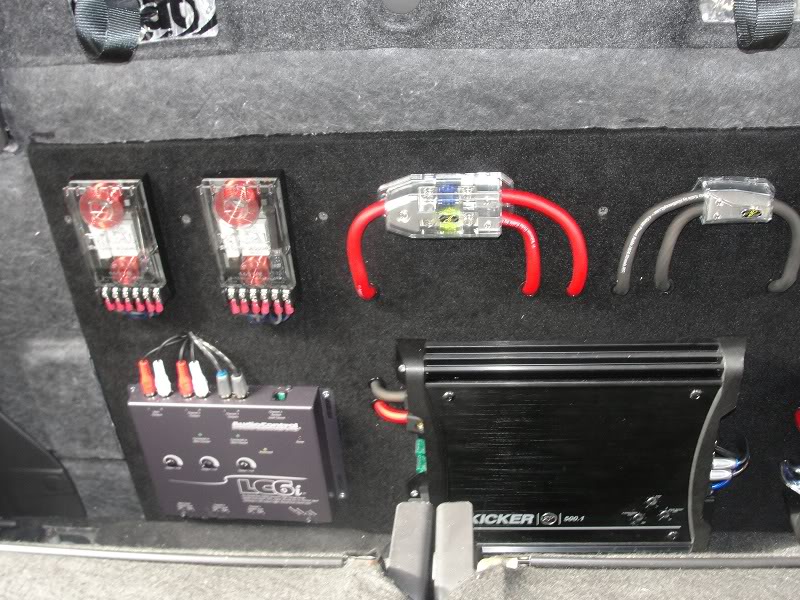
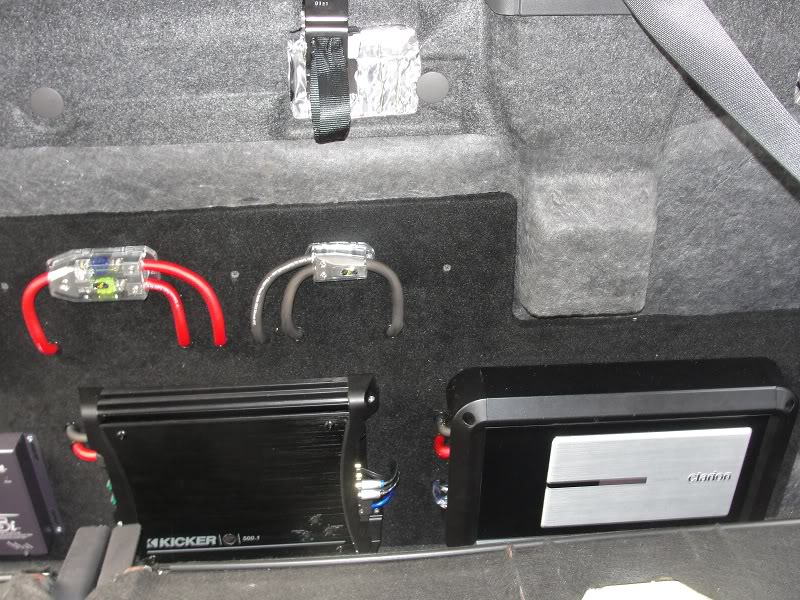
This one is still there
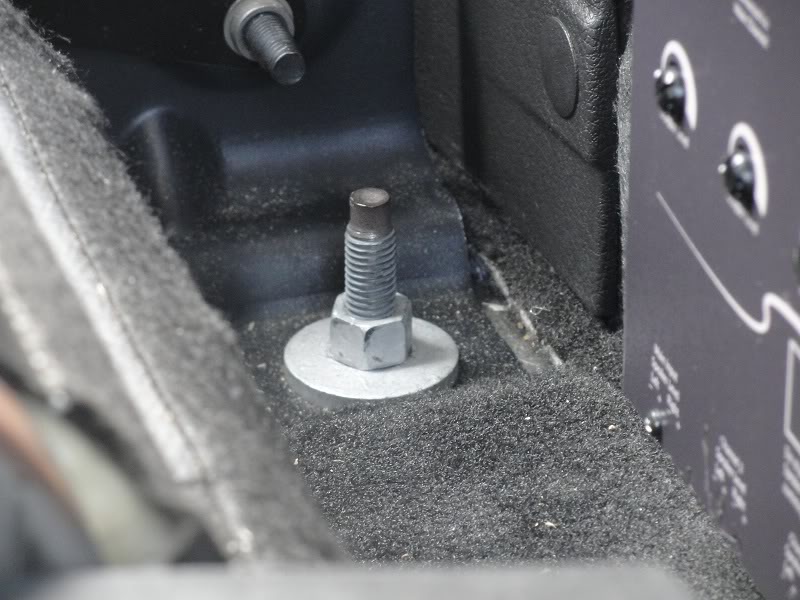
Here is one of the two that was cut.
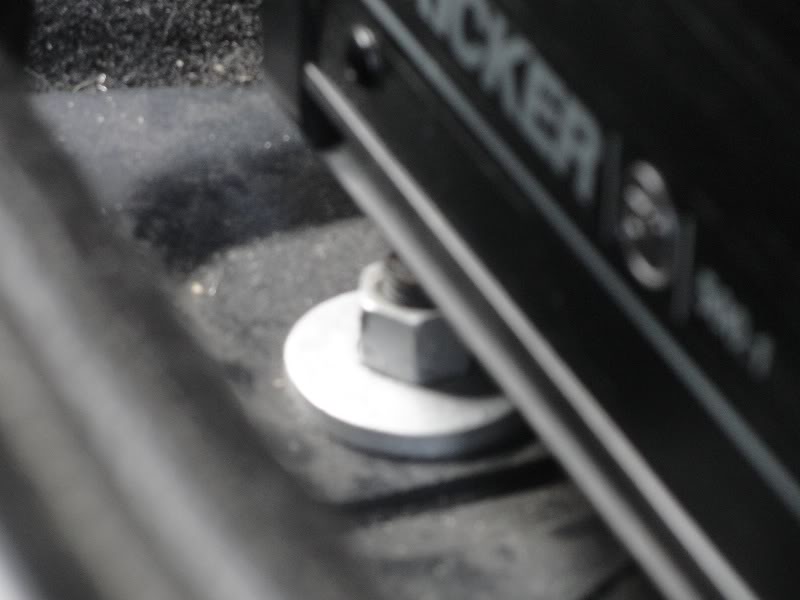
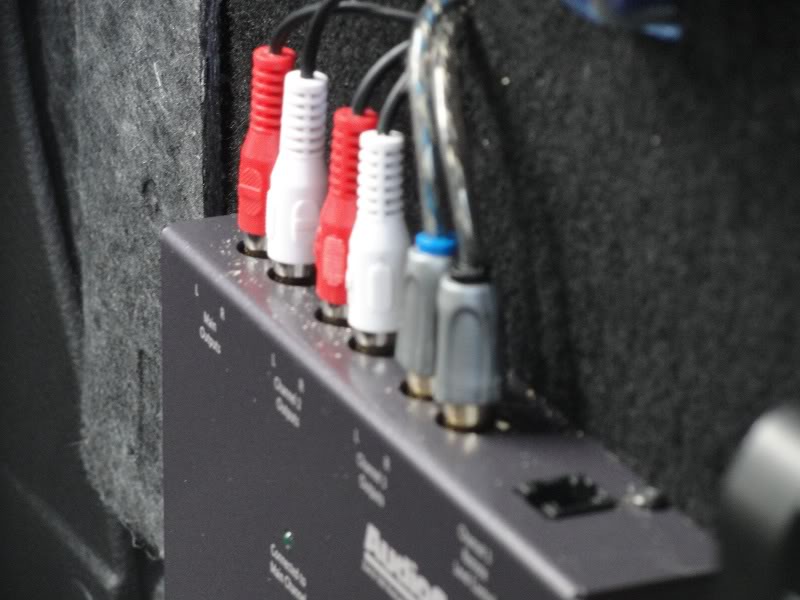
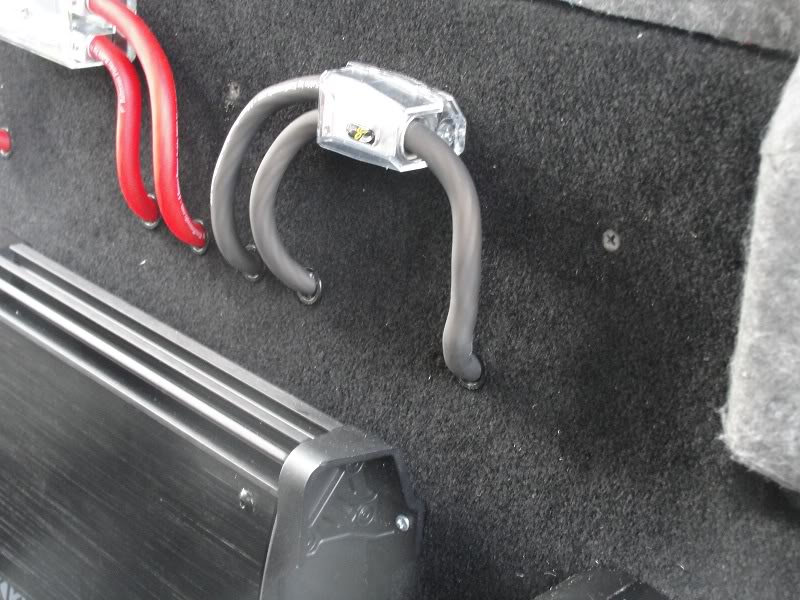
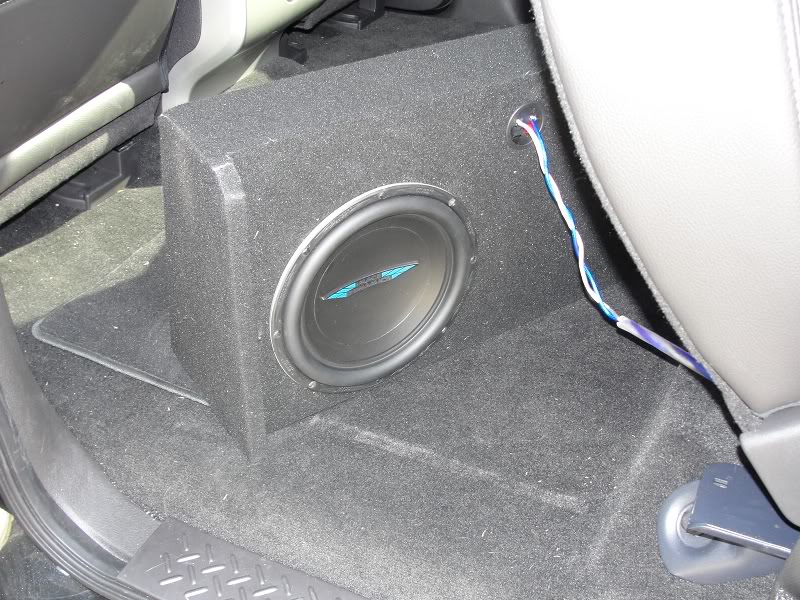
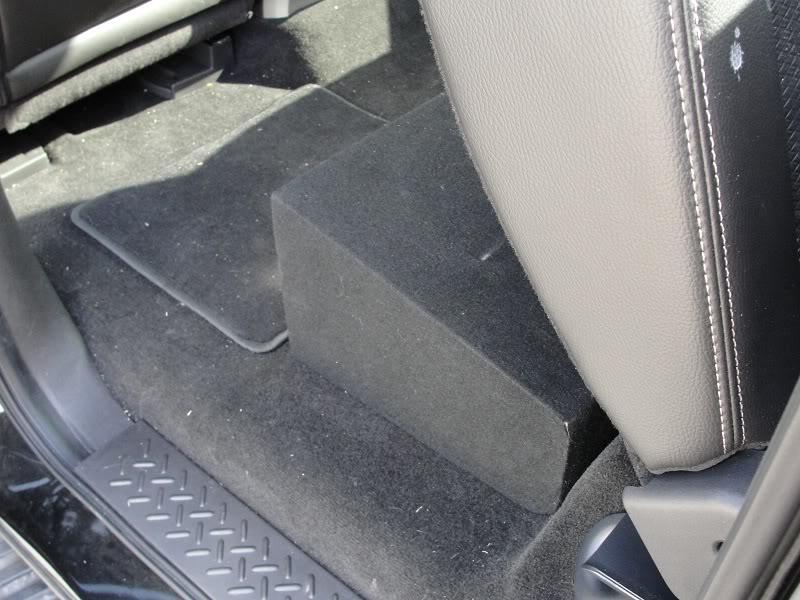
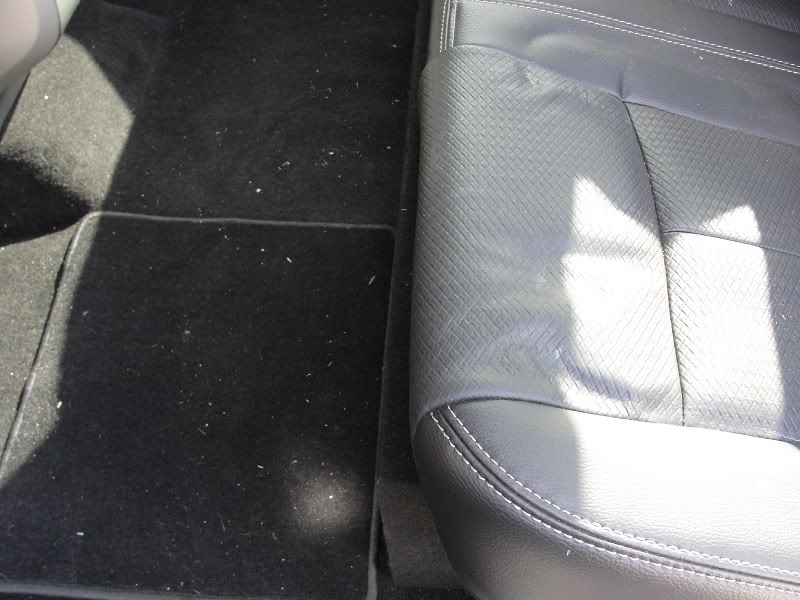
Got the Image Dynamics ID10D4 sub, Supercrews box, and Clarion HC5410 in during the last 10 days. This last Sunday I had the time to almost finish the install. The plan was to be 100% done but a few unexpected things came up. Don't they always.
Total time spend 9 hours.
I didn't take any pictures during this work, I left my camera at home. The new pictures that I have are all post install.
Things that have to be fixed.
1) Moving everything to the horizontal means my 3ft RCAs didn't reach to the Clarion amp. Had to temporarily use $1 el cheapos. Was very dissapointed in that. All my planning to make a simple error like that. Also, felt like I was putting cheap used tires on a new car. Kinda made me feel dirty.
2) Ground cable going into distro block. This was left over from previous amp rack and somehow it has a funny kink in it. I have another 5ft, 3ft extra just to be safe, and it will be replaced. It has got to be pretty you know.
3) Ran out of 1/2 grommets and need 3/4 grommets for RCAs. Went ahead and ordered more from KnuKonceptz along with the 4ga ground cable.
4) Need to fit trim that back felt a little more on the right side. Just about a 1/8 of an ich should do it. I was going to do it Sunday but I was tired and knew I was going to be changing out those cheap RCAs in a few days anyway.
Nexts steps
Sound deaden those doors. Don't really want to because the Dynamat and doors cut me up real good but it really needs to be done.
I am sure I will have questions for all the good fellows on here when that time comes.
It will be after the first of the year before I tackle that job.
Pictures
This one is still there
Here is one of the two that was cut.
Thread Starter
|
Senior Member
Joined: Oct 2010
Posts: 327
Likes: 1
From: Austin, Tx
Had some time this afternoon and got those cheap RCAs replaced and put on a pair of Kicker ZX endcaps on the sub amp.
While I had the amp rack loose I went ahead and snapped a few picks of those Anderson Powerpole adapters. You can see it makes it real easy to disconnect the amp rack for removal.
I didn't replace the ground cable. I just didn't feel like messing with the ring connector. I don't have a crimping tool that big and I have to drill out the ring to fit on the seat belt torx bolt. Just to much for how I felt today.
While I was back there I messed with the crossover points a little. I have the sub low passed at 80 and the fronts at 80 high pass and rear fill at 100 high pass. The have the Focal passive crossover at -3db on tweets and 12db crossover slope.
Does that sound about right?
Sorry it is so messy behind the rack. It just didn't seem worth the time to clean it up knowing it wasn't going to be seen. At least the front is nice and tidy.
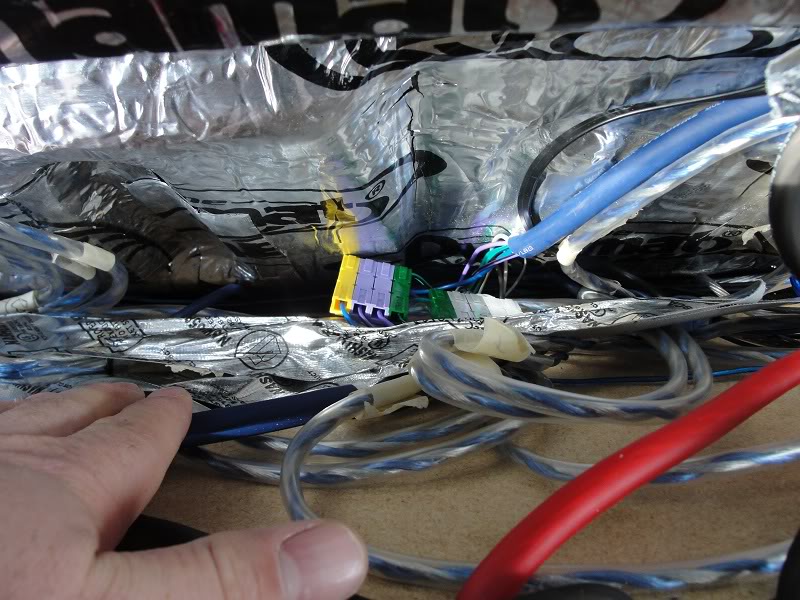
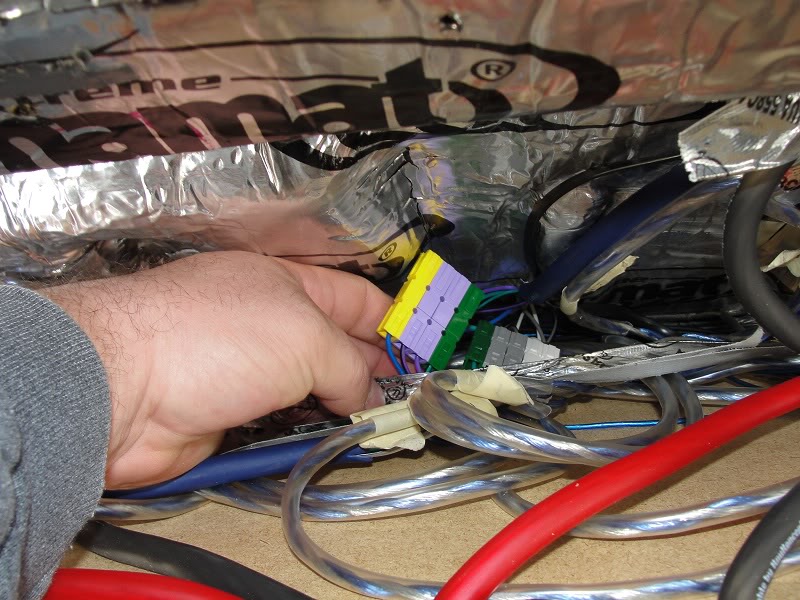
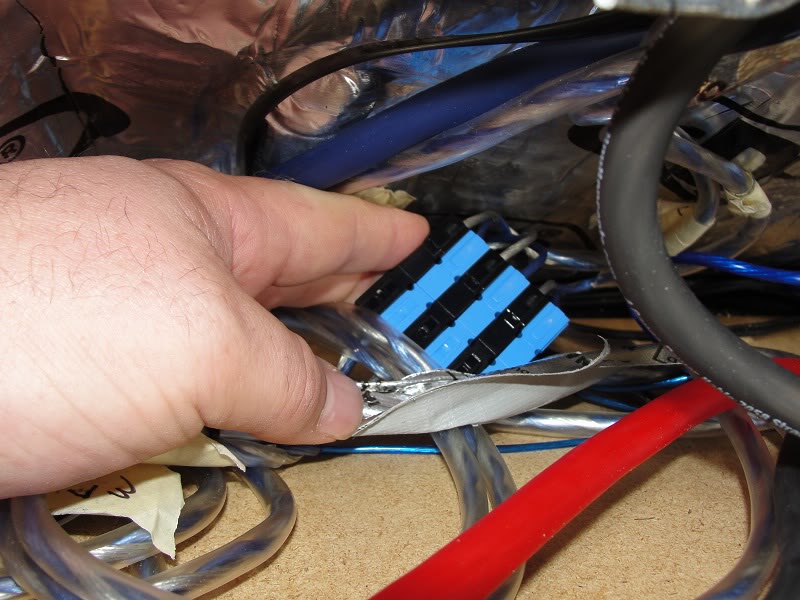
While I had the amp rack loose I went ahead and snapped a few picks of those Anderson Powerpole adapters. You can see it makes it real easy to disconnect the amp rack for removal.
I didn't replace the ground cable. I just didn't feel like messing with the ring connector. I don't have a crimping tool that big and I have to drill out the ring to fit on the seat belt torx bolt. Just to much for how I felt today.
While I was back there I messed with the crossover points a little. I have the sub low passed at 80 and the fronts at 80 high pass and rear fill at 100 high pass. The have the Focal passive crossover at -3db on tweets and 12db crossover slope.
Does that sound about right?
Sorry it is so messy behind the rack. It just didn't seem worth the time to clean it up knowing it wasn't going to be seen. At least the front is nice and tidy.
Last edited by Langlowe; Nov 29, 2010 at 11:16 PM.

