
Here we go center console sub enclosure build


Technical Article Contributor
Joined: Oct 2005
Posts: 1,616
Likes: 0
From: Concordia, MO
Looks good, I guess? Never done that stuff before.
That coffee you are drinking looks NASTY!
I don't think you made it right.
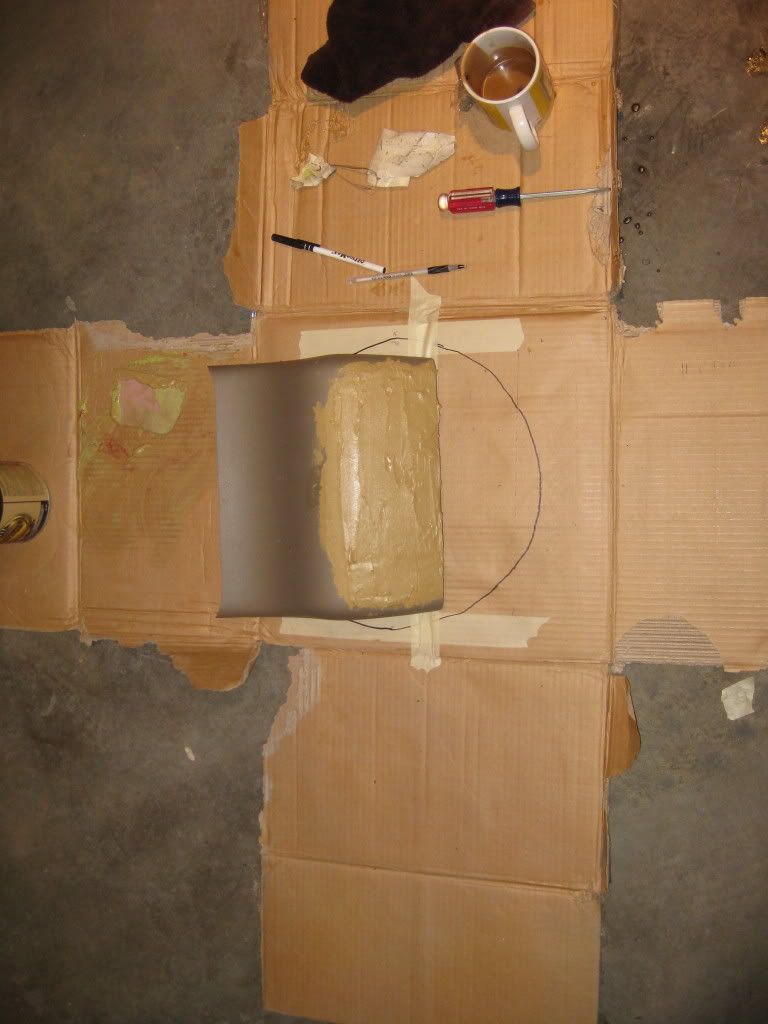
That coffee you are drinking looks NASTY!
I don't think you made it right.

Thread Starter
|
Technical Article Contributor
Joined: Mar 2008
Posts: 2,268
Likes: 2
From: Rural NE


It was a cheap mixing bowl that I could mix part resin part body filler in. This way it smoothed out much easier and it is a little harder then just plain body filler. Takes more sanding effort but it was only a little patch so I sacrificed.

Thread Starter
|
Technical Article Contributor
Joined: Mar 2008
Posts: 2,268
Likes: 2
From: Rural NE
Ya it should make for an interesting conversation piece the next time the group all gets together


Senior Member
Joined: Aug 2007
Posts: 2,441
Likes: 0
From: Scottsdale, Arizona
As far as logos go...you could do the obvious and do the word ford in the ford script, the blue oval with ford on it, just a simple F-150 in the same script as your exterior badges. You could design your own logo based off whatever personal things you desire (kinda like a sig on here) or the name of the truck (if its named)

Thread Starter
|
Technical Article Contributor
Joined: Mar 2008
Posts: 2,268
Likes: 2
From: Rural NE
Thanks guys, I don't really have any pictures of things to show all I really got done was more layers of fiberglass I want to build this one up 15 to 20 layers. I did make progress and I got the big 3 upgrade done however. So I will hopefully have pics up later today, of the bottom half of this console build. stay tuned
Thread Starter
|
Technical Article Contributor
Joined: Mar 2008
Posts: 2,268
Likes: 2
From: Rural NE
Thanks, I like using evercoat products. I think the biggest thing is just to make sure all the air bubbles are out, they compromise the strength of the build. You can always trim that is the best part.
Well I did not get very much done this weekend with traveling for Easter, I will get the pictures I have uploaded tomorrow morning. I won't be able to work on it tonight either, but Tuesday I have reserved to get some major progress made. I am hoping to try and get all the layers of mat down on both pieces so I can focus on getting them bonded together.
Well I did not get very much done this weekend with traveling for Easter, I will get the pictures I have uploaded tomorrow morning. I won't be able to work on it tonight either, but Tuesday I have reserved to get some major progress made. I am hoping to try and get all the layers of mat down on both pieces so I can focus on getting them bonded together.

Member
Joined: Apr 2009
Posts: 46
Likes: 0
From: Albuquerque, NM
After each layer I end up sanding the bubbles out before the next.
Thread Starter
|
Technical Article Contributor
Joined: Mar 2008
Posts: 2,268
Likes: 2
From: Rural NE
That works too, I just us a rubber roller (like the ones used for laying wallpaper) and they work great then you don't have to worry about sanding between layers.