Here we go center console sub enclosure build
#61
 04-15-2009, 05:45 PM


#62
04-16-2009, 08:24 AM
Day 6:
I managed to get 9 layers down on the base as well last night, I am going to wait for it to dry and see how strong they are. I was planning on 10 to 15 layers, but I am feeling confident that this will be strong enough as is. I am using a thicker mat this time around as well, so I know it will be stronger. I am thinking that I will probably be trimming up everything this evening and possibly mounting the sub to the base getting ready to put the two halves together. I am hoping that tomorrow night I can get the two halves together, so I can focus on some of the cosmetics that the box will be getting, such as lighting, and the plexiglass insert, I am also going to be getting my contact switches in this weekend.
I figure I should at least have the amps and all speaker wire runs done and in the truck this weekend. I have the molex plug connector which makes life hell, so I will have to drill some new holes in the door and the chassis to get the speaker wires through to the doors. I will be laying sound dampener over the weekend; I don’t think I will have the clay in time to put the clay around my speaker mid base rings, and to help add mass to the center console.
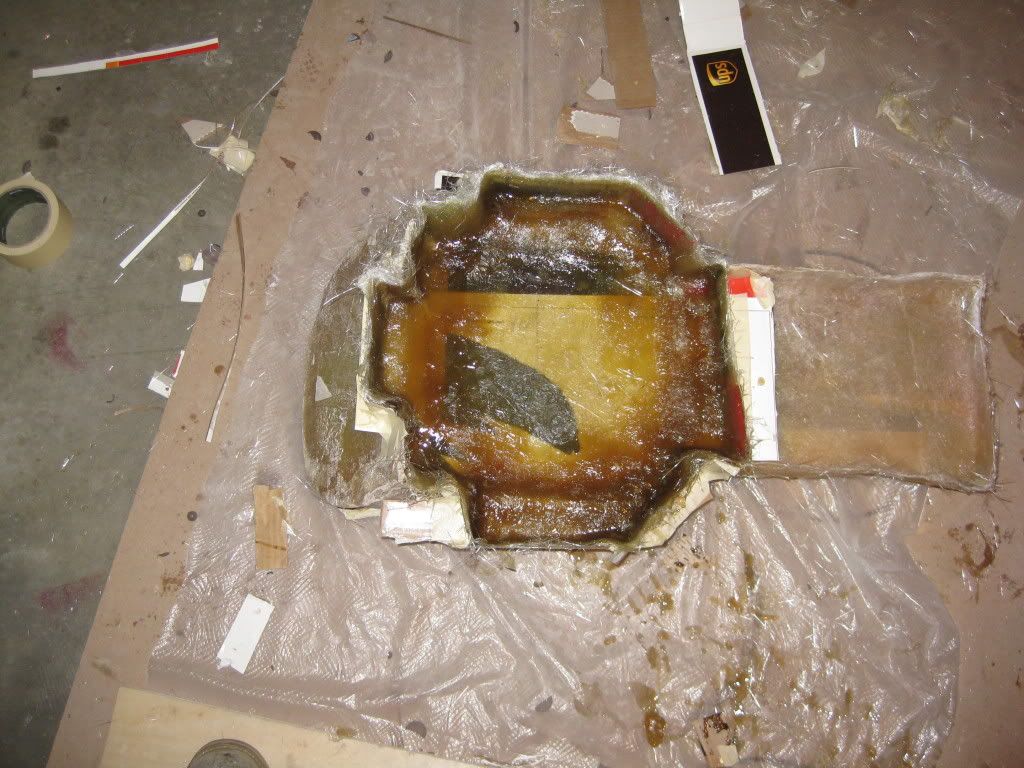
9 layers of mat on base plate:
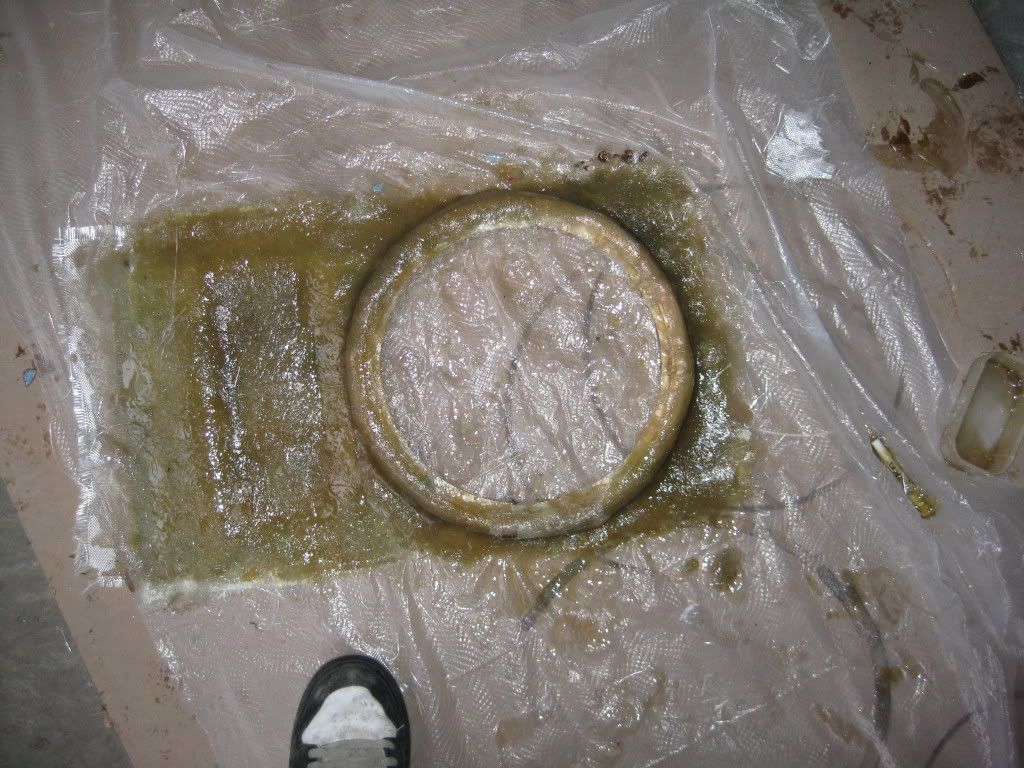
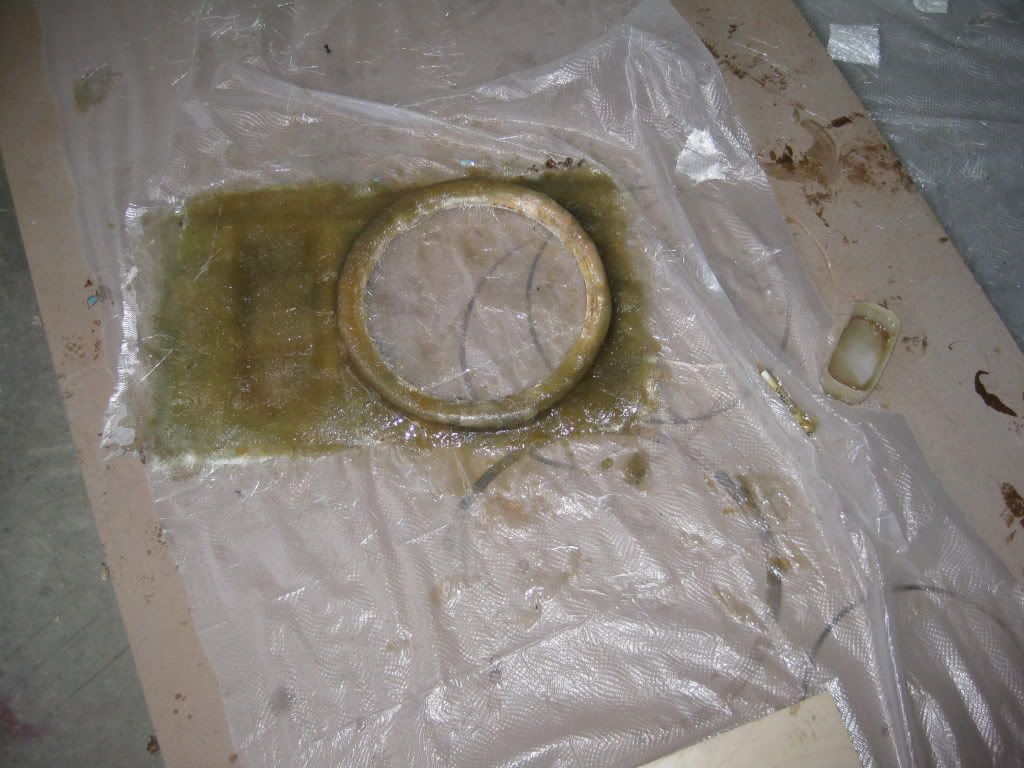
I managed to get 9 layers down on the base as well last night, I am going to wait for it to dry and see how strong they are. I was planning on 10 to 15 layers, but I am feeling confident that this will be strong enough as is. I am using a thicker mat this time around as well, so I know it will be stronger. I am thinking that I will probably be trimming up everything this evening and possibly mounting the sub to the base getting ready to put the two halves together. I am hoping that tomorrow night I can get the two halves together, so I can focus on some of the cosmetics that the box will be getting, such as lighting, and the plexiglass insert, I am also going to be getting my contact switches in this weekend.
I figure I should at least have the amps and all speaker wire runs done and in the truck this weekend. I have the molex plug connector which makes life hell, so I will have to drill some new holes in the door and the chassis to get the speaker wires through to the doors. I will be laying sound dampener over the weekend; I don’t think I will have the clay in time to put the clay around my speaker mid base rings, and to help add mass to the center console.
9 layers of mat on base plate:
#63
04-16-2009, 09:07 AM

Senior Member
Join Date: Aug 2008
Location: Fremont, NE
Posts: 239
Likes: 0
Received 0 Likes
on
0 Posts
#64
04-16-2009, 10:59 AM

Member
Join Date: Apr 2009
Location: Albuquerque, NM
Posts: 46
Likes: 0
Received 0 Likes
on
0 Posts
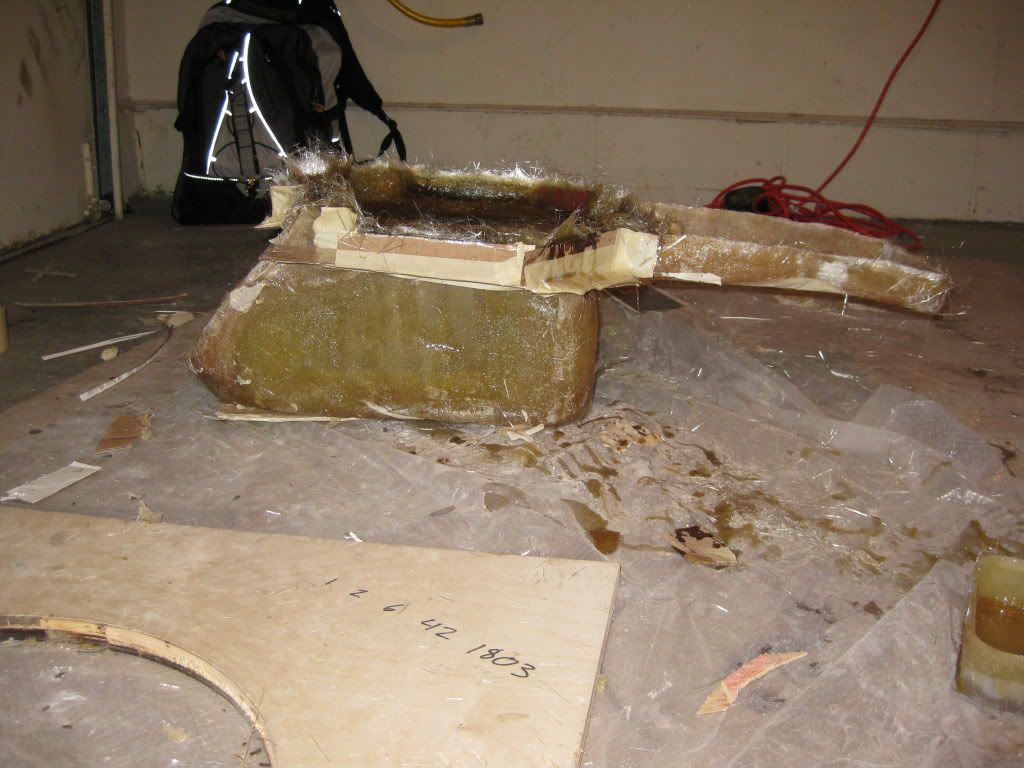
 It looks worse then it really is but ya right now my garage is a terrible mess.
#67
04-16-2009, 03:28 PM
I am going to be trimming things up and mounting the sub on the base tonight. I will try to get them both together or at least started to. I won't have it completely done until my contact switches get here so I can wire in the LED's to light the box's interior. I will have a rough finished box by the end of the weekend hopefully a finished entire install by next weekend.
#68
04-16-2009, 05:23 PM


#69
04-16-2009, 05:36 PM
I saw that in Npdangs thread, and they are 6.3" for physical sub space, .5-.75" for the pole vent on the back of the sub (its a beast and needs space), and the x-max for it is about .875" or just over that. I am almost ready to get that thing in the truck I can't wait. I also plan on buying a couple more for a rainy day.
#70
04-16-2009, 06:02 PM

Senior Member
Join Date: Jan 2009
Location: Destin, Florida
Posts: 3,172
Likes: 0
Received 0 Likes
on
0 Posts
I am going to be trimming things up and mounting the sub on the base tonight. I will try to get them both together or at least started to. I won't have it completely done until my contact switches get here so I can wire in the LED's to light the box's interior. I will have a rough finished box by the end of the weekend hopefully a finished entire install by next weekend.
#71
04-16-2009, 07:24 PM

Join Date: Aug 2006
Location: Northern California
Posts: 7,862
Likes: 0
Received 0 Likes
on
0 Posts
Seat lift Arc? otherwise you'll never fit them.
#72
04-16-2009, 10:12 PM
#73
04-17-2009, 02:02 AM

Senior Member
Join Date: Aug 2006
Location: Sin City
Posts: 524
Likes: 0
Received 0 Likes
on
0 Posts


#74
04-17-2009, 02:29 AM

Senior Member
Join Date: Aug 2008
Location: Omaha, NE
Posts: 1,118
Likes: 0
Received 0 Likes
on
0 Posts

#75
04-17-2009, 08:22 AM
Day 7:
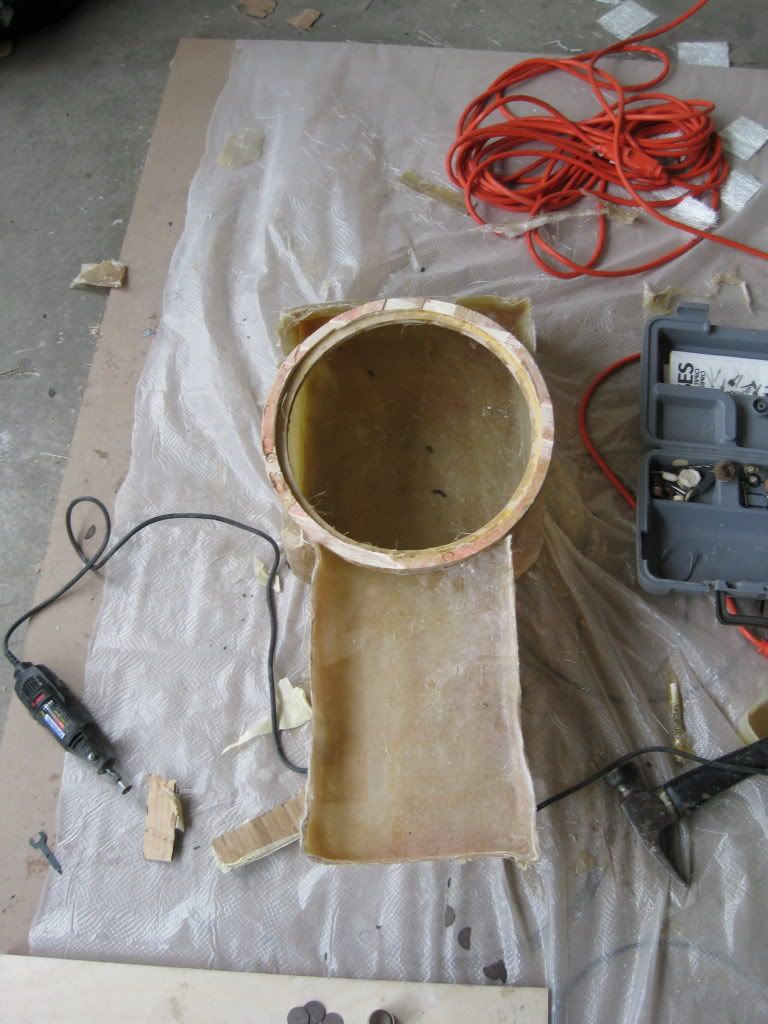
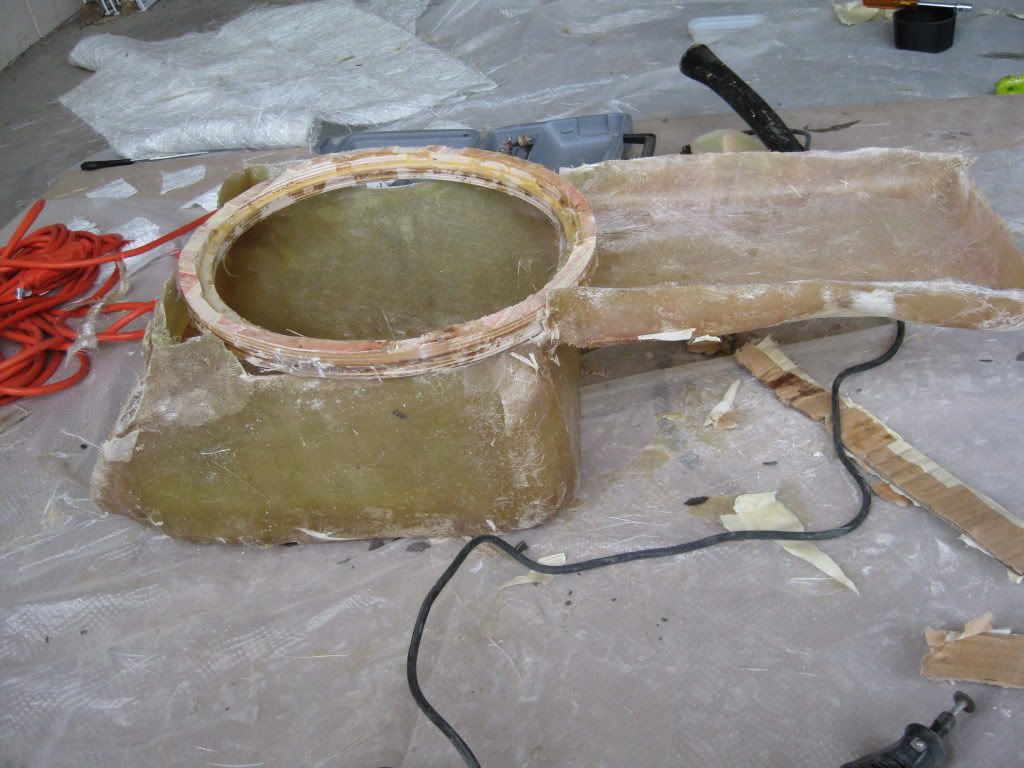
Well last night I got it all trimmed and was ready to put the two halves together but I did not like the way it was going together so I decided to sacrifice about .15 ft^3 and went about making a different base plate. This will now put my enclosure down to about .6 ft^3 so I plan on adding a bit of poly fill to the front lip area to help gain some of what I lost hopefully. I managed to get 7 layers down on the new base plate last night, leaving me with only to seal off the last little bit of front chamber. I am hoping to get that done first thing tonight leaving me with only the painting and cutting the openings out.
Measuring out the new base plate:
After the glassing:
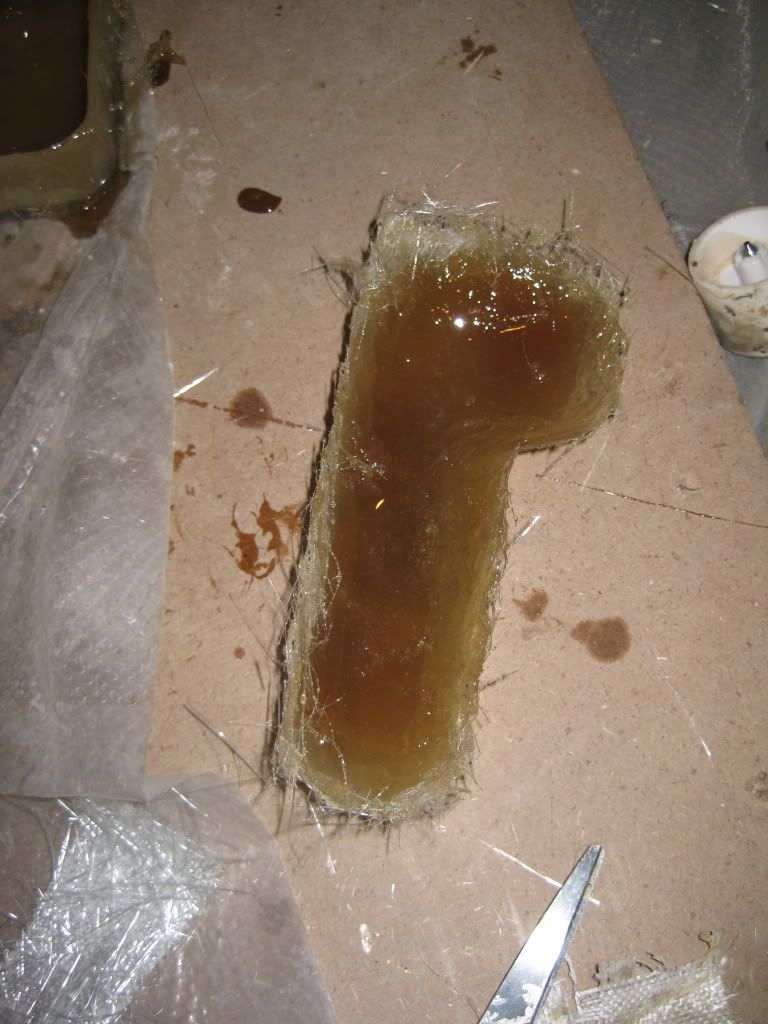
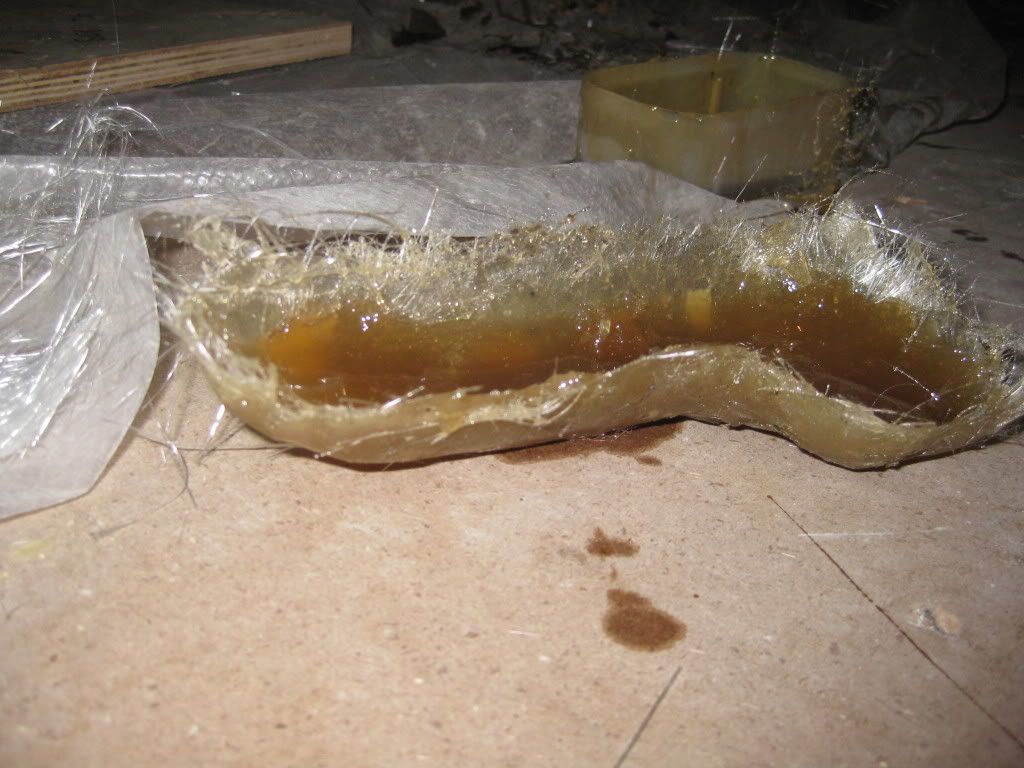
I also tackled the rear air delete plug last night as well, it has been sitting on the back burner since I first made the mold.
Tonight I am planning on finishing up the box (seriously this time), and getting the plexiglass window trimmed and set in. Once I get the plexiglass window opening made in the box I am going to give it until Sunday to cure a little bit more. I am also going to be painting the entire enclosure a tan color that will hopefully match the interior tan. I am going to be installing the rest of the audio equipment this weekend while I am waiting for the box to cure. So this weekend will still be busy but there won’t be much done with the box.
Well last night I got it all trimmed and was ready to put the two halves together but I did not like the way it was going together so I decided to sacrifice about .15 ft^3 and went about making a different base plate. This will now put my enclosure down to about .6 ft^3 so I plan on adding a bit of poly fill to the front lip area to help gain some of what I lost hopefully. I managed to get 7 layers down on the new base plate last night, leaving me with only to seal off the last little bit of front chamber. I am hoping to get that done first thing tonight leaving me with only the painting and cutting the openings out.
Measuring out the new base plate:
After the glassing:
I also tackled the rear air delete plug last night as well, it has been sitting on the back burner since I first made the mold.
Tonight I am planning on finishing up the box (seriously this time), and getting the plexiglass window trimmed and set in. Once I get the plexiglass window opening made in the box I am going to give it until Sunday to cure a little bit more. I am also going to be painting the entire enclosure a tan color that will hopefully match the interior tan. I am going to be installing the rest of the audio equipment this weekend while I am waiting for the box to cure. So this weekend will still be busy but there won’t be much done with the box.