
Here we go center console sub enclosure build


Thread Starter
|
Technical Article Contributor
Joined: Mar 2008
Posts: 2,268
Likes: 2
From: Rural NE
Here we go center console sub enclosure build
Day 1:
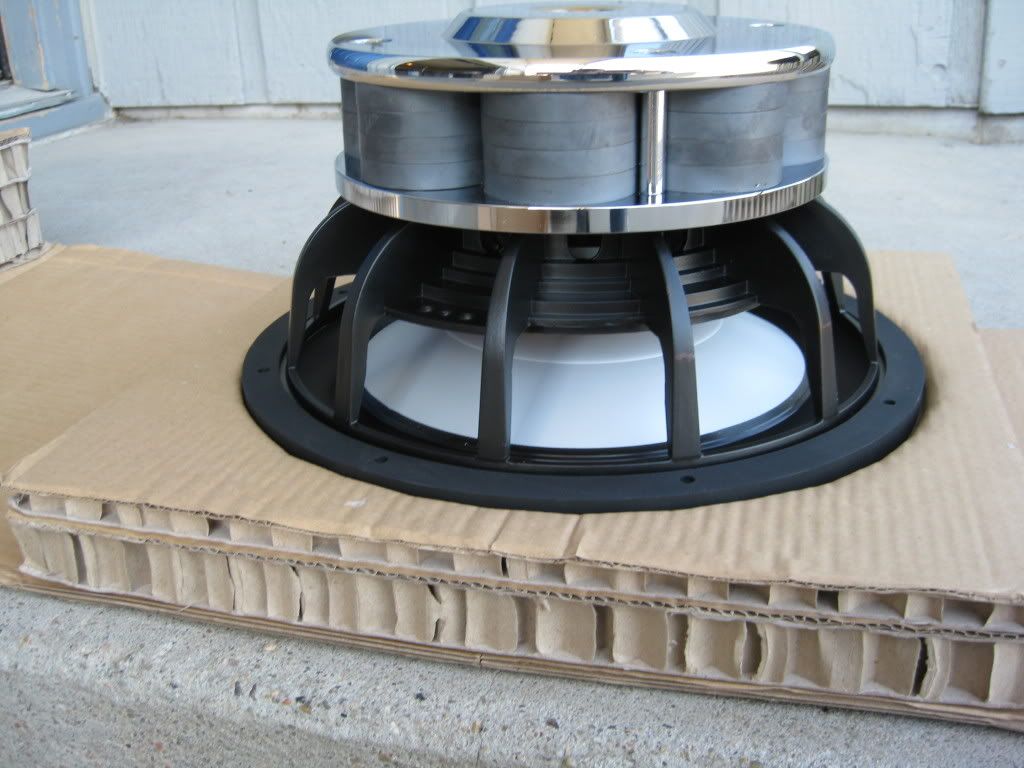
Well I simply came across a sub for a price that I simply could not pass up. I ordered a DIYMA Reference 12. This sub has a massive massive magnet, weighing in at just under 40 pounds. The sub unfortunately has a mount depth of 6.3”, an x max just short of 1”, and needs about a ½” behind the pole vent on the motor. That means I need a min of 7.8” which for those of you keeping tally means I will not in anyway shape or form be able to fit this sub under my seat, thus leading me to build a subwoofer enclosure out of the center console.
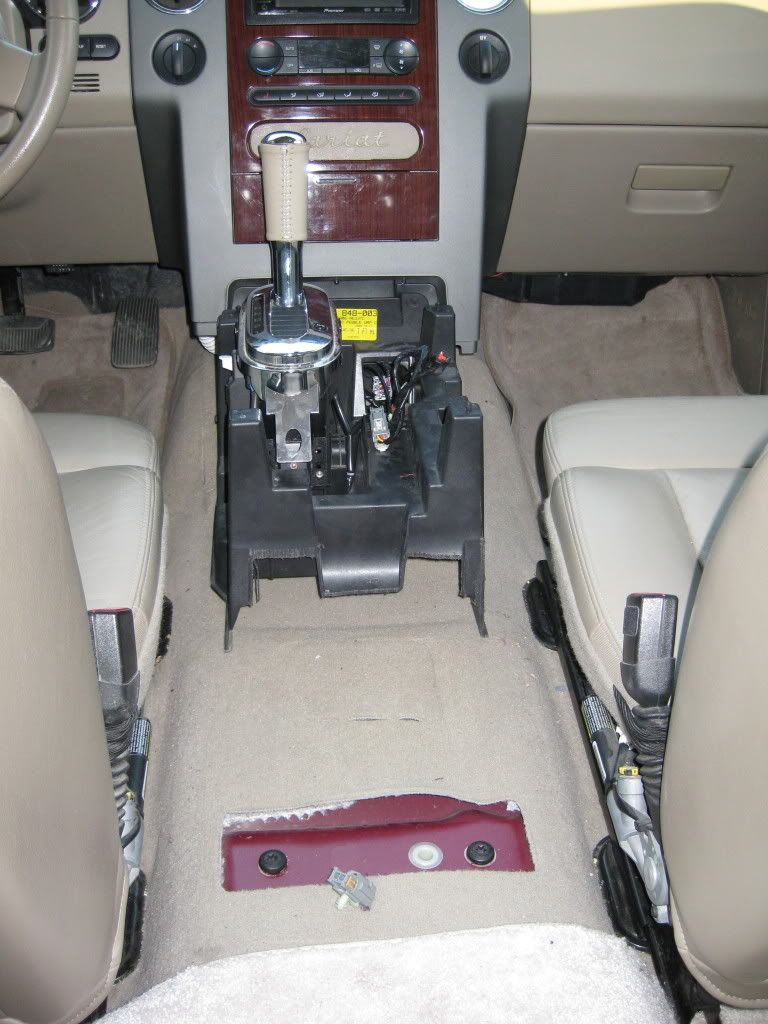
The tare out of the center console was pretty straight forward. The base around the shifter and cup holders is held on with some simple pressure clips and pops right off with little effort.
The pile:
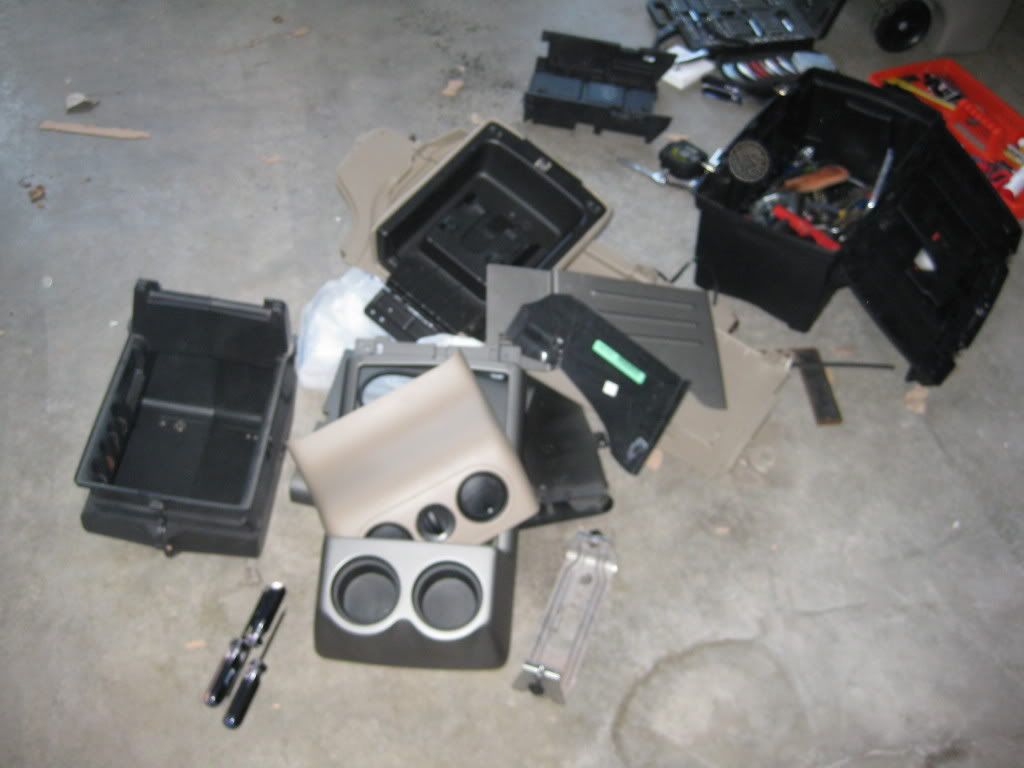
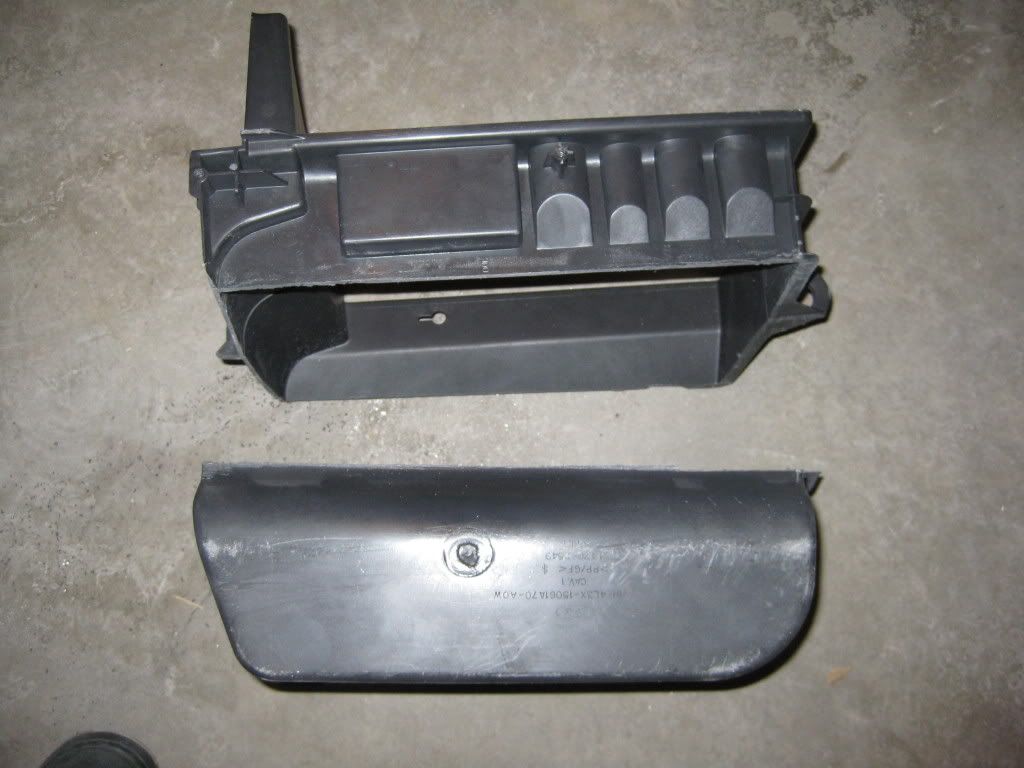
Next you will want to unscrew the center console lid from the black tray (requires a torx but I forgot the size of it).
After you have the lid off you can now undo a few bolts (7mm, I believe) and take the gray trim ring off leaving just the tan sides and the black console tray in place.
The black tray will now have a few more bolts holding it to the walls of the console. There are 4 more bolts on the bottom of this black tray as well.
Now you will lift the black console piece out of the way. The tan piece that holds the rear air vents and 12v source is held in place with simple pressure clips and will pop off very easily. Be sure to disconnect the wiring harness to it before you try removing it completely.
Then there are a four 10 mm bolts left holding the tan walls together. There are two located at the back of the console; these can be accessed by sliding your seats all the way forward. There are two more left at the front of the console behind a two trim panels you will have to remove to get to them.
Well I simply came across a sub for a price that I simply could not pass up. I ordered a DIYMA Reference 12. This sub has a massive massive magnet, weighing in at just under 40 pounds. The sub unfortunately has a mount depth of 6.3”, an x max just short of 1”, and needs about a ½” behind the pole vent on the motor. That means I need a min of 7.8” which for those of you keeping tally means I will not in anyway shape or form be able to fit this sub under my seat, thus leading me to build a subwoofer enclosure out of the center console.
The tare out of the center console was pretty straight forward. The base around the shifter and cup holders is held on with some simple pressure clips and pops right off with little effort.
The pile:
Next you will want to unscrew the center console lid from the black tray (requires a torx but I forgot the size of it).
After you have the lid off you can now undo a few bolts (7mm, I believe) and take the gray trim ring off leaving just the tan sides and the black console tray in place.
The black tray will now have a few more bolts holding it to the walls of the console. There are 4 more bolts on the bottom of this black tray as well.
Now you will lift the black console piece out of the way. The tan piece that holds the rear air vents and 12v source is held in place with simple pressure clips and will pop off very easily. Be sure to disconnect the wiring harness to it before you try removing it completely.
Then there are a four 10 mm bolts left holding the tan walls together. There are two located at the back of the console; these can be accessed by sliding your seats all the way forward. There are two more left at the front of the console behind a two trim panels you will have to remove to get to them.
Last edited by 05_sprcrw; Apr 8, 2009 at 03:17 PM.
Thread Starter
|
Technical Article Contributor
Joined: Mar 2008
Posts: 2,268
Likes: 2
From: Rural NE
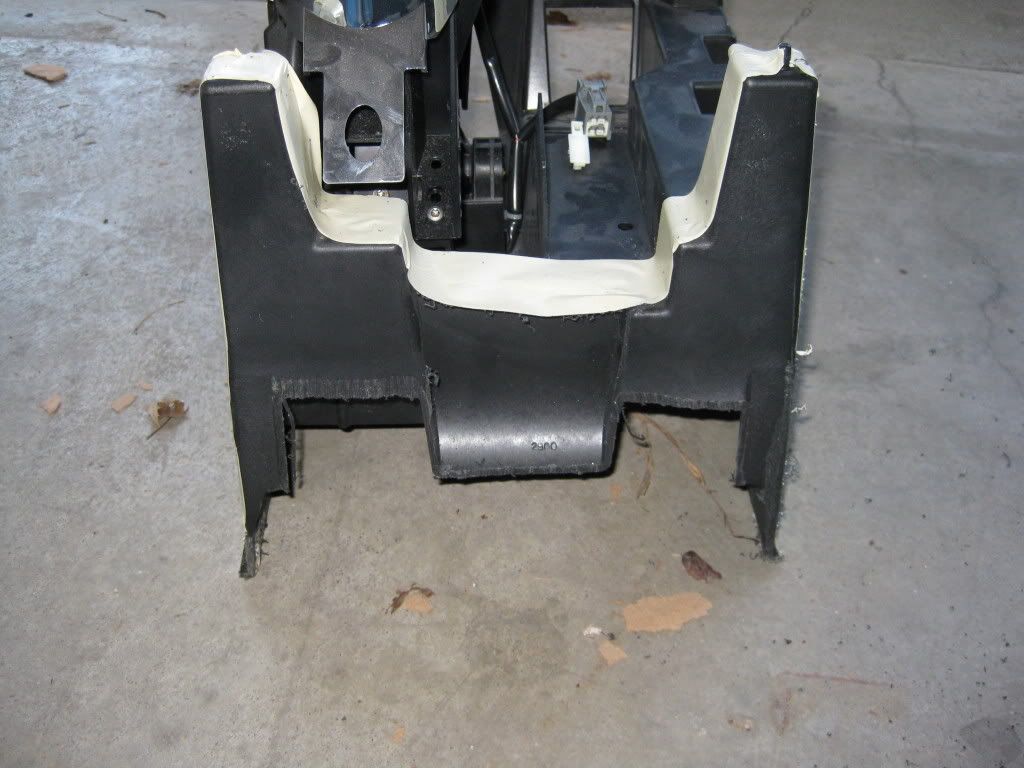
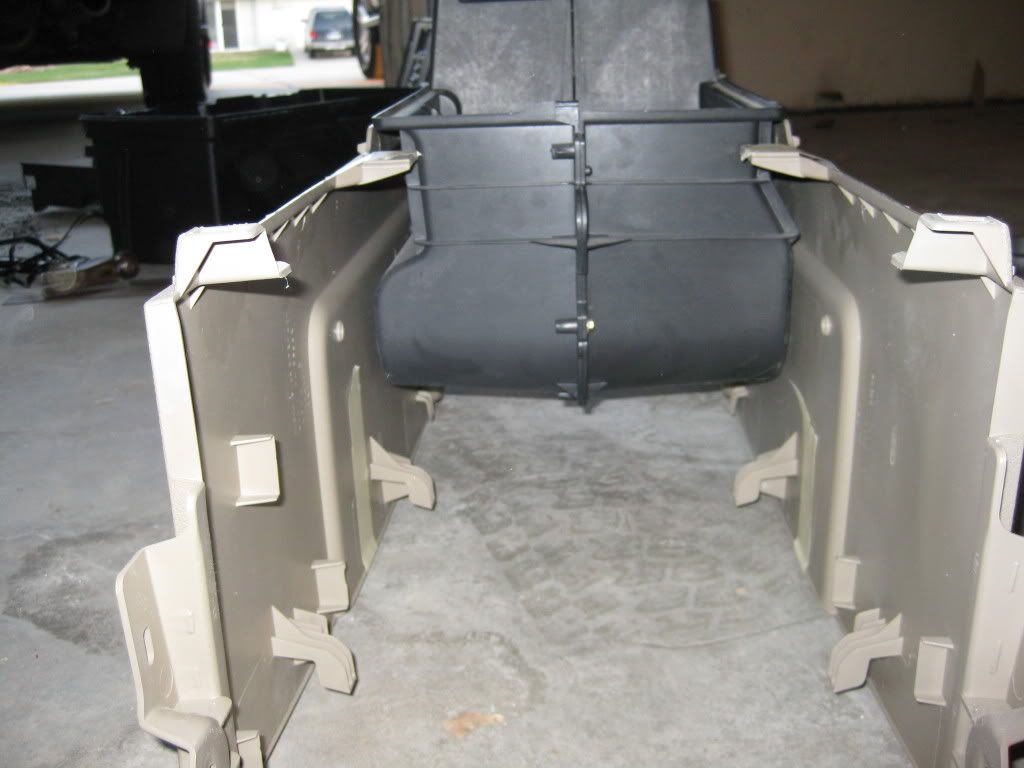
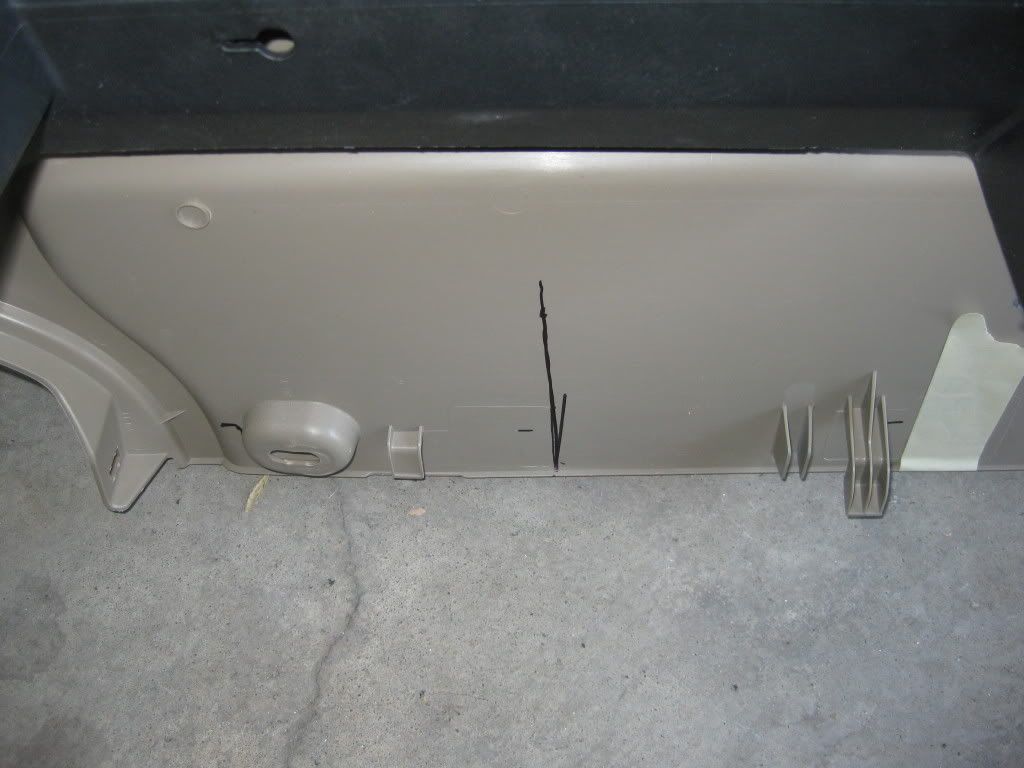
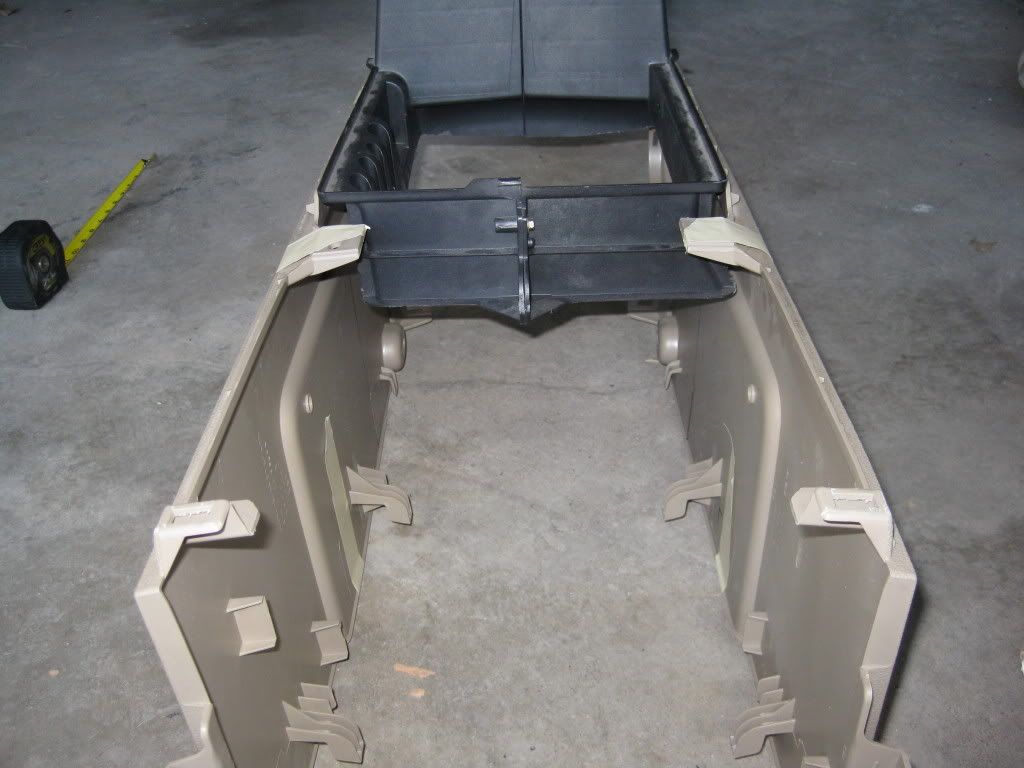
Now that the console is out of the truck I needed to remove the rear air duct. There are a few more bolts that need to be pulled out of the remaining console “guts”. After taking out the guts of the console I decided that I would need to cut down the main piece so that I can get the proper clearance for the new sub.
The mark up:
The separation:
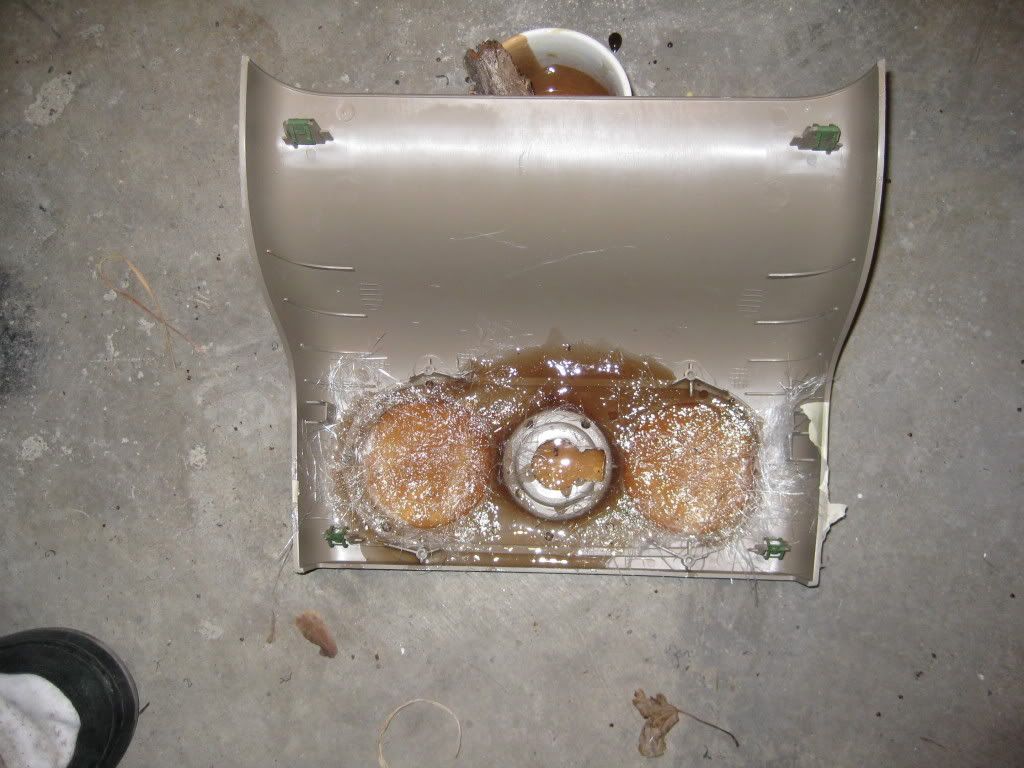
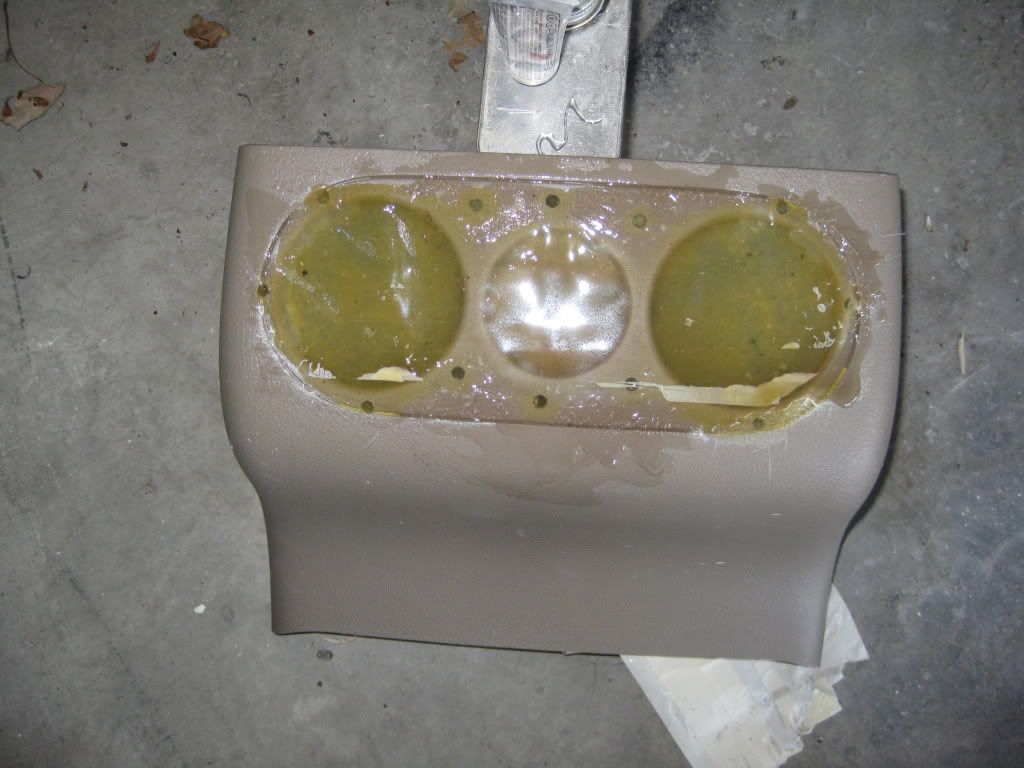
Since I would no longer be using the rear air I decided I would go ahead and delete the rear air vents along with the rear 12v source. I drilled small holes in the surface of the trim panels and sanded it down to make sure the fiberglass would properly bond to the panel. I will be wrapping this piece with tan leather once I apply a coat of body filler and sand it down smooth.
The piece:
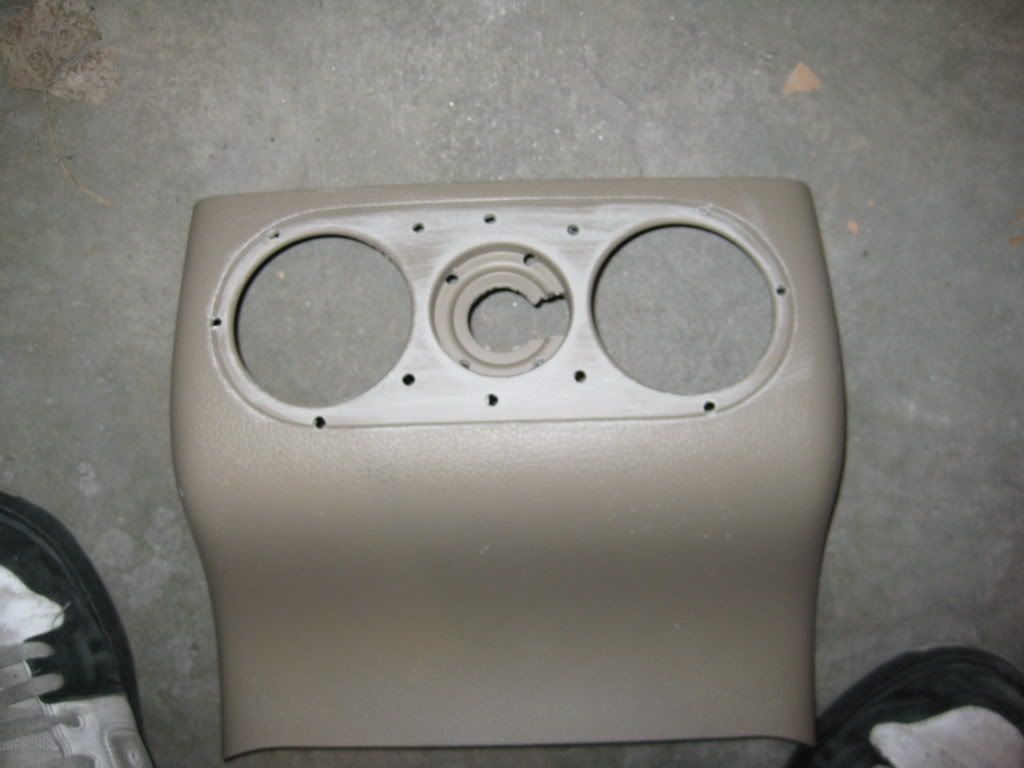
Ready for resin:
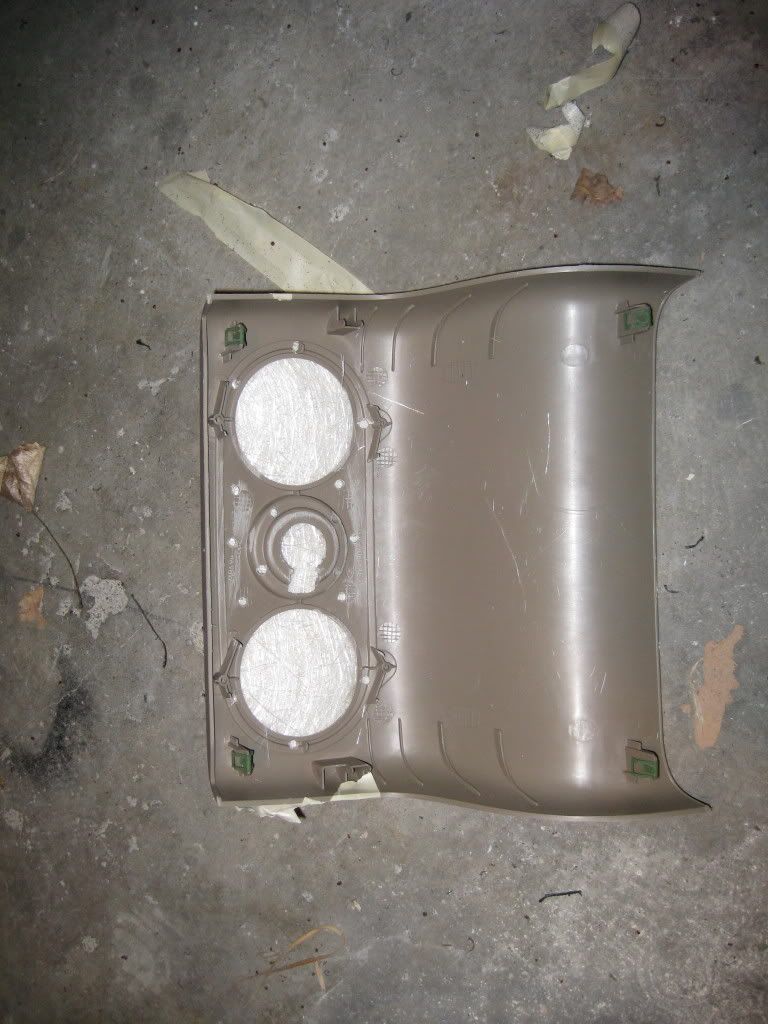
Resin applied:
The mark up:
The separation:
Since I would no longer be using the rear air I decided I would go ahead and delete the rear air vents along with the rear 12v source. I drilled small holes in the surface of the trim panels and sanded it down to make sure the fiberglass would properly bond to the panel. I will be wrapping this piece with tan leather once I apply a coat of body filler and sand it down smooth.
The piece:
Ready for resin:
Resin applied:
Thread Starter
|
Technical Article Contributor
Joined: Mar 2008
Posts: 2,268
Likes: 2
From: Rural NE
Next I figured out how much of the bottom to cut off of the black console piece. I will be putting a .375” thick piece of acrylic in the bottom so that I can show off the sub once it is installed. I will also be adding a few leds to light the area up once I figure out where I want to mount them.
The markup:
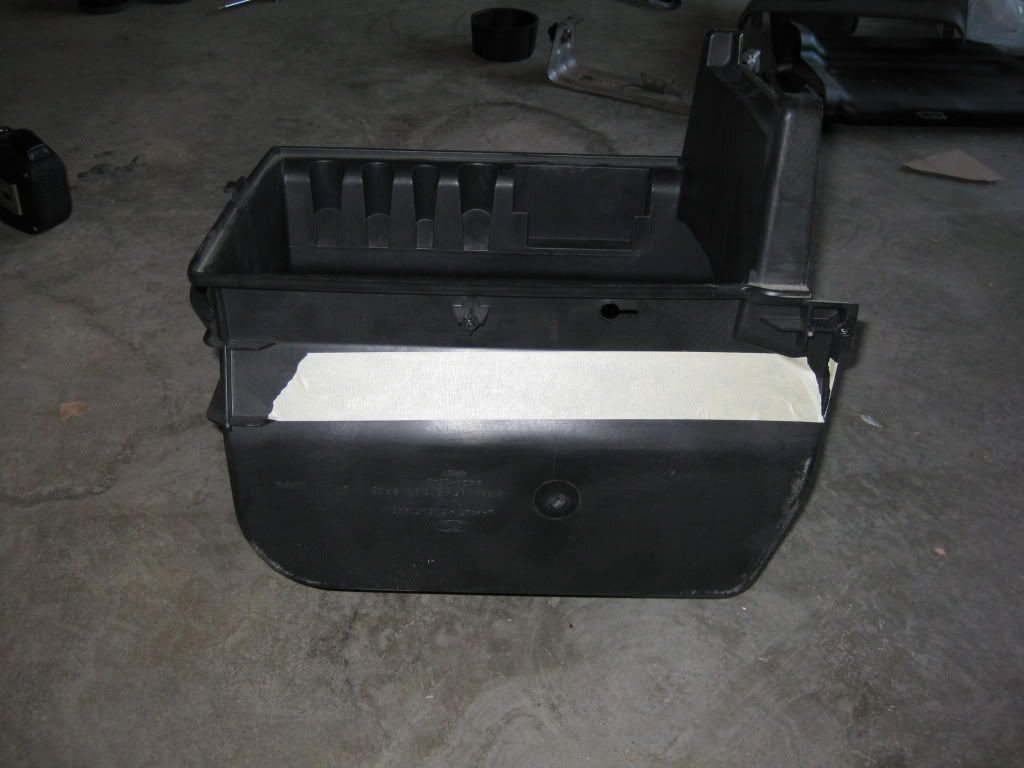
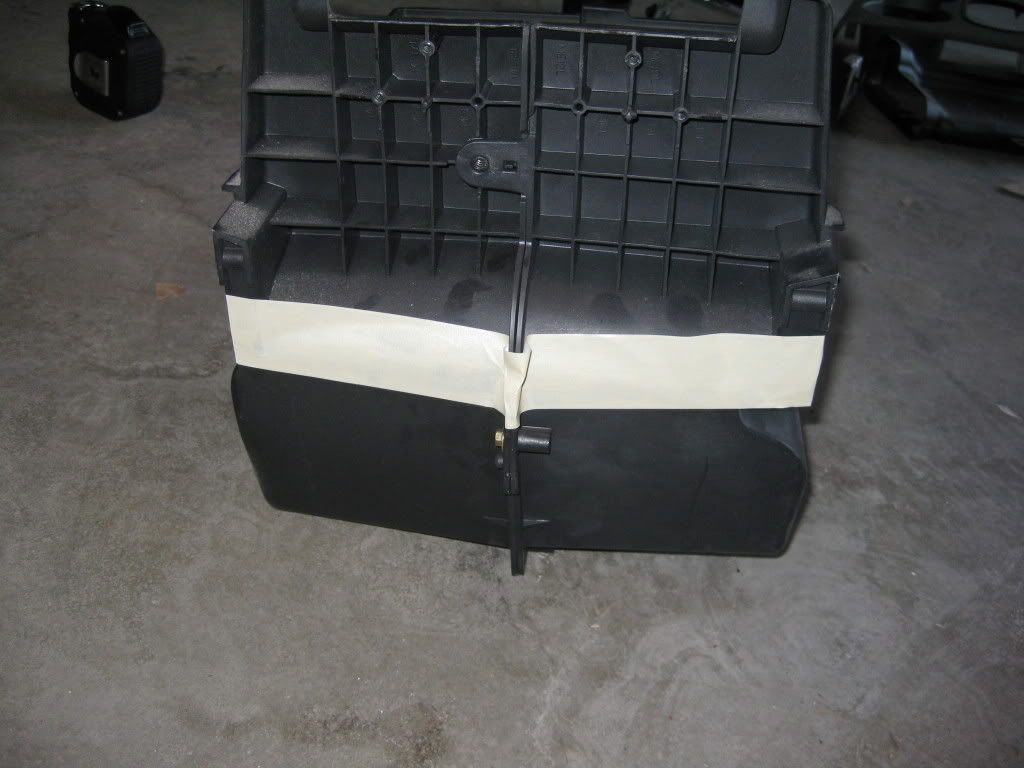
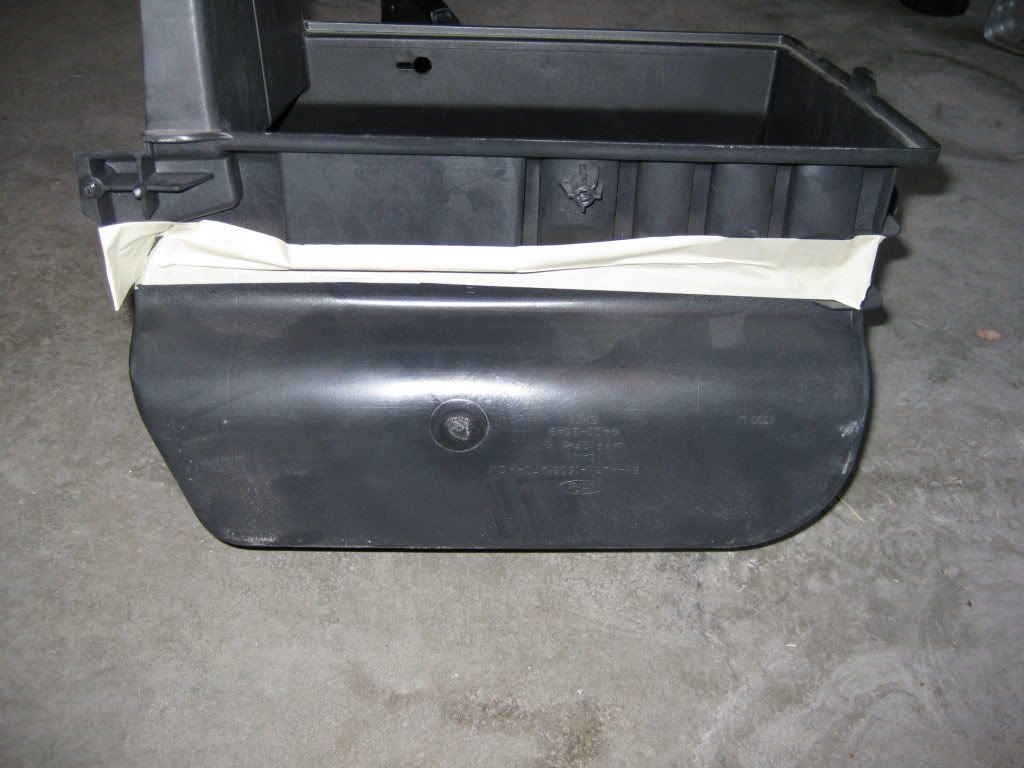
The separation:

I am also making a fiberglass plug to stop the airflow to the now deleted flow through console.
The markup:
The separation:
I am also making a fiberglass plug to stop the airflow to the now deleted flow through console.
Thread Starter
|
Technical Article Contributor
Joined: Mar 2008
Posts: 2,268
Likes: 2
From: Rural NE
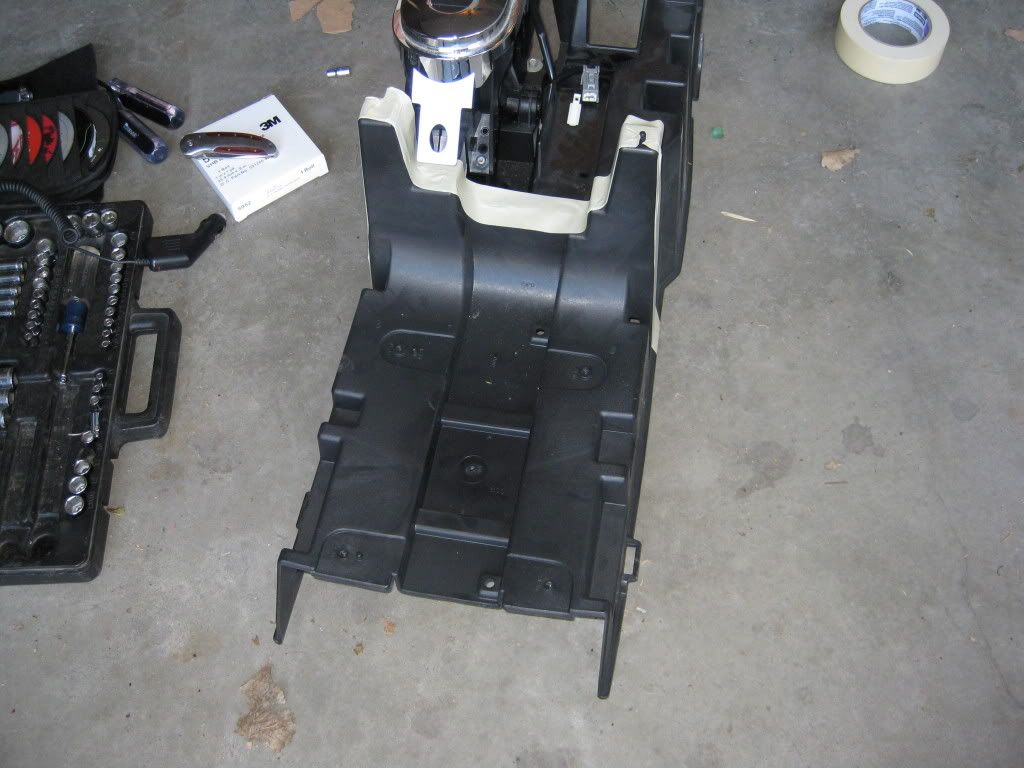
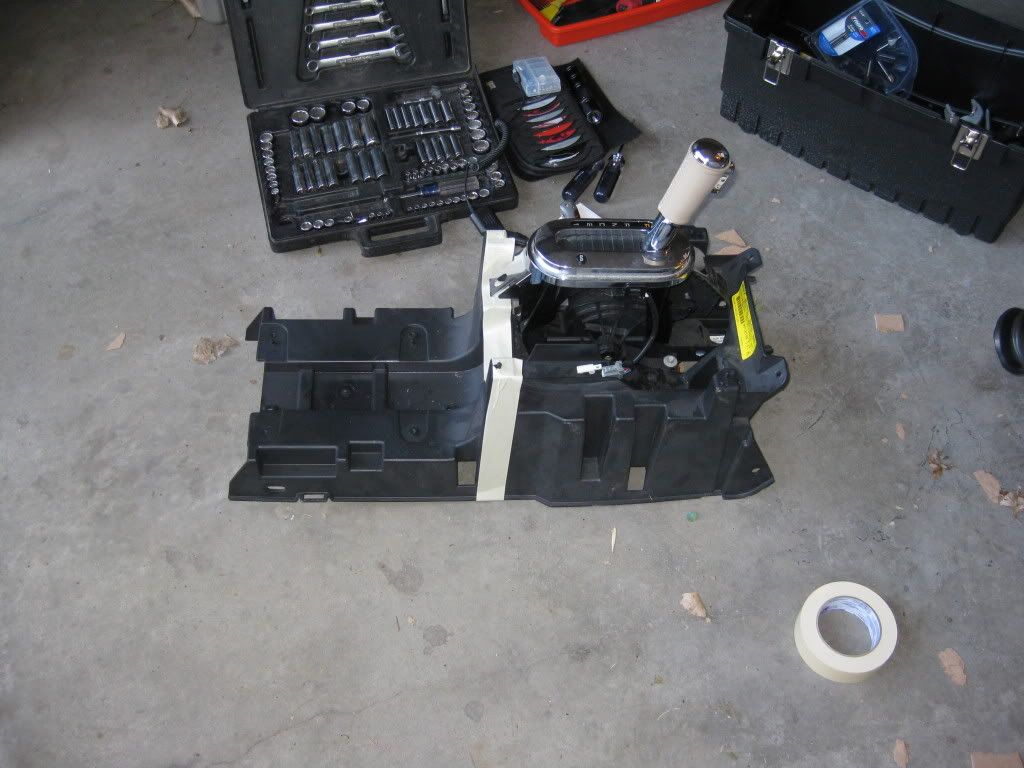
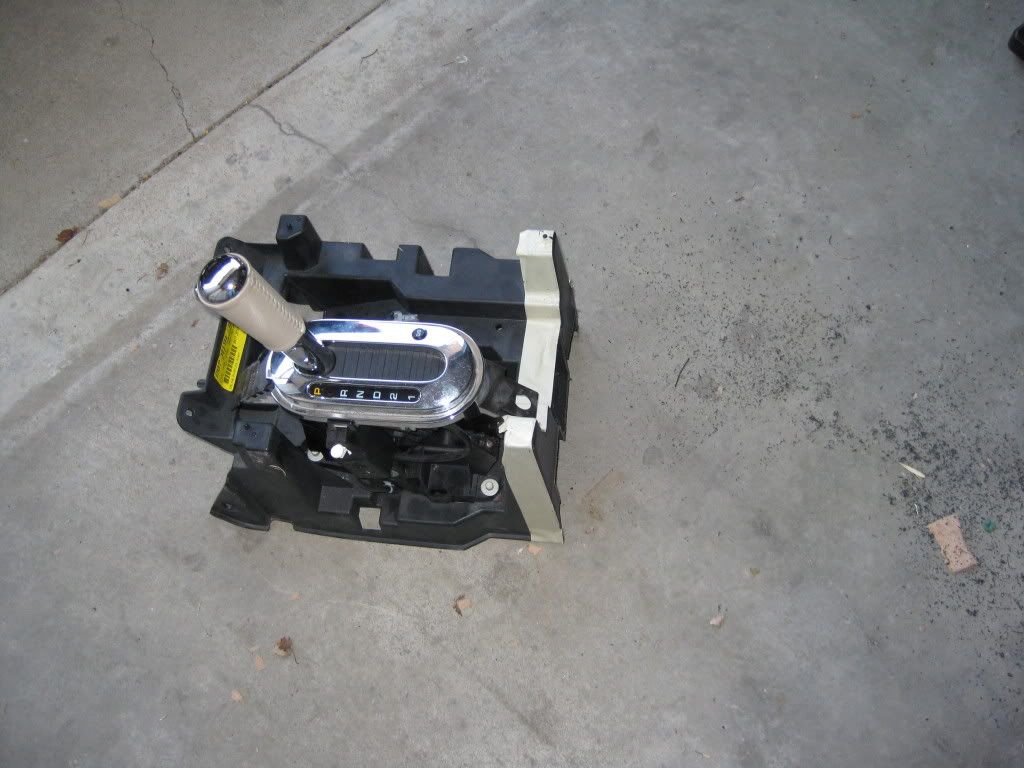
Misc pics from the day:
The cut shifter back in place:
The console rebuilt to get marked up:

That is all for today I will get some more pics tonight and keep you guys updated.
The cut shifter back in place:
The console rebuilt to get marked up:
That is all for today I will get some more pics tonight and keep you guys updated.


Thread Starter
|
Technical Article Contributor
Joined: Mar 2008
Posts: 2,268
Likes: 2
From: Rural NE
Ha ha ya it is a rather large project but I am really hoping to have it wrapped up by the weekend or at the latest mid week of next. I am going to be grabbing more resin today, I ran out last night or this thread would have been much larger. 

Senior Member
Joined: Jan 2008
Posts: 145
Likes: 0
From: Virginia Beach
Trending Topics


Thread Starter
|
Technical Article Contributor
Joined: Mar 2008
Posts: 2,268
Likes: 2
From: Rural NE

Thanks guys hopefully I don't let you guys down
Well on to the install/build:
Day 2:
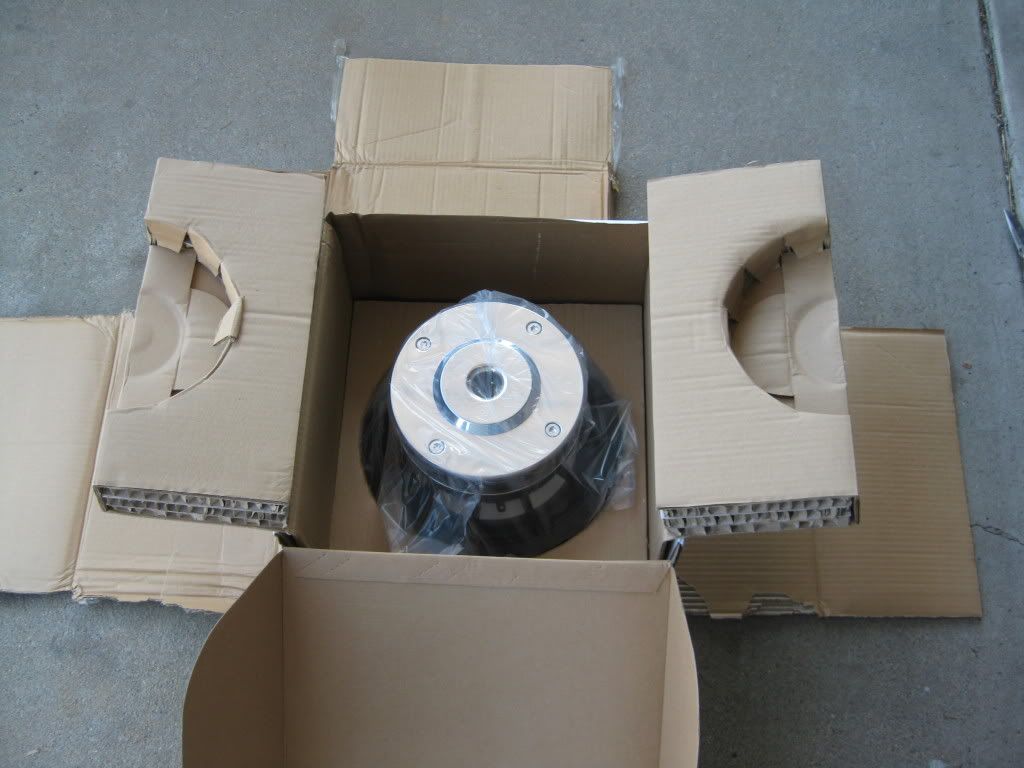
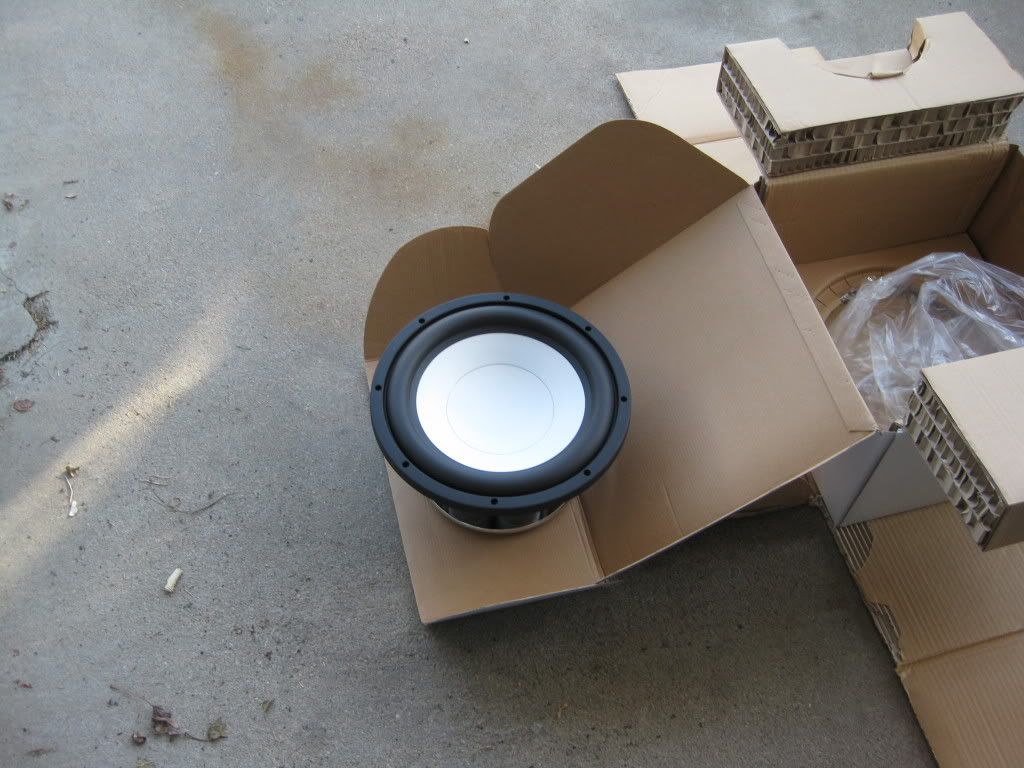
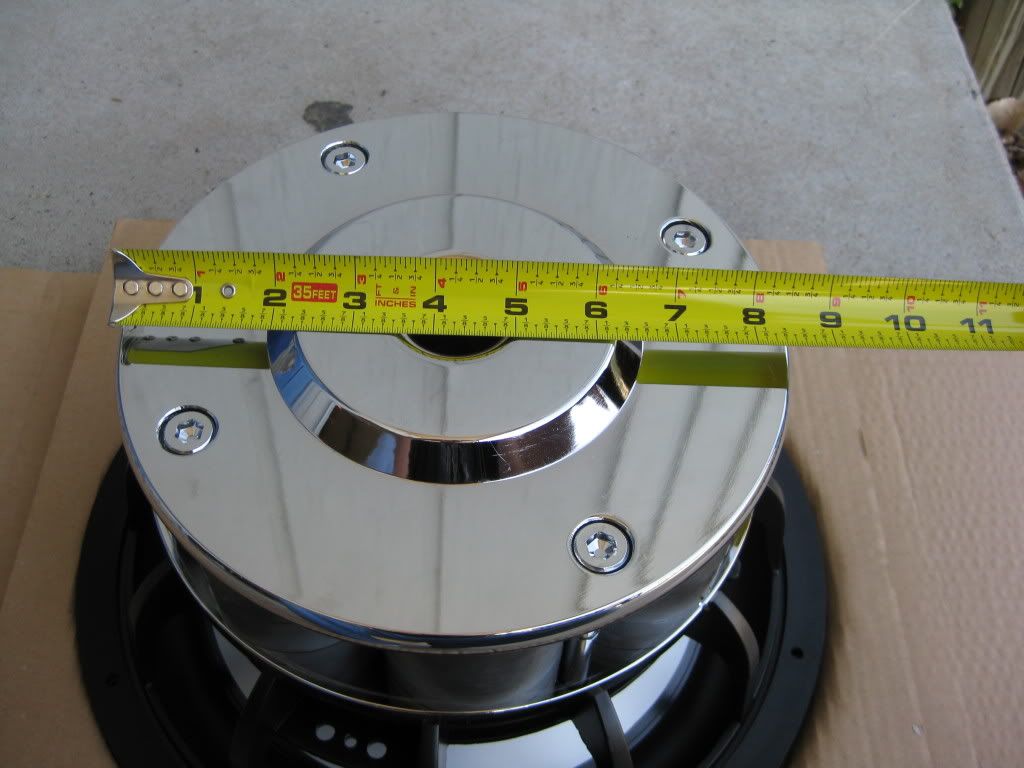
Well today I received my driver in the mail. My first impressions of the sub are simply wow. I knew coming in to buying this sub that it was going to be big but dang this thing actually fills out the center console perfectly. Here are a few pics of it:
Here it is just waiting to be opened:
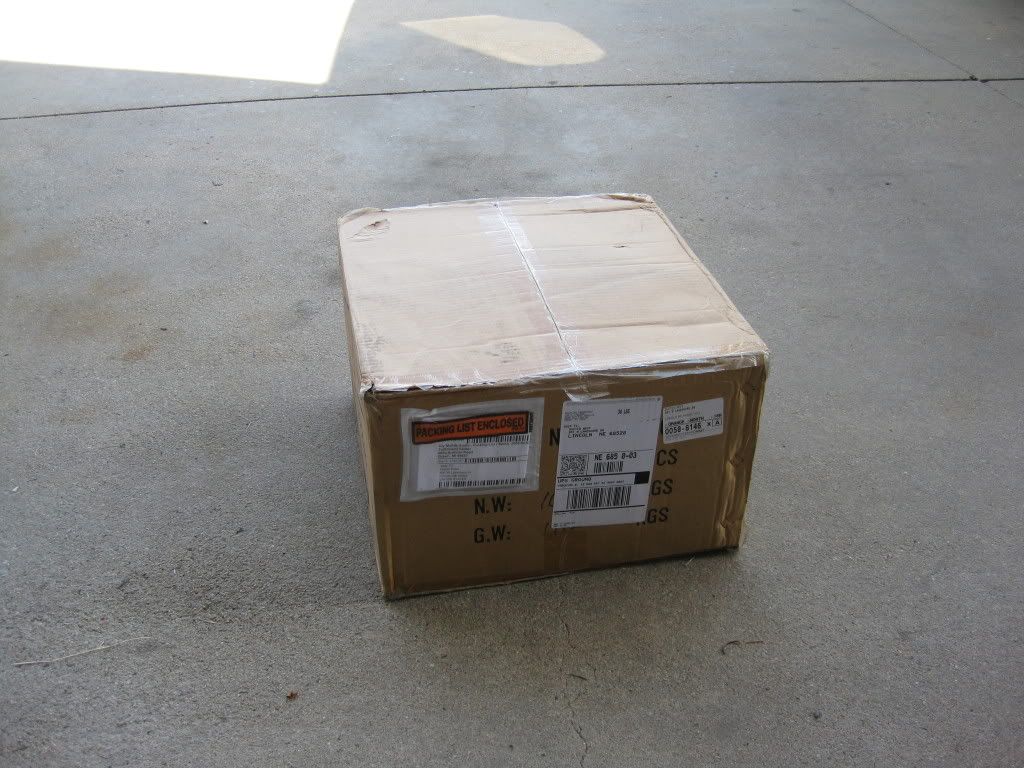
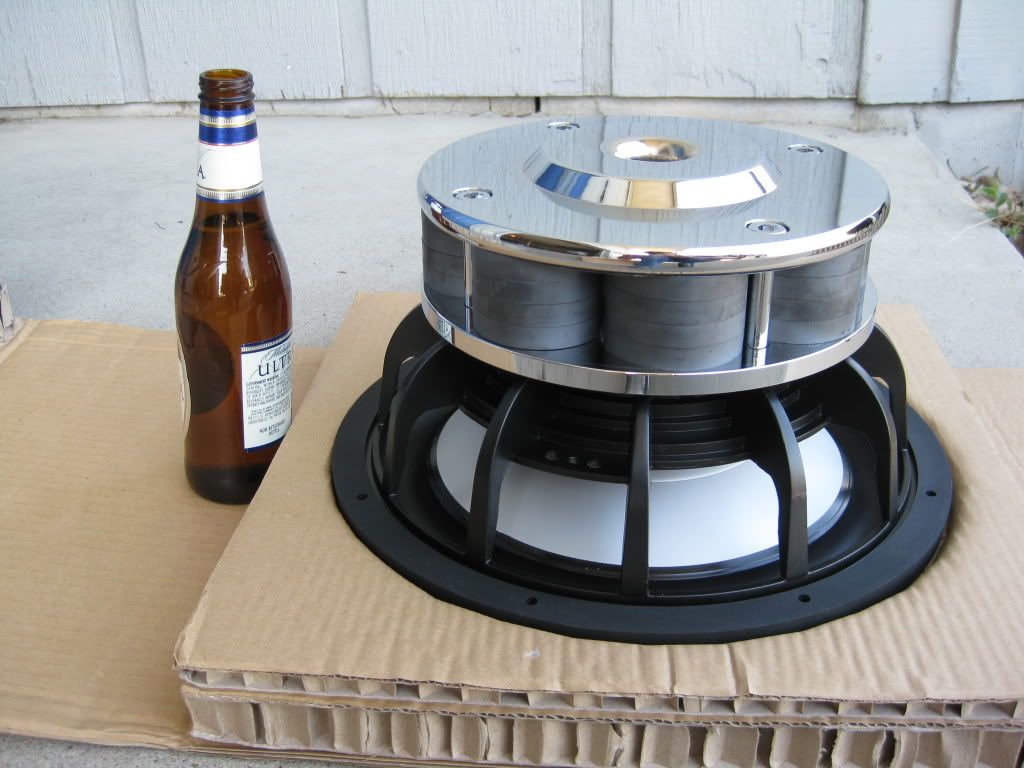
The DIYMA Reference 12:
Scale reference:
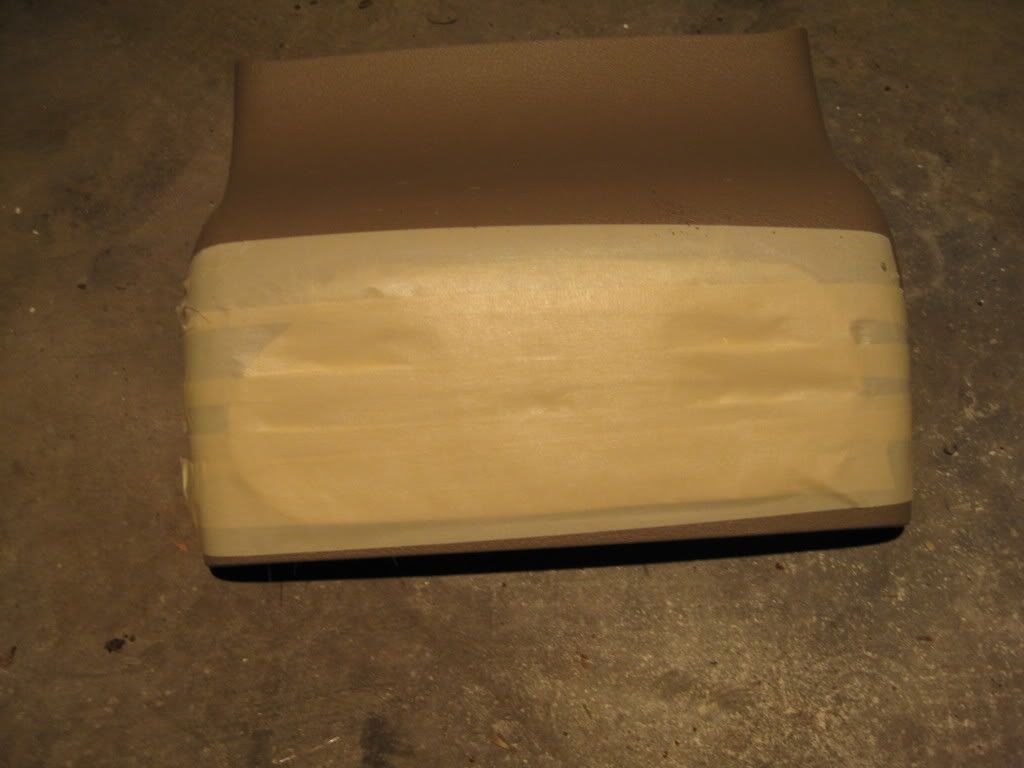
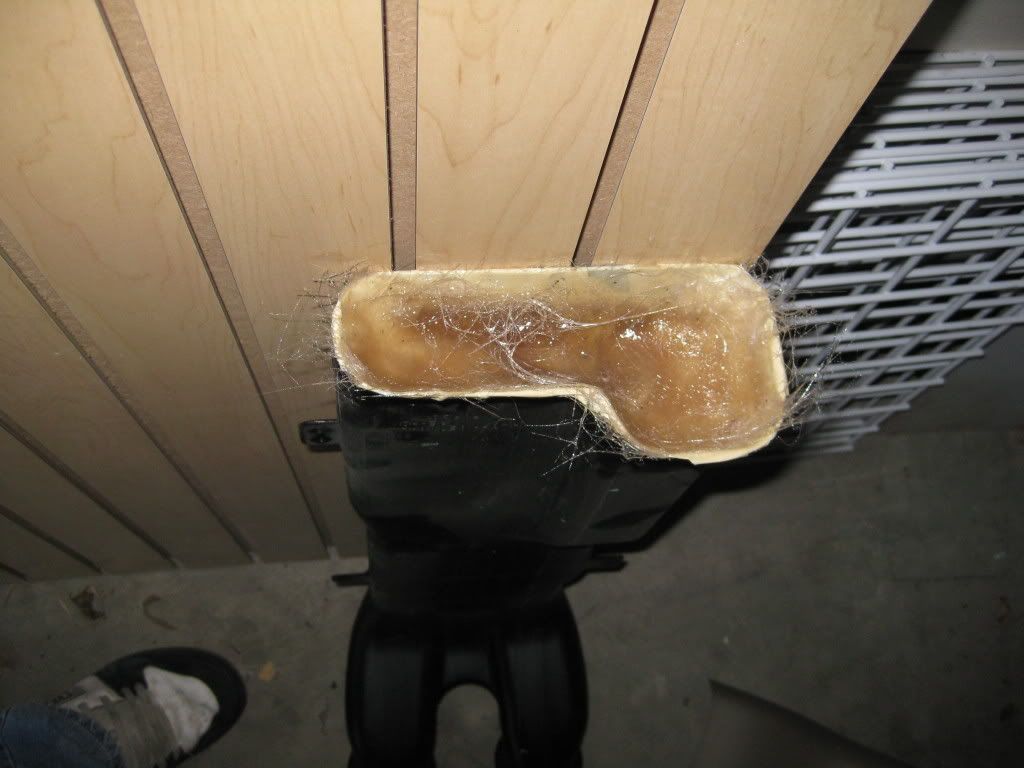
I managed to go get more resin last night so I managed to get the rear air vent plug started and I got one more layer of glass on the rear air delete panel as well. Tonight I will be getting that smoothed over with body filler and have it sanded down for tomorrow so I can get it wrapped in leather.
Rear air plug: (glass is sloppy in this pic I smoothed it out later on)
Rear air delete:
Last edited by 05_sprcrw; Apr 9, 2009 at 08:31 AM.
Thread Starter
|
Technical Article Contributor
Joined: Mar 2008
Posts: 2,268
Likes: 2
From: Rural NE
I am getting ready to make the tub for the enclosure, and here is the area prepped for the fiberglass. I won’t be starting this part until this weekend as I want to be able to have the windows and doors all open on the truck so I don’t get fumed out.
Mark up:
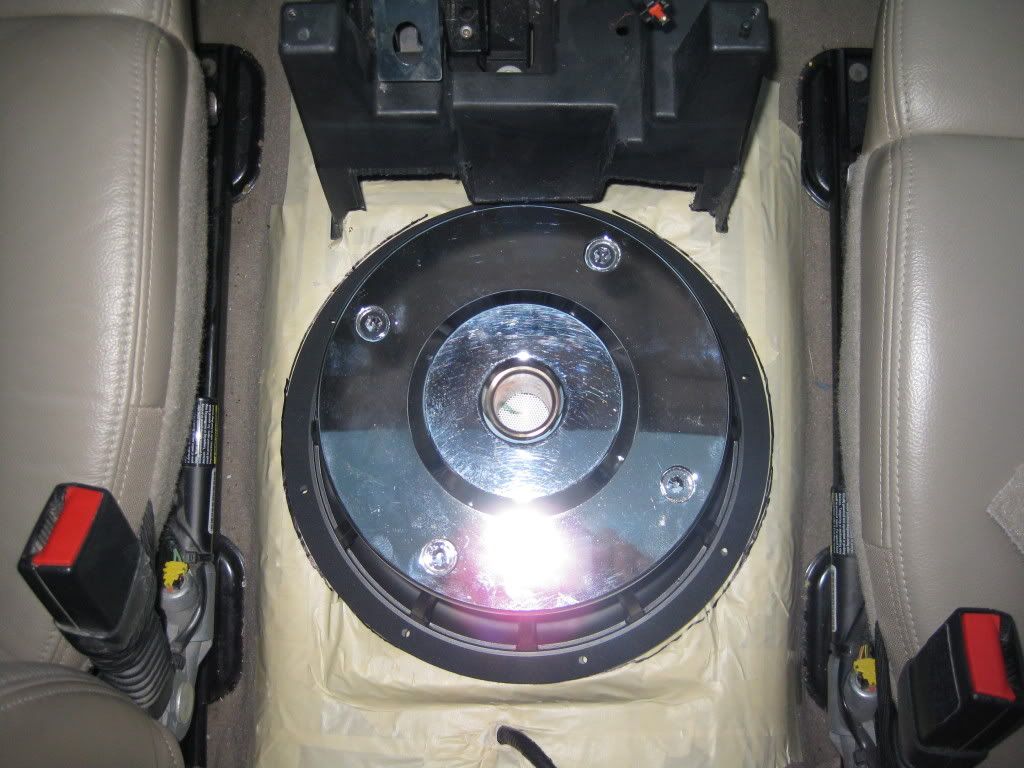
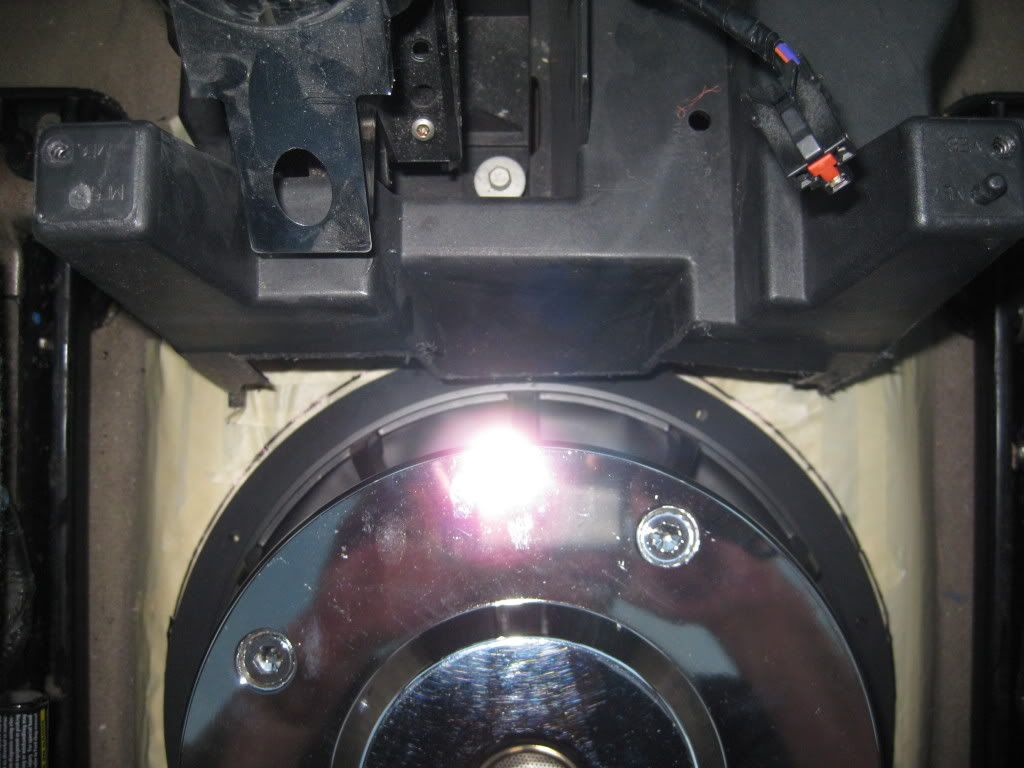
Here are pics of where the sub will be sitting in the truck:
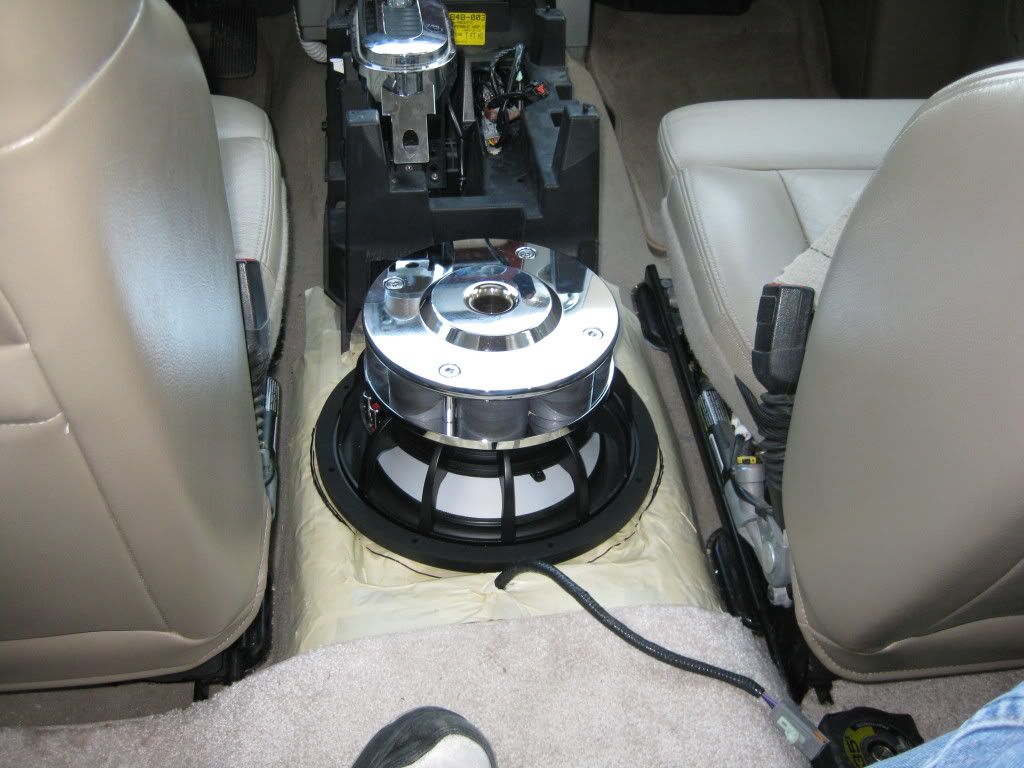
I also have some acrylic being cut so I can make a window in the bottom of the console so that you can see this sub after the install.
Misc pics:
Mount area where sub will be sitting:
Sorry guys but I had a lot going on last night so I didn’t get much accomplished so I will hopefully make up for it this evening.
Mark up:
Here are pics of where the sub will be sitting in the truck:
I also have some acrylic being cut so I can make a window in the bottom of the console so that you can see this sub after the install.
Misc pics:
Mount area where sub will be sitting:
Sorry guys but I had a lot going on last night so I didn’t get much accomplished so I will hopefully make up for it this evening.
