Here we go center console sub enclosure build


#17
 04-09-2009, 10:09 AM

Senior Member
Join Date: Jan 2008
Location: N/A
Posts: 3,782
Likes: 0
Received 0 Likes
on
0 Posts

#18
04-09-2009, 11:01 AM


Join Date: Aug 2006
Location: Northern California
Posts: 7,862
Likes: 0
Received 0 Likes
on
0 Posts
#19
04-09-2009, 11:33 AM

I have thought about that and I am going to be utilizing a lot of non hardening modeling clay in hopes of stopping the vibrations. Only time will tell I guess, worst case scenario I will just have to find a new place to keep my stuff other then the center console.
#20
04-09-2009, 12:20 PM

Senior Member
Join Date: Aug 2007
Location: Scottsdale, Arizona
Posts: 2,441
Likes: 0
Received 0 Likes
on
0 Posts
Awesome idea on the being able to view the sub, I was gonna suggest the same thing when I first saw that purty mirrored magnet. Maybe look into getting something etched into it? A couple of our shops that do custom boxes have etched our logo onto it in like the frost white. Maybe even some of that rope led to show it off? I dunno, just throwin ideas out there...
Looks great though man. Dont forget to polish that back of that sub before you mount it so you dont have finger prints all over it.
Looks great though man. Dont forget to polish that back of that sub before you mount it so you dont have finger prints all over it.
#21
04-09-2009, 12:22 PM

Join Date: Oct 2005
Location: Concordia, MO
Posts: 1,616
Likes: 0
Received 0 Likes
on
0 Posts

#22
04-09-2009, 12:35 PM
Awesome idea on the being able to view the sub, I was gonna suggest the same thing when I first saw that purty mirrored magnet. Maybe look into getting something etched into it? A couple of our shops that do custom boxes have etched our logo onto it in like the frost white. Maybe even some of that rope led to show it off? I dunno, just throwin ideas out there...
Looks great though man. Dont forget to polish that back of that sub before you mount it so you dont have finger prints all over it.
Looks great though man. Dont forget to polish that back of that sub before you mount it so you dont have finger prints all over it.
I have plans for led lighting with a pressure switch so they only light up when the console is open. I am considering a logo being etched I am not sure what I will have etched if I do. Ideas are more then welcome guys keep them coming

 J/k hoping to get it completed this weekend so the next couple days should show some pretty big gains.
 Npdang over at diymobleforums.com is having a killer sale on them right now and it only set me back $100 shipped


#26
04-09-2009, 05:02 PM
#27
04-10-2009, 08:37 AM
Day 3:
Well tonight, I went at it with a reckless abandon. I did not have any interruptions and managed to get a decent amount of work done.
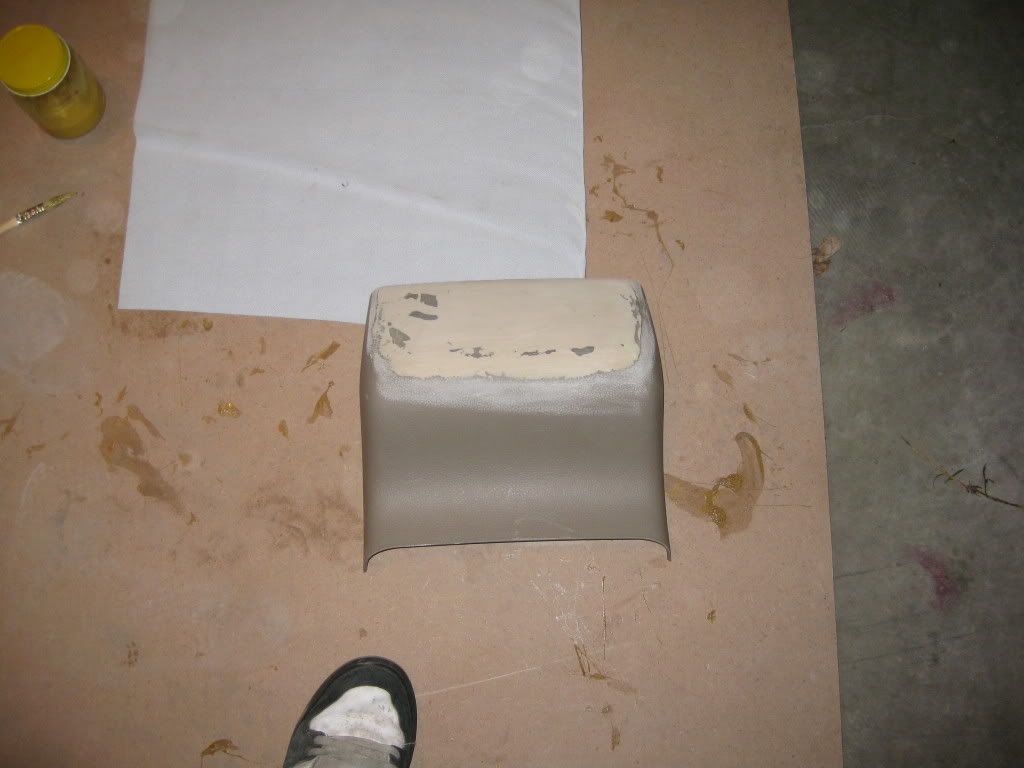
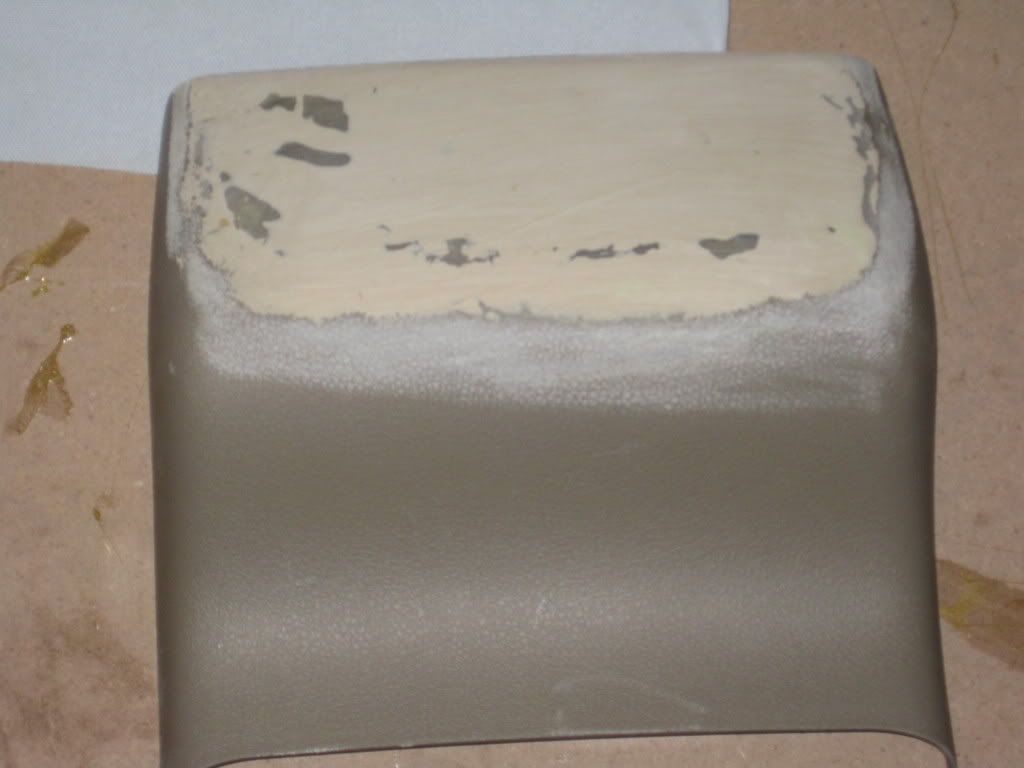
I started off by applying the body filler so that had time to dry while I was working on the fiberglass.
Body filler applied:
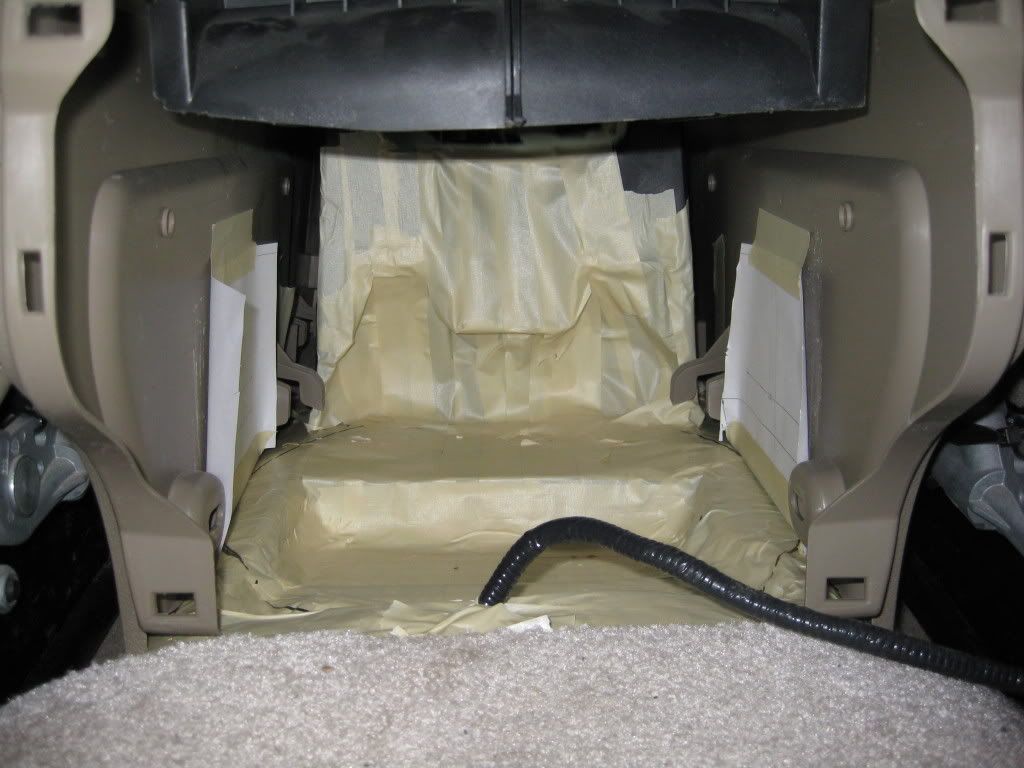
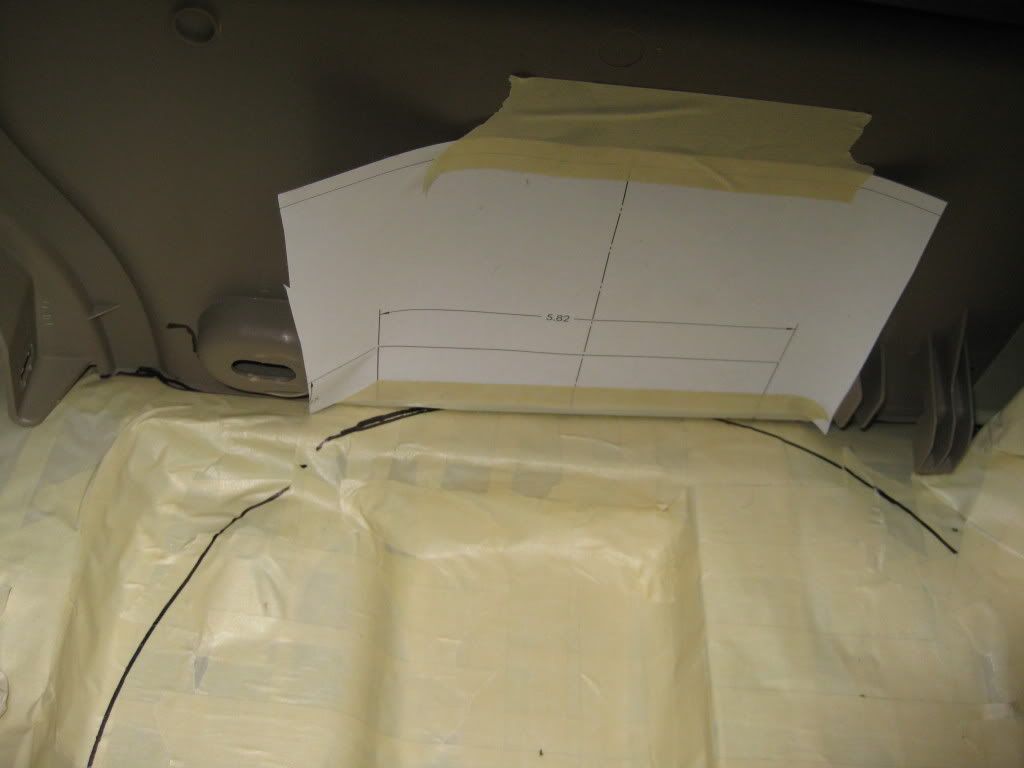
Next on the list was to mark off were I was going to need to make the console wider so I took the console back to the truck and got the center lines in and marked.
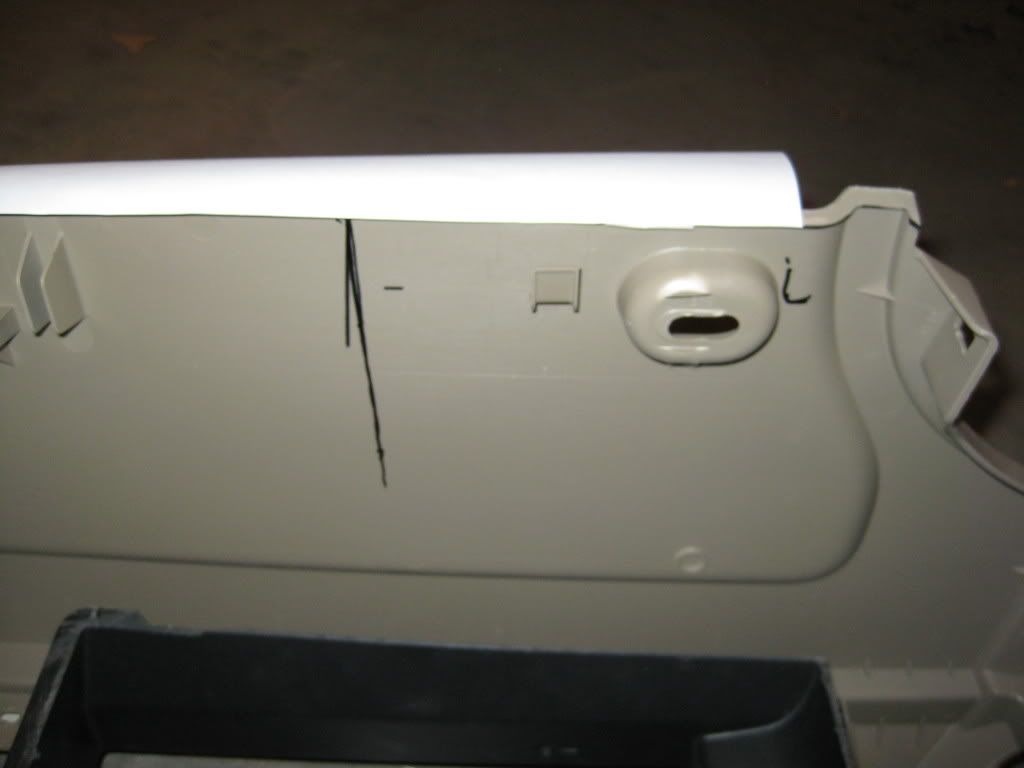
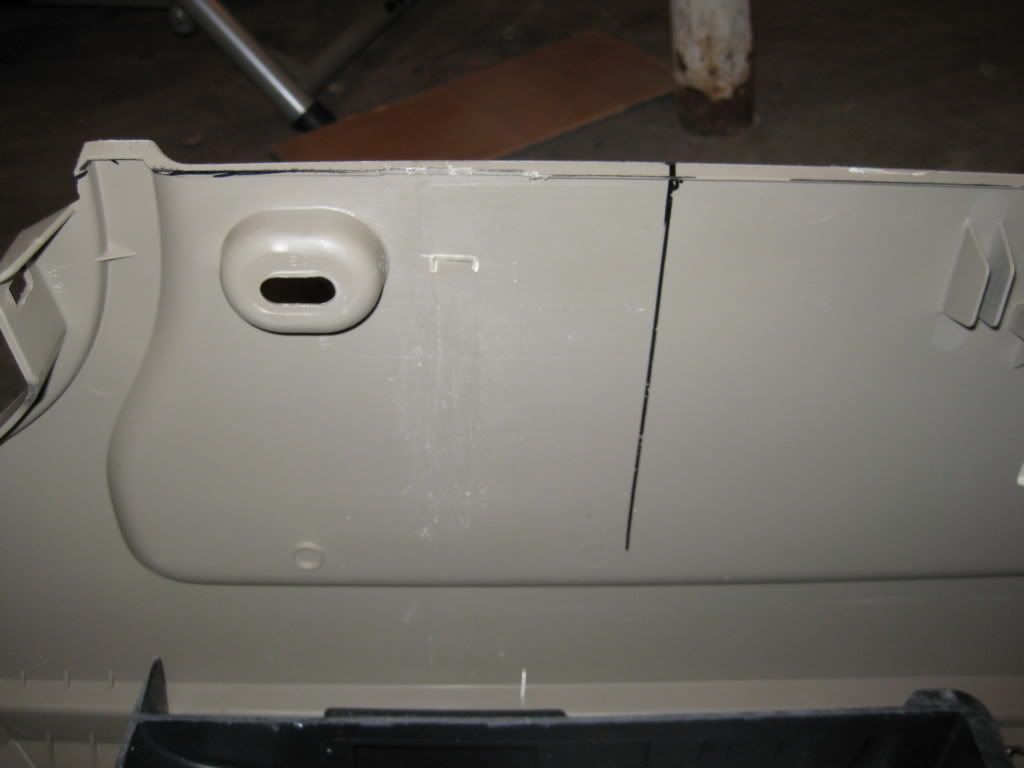
I then removed a tab on each side of the console that was going to get in the way.
Tab On: (The tab is located next to the oval)
Tab Off:
Well tonight, I went at it with a reckless abandon. I did not have any interruptions and managed to get a decent amount of work done.
I started off by applying the body filler so that had time to dry while I was working on the fiberglass.
Body filler applied:
Next on the list was to mark off were I was going to need to make the console wider so I took the console back to the truck and got the center lines in and marked.
I then removed a tab on each side of the console that was going to get in the way.
Tab On: (The tab is located next to the oval)
Tab Off:
#28
04-10-2009, 08:37 AM
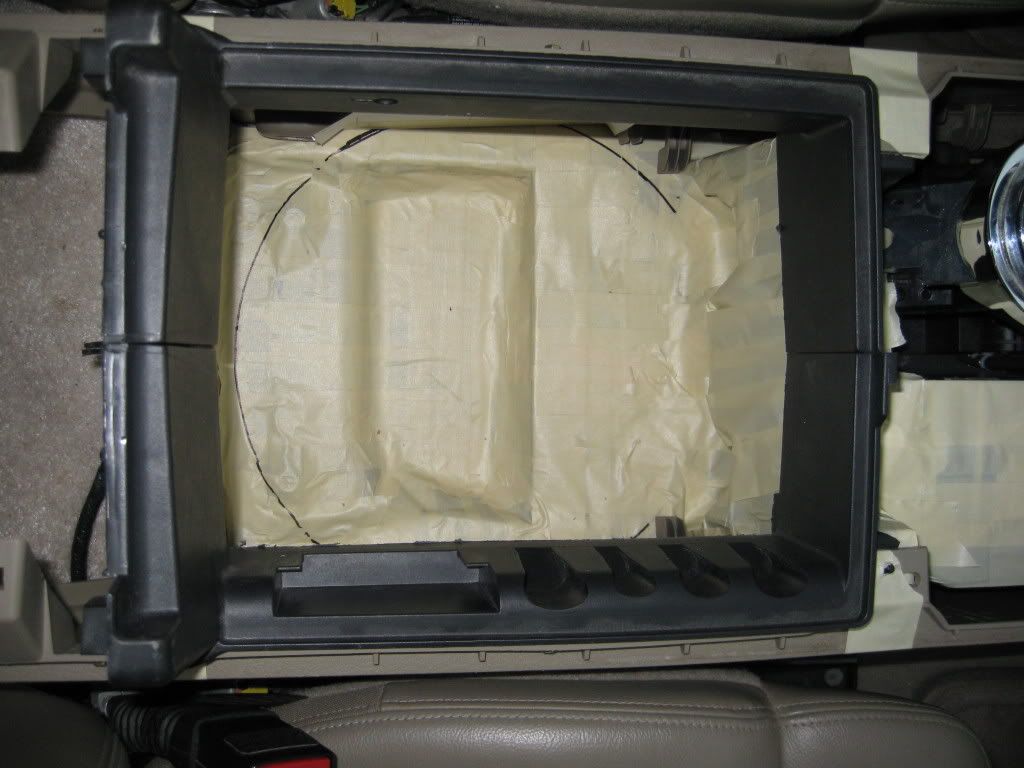
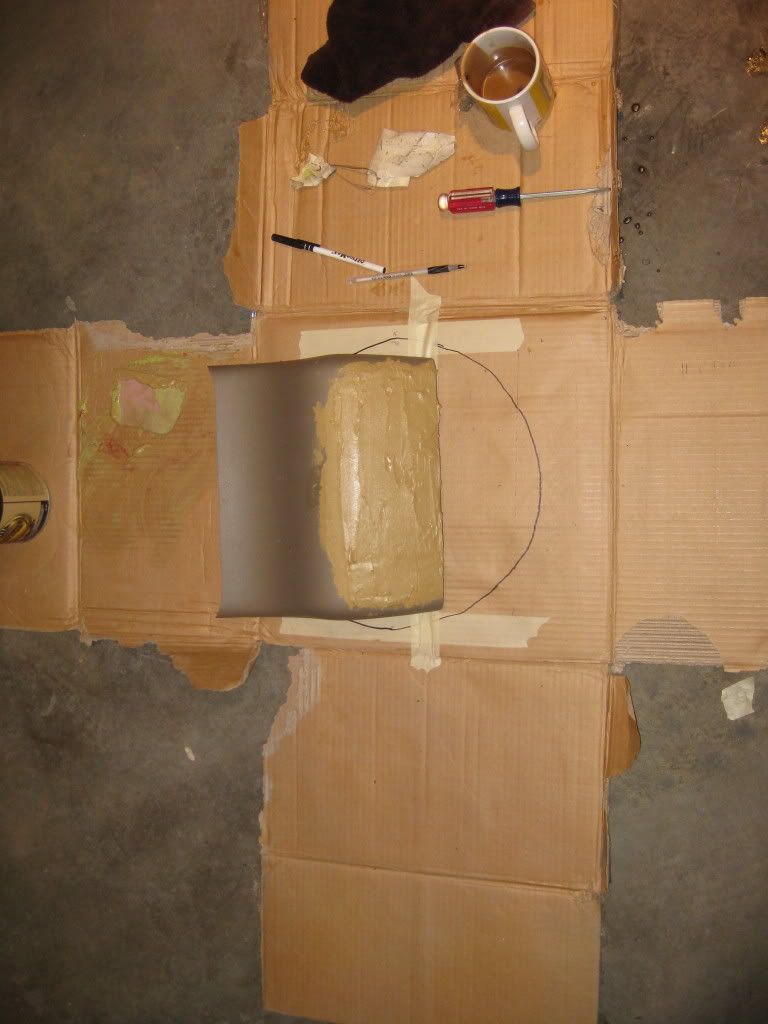
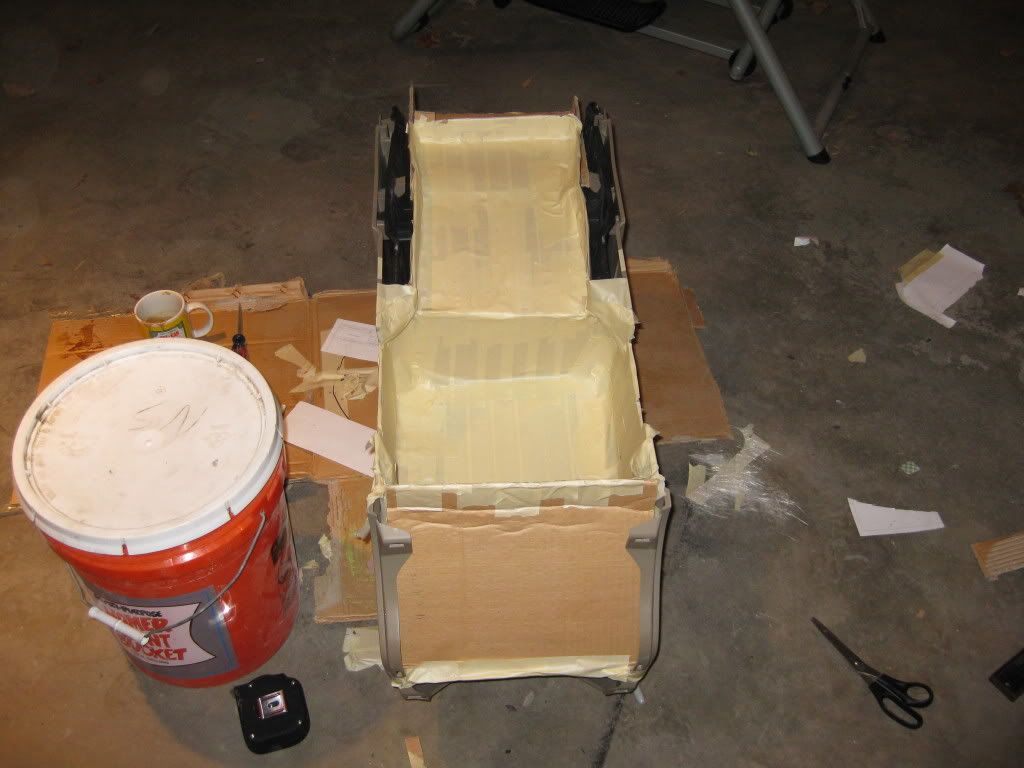
I then cut my plexiglass, and got the window arranged in the box.
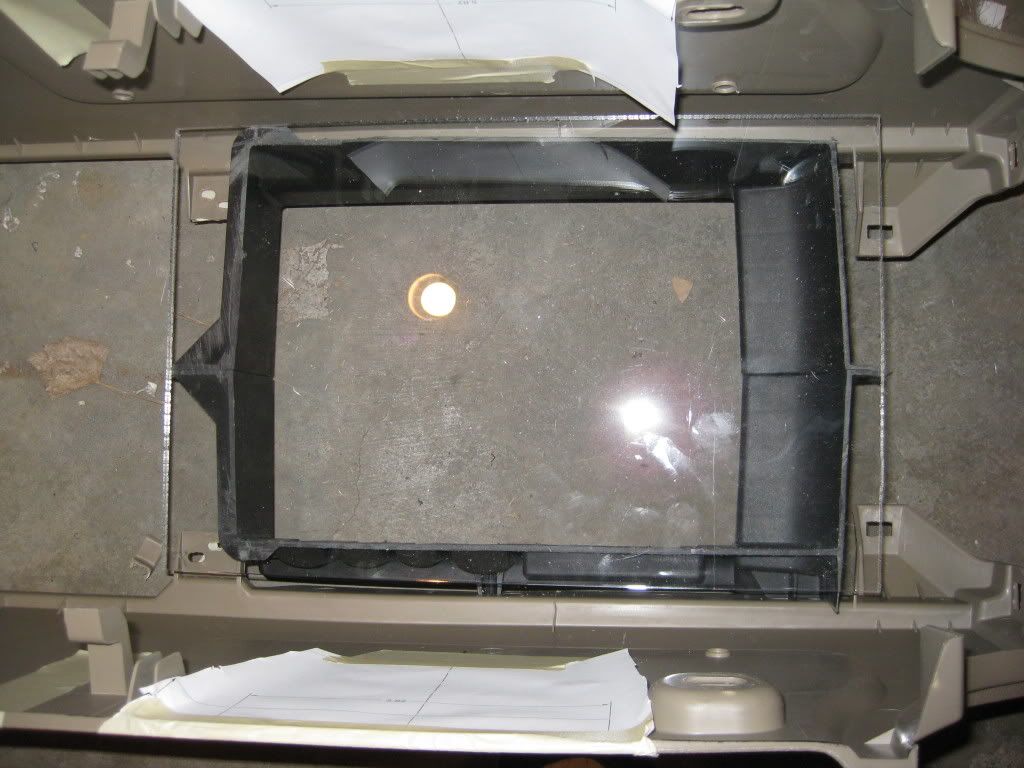
Next I assembled the entire console so I could make the top half of my sub box.
I cut out the widening slots to allow room for the ring.
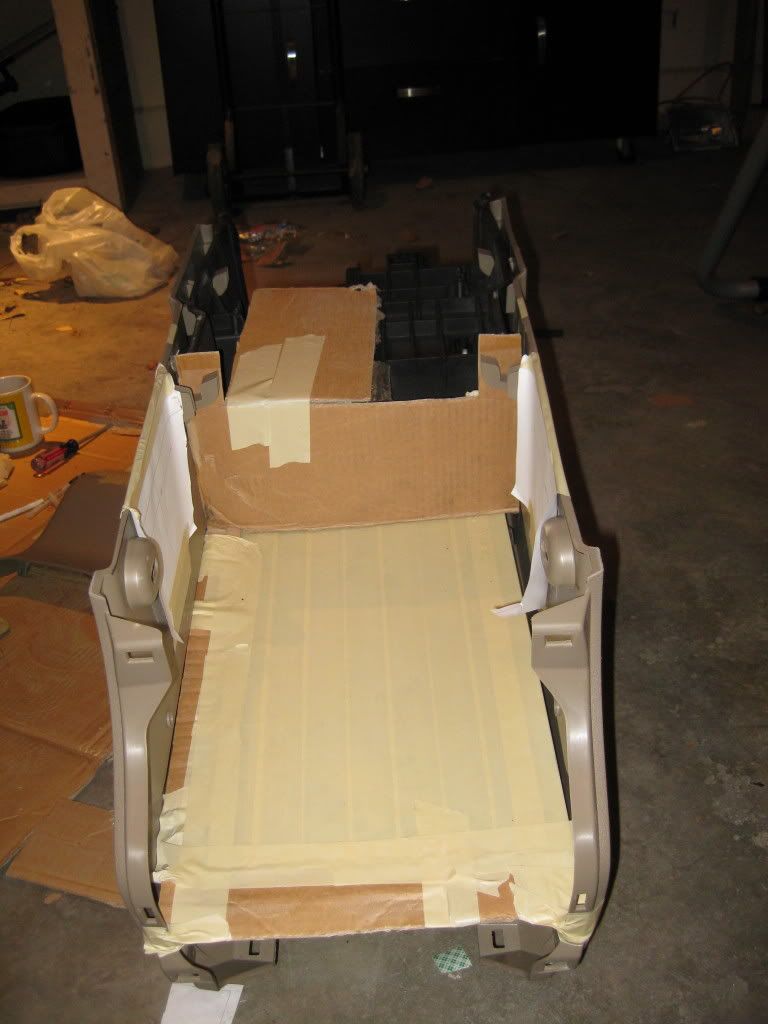
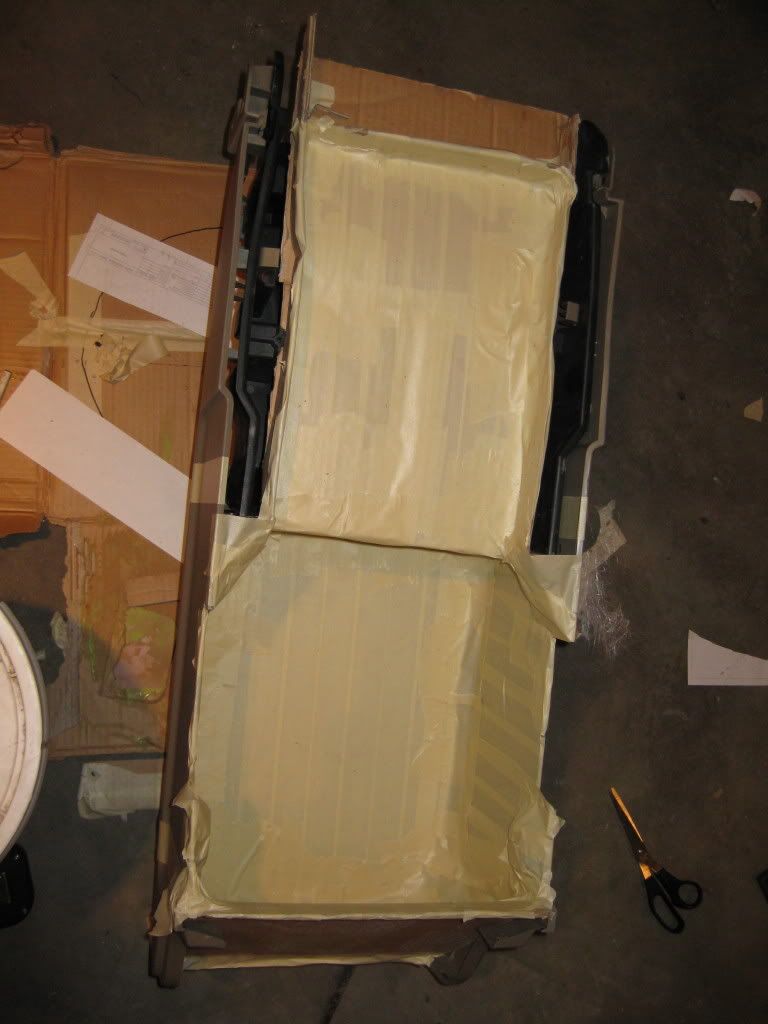
After all that I lined everything with tape and cardboard so that I could start the glass work.
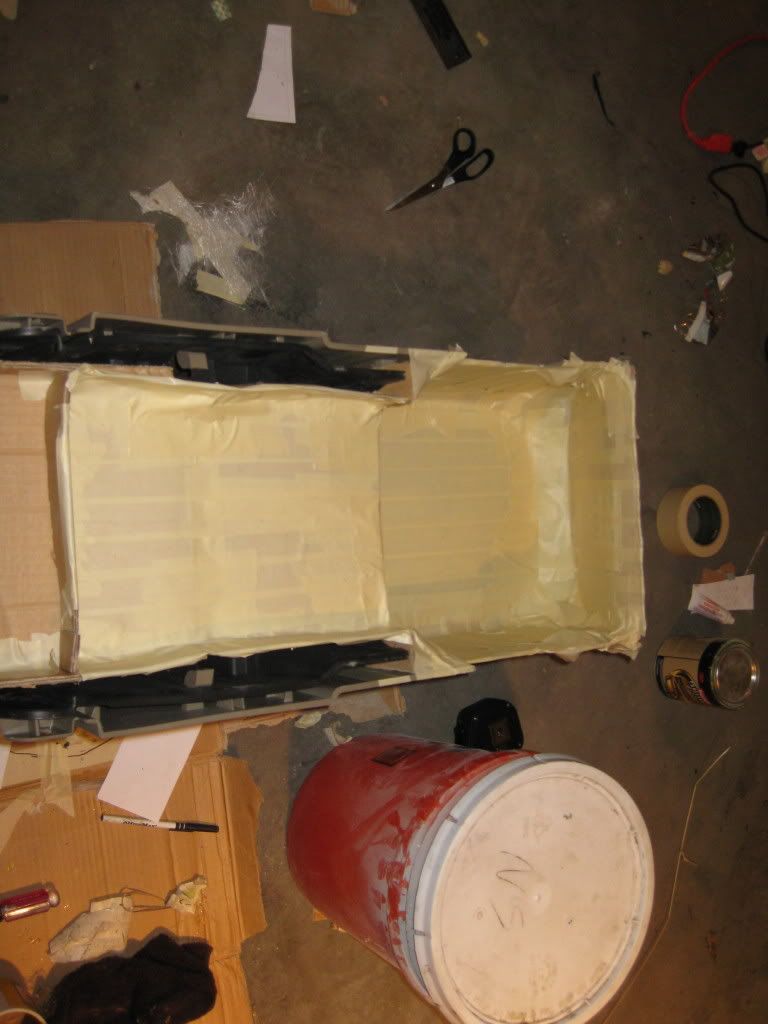

Resin applied
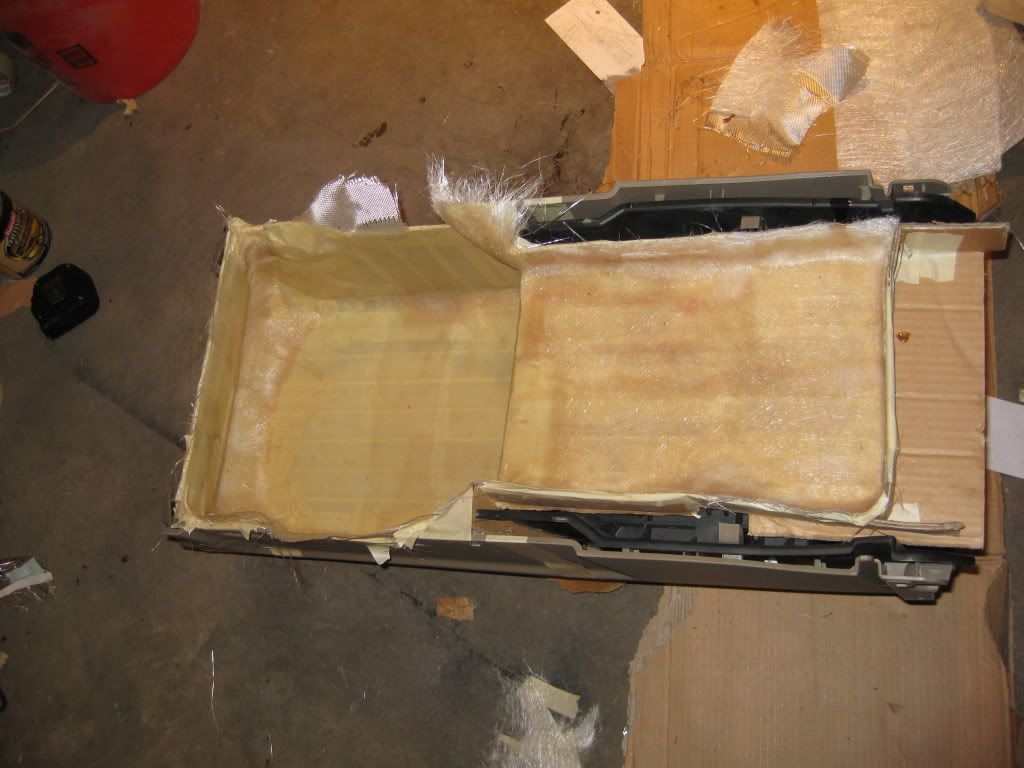
A roller is your friend when fiber glassing that is all I can say. I don’t know why but in this picture it looks like there are a few air bubbles but there are zero in the glass, so no worries there.
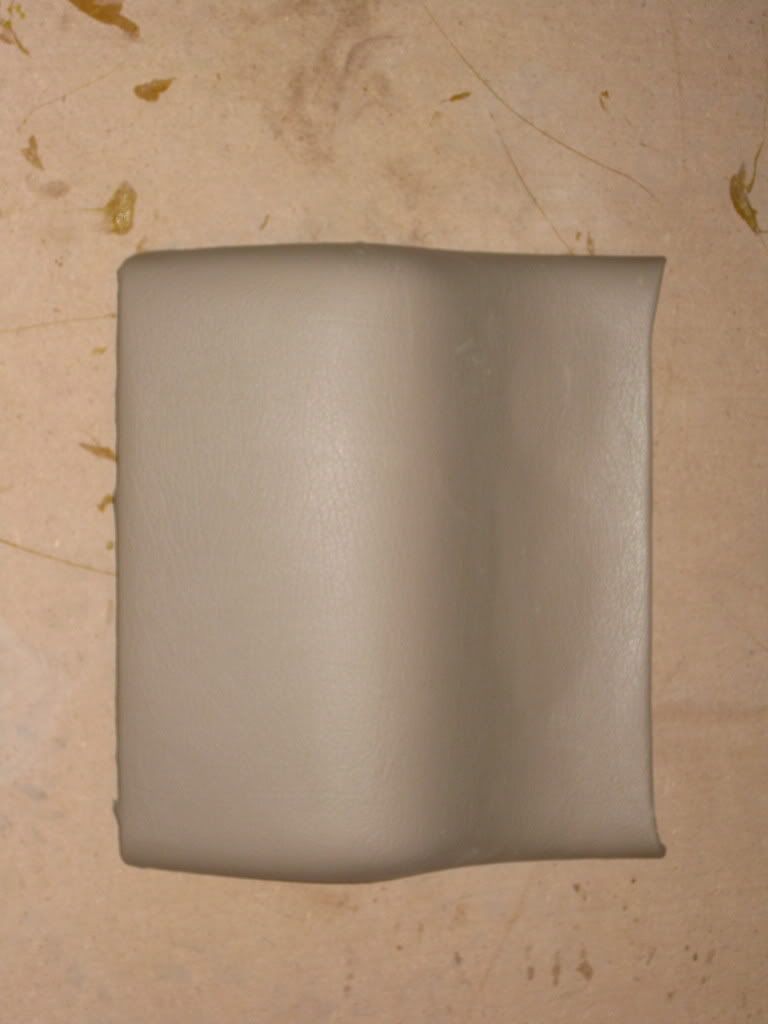
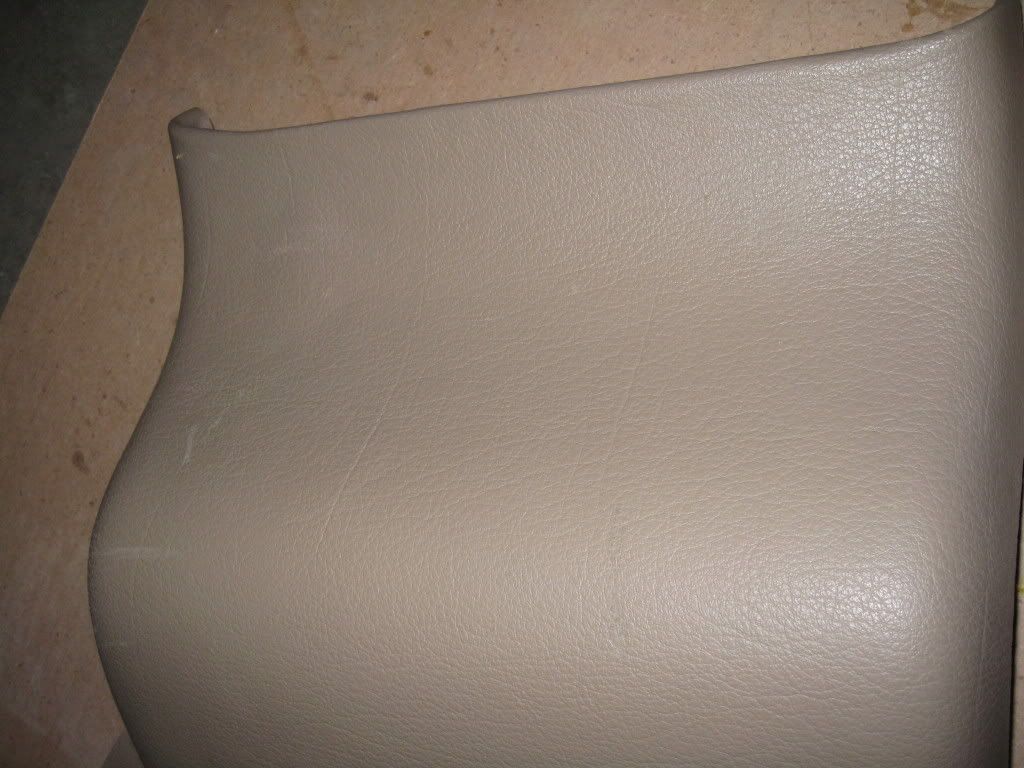
After I got it all covered in resin and 3 layers of glass I let that dry so I could come back to the rear air delete. I got it all sanded down and prepped for the vinyl and glue.
Next I assembled the entire console so I could make the top half of my sub box.
I cut out the widening slots to allow room for the ring.
After all that I lined everything with tape and cardboard so that I could start the glass work.
Resin applied
A roller is your friend when fiber glassing that is all I can say. I don’t know why but in this picture it looks like there are a few air bubbles but there are zero in the glass, so no worries there.
After I got it all covered in resin and 3 layers of glass I let that dry so I could come back to the rear air delete. I got it all sanded down and prepped for the vinyl and glue.
#29
04-10-2009, 08:38 AM