How-To: Push-button Start (2004-2008)


Thread Starter
|
Technical Article Contributor
Joined: Nov 2008
Posts: 340
Likes: 0
From: OK
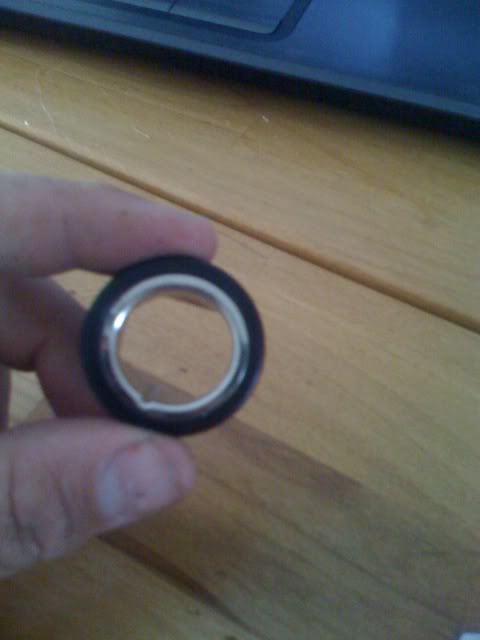
Strip the guts out
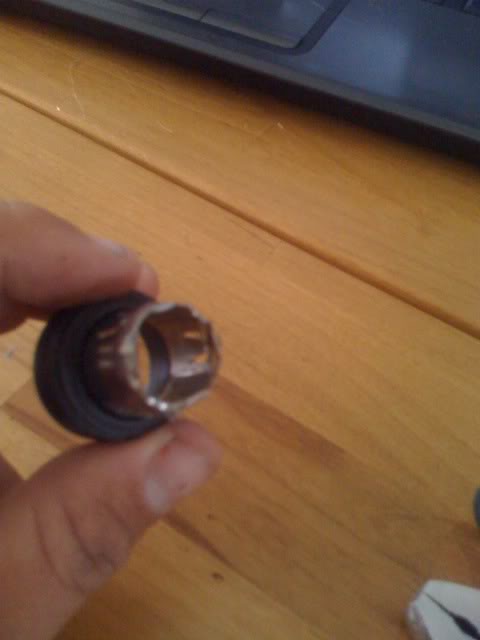
Take everything of the actual button
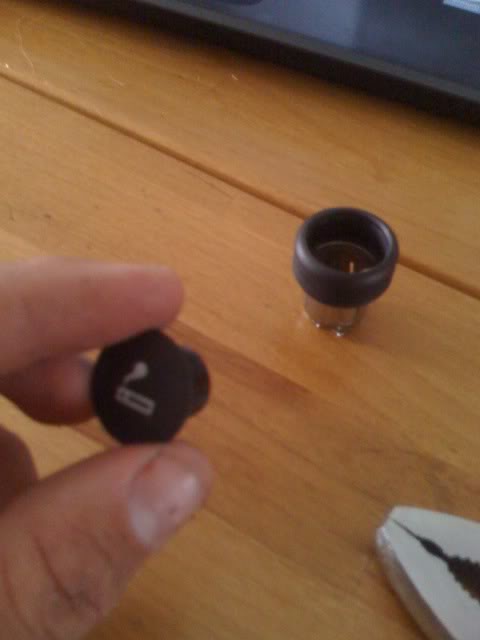
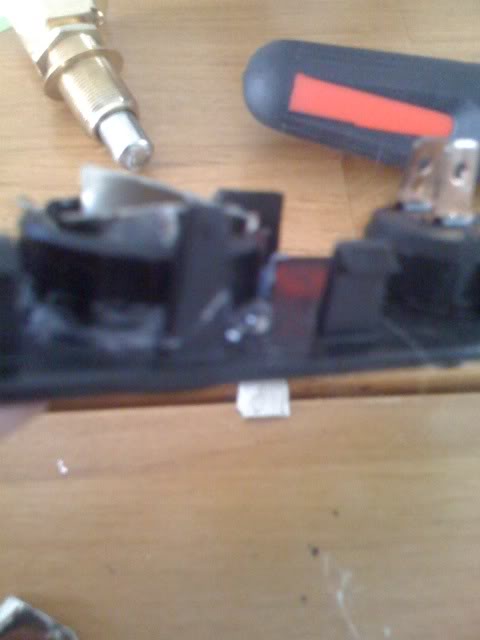
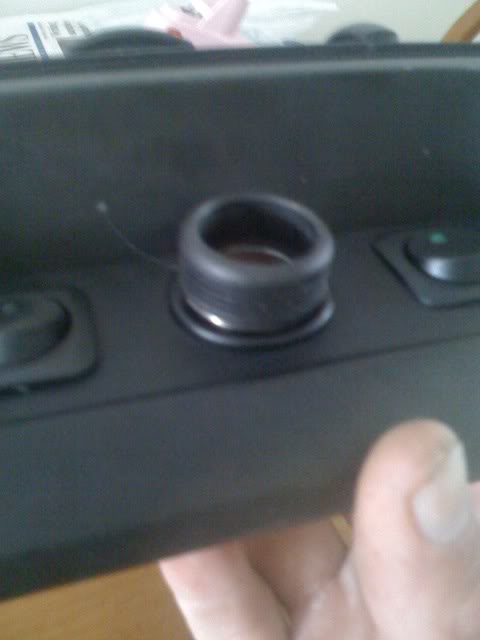
Install the socket ring back into the panel, I used a hot glue gun to make sure nothings comes apart. You dont have to I didn't the first time but i think it works better.
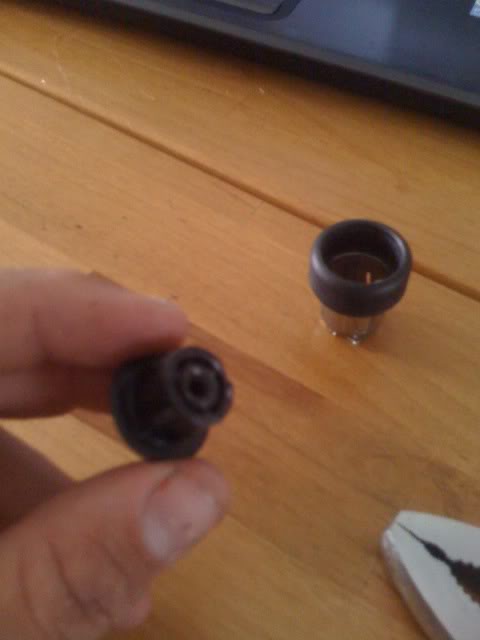
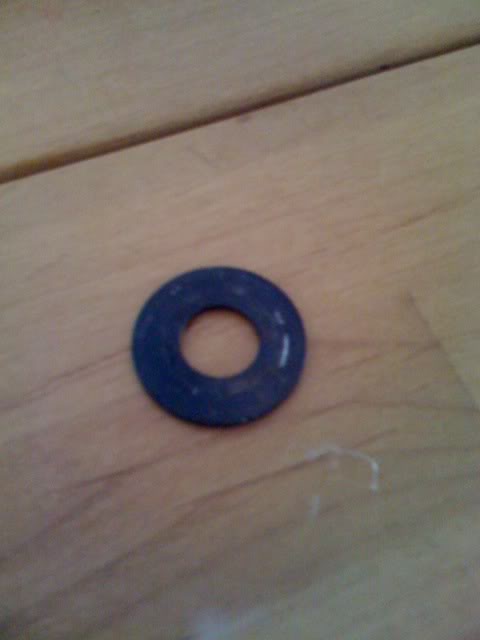
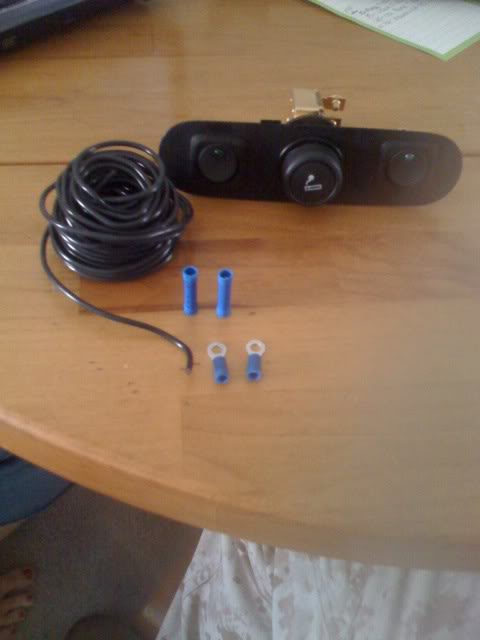
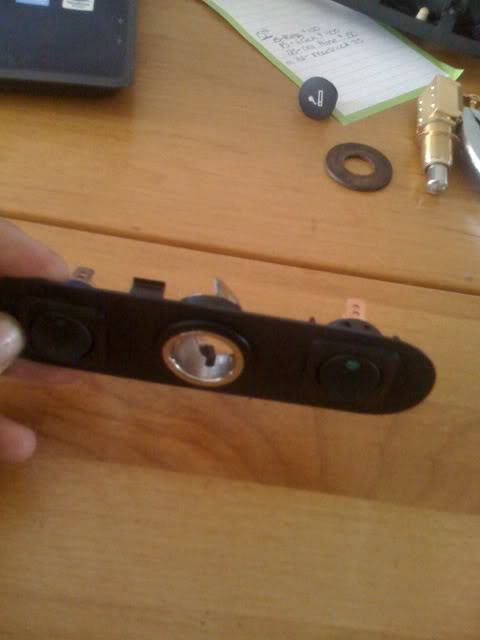 Heres the switch and washer setup i used. the washer is 1.5 round with a 5/8 hole
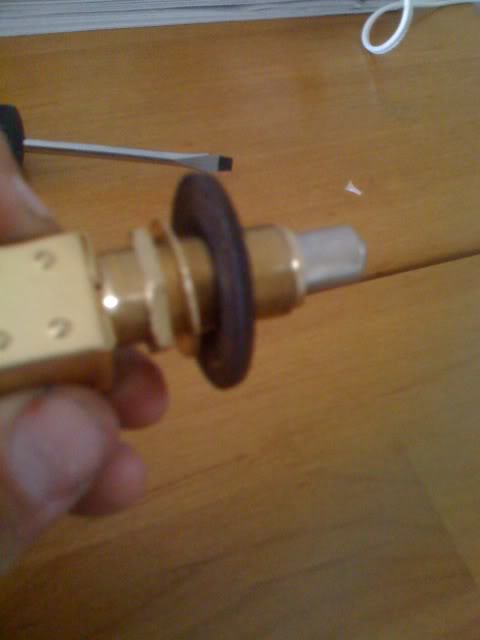
Just a mock up
Replace the panel back into the bezel
Stick the lighter housing back in
Take everything of the actual button
Install the socket ring back into the panel, I used a hot glue gun to make sure nothings comes apart. You dont have to I didn't the first time but i think it works better.
Heres the switch and washer setup i used. the washer is 1.5 round with a 5/8 holeJust a mock up
Replace the panel back into the bezel
Stick the lighter housing back in
Thread Starter
|
Technical Article Contributor
Joined: Nov 2008
Posts: 340
Likes: 0
From: OK
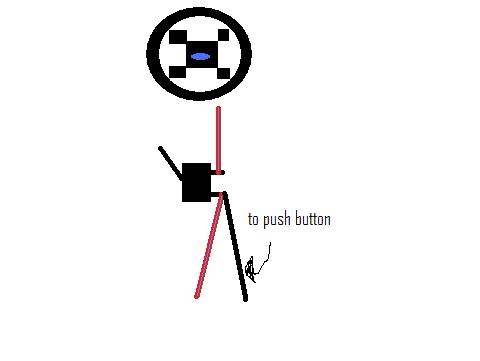
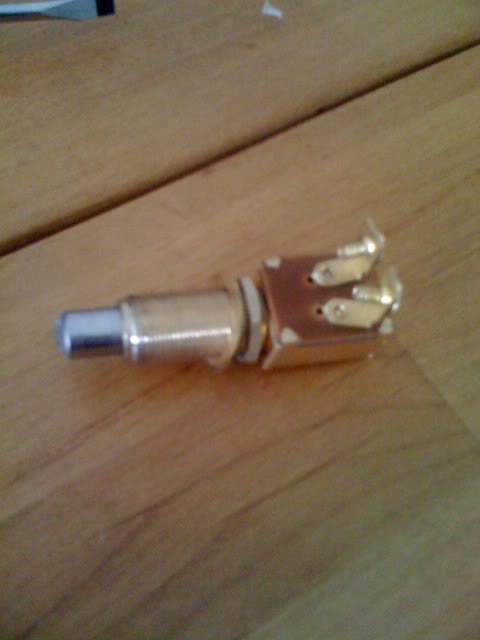
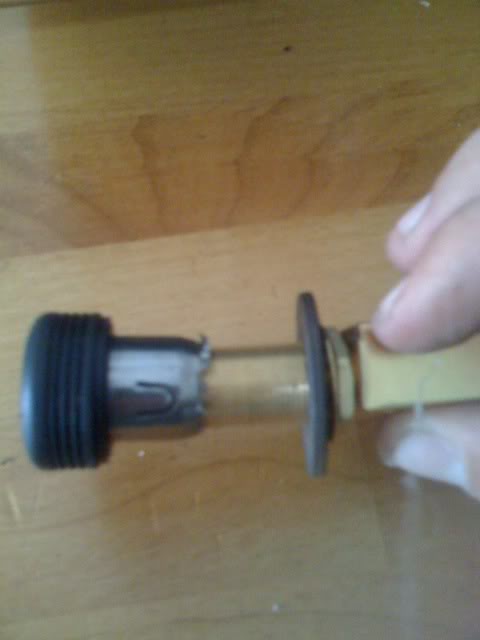
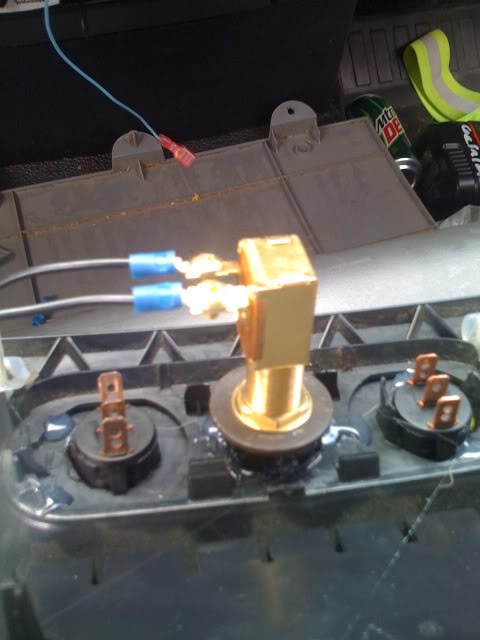
Screw the switch into the housing. And run the washer and nut up against it after you get it set this acts as a jam nut and keeps it all together.

Make sure you get it centered

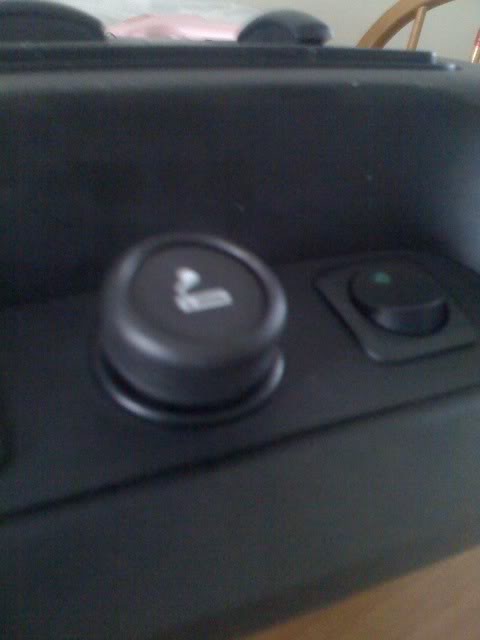
Its starting to come together. set the newport on top of the button and check the depth. I set mine in just below the bevel. Then glue it on.
Your done with that gather up some wire and go to your pick-up truck
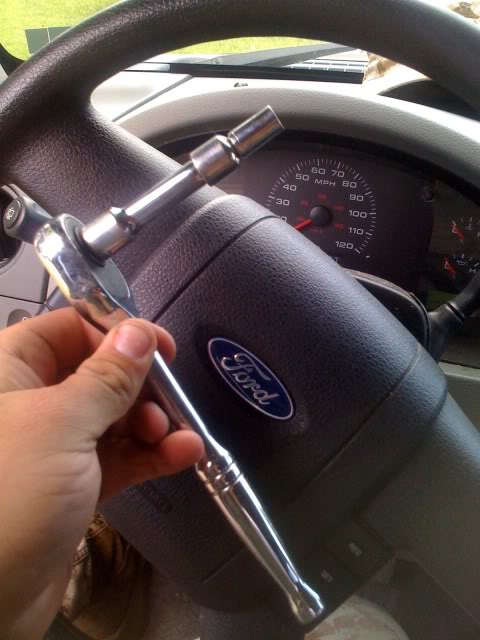
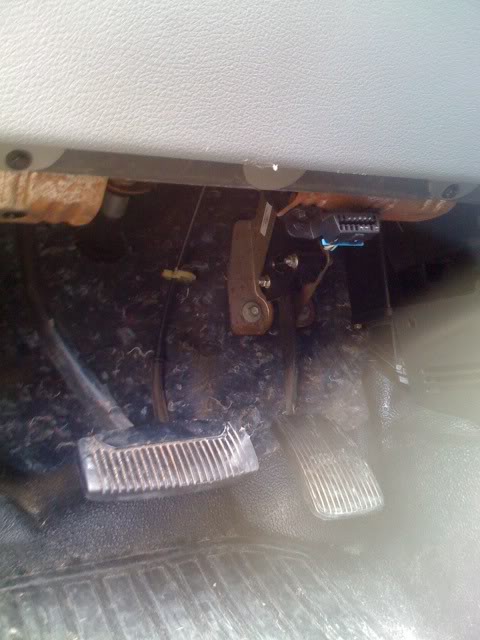
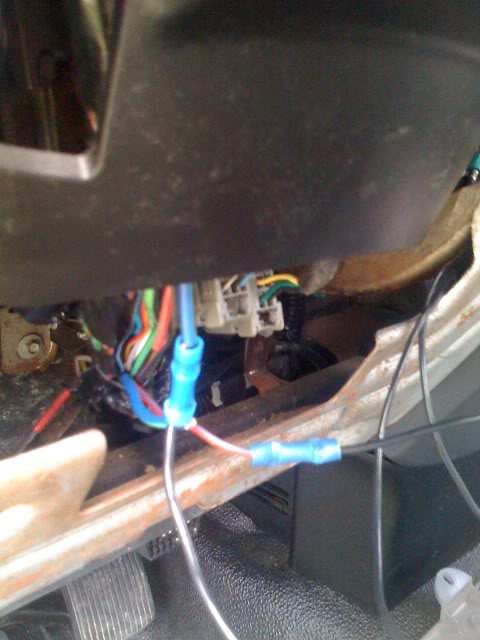
Locate the nearest 7mm socket and pull of the cover below the steering wheel
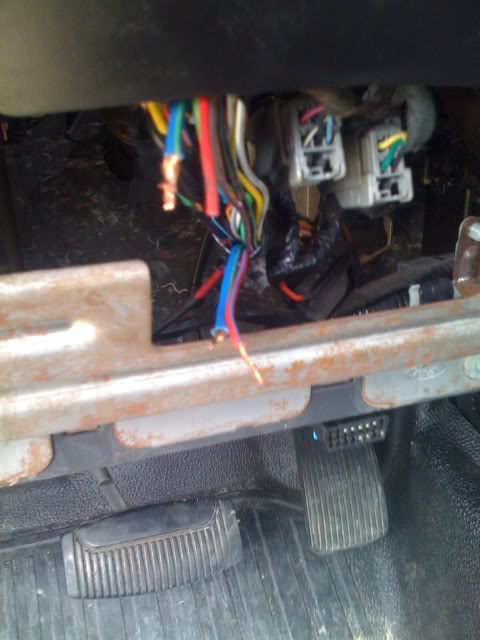
Behind the cover find two wires. BLUE/GREEN STRIPE RED/BLUE STRIPE the blue /green will be just a little thicker *this is a 2005 f150* yours may be different but i bet not. cut the two in half
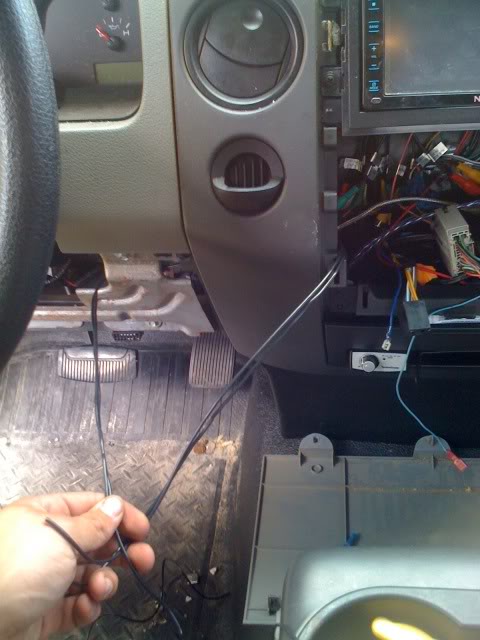
Run the wire
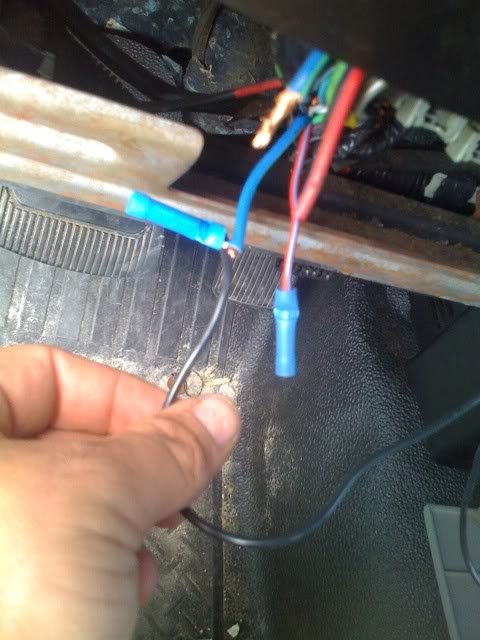
splice into the blue/green i cut mine because butt con. were all I had. Then wire into the red/blue wire going away from the steering wheel, the one on the bottom.
Here is were you could do the Squirt mod if you want it to run with the key or button you could either splice into both wires. That will allow you to start it with the key or button when ever you wanted. or if you wanted to have a "valet" mode you can wire a switch in between the red/blue wire on a std. on off switch with two post wire the red/blue coming from the key to one side, on the other side wire the red/green and the wire going to your push button
Next wire the push button up it doesn't matter what post you hook up on just one on each.
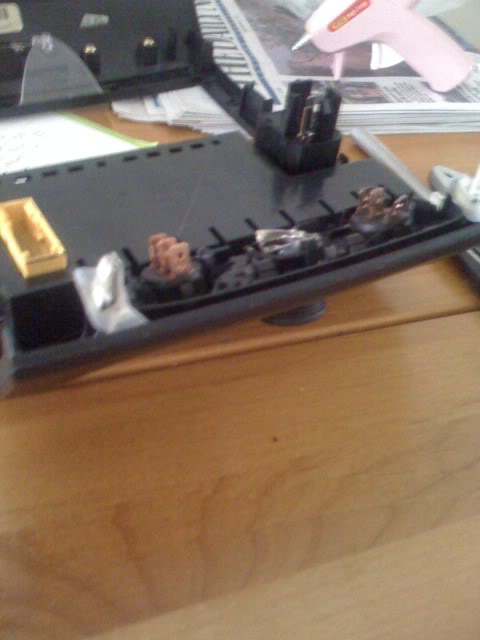
Plug all the wires back up on the bezel
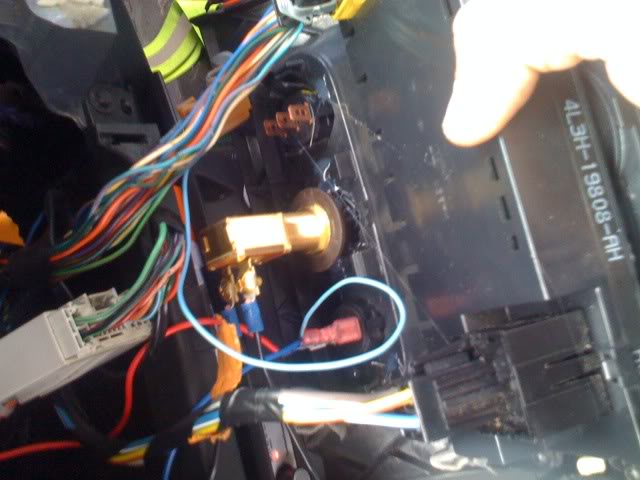
Put the panel back on replace the bezel and your done enjoy having a james bond gadget in your car. and when everyone ask were you bought it tell them its in the tuner section at autozone $19.99 and it just plugs in. lol
Make sure you get it centered
Its starting to come together. set the newport on top of the button and check the depth. I set mine in just below the bevel. Then glue it on.
Your done with that gather up some wire and go to your pick-up truck
Locate the nearest 7mm socket and pull of the cover below the steering wheel
Behind the cover find two wires. BLUE/GREEN STRIPE RED/BLUE STRIPE the blue /green will be just a little thicker *this is a 2005 f150* yours may be different but i bet not. cut the two in half
Run the wire
splice into the blue/green i cut mine because butt con. were all I had. Then wire into the red/blue wire going away from the steering wheel, the one on the bottom.
Here is were you could do the Squirt mod if you want it to run with the key or button you could either splice into both wires. That will allow you to start it with the key or button when ever you wanted. or if you wanted to have a "valet" mode you can wire a switch in between the red/blue wire on a std. on off switch with two post wire the red/blue coming from the key to one side, on the other side wire the red/green and the wire going to your push button
Next wire the push button up it doesn't matter what post you hook up on just one on each.
Plug all the wires back up on the bezel
Put the panel back on replace the bezel and your done enjoy having a james bond gadget in your car. and when everyone ask were you bought it tell them its in the tuner section at autozone $19.99 and it just plugs in. lol


so you spliced one of your black wire into the blue/green wire that doesn't need to be cut. then the other black wire to the red/blue wire that's running away from steering wheel. and those two wires (the black ones) go to the switch. we don't need the red/blue that's coming from the steering wheel. is that right? 
Thread Starter
|
Technical Article Contributor
Joined: Nov 2008
Posts: 340
Likes: 0
From: OK
so you spliced one of your black wire into the blue/green wire that doesn't need to be cut. then the other black wire to the red/blue wire that's running away from steering wheel. and those two wires (the black ones) go to the switch. we don't need the red/blue that's coming from the steering wheel. is that right?


so you spliced one of your black wire into the blue/green wire that doesn't need to be cut. then the other black wire to the red/blue wire that's running away from steering wheel. and those two wires (the black ones) go to the switch. we don't need the red/blue that's coming from the steering wheel. is that right?
and then to do a "valet" you take the "red/blue" from steering wheel to one post of valet switch, and the other post gets a... " ?? , black" and then you run the "Black" to the push starter ?
you said "red/green" which wire is that?
 I guess just maybe a lil more info if we were to put a "valet" switch in
Thread Starter
|
Technical Article Contributor
Joined: Nov 2008
Posts: 340
Likes: 0
From: OK
and then to do a "valet" you take the "red/blue" from steering wheel to one post of valet switch, and the other post gets a... " ?? , black" and then you run the "Black" to the push starter ?
you said "red/green" which wire is that? I guess just maybe a lil more info if we were to put a "valet" switch in
you said "red/green" which wire is that?
I guess just maybe a lil more info if we were to put a "valet" switch in