Raptor's How-To: Paint Your Wiper Cowl
#1
 01-10-2009, 01:25 AM


Raptor’s How-To: Paint Your Wiper Cowl
As done by Alex Melia
Disclaimer: This article is for informational purposes only. I will not be held responsible for any vehicle or personal harm while attempting this modification yourself. Remember: Safety first!
As our trucks age, so do the plastic trim assorted around them by Ford. One of the most horrible looking areas to me was the wiper cowl and wiper arms in front of the windshield. This tutorial will give your cowl a nice glossy (or flat) appearance and replace that dull look with something new. Enjoy!
Tools Needed:
Pocket Knife
13mm wrench
32oz can of Krylon Fusion (Gloss/Flat) Black for Plastic
Masking Tape
Phillips #2 Screwdriver
Flathead Screwdriver
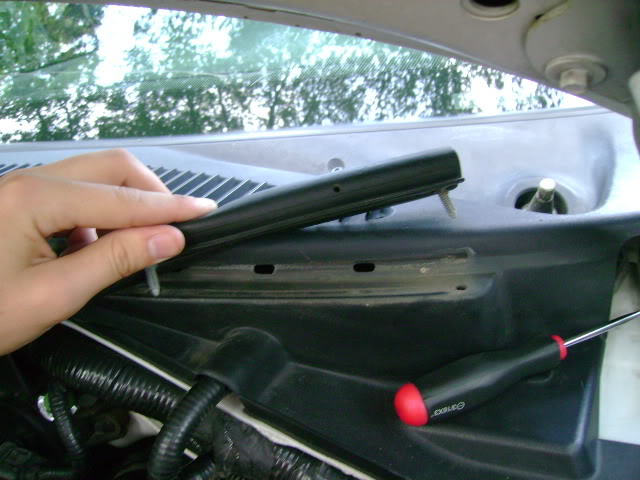
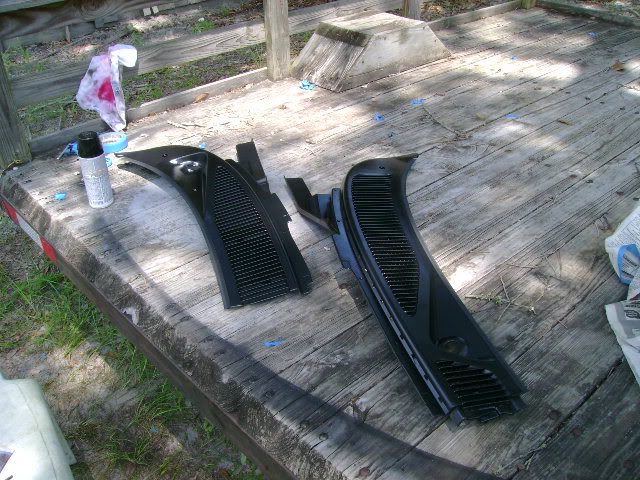
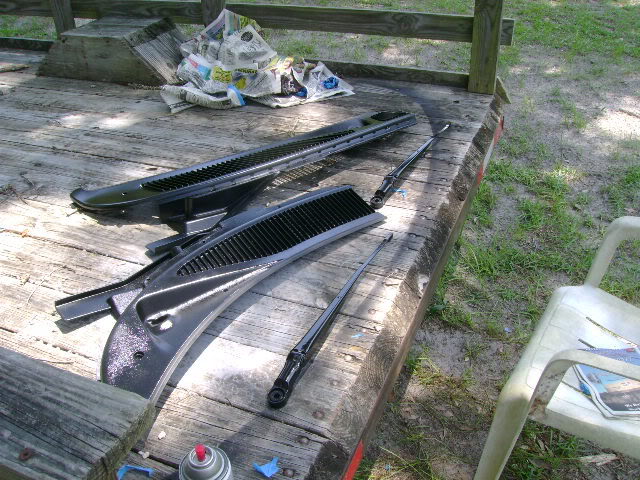
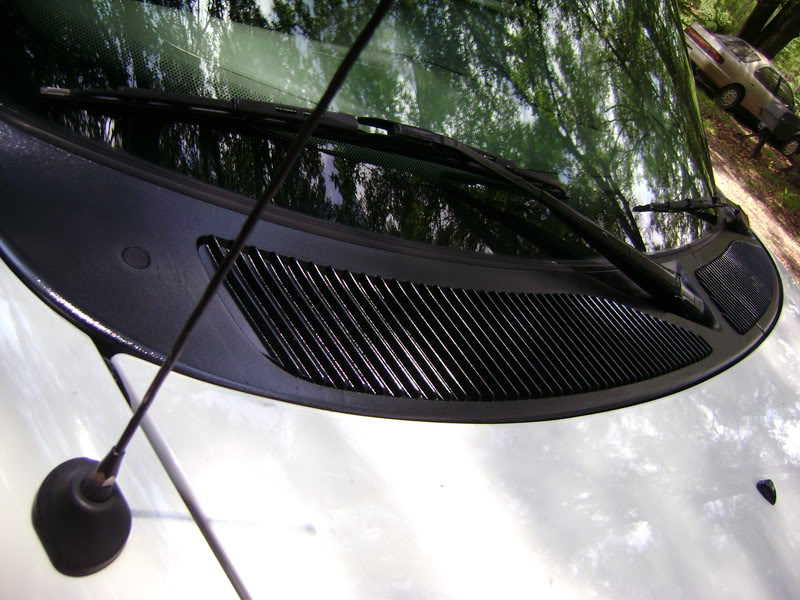
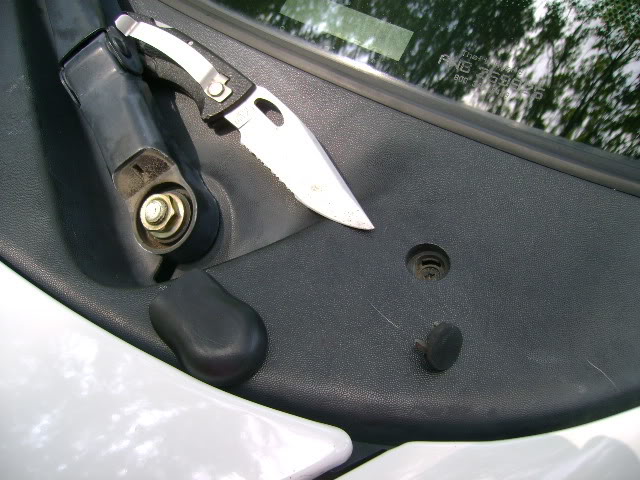
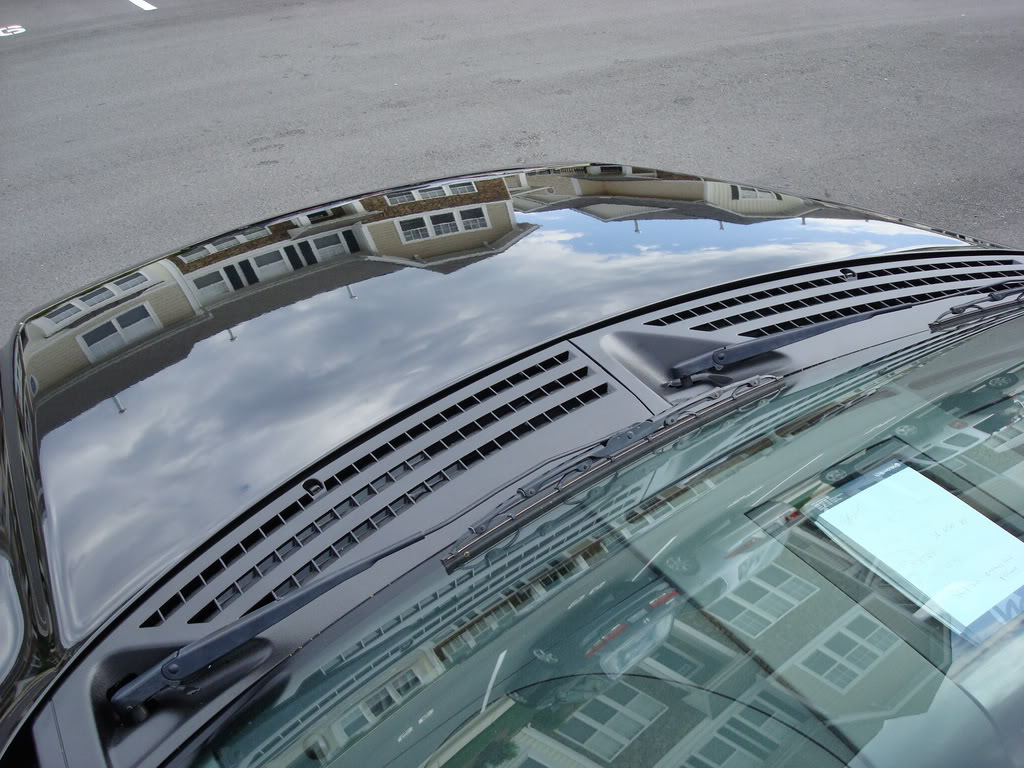
1.) Prep work for this project includes moving the truck into a shady area to begin with and access to direct sunlight later on. Start off by marking which wiper arm is driver’s side and which is passenger’s side. One has a “bend” to it with a longer reach. Proceed to use your pocket knife and using the indented area, pry off the rubber cap to the wiper arm pictured below. Once that is done to both sides, begin removing the plastic caps situated next to the wipers.

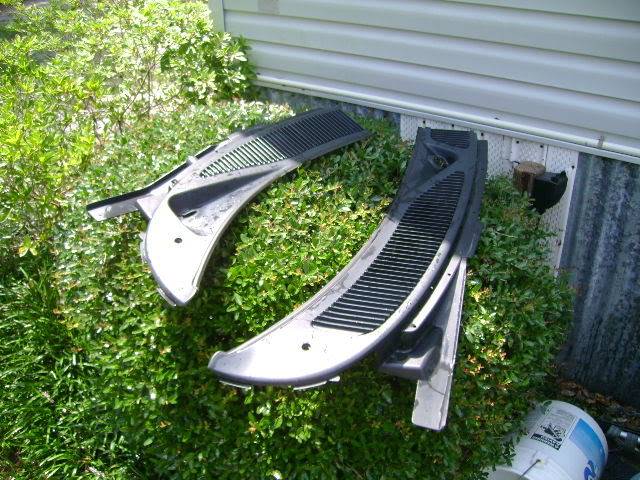
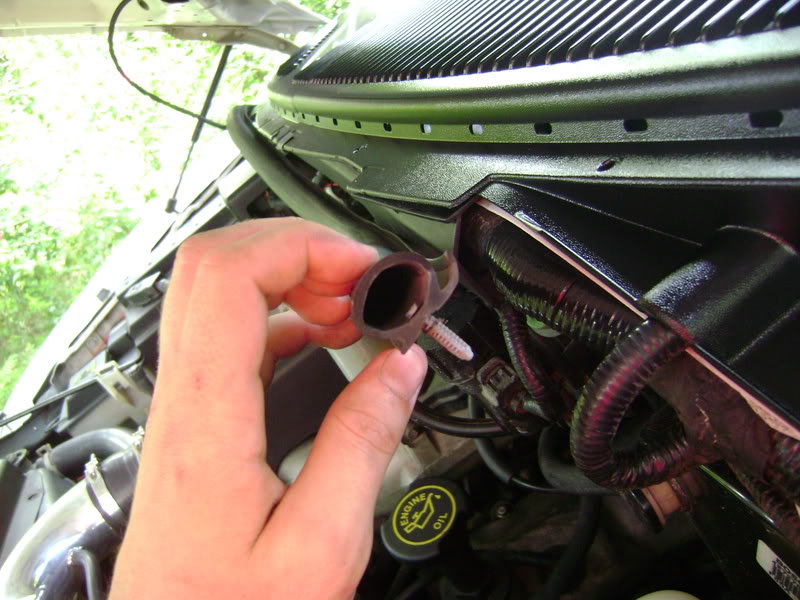
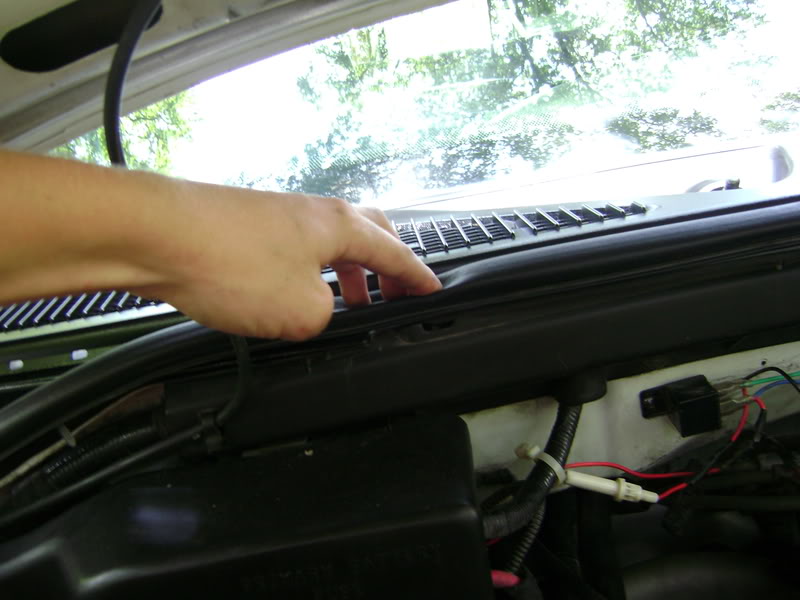
2.) Using the 13mm wrench, remove both wiper arms and set aside. Open your hood and locate the rubber seal seating the wiper cowl against the hood. Starting at one end, carefully pull upwards (skywards) and the little Christmas tree clips will give and zip out of their holes. Repeat this until the piece is separated from the truck.
3.) Gently lower the hood (not closing it) and retrieve your Phillips head
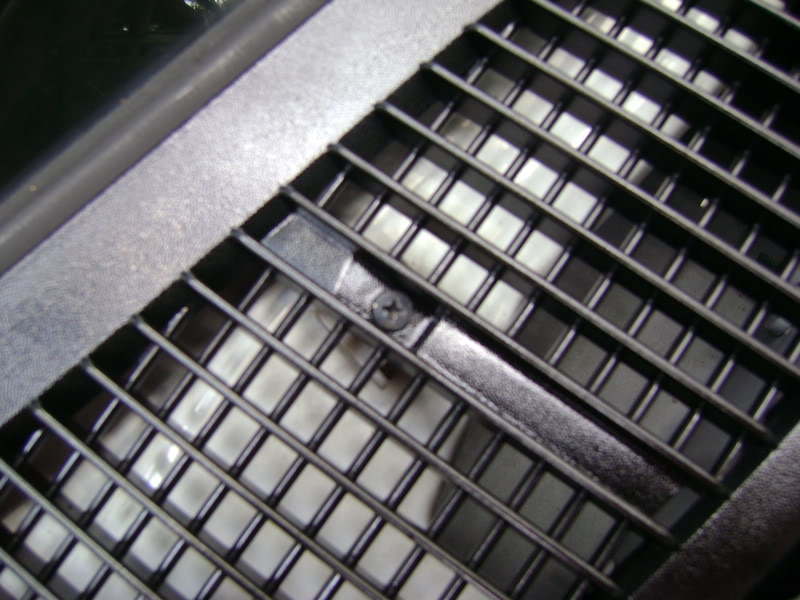
screwdriver. Located on both cowls are (I think) 9 screws. Remove as many as possible and look to see if you have missed any. Using the flathead, pry up both Christmas tree clips retaining both cowls. There is one on each side.
As done by Alex Melia
Disclaimer: This article is for informational purposes only. I will not be held responsible for any vehicle or personal harm while attempting this modification yourself. Remember: Safety first!
As our trucks age, so do the plastic trim assorted around them by Ford. One of the most horrible looking areas to me was the wiper cowl and wiper arms in front of the windshield. This tutorial will give your cowl a nice glossy (or flat) appearance and replace that dull look with something new. Enjoy!
Tools Needed:
Pocket Knife
13mm wrench
32oz can of Krylon Fusion (Gloss/Flat) Black for Plastic
Masking Tape
Phillips #2 Screwdriver
Flathead Screwdriver
1.) Prep work for this project includes moving the truck into a shady area to begin with and access to direct sunlight later on. Start off by marking which wiper arm is driver’s side and which is passenger’s side. One has a “bend” to it with a longer reach. Proceed to use your pocket knife and using the indented area, pry off the rubber cap to the wiper arm pictured below. Once that is done to both sides, begin removing the plastic caps situated next to the wipers.
2.) Using the 13mm wrench, remove both wiper arms and set aside. Open your hood and locate the rubber seal seating the wiper cowl against the hood. Starting at one end, carefully pull upwards (skywards) and the little Christmas tree clips will give and zip out of their holes. Repeat this until the piece is separated from the truck.
3.) Gently lower the hood (not closing it) and retrieve your Phillips head
screwdriver. Located on both cowls are (I think) 9 screws. Remove as many as possible and look to see if you have missed any. Using the flathead, pry up both Christmas tree clips retaining both cowls. There is one on each side.
#2
01-10-2009, 01:26 AM
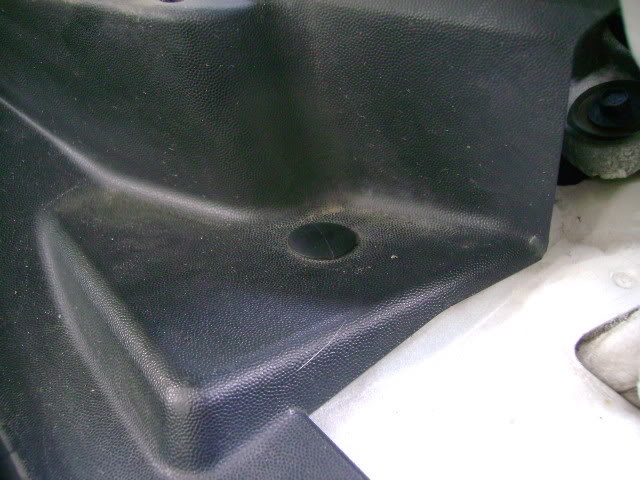
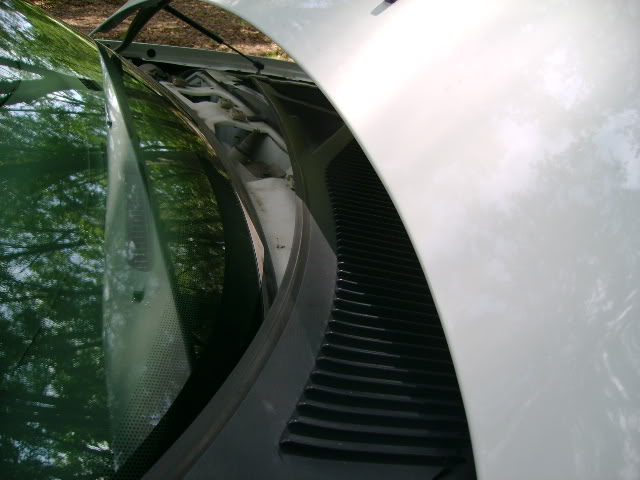
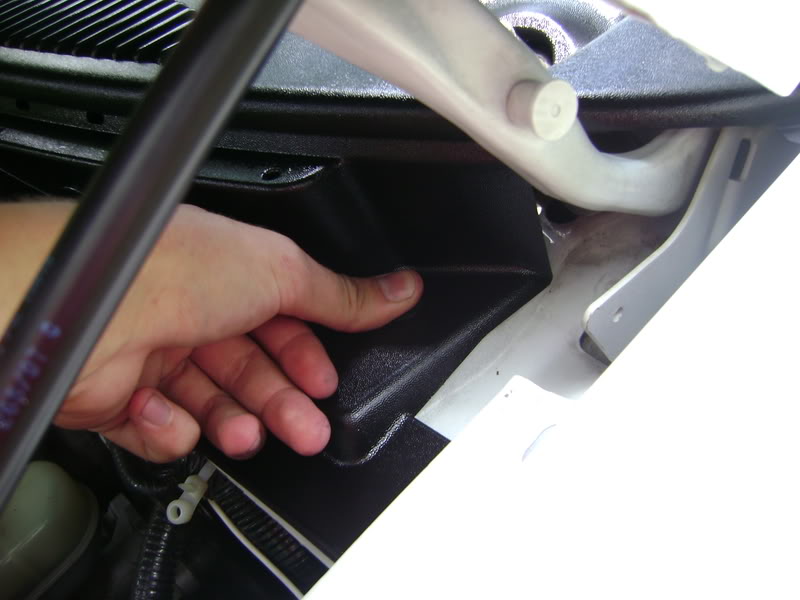
4.) Your cowl should begin to move around. If possible, carefully pull off and remove at an angle. You may have to open your hood halfway.
5.) Moving into a different area, go ahead and get a water hose and some automotive detergent and wash both cowls to remove any wax or polish you may have used on it before hand. Also be sure to get the back side. Once complete, Set to dry for at least 30 minutes. Go grab some lunch.
#3
01-10-2009, 01:27 AM
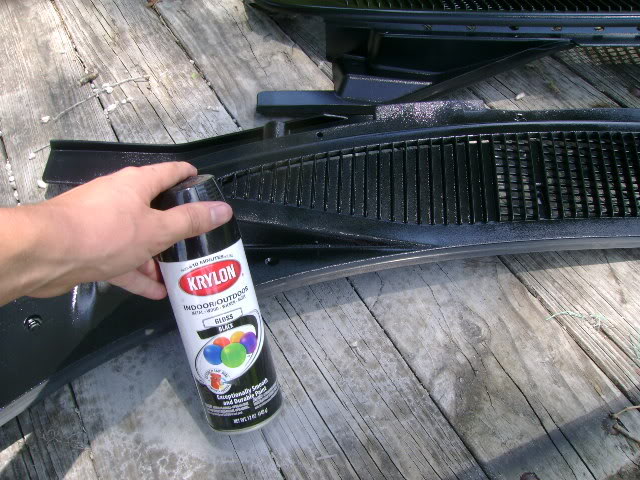
6.) Verifying that both sides are COMPLETELY dry, move to a sunny area (if you haven’t already) and grab your masking tape. I used 1” 3M Blue Painters tape and while bending the rubber seal down, apply tape on it and get under the lip so paint does not get on the rubber. You should have something like this:
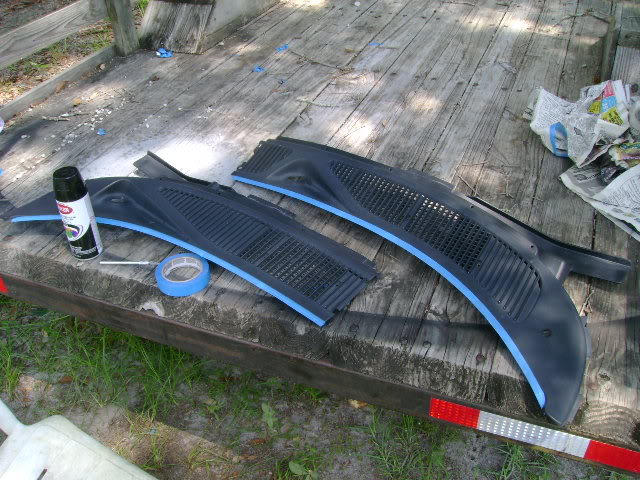
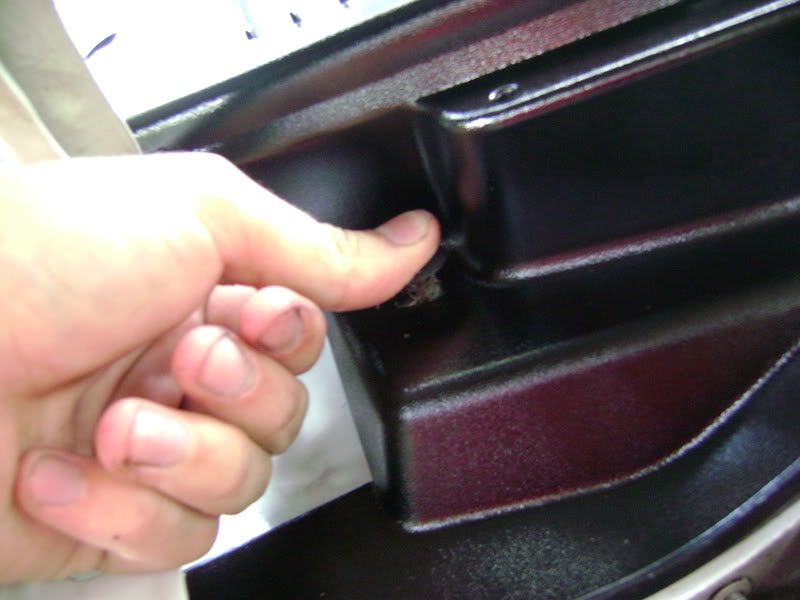
7.) Time for the important part. Put on a protective breathing apparatus or painters mask to avoid breathing fumes. Safety glasses may also be used to avoid eye irritation. Find a clean place to stand the cowl vertically. The tips on the Krylon Fusion cans can be adjusted for vertical or horizontal painting. Make sure the ends of the red tip are up/down. Holding away 6” from the cowl, press the trigger and do slow passes back and forth, releasing as you move from pass to pass. Flip 180 so it standing on its head and repeat. Twist it over on its backside and repeat. I used gloss on mine. You should have something like this:
7.) Time for the important part. Put on a protective breathing apparatus or painters mask to avoid breathing fumes. Safety glasses may also be used to avoid eye irritation. Find a clean place to stand the cowl vertically. The tips on the Krylon Fusion cans can be adjusted for vertical or horizontal painting. Make sure the ends of the red tip are up/down. Holding away 6” from the cowl, press the trigger and do slow passes back and forth, releasing as you move from pass to pass. Flip 180 so it standing on its head and repeat. Twist it over on its backside and repeat. I used gloss on mine. You should have something like this:
#4
01-10-2009, 01:28 AM
#5
01-10-2009, 01:28 AM
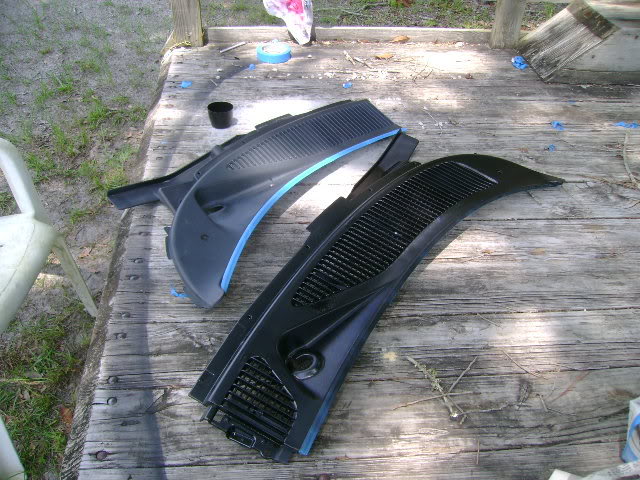
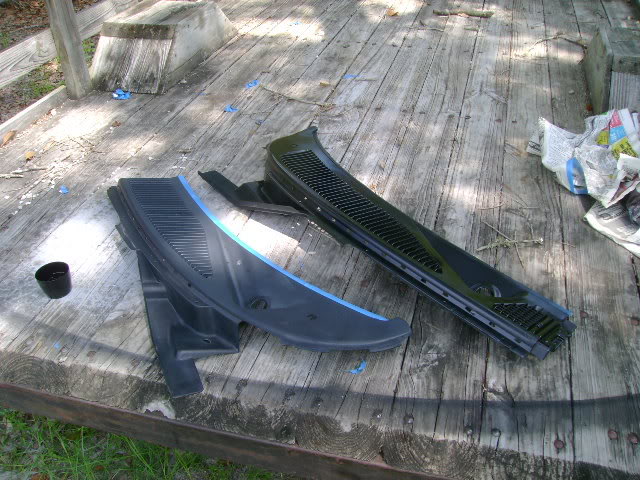
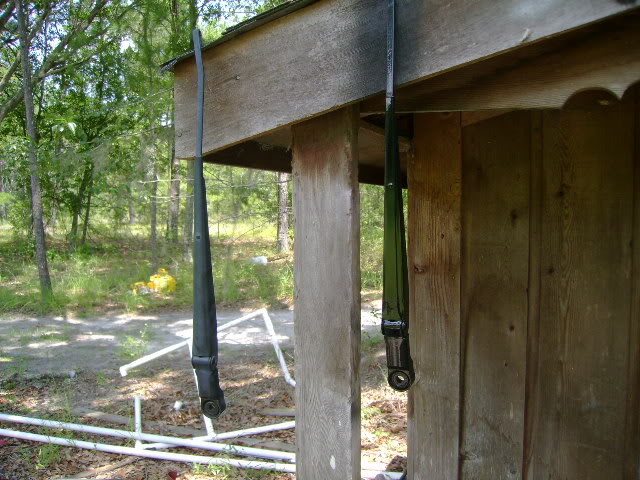
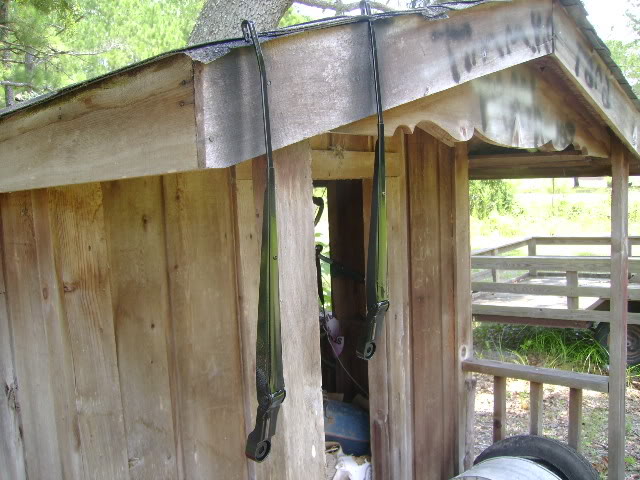
Don’t forget to get both sides
9.) Reinstallation: After allowing at the minimum of an hour to dry, we can start putting these back on. Start by opening the hood and sliding the cowls back into place. Being hand-screwing all the screws back and and once you have all of them in their holes, tighten them down. Be careful not to over tighten!

9.) Reinstallation: After allowing at the minimum of an hour to dry, we can start putting these back on. Start by opening the hood and sliding the cowls back into place. Being hand-screwing all the screws back and and once you have all of them in their holes, tighten them down. Be careful not to over tighten!
#6
01-10-2009, 01:28 AM
#7
01-10-2009, 01:29 AM
11) Reinstall the wiper arms. Since they have nicks for a secure grip, it may require you to readjust several times to have them seat properly when in resting position. I found it easy to apply the arms, screw the nut on one turn, and you can move the arm as freely as you like without worrying about it jumping off. Securely tighten down once positive of seating position and reapply cover cap.
12.) Close the hood and enjoy another job well done!
If you have any comments, questions, or concerns, please feel free to contact me at: Raptor05121@yahoo.com.
Trending Topics


#10
01-10-2009, 03:22 AM


#11
01-10-2009, 03:55 AM

Dammit dude, you keep giving me ideas of what to do with my truck! That looks way better, Now I want to do that real soon... plus my bumper, my bed rails, my rear plastic thingy that covers the rear window... NICE JOB and thanks for the write up! Definately have to do these soon. Btw did you thought about using clearcoat I've seen people suggesting this done on the bumper.

#14
01-10-2009, 09:20 AM
Senior Member
FYI, you should really put a coat of clear on before reinstalling.
I painted mine last summer, and I only cleared one side, I wanted to see if it made a difference, and at this point it has. Paint is starting to come off the side that was not clearcoated.
You can see how bad the cowling looked in this pic (it was also pollen season)
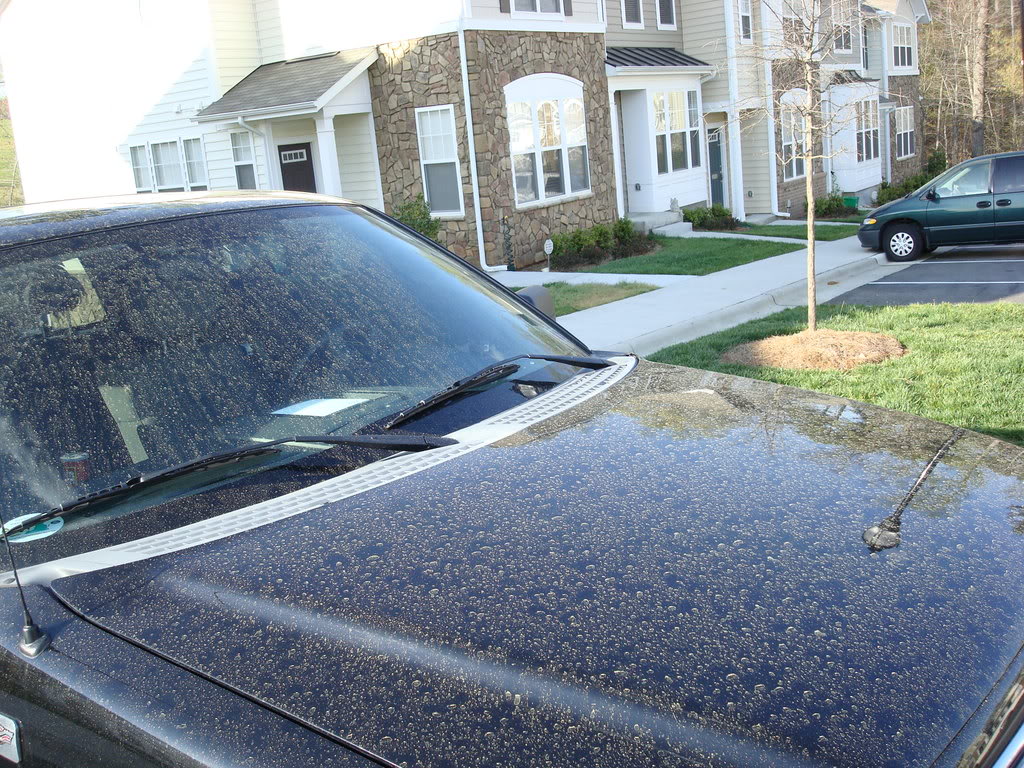
and how it looks after painting.
- NCSU
I painted mine last summer, and I only cleared one side, I wanted to see if it made a difference, and at this point it has. Paint is starting to come off the side that was not clearcoated.
You can see how bad the cowling looked in this pic (it was also pollen season)
and how it looks after painting.
- NCSU
#15
01-10-2009, 06:26 PM
Well I didnt want it glass shiny, so I just stuck with the paint. So far it's been over a year since I've done this and its still holding up. If it starts peeling, its prolly cause you didnt use the Krylon Fusion FOR PLASTIC. I made that mistake and my first can started peeling ASAP.
Fifty150, I am not sure what brand my knife is. My dad gave it to me one day, so I dunno.
Fifty150, I am not sure what brand my knife is. My dad gave it to me one day, so I dunno.