
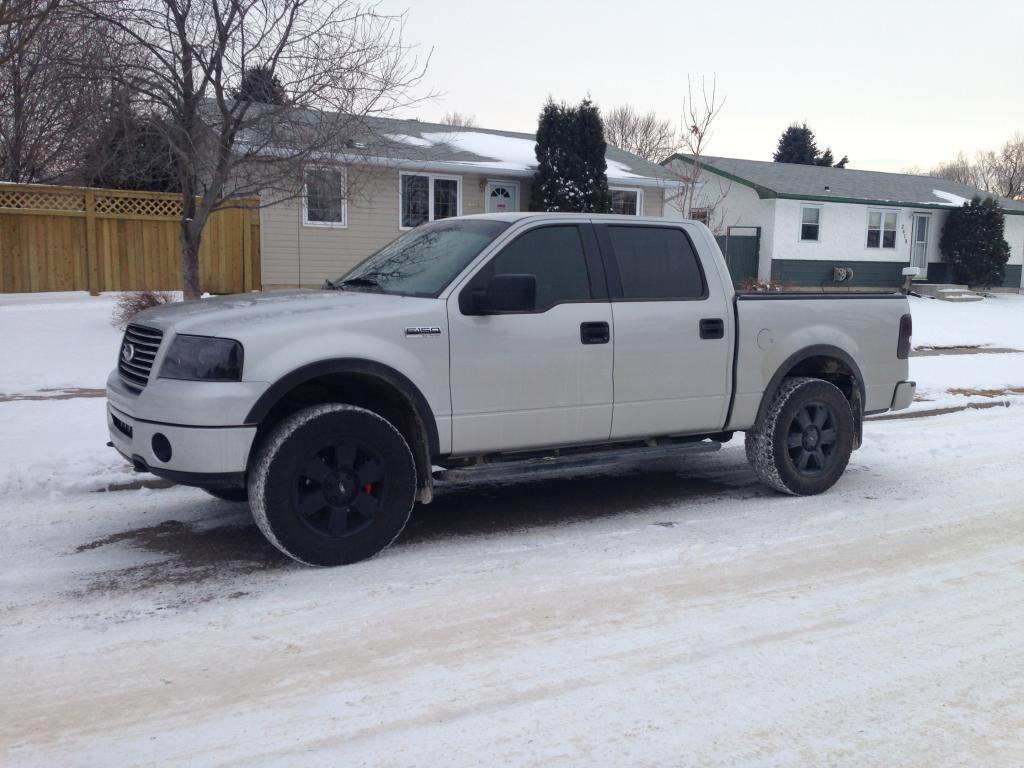
Baticus's 06 Supercrew build...


Senior Member
Joined: Feb 2014
Posts: 173
Likes: 1
From: Louisville, Kentucky
Don't know if this would be of any help or useful to you with your window tinting, but another good site northerntint.com that sells pre-cut window tint. I've found it helpful. Like Darren mentioned, I'd definitely go with 3M or the like. Just thought I'd throw that out there. Love reading about the build!
Last edited by Llama_Lariat07; Jan 28, 2015 at 08:27 AM.


Don't know if this would be of any help or useful to you with your window tinting, but another good site northerntint.com that sells pre-cut window tint. I've found it helpful. Like Darren mentioned, I'd definitely go with 3M or the like. Just thought I'd throw that out there. Love reading about the build!
https://www.f150online.com/forums/ap...y-windows.html
Good pre-cut stuff. But over the years I have just come to find higher quality stuff. The reason I strictly use 3M Color Stable on my own vehicles, and others who will pay for it, is that it is a 2 ply nano carbon type film vs being dyed charcoal film. No fading, lifetime warranty, and a pitch black color tone. I absolutely will not tolerate a tint that has a charcoal tone to it, it was painfully noticeable the first time I tried 5% with Llumar ATR tint,
https://www.f150online.com/forums/ap...color-off.html
In the above thread, see post #14 for my fix for that issue.
Darren, I checked out your thread. Nice write up. I have also watched a few videos on it. I did not order precut, but I did purchase some 20% 3m from a local tint shop. Spent about 3 hours getting both sides cut and stuck. Another hour a side with the heat lamp on low and it is good to go. Definitely learning a lot, and getting more comfortable with the whole process.
Plan on doing the girlfriends terrain in a few months. Will more than likely order precut for that. And may go darker all around on mine. I don't think I'll have any issues with the local law enforcement with 20% but a bit darker, even on the rears would be nice.
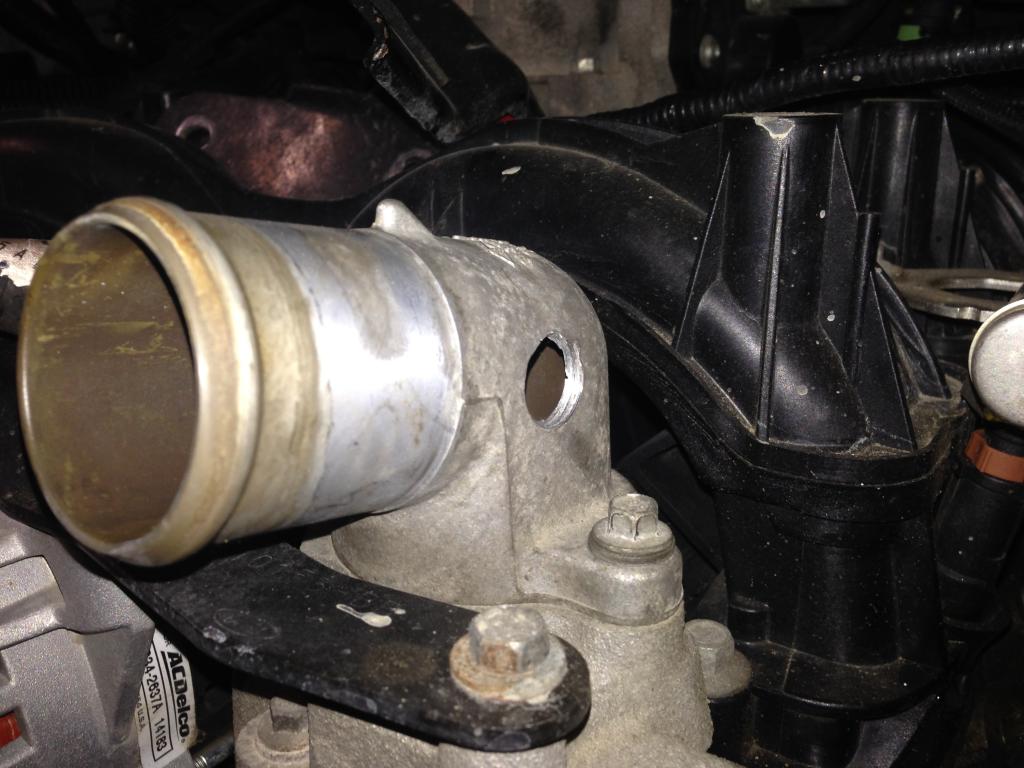
Now I'm waiting for a full day to install the fans. I ordered a thermostat elbow, to drill, tap, and install before I get around to wiring the fans in. Doing that will also give me a chance to swap the coolant.

Plan on doing the girlfriends terrain in a few months. Will more than likely order precut for that. And may go darker all around on mine. I don't think I'll have any issues with the local law enforcement with 20% but a bit darker, even on the rears would be nice.
Now I'm waiting for a full day to install the fans. I ordered a thermostat elbow, to drill, tap, and install before I get around to wiring the fans in. Doing that will also give me a chance to swap the coolant.

Junior Member
Joined: Feb 2015
Posts: 2
Likes: 0
I've read through this whole thread so far and I'm loving the truck man. It's coming together perfect. Thank your for all the advice so far. I bought my 05' in July and put around 8k miles on it and a head gasket blew so now it's rebuild time for me. Keep up the great work!
Jorge, thanks! It's always nice hearing I'm doing a good job on it. As always it's a work in progress. Have a few more things I definately want done before summer hits.
My Sunday is going to be a busy day. Gearing up for the fan install, as well as swapping all 8 coils.
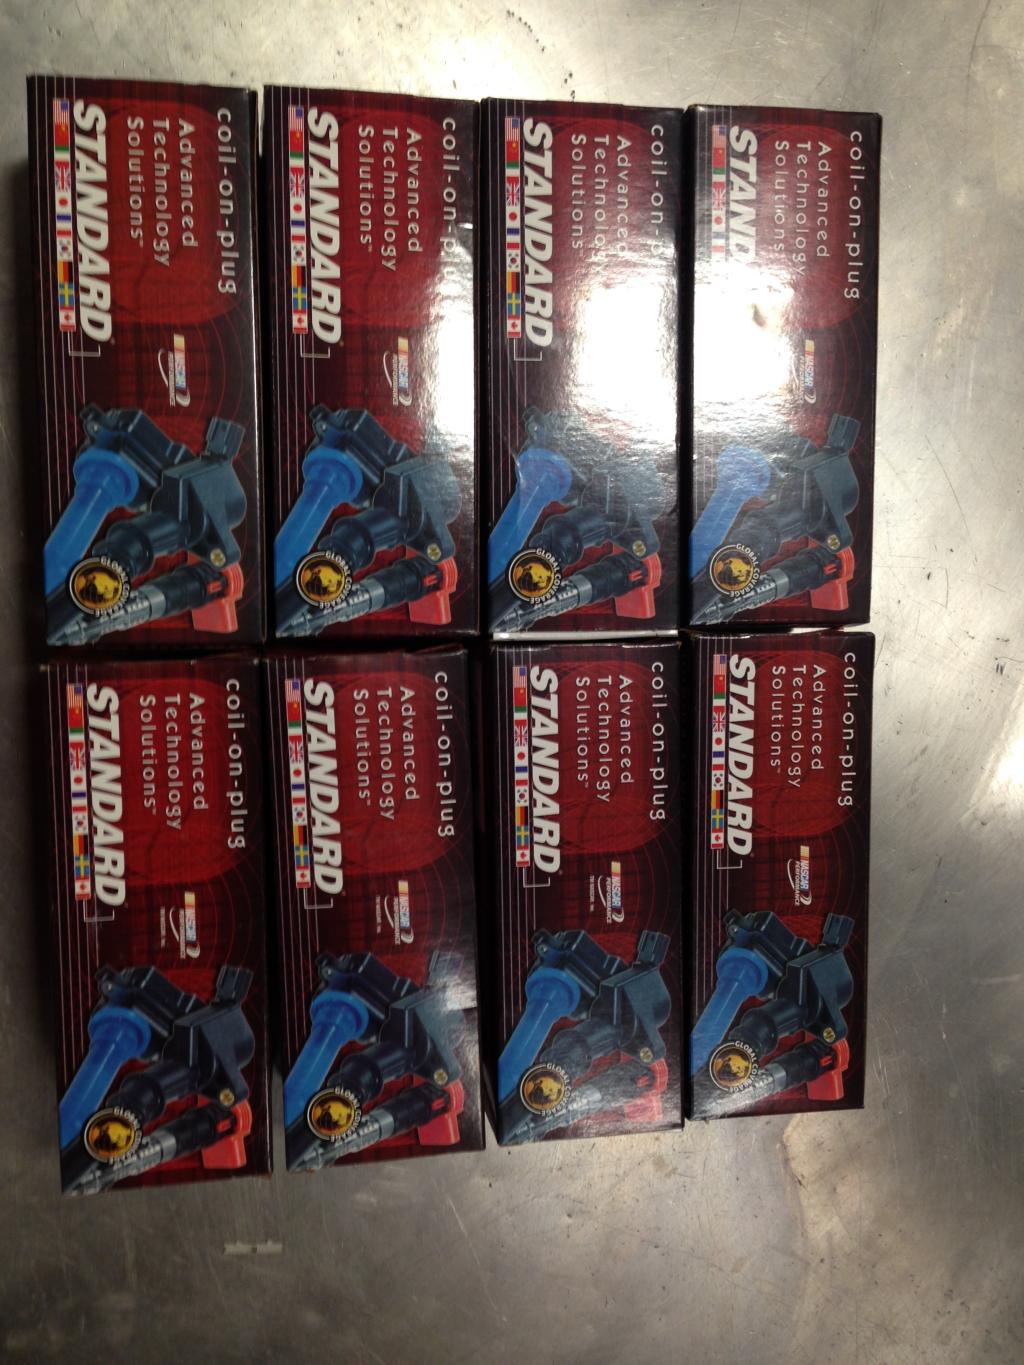
Ran a misfire diag the other night, seems as though I have a few getting weak. So no better time to change all of them as 7 out of 8 are original (the 8th was changed previous to the purchase of the truck).

Ran a misfire diag the other night, seems as though I have a few getting weak. So no better time to change all of them as 7 out of 8 are original (the 8th was changed previous to the purchase of the truck).
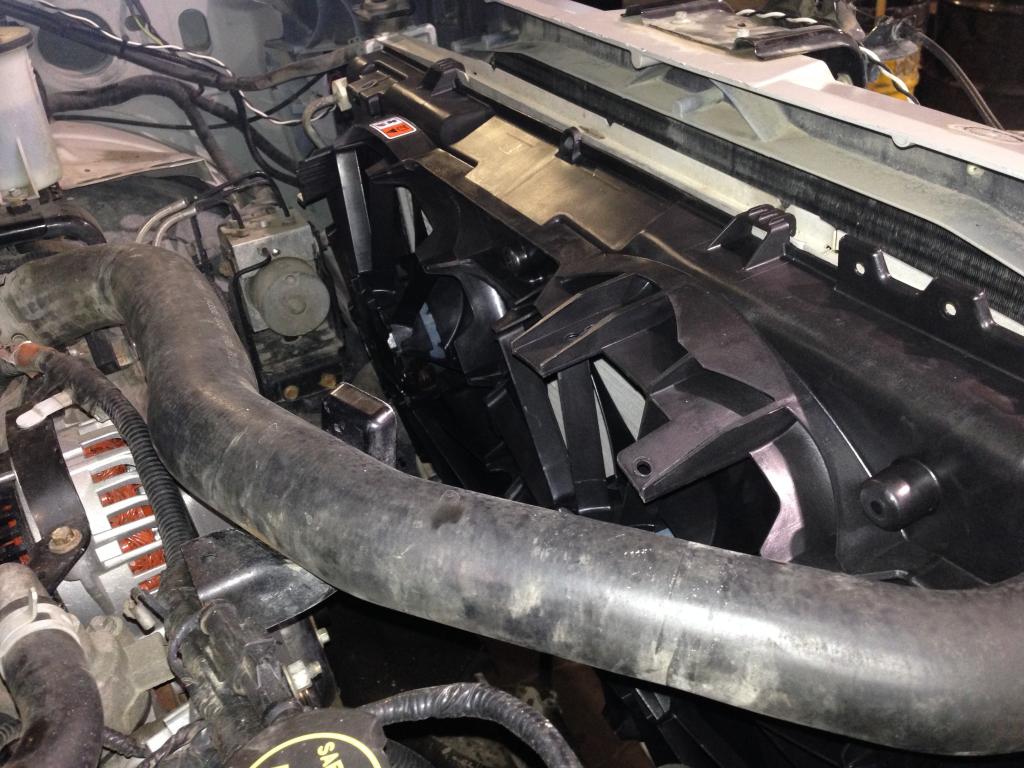
Finally had enough time to tackle the fan install. It is really straight forward, especially with the painless fan controller. Took me around 5 hours, between checking out twinskrewds install thread, looking up wiring diagrams, looming the endless amounts of wiring, and setting the temps. I couldn't believe how much quieter the truck is now.
Drilled and tapped the thermostat elbow for the temperature sensor
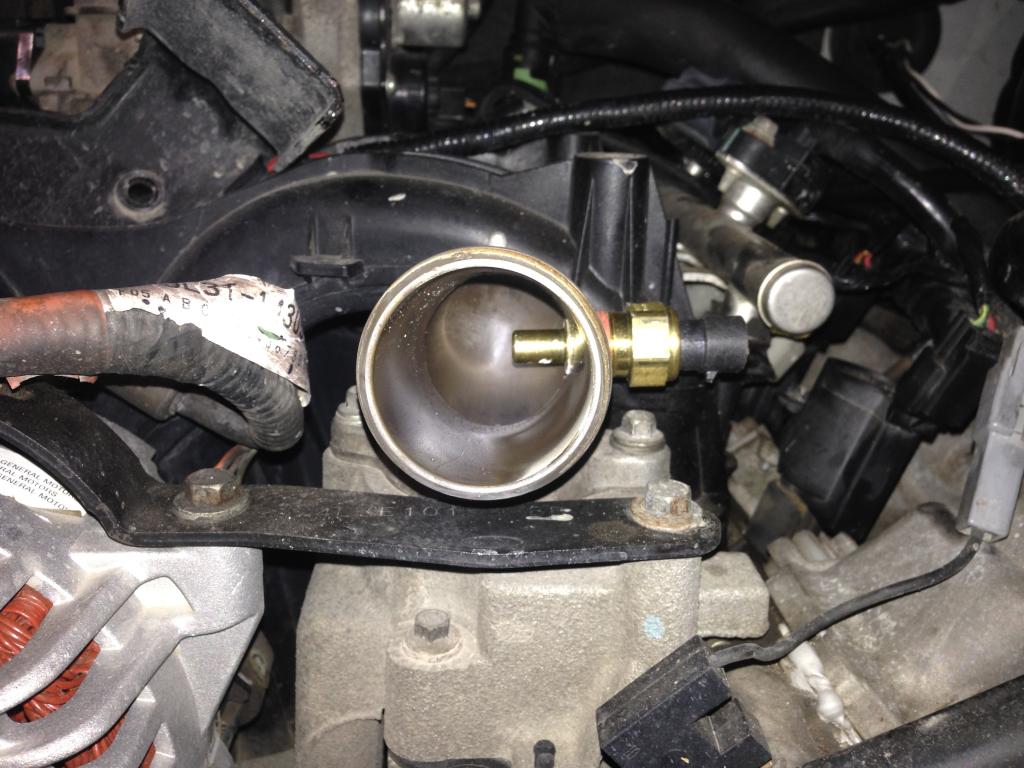
I also swapped all 8 coils, the truck is really peppy now, and my mileage is climbing back up. Which is an added bonus. Also found a pair of 09+ mirrors for really cheap.
Sorry for the crappy picture, I will hopefully get some better pictures soon. Will also hopefully get time to reprint the front bumper (finally).

Drilled and tapped the thermostat elbow for the temperature sensor


I also swapped all 8 coils, the truck is really peppy now, and my mileage is climbing back up. Which is an added bonus. Also found a pair of 09+ mirrors for really cheap.

Sorry for the crappy picture, I will hopefully get some better pictures soon. Will also hopefully get time to reprint the front bumper (finally).
Well, have a good chuckle! It's not going to be on there much longer. That's the third Ive had on it since July. 3 in a two week stretch. My voltage is bouncing around again. Anywhere from 13.8-14.3. Not happy about it. Will get one from the Ford dealer in the coming weeks. It's on the to do list, and getting near the top again.
I will say that's the only delco part on the truck, and it's really the only thing that's been giving me problems.
Really happy with where the truck is at aside from that issue. Happy I finally had time to get some stuff done with it. Had to tackle a bit of the honey-do list as well. I had purchased the gf a light bar for her birthday back in August. I had installed it but never wired it in. Finally got that done as well. She's happy with it, and I'm pretty sure it's one of the only terrains around with a light bar...
A nice little SR 10" rigid.
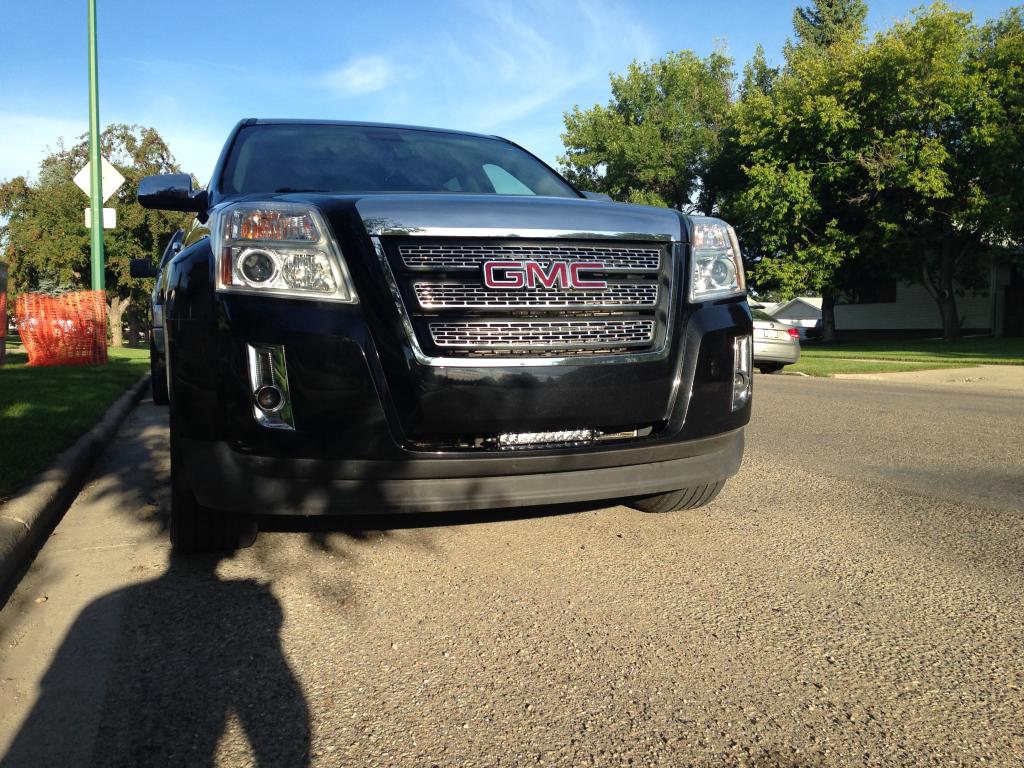
And I must say, the output from that single row is unbelievable. I'm mostly posting it to say that the SR's are great. I almost prefer the look of the single row over the double rows. If I ever put on a 50 or 54 over the windshield, I'd probably put a single row on.
This morning I figured out that my mirror heat doesn't work. Comparing wiring diagrams, it appears as though I have to swap pins 8 and 9. Ford has swapped the interior lighting circuit and ground between the two mirrors. That appears to be the only difference between the two.
The adjustments, and signals still work, although after noticing that my heat wasn't working, I noticed that when signalling, it also causes my mirror heat light to blink. I'm assuming it's griunding though that circuit. I will get those pins swapped this weekend, and update on the outcome.
The adjustments, and signals still work, although after noticing that my heat wasn't working, I noticed that when signalling, it also causes my mirror heat light to blink. I'm assuming it's griunding though that circuit. I will get those pins swapped this weekend, and update on the outcome.
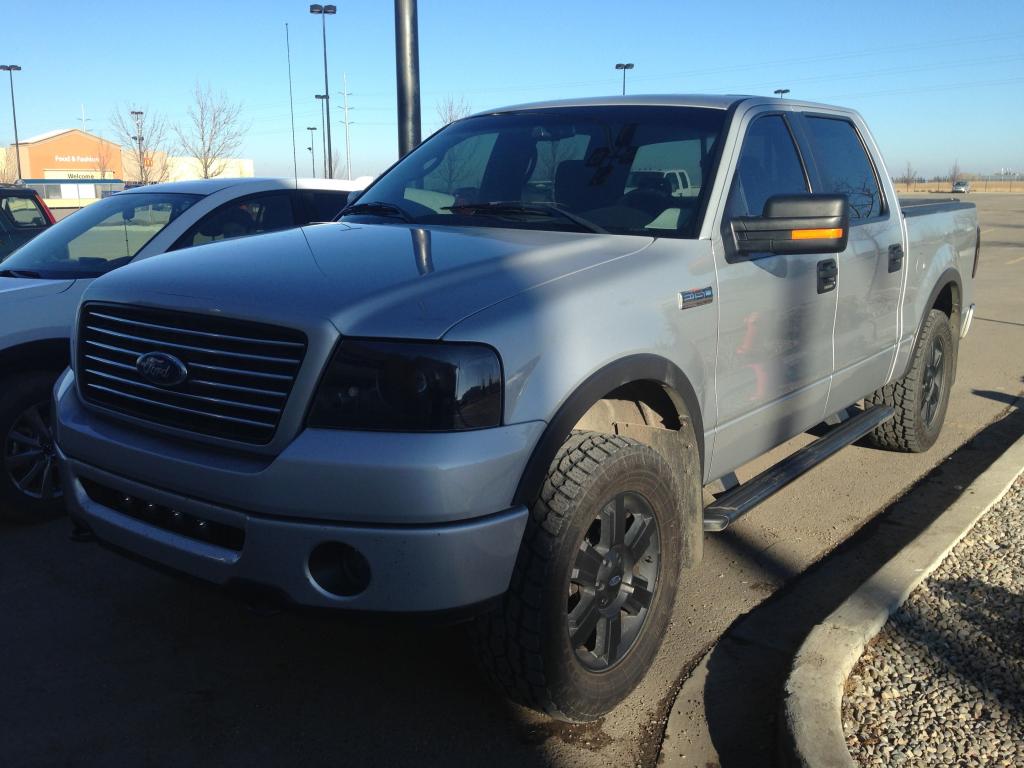
Well it's finally that time! More than excited to have a clean front bumper.
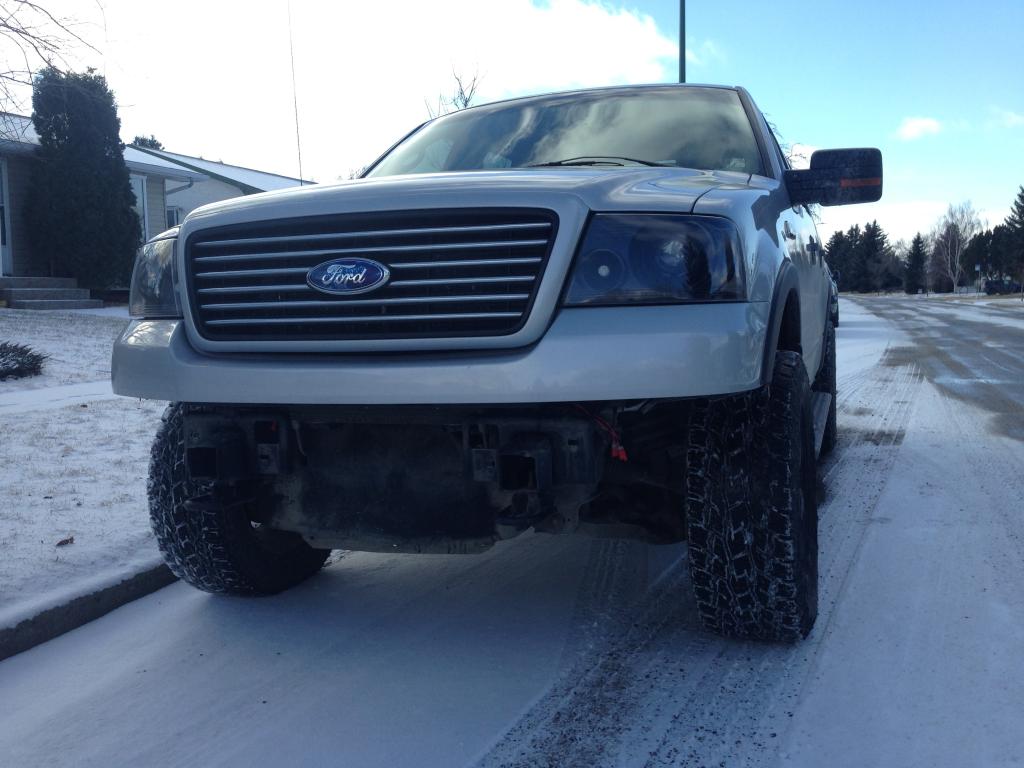
Also, you can somewhat see the outcome of the 1.5" spacers. Temporary until I purchase new wheels in a few months. Really like the stance now. Although I've got to move the mudflaps out a bit now.
As for the bumper, I have it stripped to metal, awaiting primer in a few hours. New base coat tomorrow morning, then clear hopefully by the early afternoon. Reinstalling Monday night after it cures for 24 hours.

Nice progress as usual!
Neat seeing the LED bar on the Terrain.
I had a feeling there might be a little bit of modification to the '09 style mirror. Is 'pin swapping' as simple as pulling it out with needle nose plyers and moving it over into another slot? Or does it involve moving a wire within the switch. I wonder if there is a YouTube of this. I would love to learn.
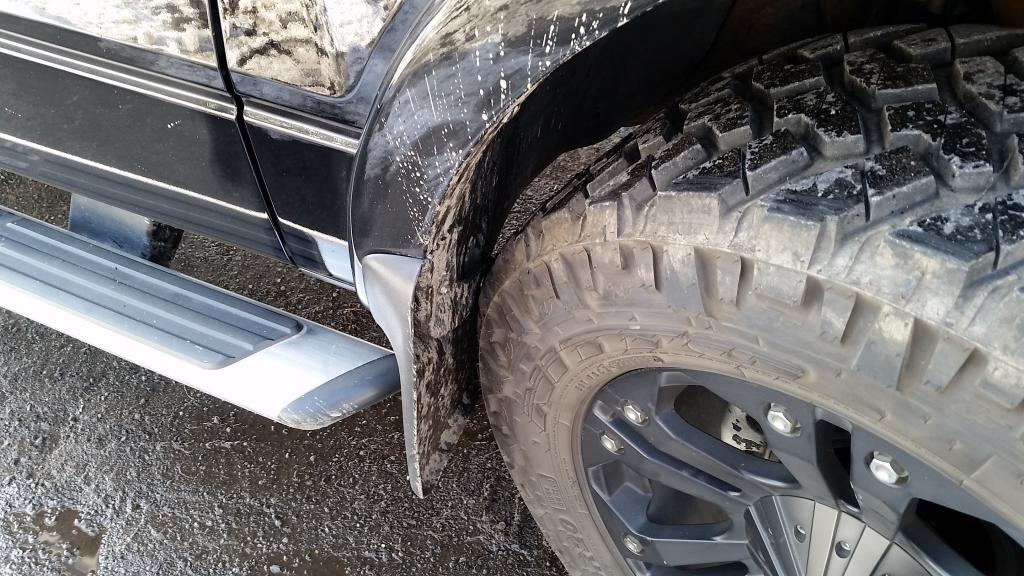
Did you get Bora 1.5" spacers? I recently did. Found out I need to shead off maybe 2mm from my lug studs to comfortably pass them on my XDs as there is a slight gap that only a piece of paper can sneak by. But none the less, it could be a invitation for the wheel to go rolling past me down the highway. Not going to let that happen, but the truck is waiting for spring time anyways . I for one love the stance with the spacers, however it rubs like a son-of-a now. If I get a dremel and trim the ends of my studs with it ( won't have to take off any threads ) then I will try neatly trimming the fender well and fender flare with it too.
Here you can see where it contacts the flare. I'm nervous as heck to trim it.
Here is the only good photo I have of the truck with spacers on. Math tells me it makes a -18 offset, looks barely like a -12 to me, but -12 was my goal and I am quite happy with this stance.

Neat seeing the LED bar on the Terrain.
I had a feeling there might be a little bit of modification to the '09 style mirror. Is 'pin swapping' as simple as pulling it out with needle nose plyers and moving it over into another slot? Or does it involve moving a wire within the switch. I wonder if there is a YouTube of this. I would love to learn.
Did you get Bora 1.5" spacers? I recently did. Found out I need to shead off maybe 2mm from my lug studs to comfortably pass them on my XDs as there is a slight gap that only a piece of paper can sneak by. But none the less, it could be a invitation for the wheel to go rolling past me down the highway. Not going to let that happen, but the truck is waiting for spring time anyways
. I for one love the stance with the spacers, however it rubs like a son-of-a now. If I get a dremel and trim the ends of my studs with it ( won't have to take off any threads ) then I will try neatly trimming the fender well and fender flare with it too.Here you can see where it contacts the flare. I'm nervous as heck to trim it.
Here is the only good photo I have of the truck with spacers on. Math tells me it makes a -18 offset, looks barely like a -12 to me, but -12 was my goal and I am quite happy with this stance.