

Gap Guard Pics?


Thread Starter
|
Senior Member
Joined: Sep 2006
Posts: 195
Likes: 0
From: Tallanasty
Gap Guard Pics?
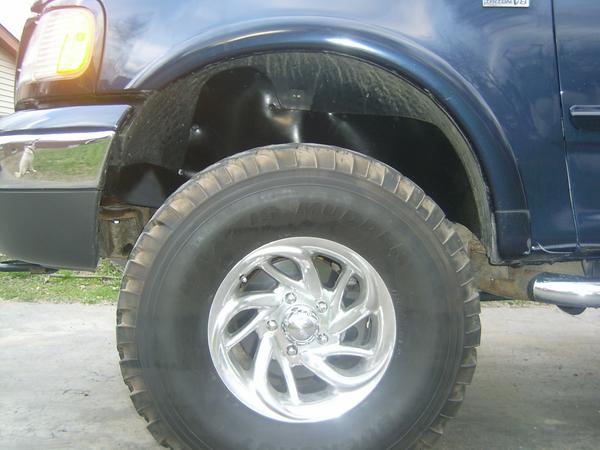
Anyone have some good pictures of a 1998-2003 with a 3" BL that has gap guards on the front and rear wheel wells? I am curious how they fit the front with them being plastic and haveing the suspension up there, can they crack?

Senior Member
Joined: Mar 2007
Posts: 230
Likes: 1
From: N.C.
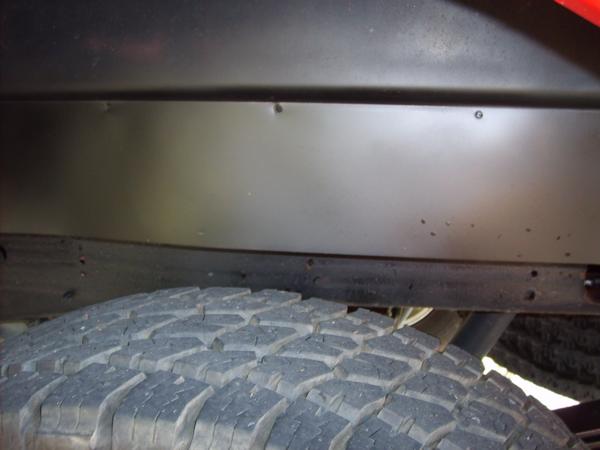
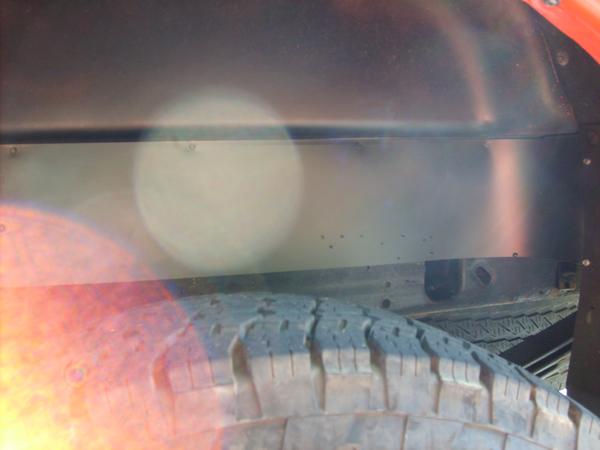
I just finished making some for the rear but i have not taken any pics yet. I used 6" flashing and a can of black matte spray paint. Total cost was $3.68  . I just could not bring myself to pay $70 bucks for four pieces of plastic. Check out wandells gallery he has some pics of the gap guards
  .
.
. I just could not bring myself to pay $70 bucks for four pieces of plastic. Check out wandells gallery he has some pics of the gap guards .
Thread Starter
|
Senior Member
Joined: Sep 2006
Posts: 195
Likes: 0
From: Tallanasty
so wandell I noticed your guards looks alittle different than jk007? Are they different manufacturers or are they just a different model from pa? Also yhanks jk007 that was the shot I was looking for!

Senior Member
Joined: Sep 2006
Posts: 845
Likes: 0
From: Metro Detroit
Trending Topics
Thread Starter
|
Senior Member
Joined: Sep 2006
Posts: 195
Likes: 0
From: Tallanasty
I have to say my truck is having the lift installed as we speak, and if my truck looks half as stout as jk007 I will be very happy. Thanks for the help fellas I think I will need to put the gap guards on my christmas list after lift and install not much left in the way of extras. Also 007 are your t-keys cranked all the way or do you have space left?
P.S. Wandell hows the arm?
P.S. Wandell hows the arm?
Senior Member
Joined: Sep 2006
Posts: 845
Likes: 0
From: Metro Detroit
Originally Posted by SCREWKR
I have to say my truck is having the lift installed as we speak, and if my truck looks half as stout as jk007 I will be very happy. Thanks for the help fellas I think I will need to put the gap guards on my christmas list after lift and install not much left in the way of extras. Also 007 are your t-keys cranked all the way or do you have space left?
P.S. Wandell hows the arm?
P.S. Wandell hows the arm?
Thanks SCREWKR
Nope, still got a fair amount of room left actually. I only cranked them high enough to clear the 35's with very minor rubbing. I then drilled a couple of small holes in the front gap guards, put black zip ties on them and zip tied them to the frame, essentially pulling them away from the tire more and close to the engine. On top of this, I removed the 3" black plastic piece at the very bottom of the air valance (I would love to know what this is called BTW if anyone knows).
I did this for a few reasons:
1. I didn't want to crank my torsion bars too much to reduce wear and tear as much as possible.
2. The front of the truck still sat lower, but by removing the 3" black plastic piece, it gives the illusion of the truck looking like it's more level.
3. I now have a leveled look, with minimal torsion cranking and absolutely no rubbing with 35s, even at full turn both on and off road.
Here's a pic of the front with the black plastic piece removed.


Senior Member
Joined: Sep 2001
Posts: 28,203
Likes: 2
From: cairo,ga
The arm is coming along. The brace is off and I'm working out with it. If I don't have anything to do or get bored, I grab a dumbell and start doing curls. I do a couple hundred reps (at least) everyday.
Senior Member
Joined: Mar 2007
Posts: 230
Likes: 1
From: N.C.
Originally Posted by SCREWKR
Hey, JT did you just pop rivit those in? And if so what did you attach them to?
