new here


Thread Starter
|
Senior Member
Joined: Jul 2010
Posts: 527
Likes: 0
From: Louisville, KY
thanks! but i have to say with much sadness - it has taken me A LOT of money to get to be 'talented' 
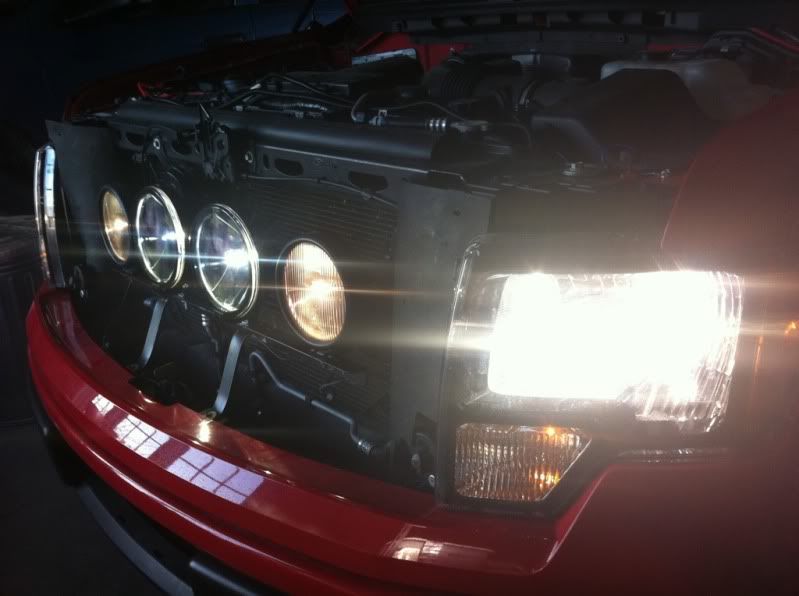
as for the lights, the only photos i have are of the HID versions of the headlights and foglights at night. the auxiliary fogs havnt been wired yet (waiting on my relayed harness) and the Hella 700's that i will be converting to HID's (using the old foglight HID set i removed) have not arrived yet (monday)
things should start moving along again mid next week
today i started building a sub box - its the first time ive ever taken on this kind of project with my own plans and i have to say ive screwed up quite a bit. its a very small box designed to fit underneath the 40% "jump" seat in the rear and not extend to the other 60%. my idea was that because my daughters car seat is on that section and the space underneath it is never used it would be good to take advantage of the space while keeping the other 60% useful. i have a 10" Alpine 4ohm dual-voice S-type that is roughly 8 years old. it still hits hard, but with a mounting depth of 6" im afraid its useless to me in this application and its going to go up for sale. its unfortunate as i wanted to use it, it looks as though im going to have to buy a low profile, more modern sub for my audio upgrade.
pics on that when the box is done!
Thread Starter
|
Senior Member
Joined: Jul 2010
Posts: 527
Likes: 0
From: Louisville, KY
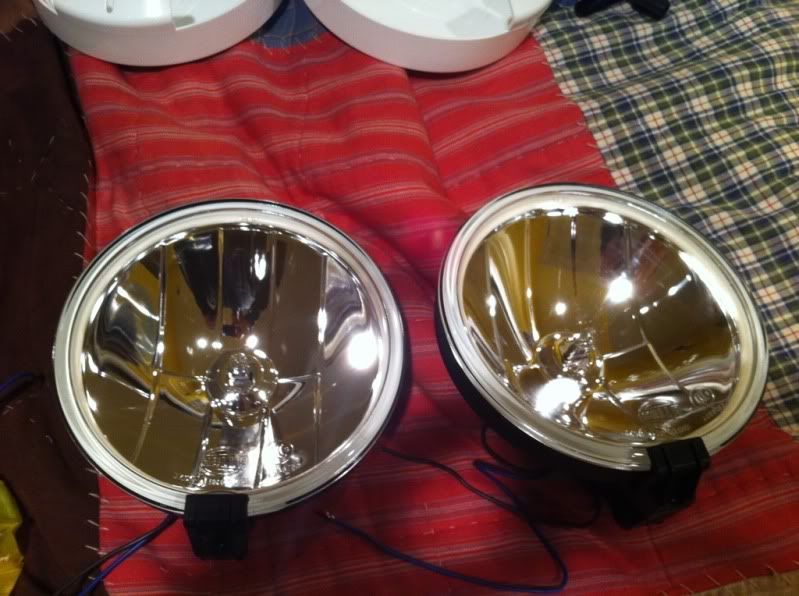
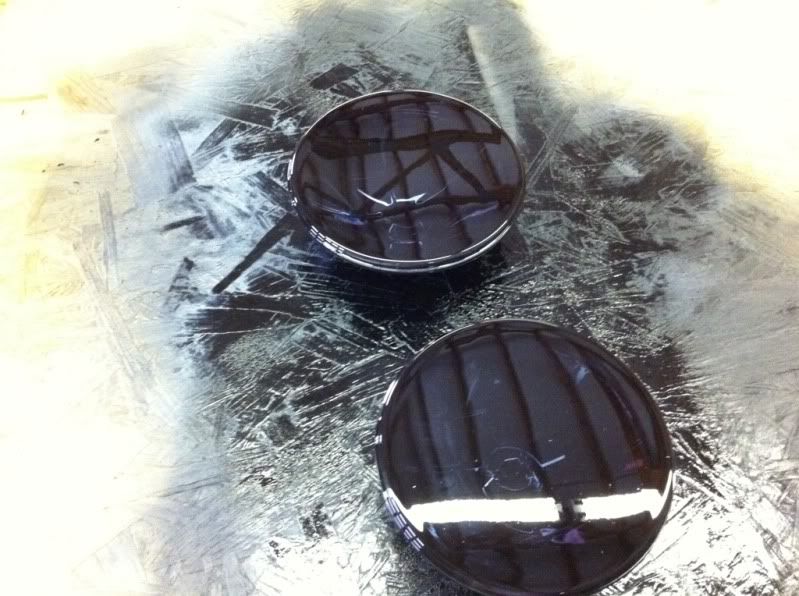
tinting is finished. just waiting for them to cure up all the way and then clear will go on and be polished.
one REALLY nice thing about putting nightshades over glass lenses like both of these sets of Hella's is that if i ever change my mind and i want them clear again, a sharp razor blade strips it down to glass in less than a minute!
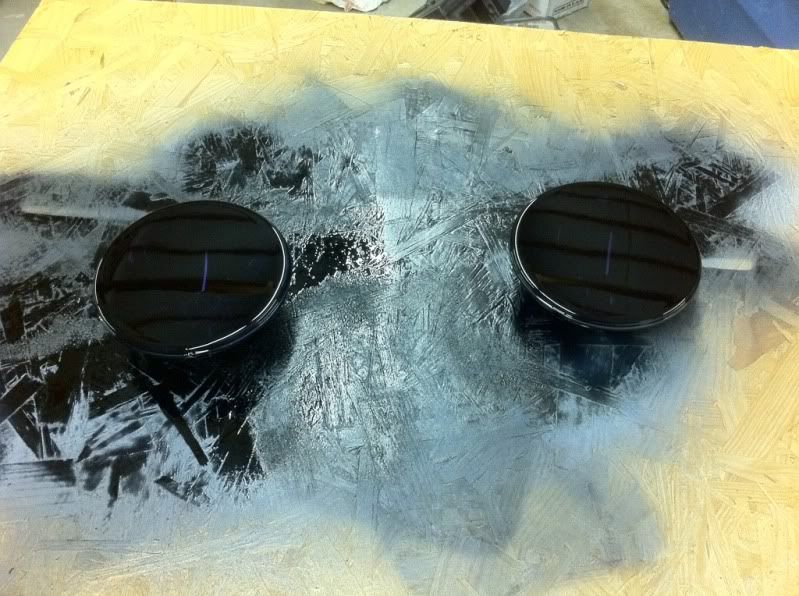
one REALLY nice thing about putting nightshades over glass lenses like both of these sets of Hella's is that if i ever change my mind and i want them clear again, a sharp razor blade strips it down to glass in less than a minute!

Thread Starter
|
Senior Member
Joined: Jul 2010
Posts: 527
Likes: 0
From: Louisville, KY
i was hoping to get more done today in the amount of time that i had, but oh well.
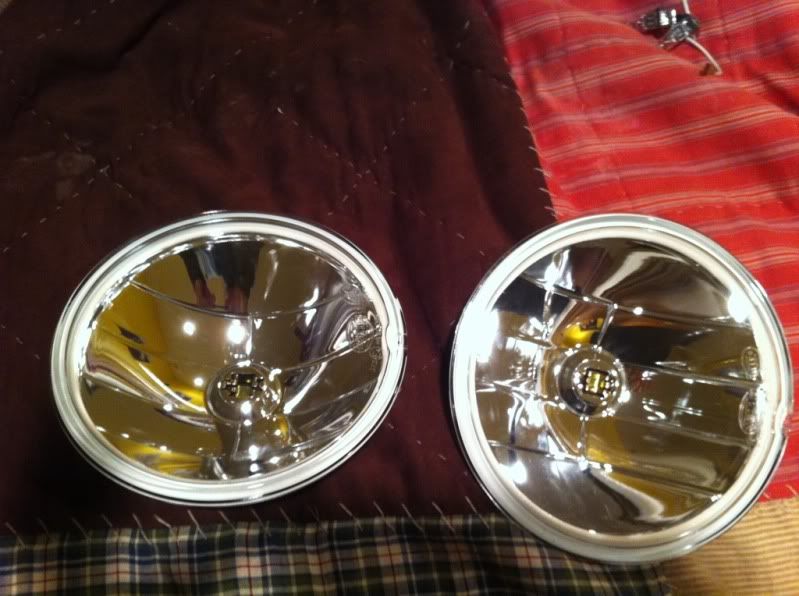
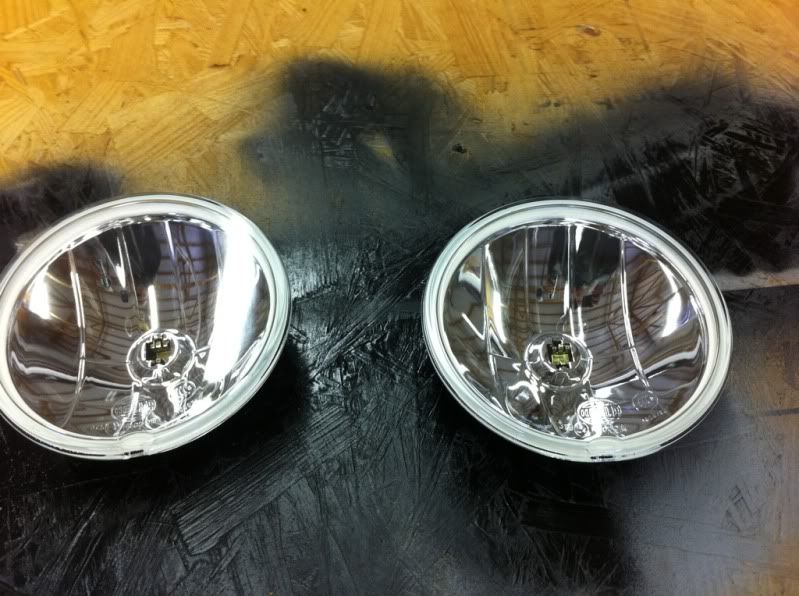
lenses have been cleared:
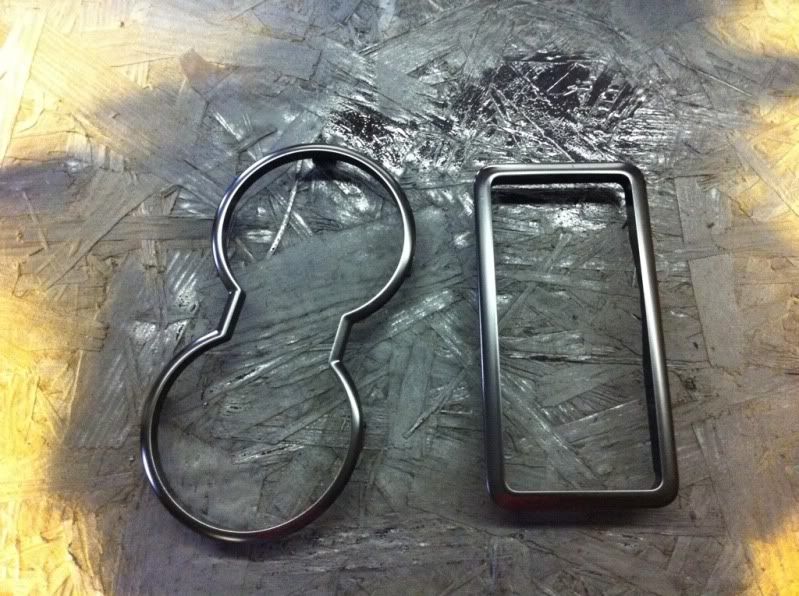
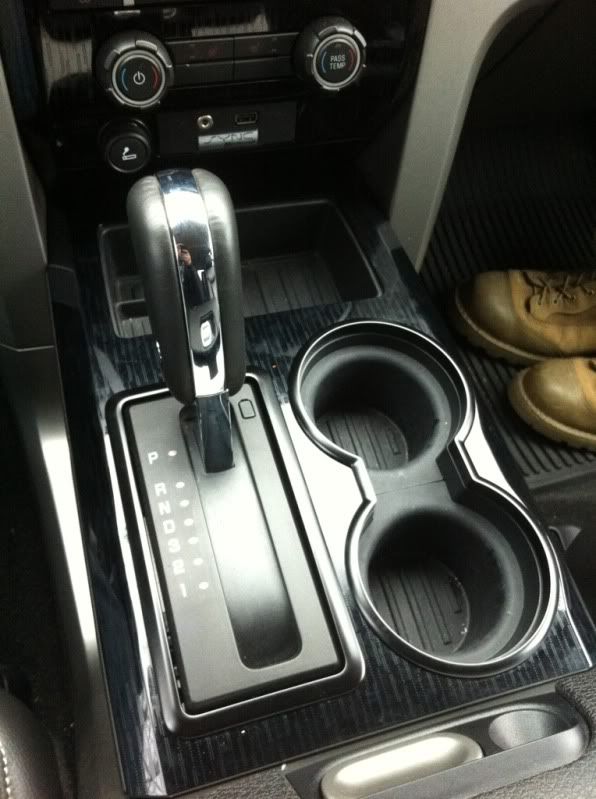
i pulled the center console out and pulled the shifter and cupholder rings to paint them:
and then i cut the holes in my dash for the switches. i originally was going to put the switches on the side of the center console, but it ended up not having enough clearance, then when i went to put them on the console infront of the shifter i found that my switches were simply too big - so i decided on this and im very happy so far AND im REEEEEALLY happy i didnt screw it up and have to buy some $200 piece of plastic for my dash
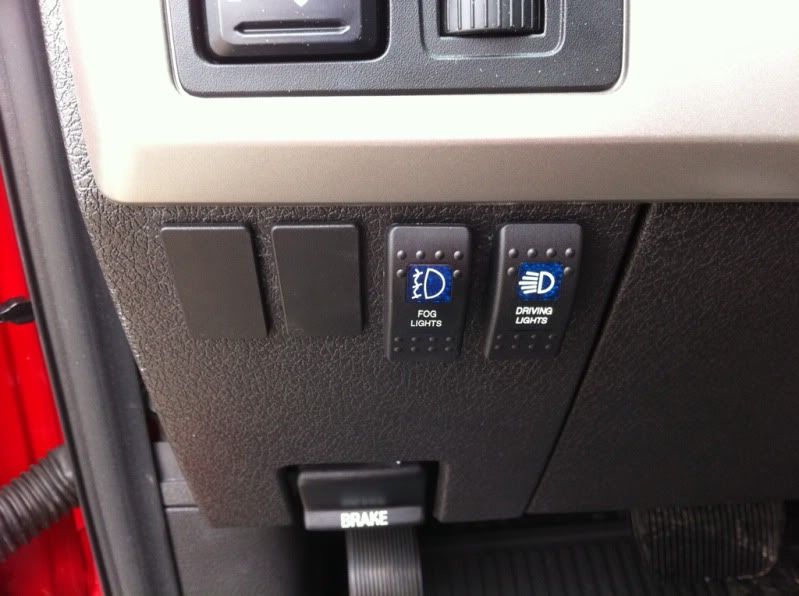
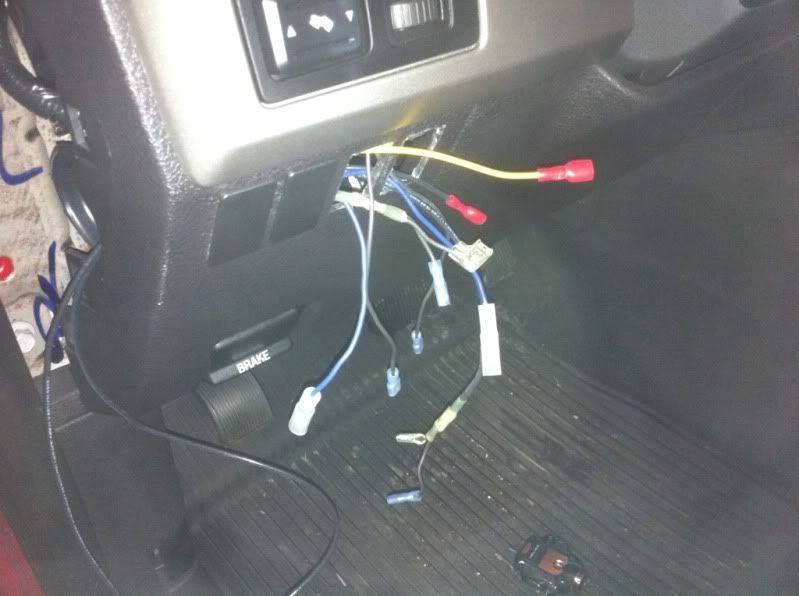
otherwise im about half way through wiring the front lights. i have the harness placed and the positives ran to the lights. the only thing i need to do right now is sleeve the remaining amount of wires that have not been done yet, ground the harness, ground the lights, and wire the switch up.
does anyone know what the dash backlighting wire is? i pulled several wires trying to find a common set of wires among the switches and the only one i could find that was common was the purple with a green/greyish line on it. this is confusing!!
lenses have been cleared:
i pulled the center console out and pulled the shifter and cupholder rings to paint them:
and then i cut the holes in my dash for the switches. i originally was going to put the switches on the side of the center console, but it ended up not having enough clearance, then when i went to put them on the console infront of the shifter i found that my switches were simply too big - so i decided on this and im very happy so far AND im REEEEEALLY happy i didnt screw it up and have to buy some $200 piece of plastic for my dash
otherwise im about half way through wiring the front lights. i have the harness placed and the positives ran to the lights. the only thing i need to do right now is sleeve the remaining amount of wires that have not been done yet, ground the harness, ground the lights, and wire the switch up.
does anyone know what the dash backlighting wire is? i pulled several wires trying to find a common set of wires among the switches and the only one i could find that was common was the purple with a green/greyish line on it. this is confusing!!


Thread Starter
|
Senior Member
Joined: Jul 2010
Posts: 527
Likes: 0
From: Louisville, KY
The switches are made and printed by Carling, these are the Contura IVs
http://www.otrattw.com/
Thread Starter
|
Senior Member
Joined: Jul 2010
Posts: 527
Likes: 0
From: Louisville, KY
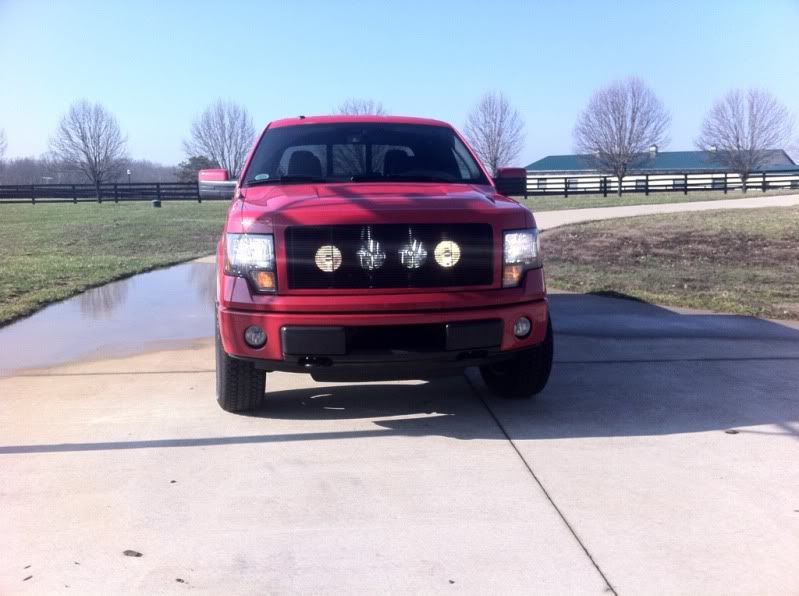
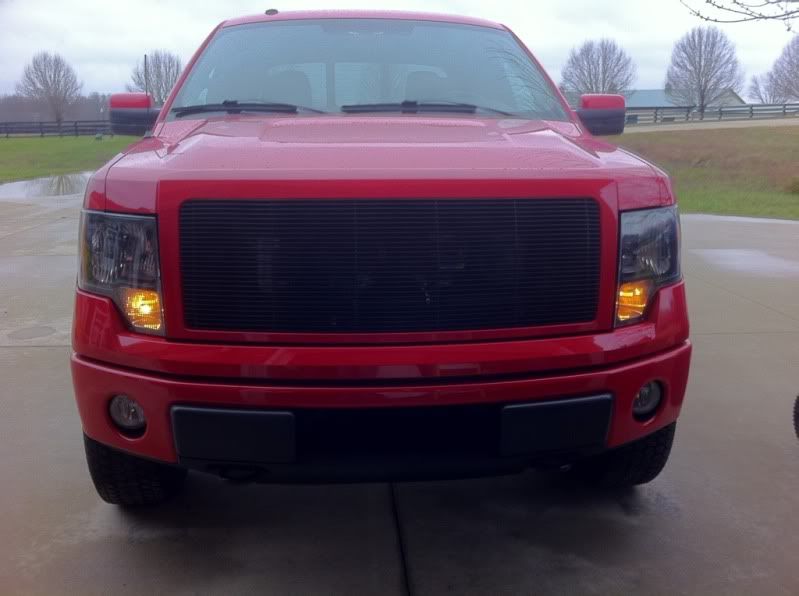
The "old" grille is still attached to the truck, the center 3 bar piece needed to be physically cut out so I could retain the center shroud for the billet
Sorry! Thanks for the complement though
Sorry! Thanks for the complement though

Member
Joined: Mar 2011
Posts: 48
Likes: 0

Thread Starter
|
Senior Member
Joined: Jul 2010
Posts: 527
Likes: 0
From: Louisville, KY
More progress!
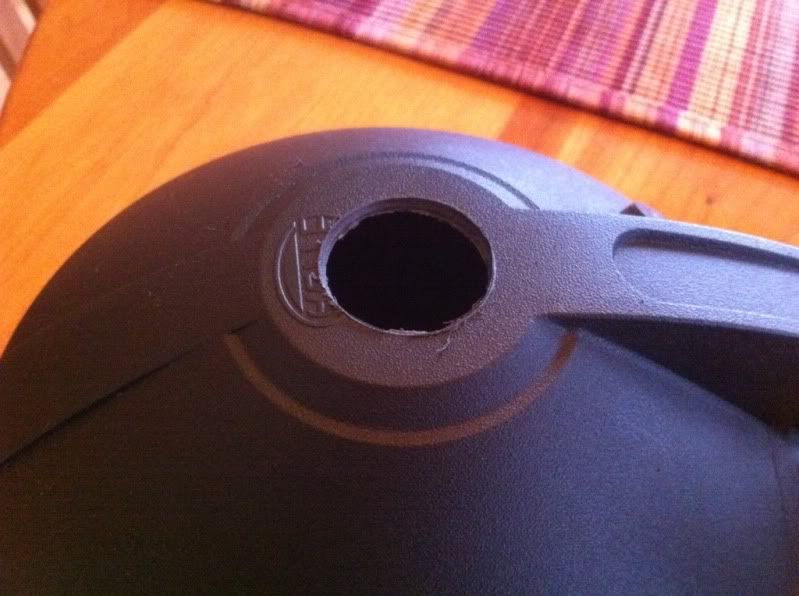
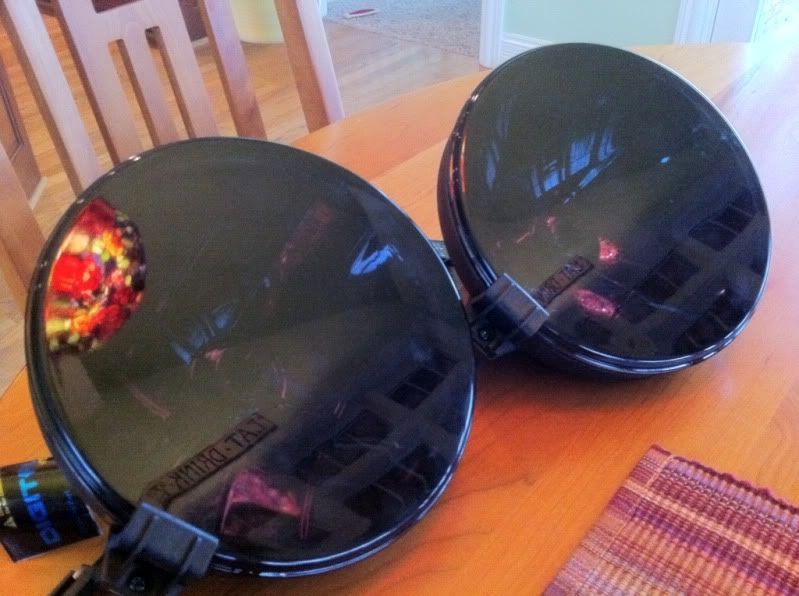
First, a 1" diameter hole is drilled into the back of the housing for the wires and gasket:
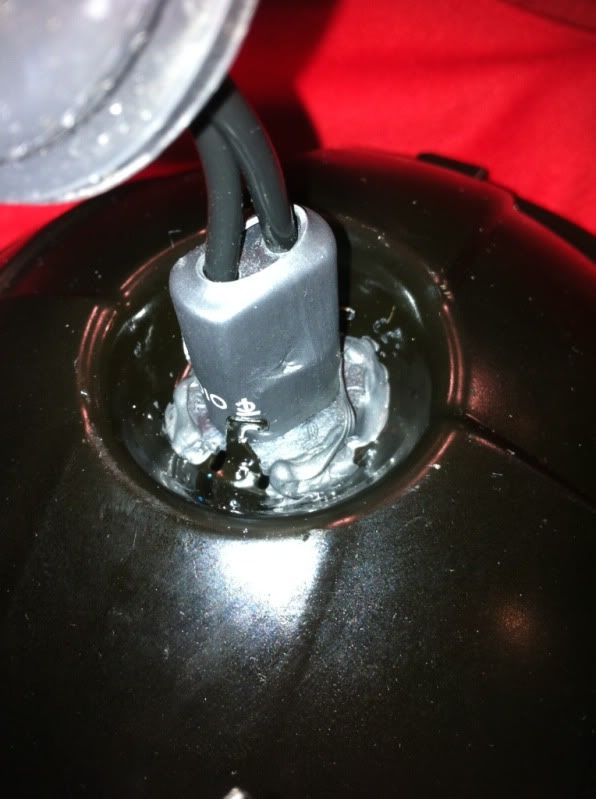
Done:
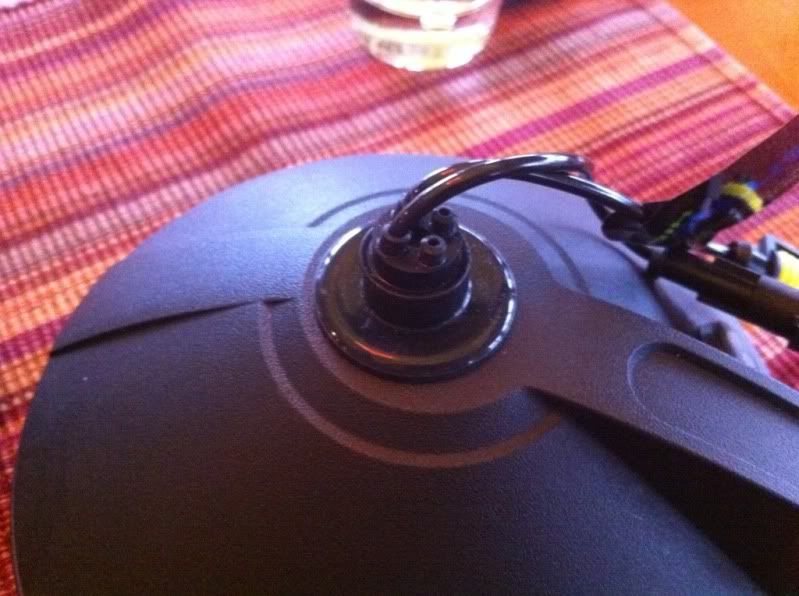
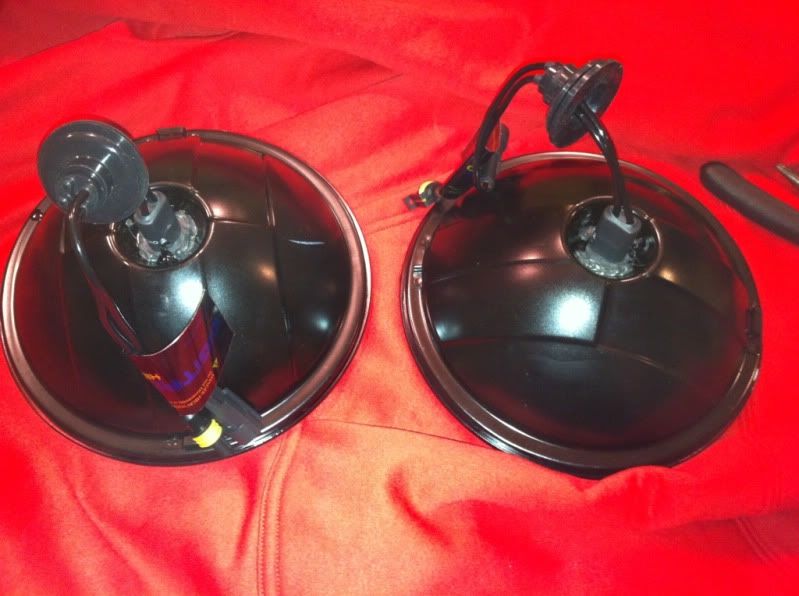
Lights finished:

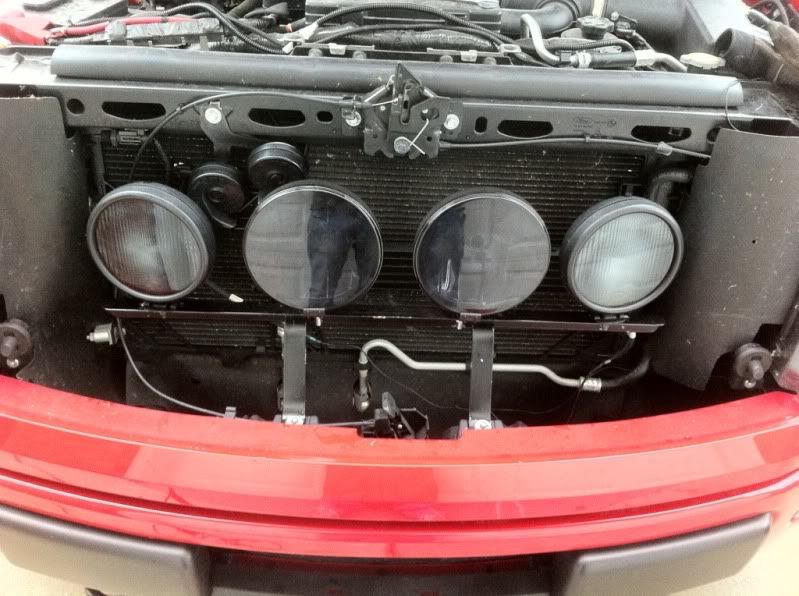
Mounted:
I'm M-Effing wiring mastermind!
That's all for now, harnesses are almost finished, just a few grounds to put in and a few adjustments here and there. This will be finished tomorrow
First, a 1" diameter hole is drilled into the back of the housing for the wires and gasket:
Done:
Lights finished:
Mounted:
I'm M-Effing wiring mastermind!
That's all for now, harnesses are almost finished, just a few grounds to put in and a few adjustments here and there. This will be finished tomorrow
Thread Starter
|
Senior Member
Joined: Jul 2010
Posts: 527
Likes: 0
From: Louisville, KY
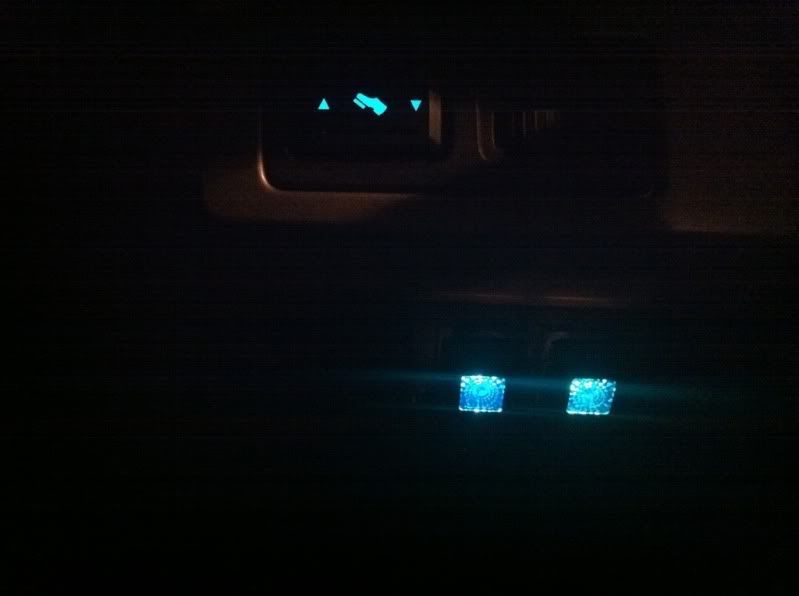
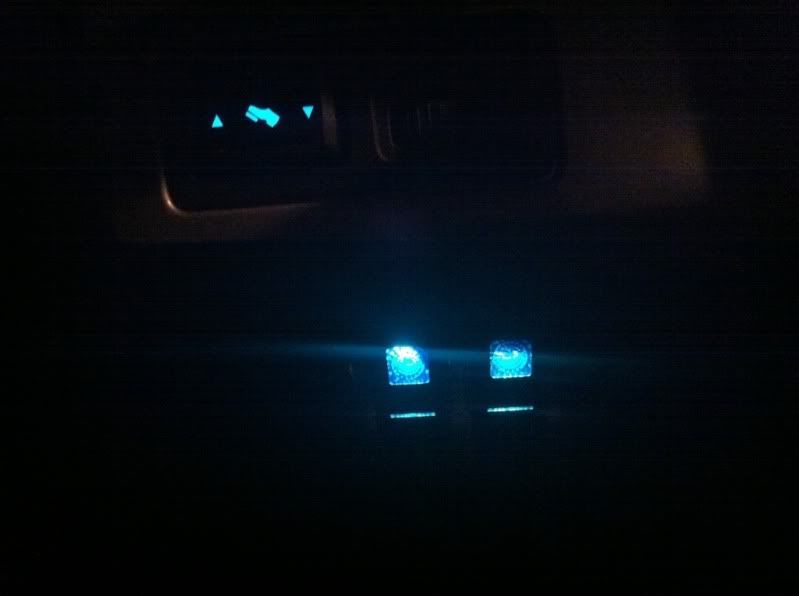
everything is working and finished. the only thing left that i need to do is aim the lights, which i'll do at night time. the backlighting on the switches work great and i'll have a pic of that up later tonight (ambient light sensor) plus you cant see them much during the day.