
New Project Truck 06 F150 XLT 5.4 4x4


Thread Starter
|
Member
Joined: Feb 2012
Posts: 29
Likes: 0
Ground clearance is important if you are rock crawling or going in the mud. Where I live in CA I use my truck in the desert, where ground clearance plays a very small role in the performance of your truck in the dirt. This setup is designed to go fast over bumps and whoop sections. There are hardly even any rocks, or situations where having any lift at all would lead to the success or failure of the obstacle. If you look at the Ford Raptor, they are employing the same concept I am going for. It is centered on controlling wheel movement, and improving ride. If you notice, they have 35" tires, but are no taller than any other F150 that rolls off the lot.

Thread Starter
|
Member
Joined: Feb 2012
Posts: 29
Likes: 0
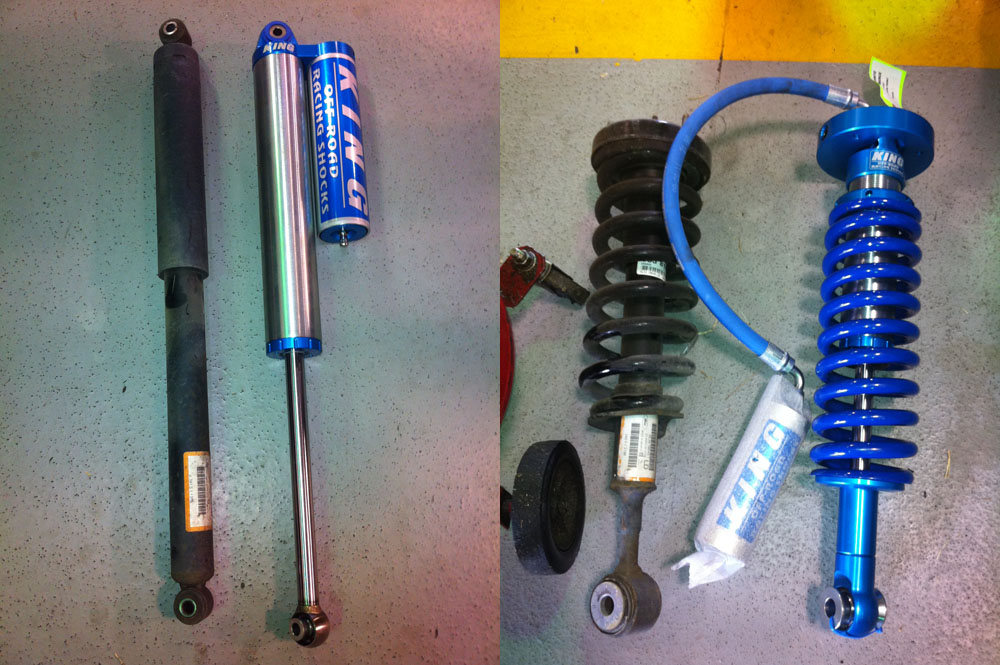
I have not had to time to get it in the dirt for a serious test yet. I did drive it about 120 miles on the road. So far I can say that the Kings handle better than stock on the road. The front soaks up the bumps a lot better. I had the bed loaded with about 350 pounds of stuff during my trip / I have towing leafs still installed, so I can't say it was any different.
Thread Starter
|
Member
Joined: Feb 2012
Posts: 29
Likes: 0
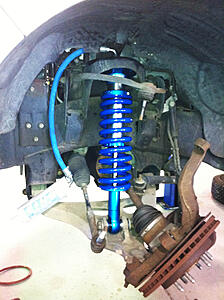
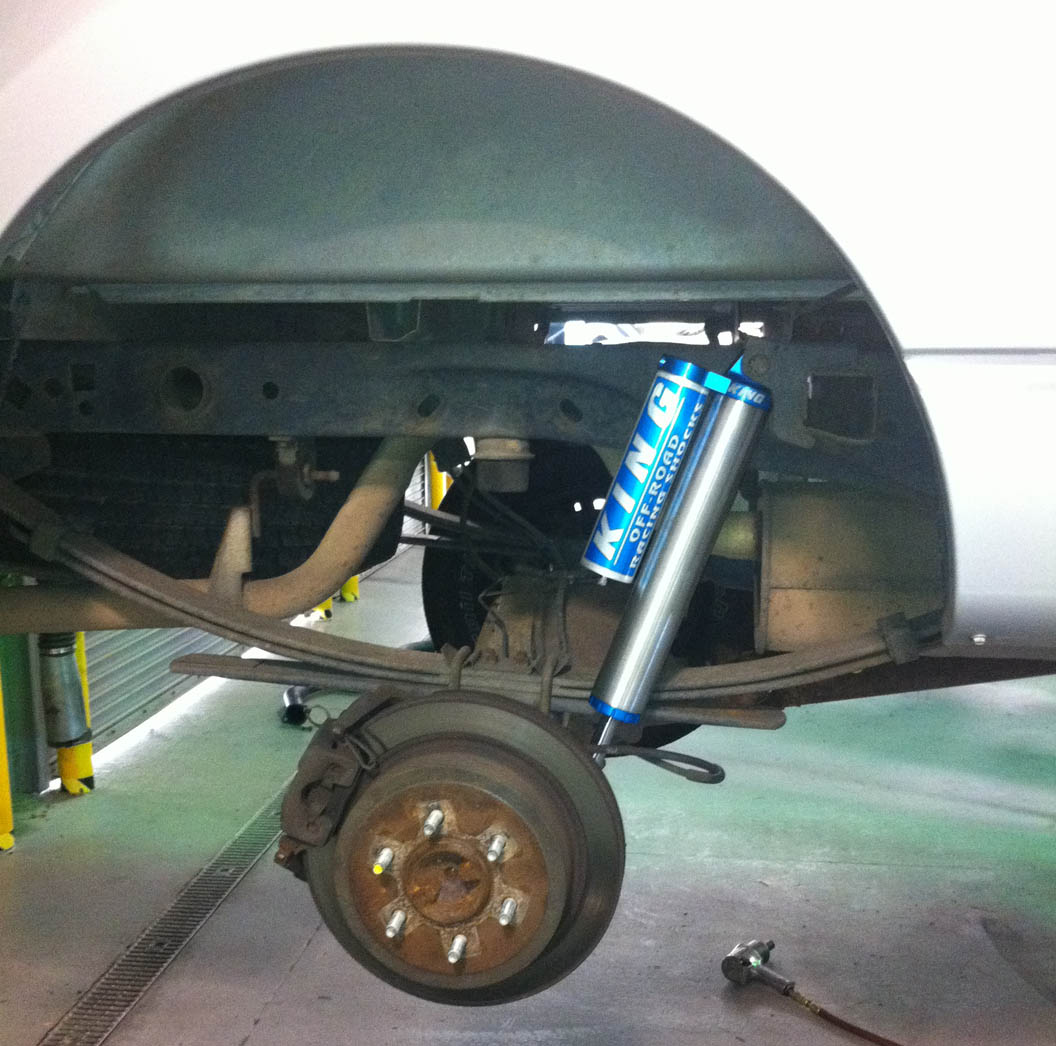
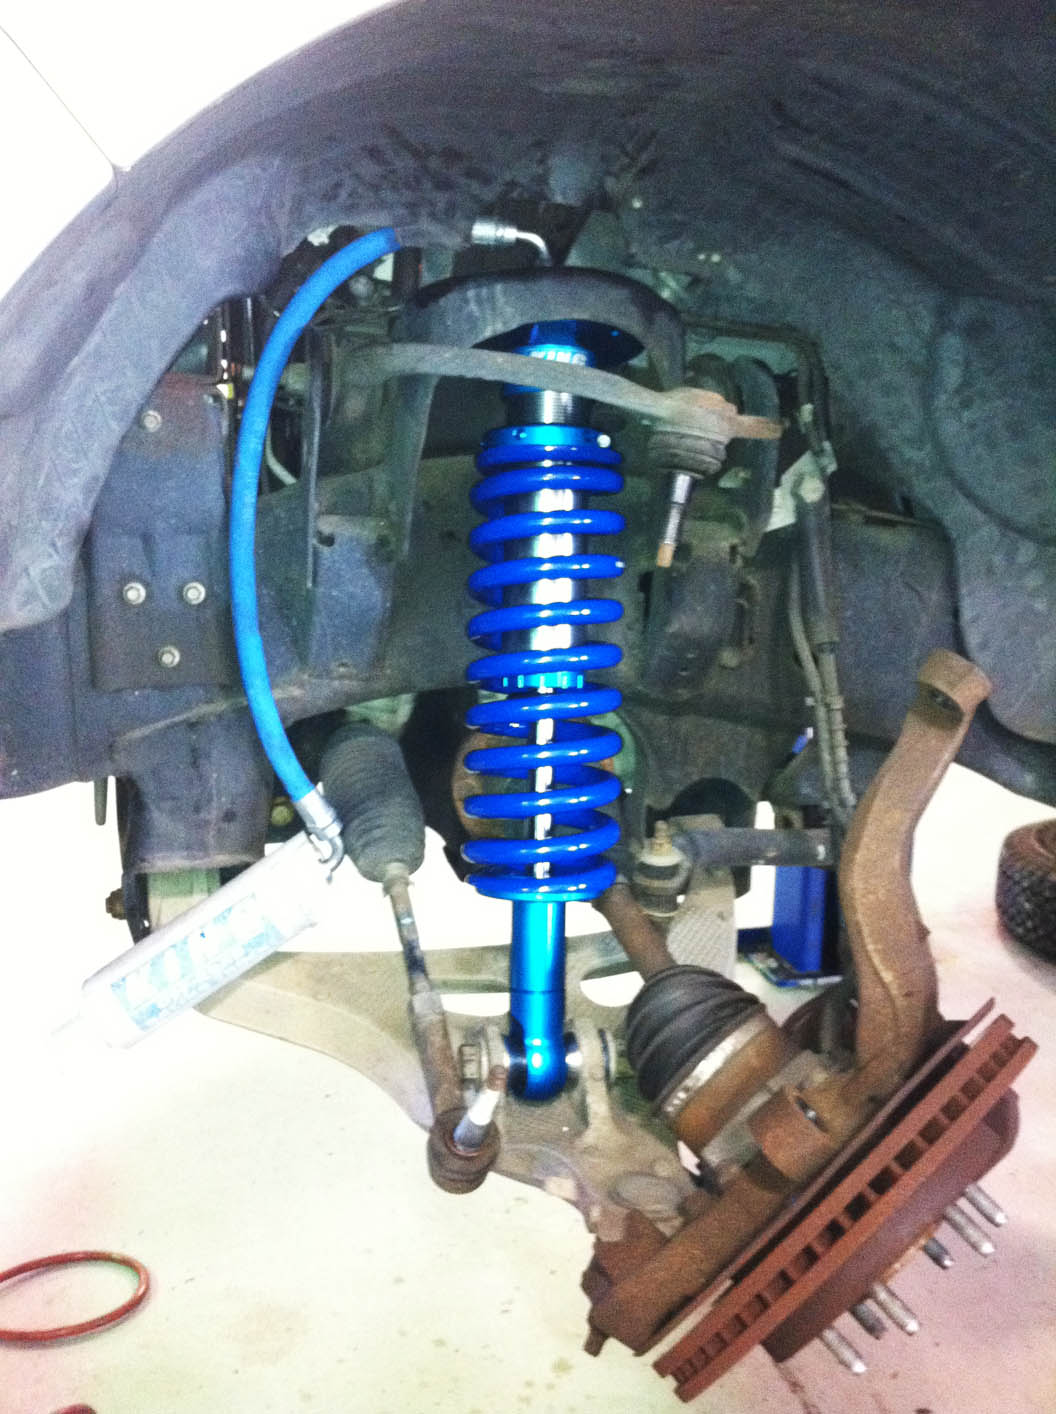
Some shots of the install. It took about 2.5 hours to do the install with the use of a lift and air tools. In the front the steering tie rod and the upper control arm bushing had to be popped off for the install. I'd say the hardest part was running the res through the top of the shock mount. In the rear I had to grind a portion of the mount to prevent the shock body from rubbing at full extension. After the new leafs are installed I will probably need to go back in and grind more material away.


Senior Member

Joined: Sep 2009
Posts: 2,578
Likes: 2
From: Southwest Ranches, FL
nice work so far, those kings look hi-quality!
i think this is the route i want to go! my truck is my daily but i also want the best ride quality, would the camburg upper arms relieve some of the stress?
i think this is the route i want to go! my truck is my daily but i also want the best ride quality, would the camburg upper arms relieve some of the stress?
Thread Starter
|
Member
Joined: Feb 2012
Posts: 29
Likes: 0
They sure will. They increase the caster that I lost by lifting the truck with the Kings. The uniball is stronger compared to the bushing as well. You can pull almost 10.5" of travel with these bad boys. I think the stock is 8.5" <---- not too sure.

Thread Starter
|
Member
Joined: Feb 2012
Posts: 29
Likes: 0
Wrapping up the install on the air system. Here are some snapshots of how I did the install.
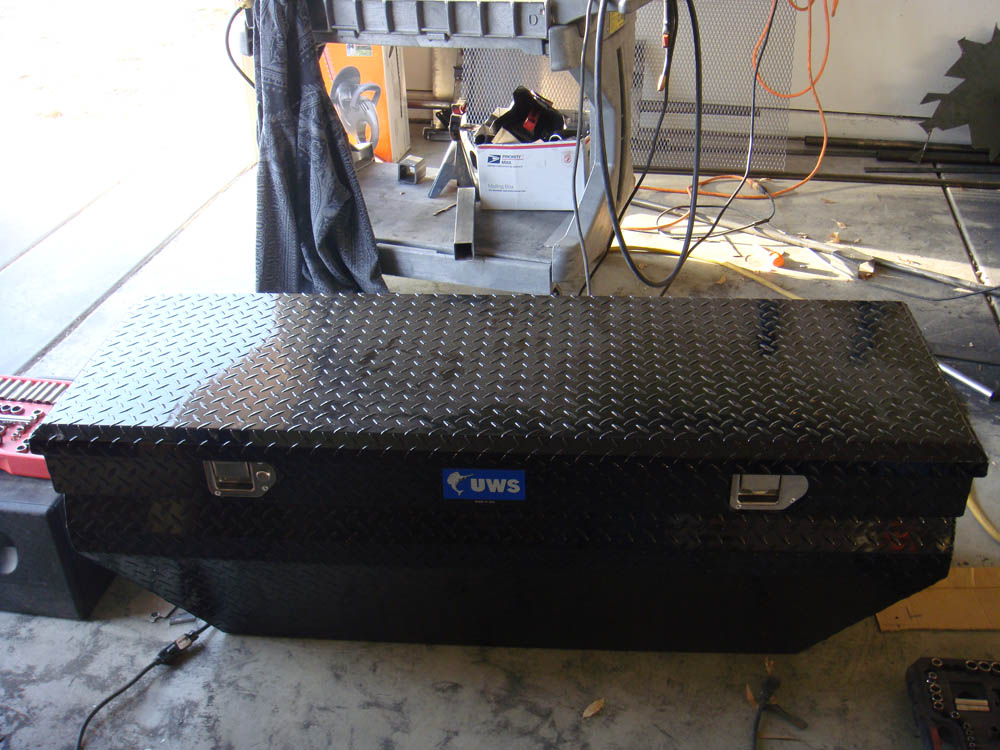
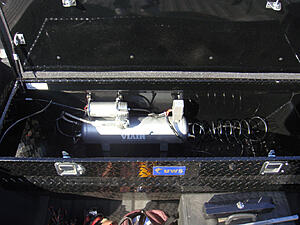
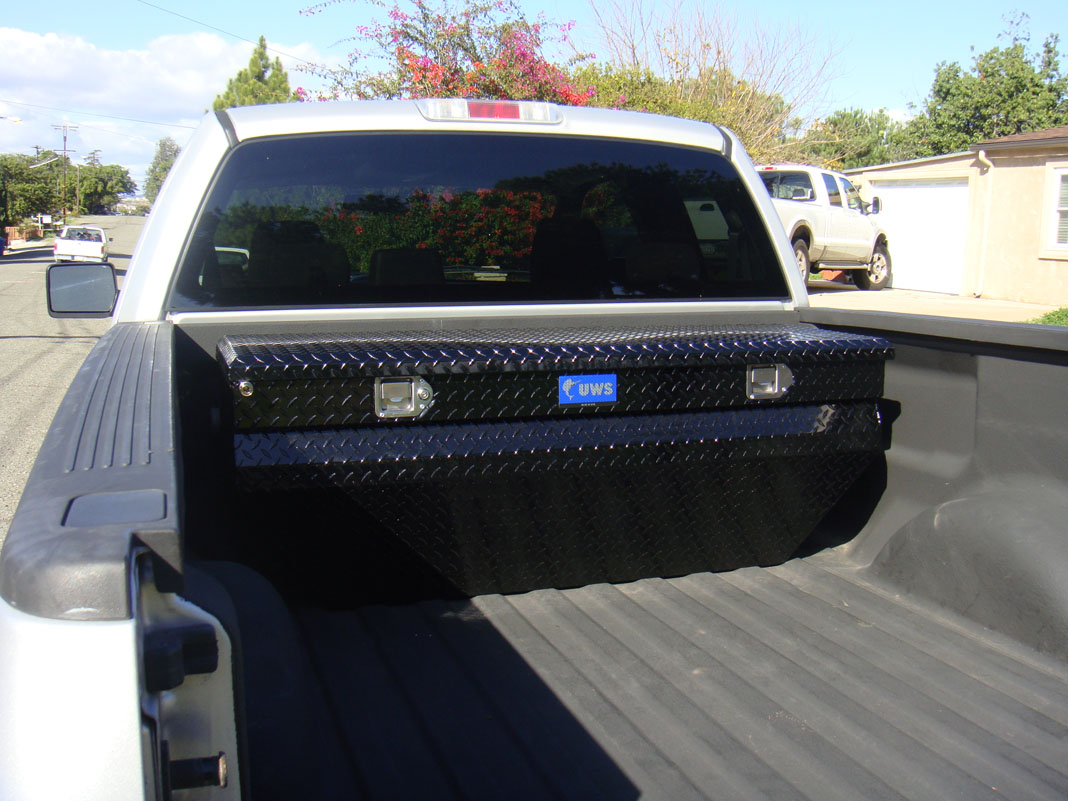
The UWS tool chest mounted in the back of the truck.
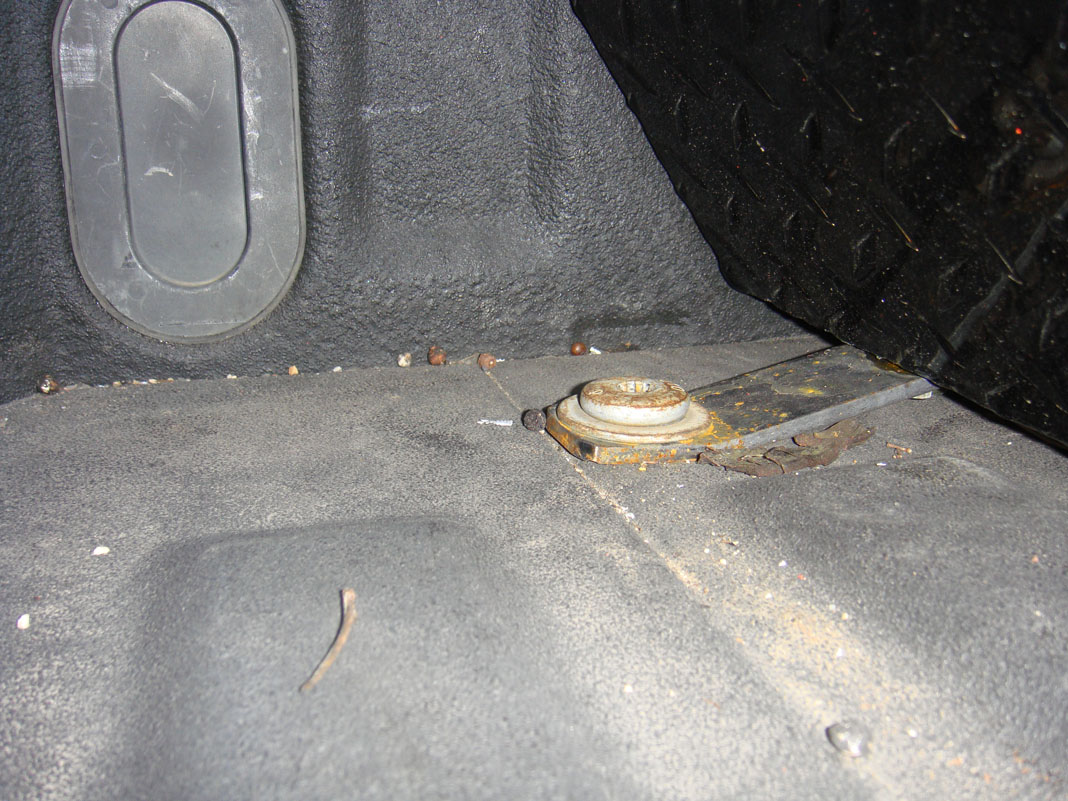
Since this thing is going to be hitting some bumps and jumps out on the trail I wanted to make sure this thing was bolted down really good. No self tapping screws here! I used grade 8 hardware to mount it into my bed. The piece of steel was mounted to the bottom of the chest then mounted through my bed bolts to provide strength and a good ground for the air system. The other two bolts were installed through the bottom underneath the gas tank and muffler, making it really difficult to unbolt.
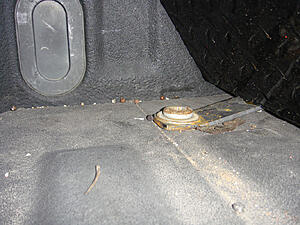
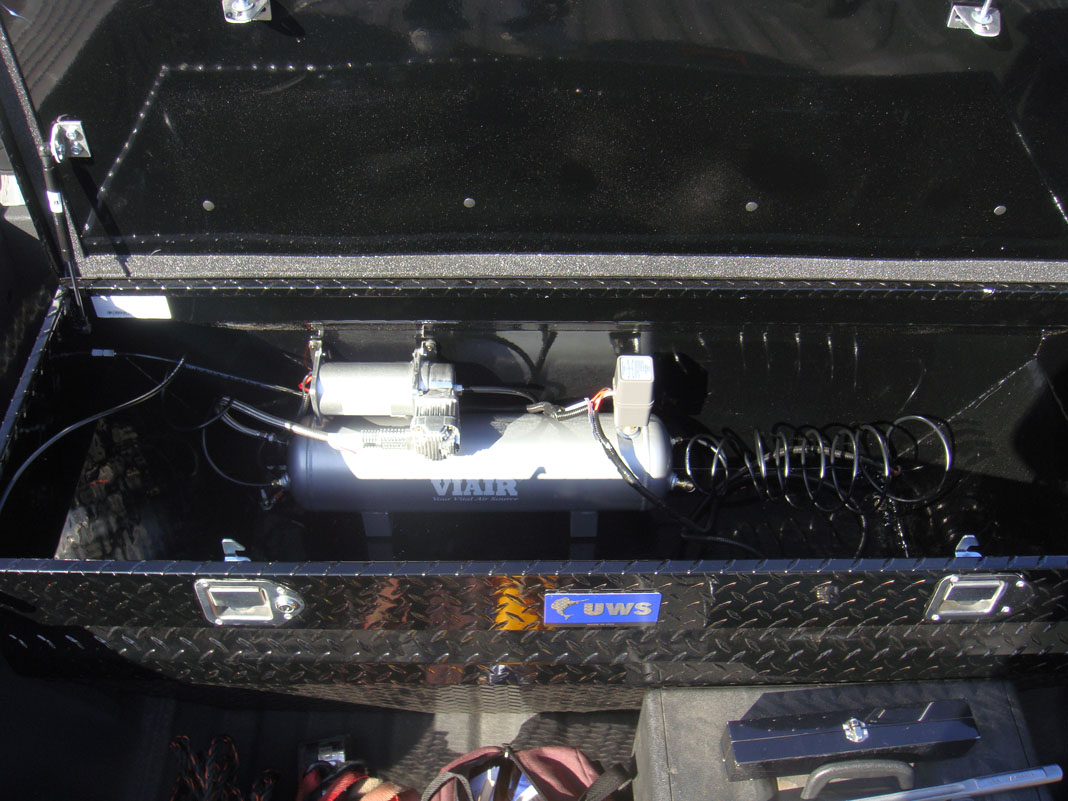
Picture of the install. I have lots of extra hose inside the box at the moment because I'm still working on guage/switch placement. I'm also going to get a cover to go over everything to prevent my tools from hitting/rubbing up against the tank and components.
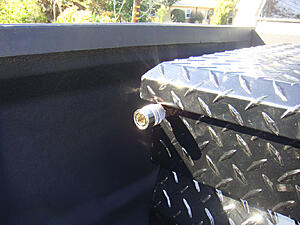
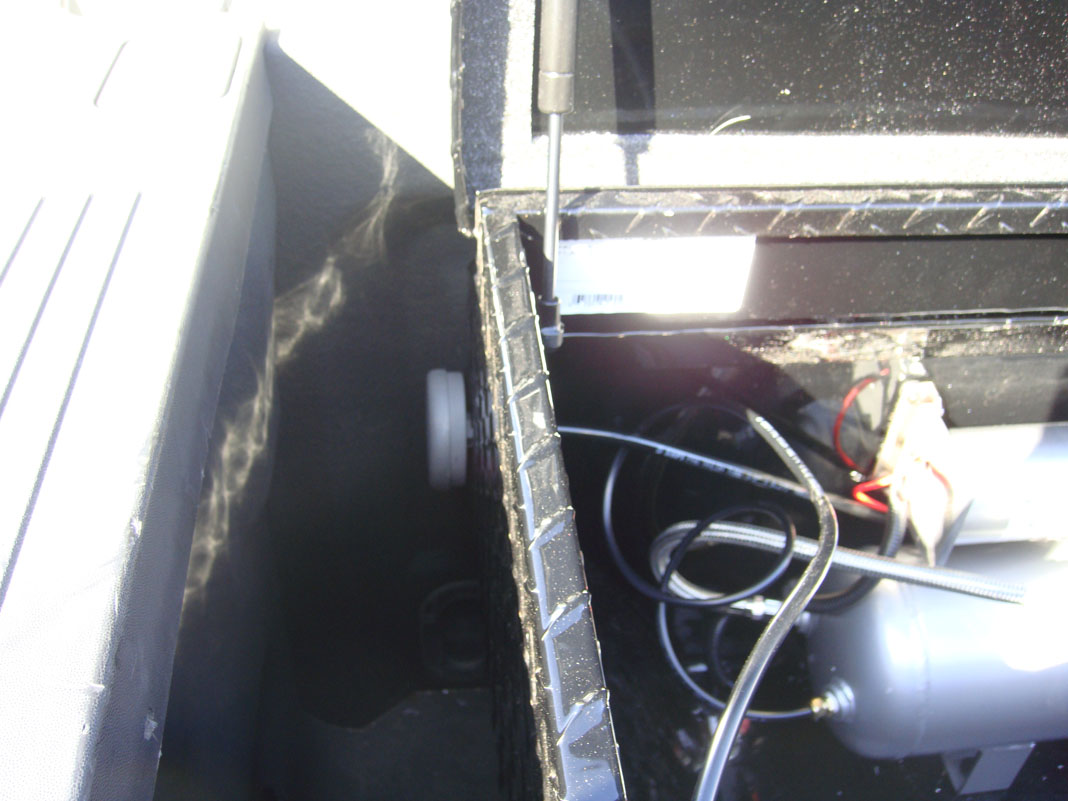
Mounted the air bib on the driver side for easy access.
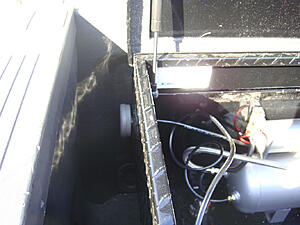
The intake is on the side of the tool chest. I'm going to install a cover at a later date to prevent water intrusion.
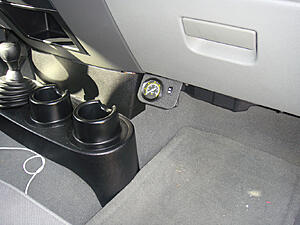
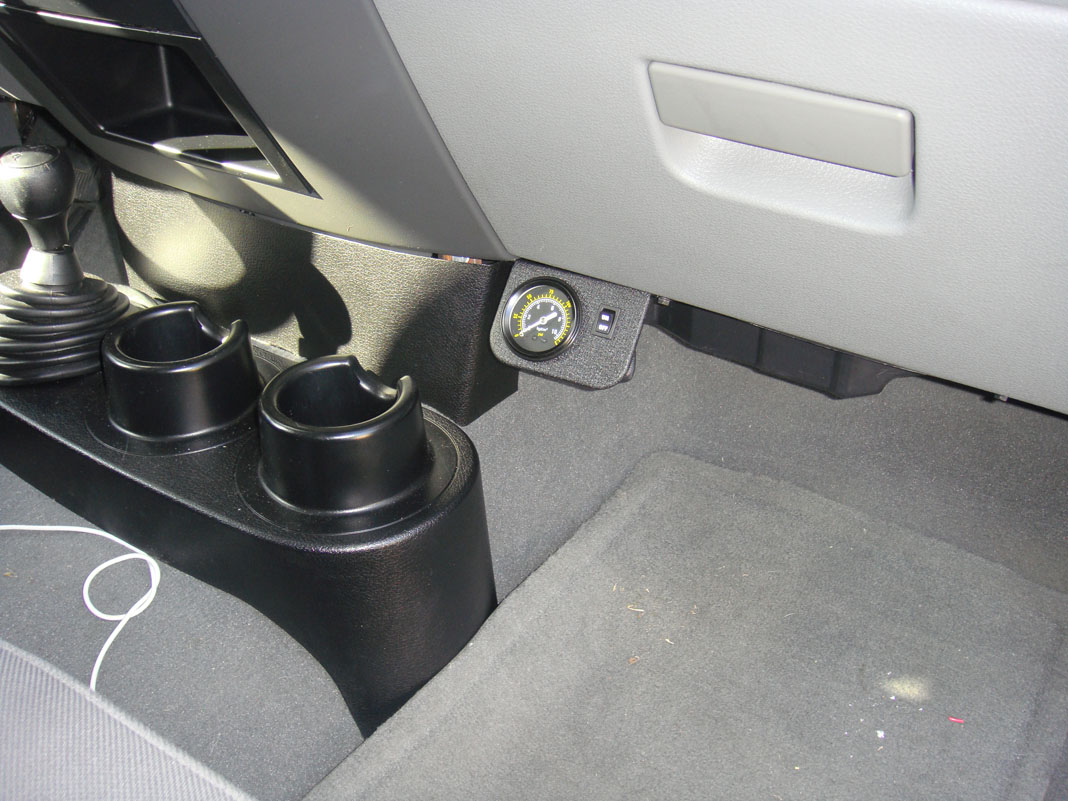
Temporary gauge placement. Just wanted to get this thing operational for now while I look into a new gauge and switch.
The UWS tool chest mounted in the back of the truck.
Since this thing is going to be hitting some bumps and jumps out on the trail I wanted to make sure this thing was bolted down really good. No self tapping screws here! I used grade 8 hardware to mount it into my bed. The piece of steel was mounted to the bottom of the chest then mounted through my bed bolts to provide strength and a good ground for the air system. The other two bolts were installed through the bottom underneath the gas tank and muffler, making it really difficult to unbolt.
Picture of the install. I have lots of extra hose inside the box at the moment because I'm still working on guage/switch placement. I'm also going to get a cover to go over everything to prevent my tools from hitting/rubbing up against the tank and components.
Mounted the air bib on the driver side for easy access.

The intake is on the side of the tool chest. I'm going to install a cover at a later date to prevent water intrusion.
Temporary gauge placement. Just wanted to get this thing operational for now while I look into a new gauge and switch.
Thread Starter
|
Member
Joined: Feb 2012
Posts: 29
Likes: 0
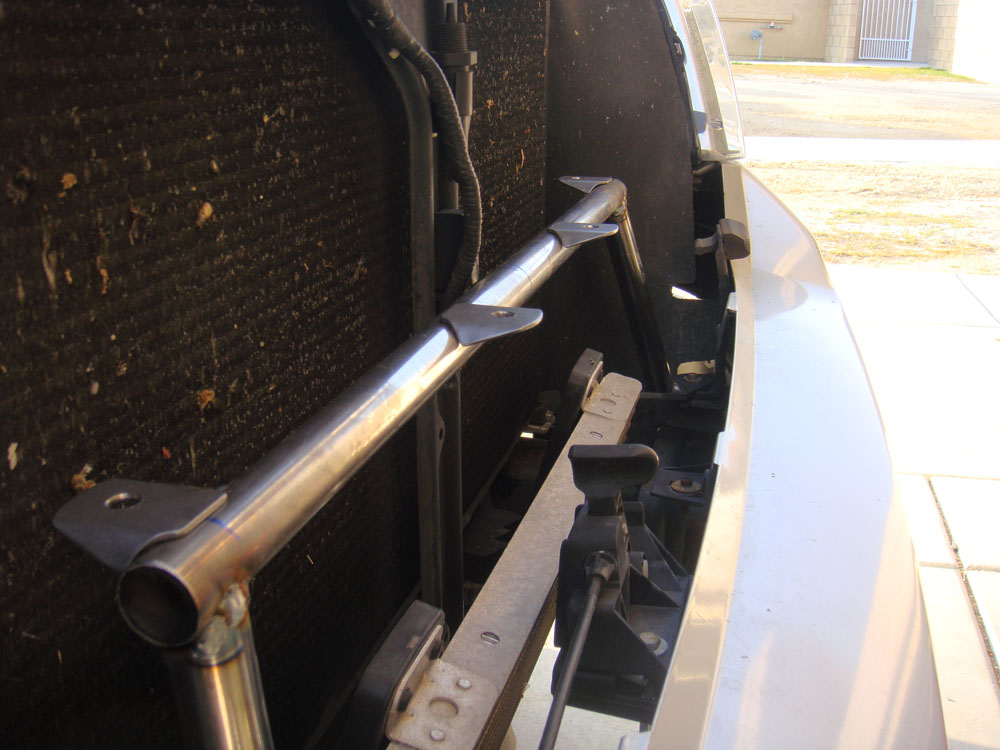
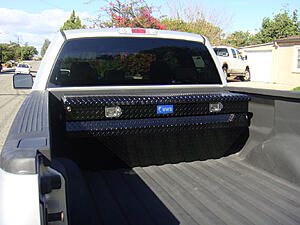
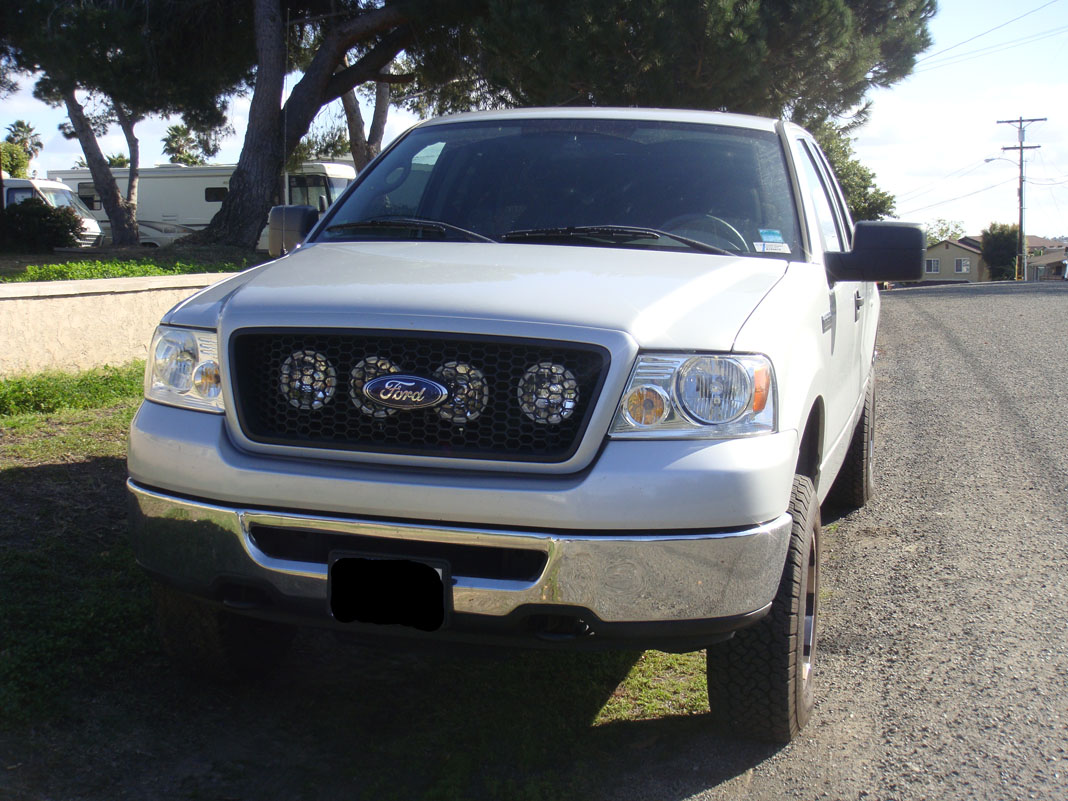
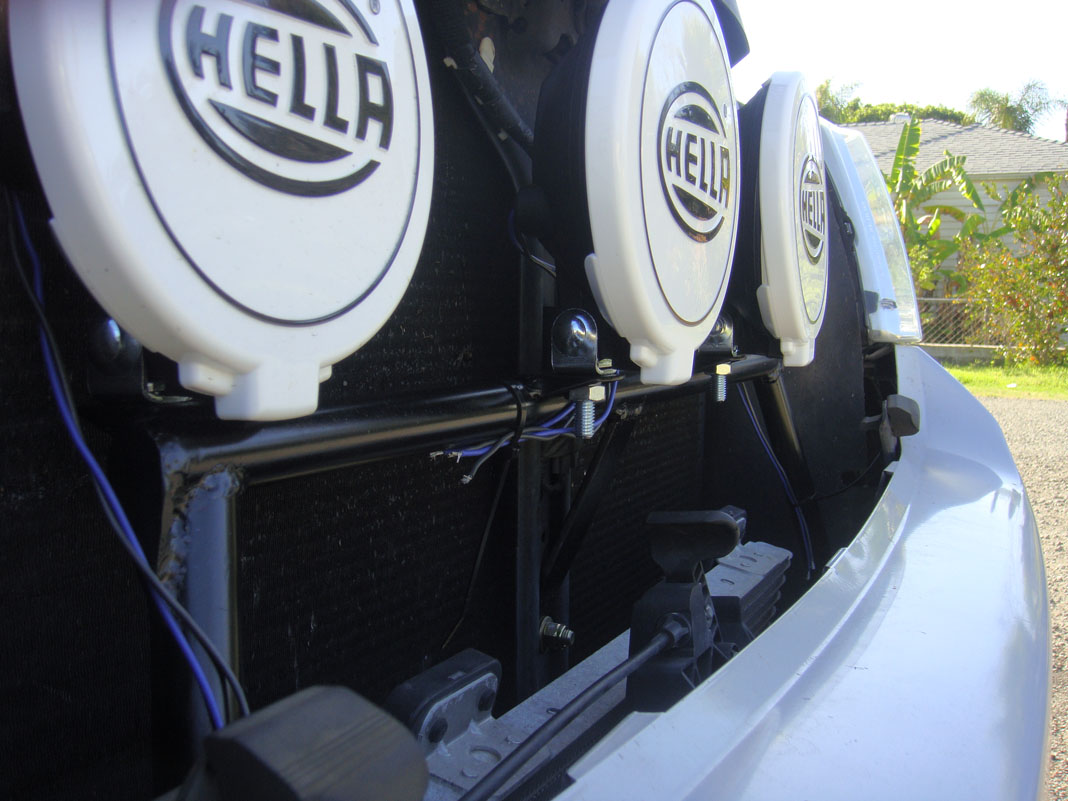
Light bar is finished minus getting it powder coated. Another support was added down the center and it has been capped. I'm going to be wiring all this stuff up and testing it out this weekend. I ordered a new grille from grillcraft in black since the ford logo is blocking my lights.
http://grillcraft.com/applications/2...aspx/1%7C7/78/
I also picked up the 58W 4.5k HID conversion kits for the 500FF lights. I'll be doing the mod after I see what they do stock. The light bar is super sturdy, I couldn't get any wiggle out of it. If there is enough interested generated I could make a few light bars for a low cost.
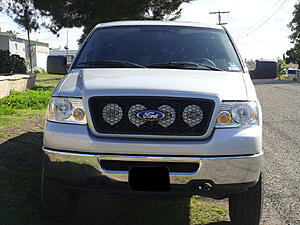
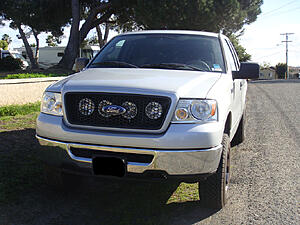
Offset the lights


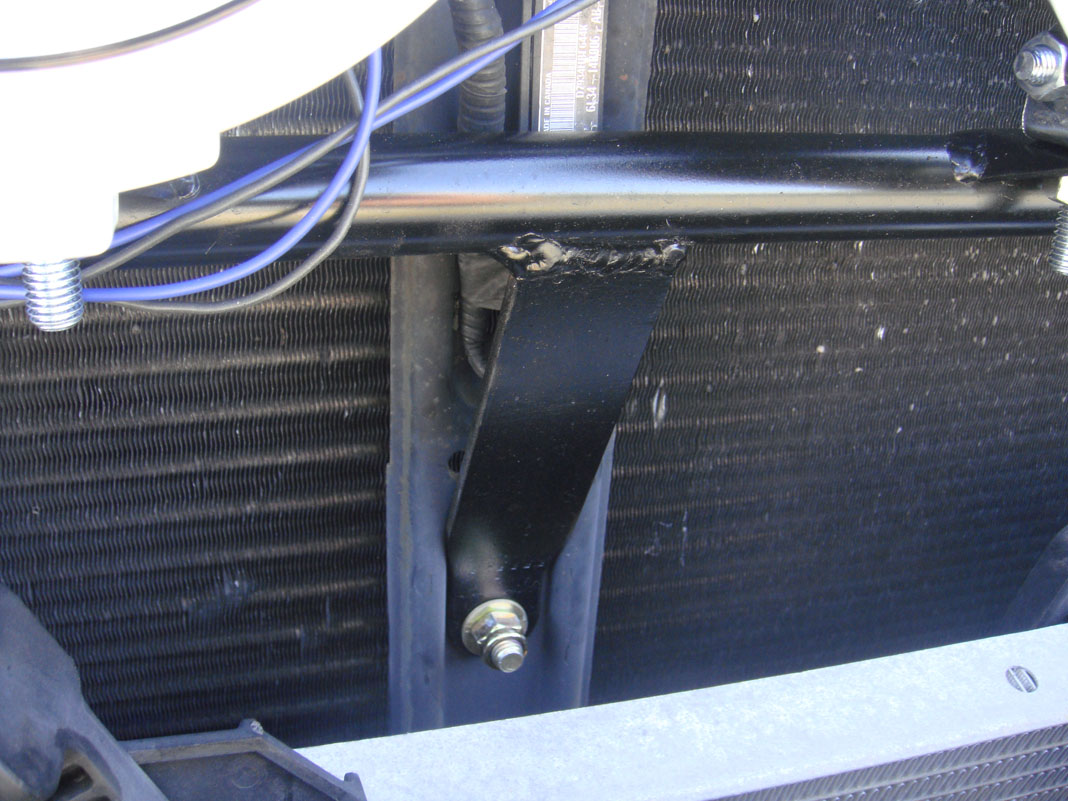
Added the center reinforcement.
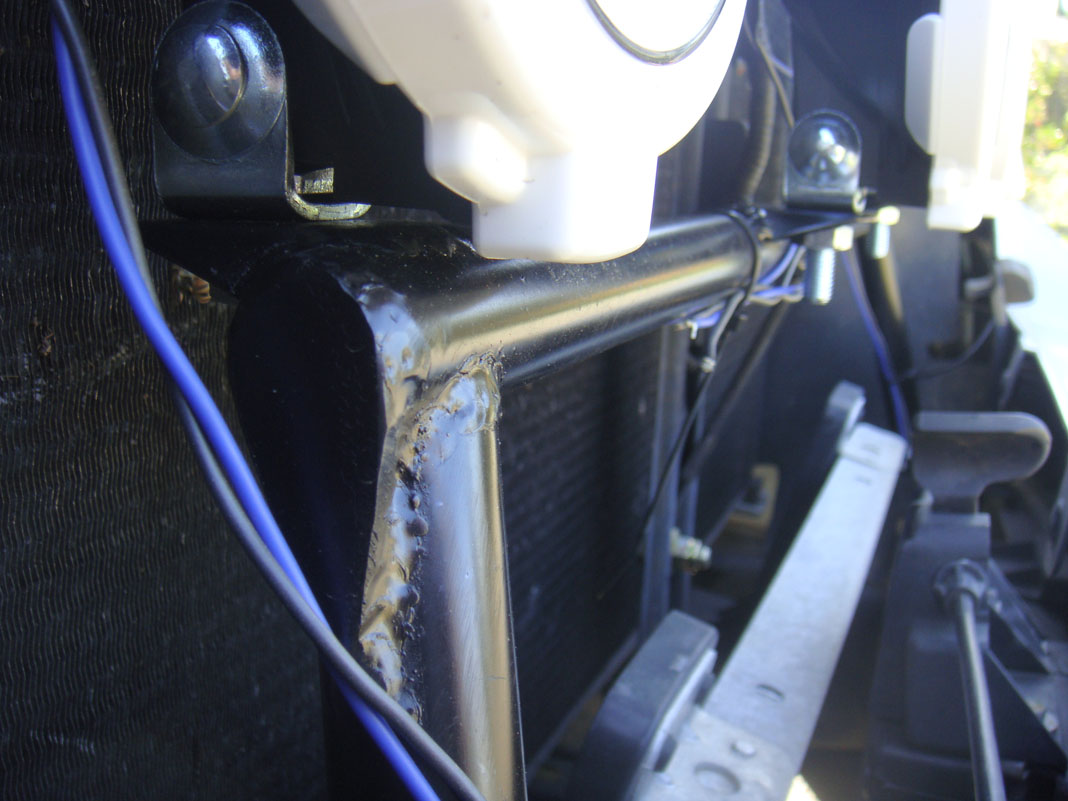
capped the ends

http://grillcraft.com/applications/2...aspx/1%7C7/78/
I also picked up the 58W 4.5k HID conversion kits for the 500FF lights. I'll be doing the mod after I see what they do stock. The light bar is super sturdy, I couldn't get any wiggle out of it. If there is enough interested generated I could make a few light bars for a low cost.

Offset the lights

Added the center reinforcement.
capped the ends

Senior Member
Joined: Sep 2005
Posts: 1,476
Likes: 5
From: Alaska
You'll be amazed at the difference HID bulbs make. I had a pair of 55w ProComp Spots that I replaced with 35w 5000k bulbs and love the difference.
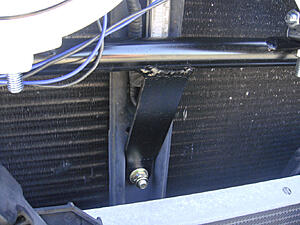
How did you attach your light bar to the frame?
How did you attach your light bar to the frame?
Thread Starter
|
Member
Joined: Feb 2012
Posts: 29
Likes: 0
Yea, I'm pumped to get the lights setup. Tabs were welded to the bottom of the tubing. It attaches to the stock mounting hardware that was there. I'll provide a picture if you are interested.