How-To: Easy DIY Paint Touchup for Your F-150
All-in-one kit makes paint touchup an easy, relatively inexpensive task.
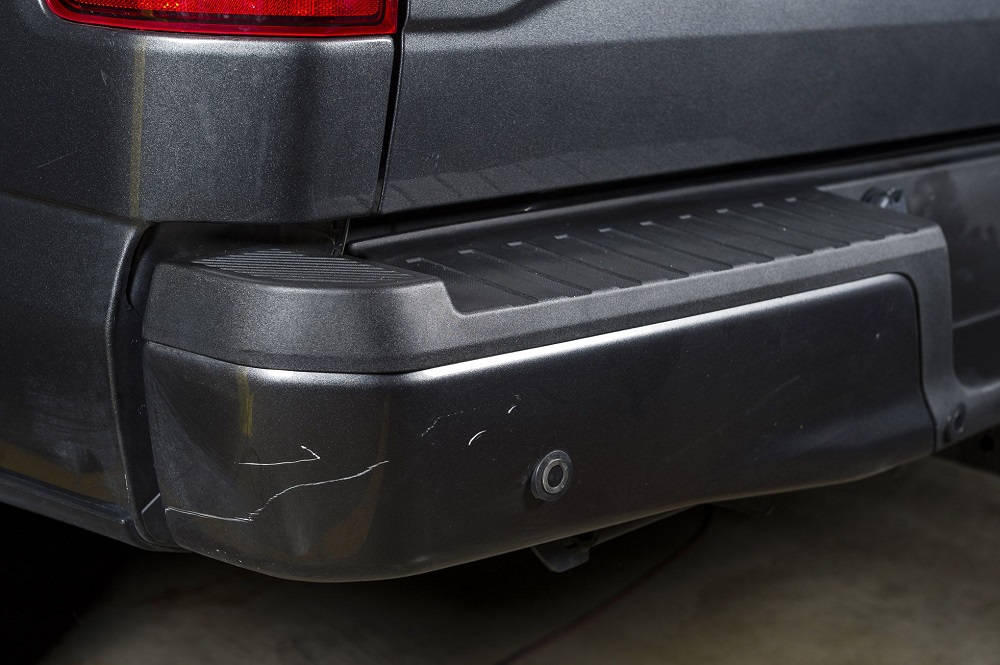
There’s arguably no worse feeling than when you emerge from the local shopping center to find fresh new scratches on your F-150. You work hard to keep your Ford truck looking great, yet in a matter of seconds, some idiot has seemingly ruined it. Making matters worse, you quickly realize that this unfortunate incident is going to cost you serious money to repair.
That’s because paint touch up isn’t exactly cheap. Taking your truck to a professional will set you back some pretty big bucks. You could just buy a paint pen and make the scratches slightly less visible. Or you could try and wing it at home and risk making matters even worse. But now there’s another, more viable option: a new DIY paint touch up kit from Automotive Touchup.
The folks at Truck Trend had a great excuse to try one of Automotive Touchup’s DIY kits after their truck had an unfortunate run-in with some trash cans. The result was some ugly-looking scratches on the bumper of their 2015 Ford F-150. So TT entered the truck’s info on the website, including the paint code found on the driver’s side door jam. Shortly thereafter, a nifty little repair kit arrived in the mail.
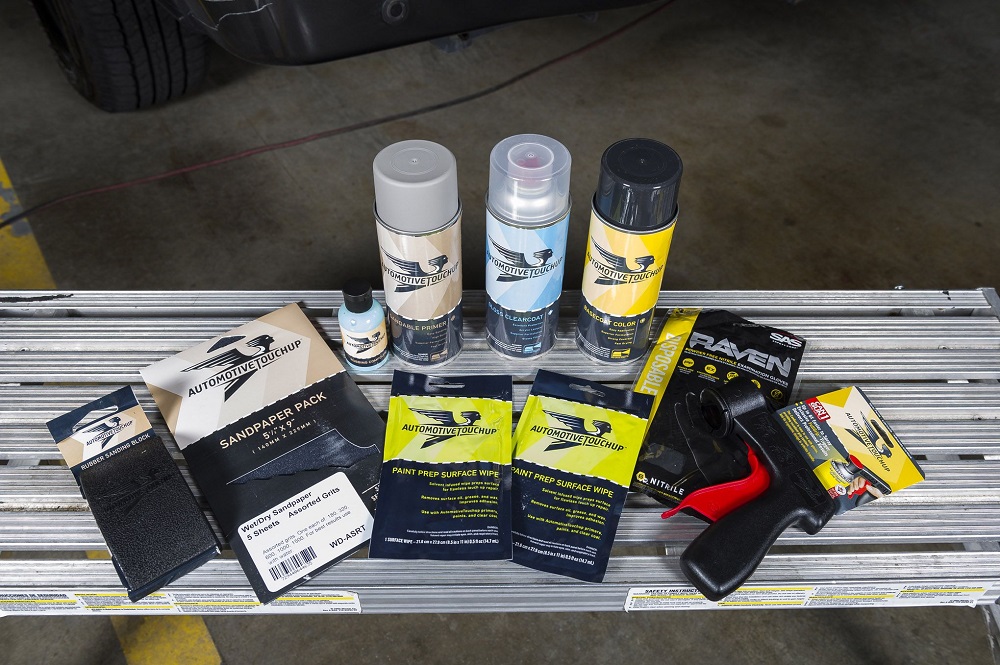
The kit comes with a sanding block, sandpaper, surface wipes, primer, paint, clear coat, gloves, spray handle, and polishing compound. First, as emphasized by Truck Trend, you’ll want to tape off the affected area with decent-quality paint tape. Remove any components that might be in the way, such as the parking sensor in the bumper. Then you can begin wet sanding with the 320 grit sandpaper and block.
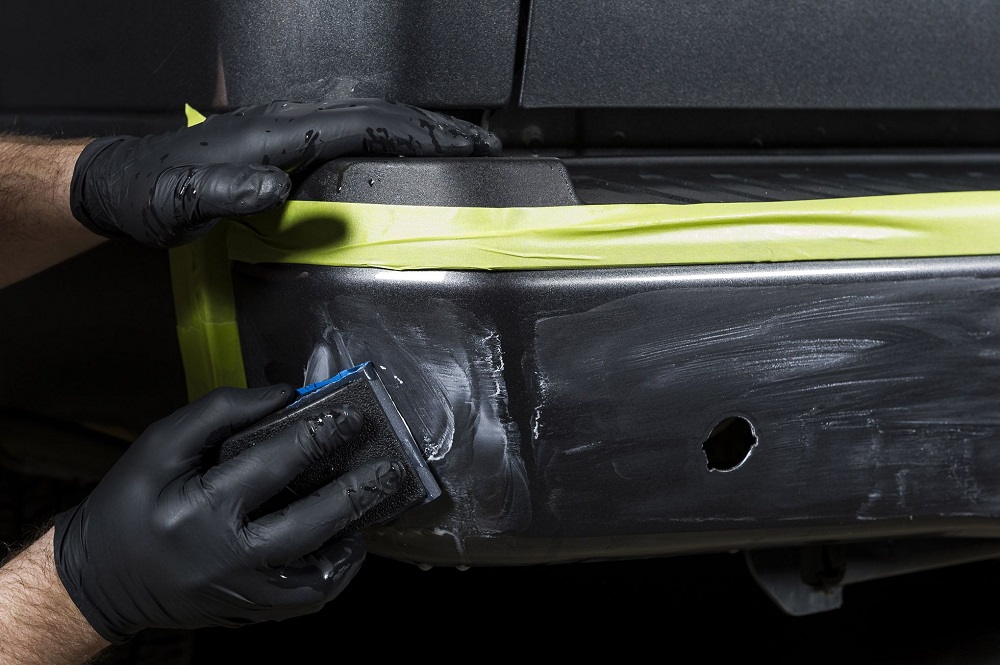
Next, you’ll go back over the area with 600 grit sandpaper. When finished, wipe it all down with paint prep wipes. Cover up any holes (like the one left by the parking sensor removal) and mask off the surrounding area to prevent overspray. Next, use the spray handle to apply primer before hitting the area with 600 grit sandpaper again.

Wipe the area down thoroughly with prep wipes before you begin to apply light base coats, allowing the paint to dry in between each coat. Once the base coat has fully cured, you can begin to apply several coats of clear, making sure to allow plenty of drying time between coats. Wait for it all to dry, and presto! Nobody, including you, will ever know about that unfortunate incident at your local grocery store.
Check out Truck Trend‘s full fix here.
You must be logged in to post a comment.