How-To: Replace your 1997-2003 F-150 2WD Front Shocks
#1
 08-27-2010, 08:39 PM


How-To: Replace your 1997-2003 F-150 2WD Front Shocks
I couldn't find a simple how-to on this general task most of us OBS should be doing anytime soon, so here you go
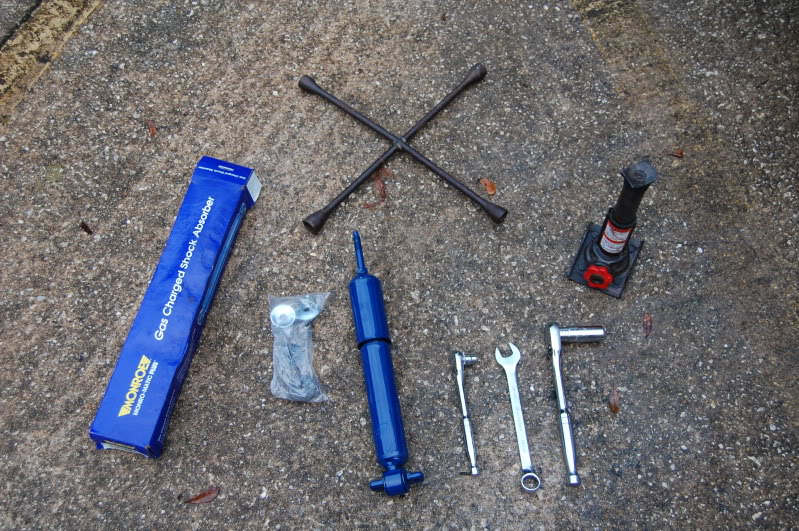
Tools Needed:
13mm socket & wrench (preferably 1/2" drive)
13/16" open-end wrench
13/16" deep socket (preferably 3/4" drive)
2x New Front Shock Absorbers (I used Monroe-Matics PN#32302, $24.95 retail)
4-way Lug wrench
Jack & Stands
Average Time: 2 hours
Disclaimer: I will not be held responsible for any injury or damage resulting from following this post. This is purely for informational and comical purposes only.
Step 1:
Securely stable the rear tires of the vehicle either using chocks, or a curb like so:
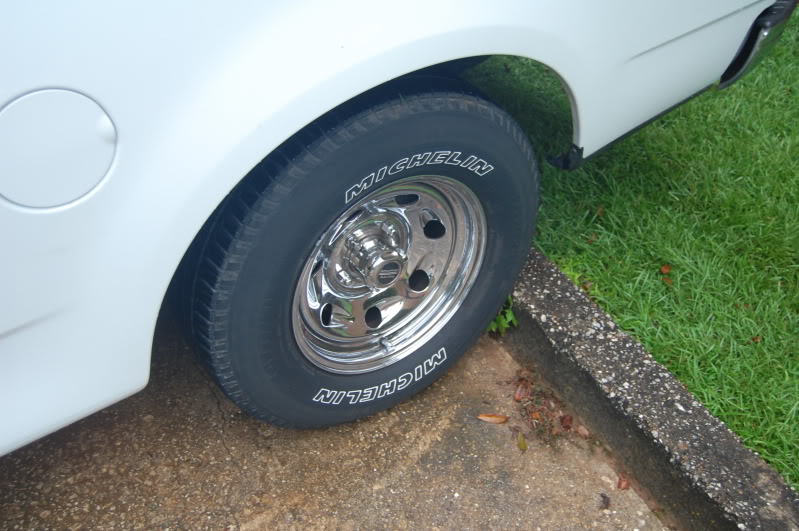
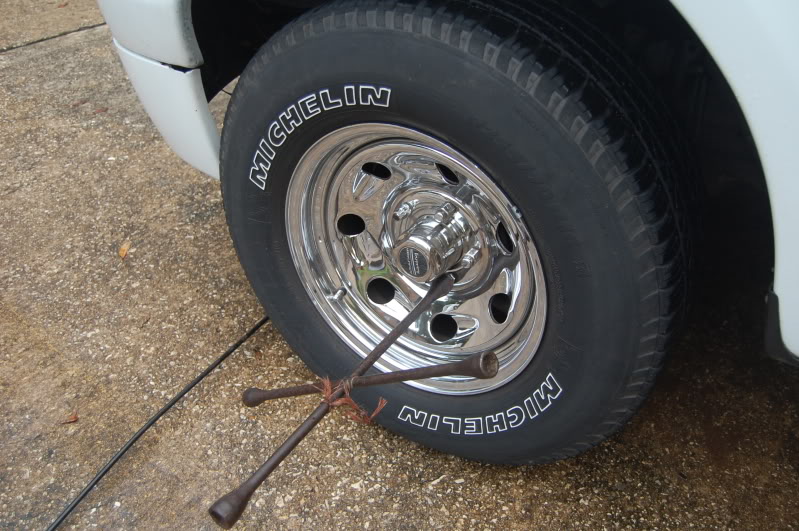
Pick which side you prefer to do first, and using your 4-way, break loose the lugs on your wheel:
Jack up the vehicle until the tire is about 1" off the ground, and secure the lift using a jack-stand (do as I say, not as I do )
)
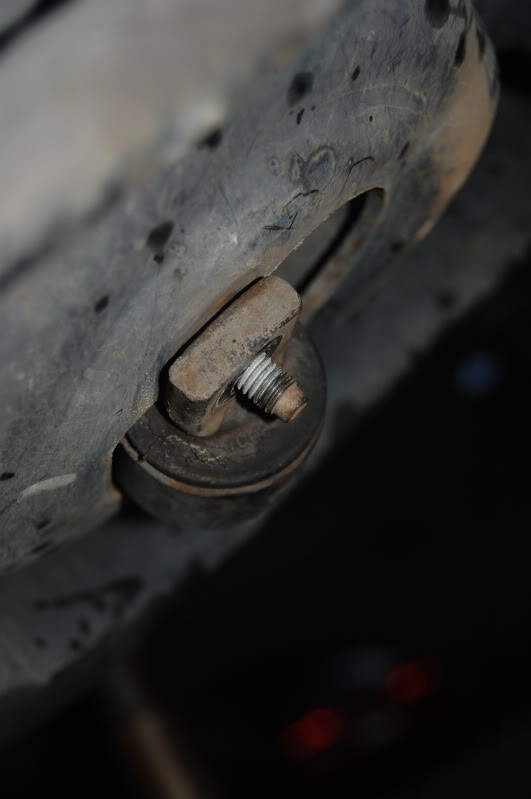
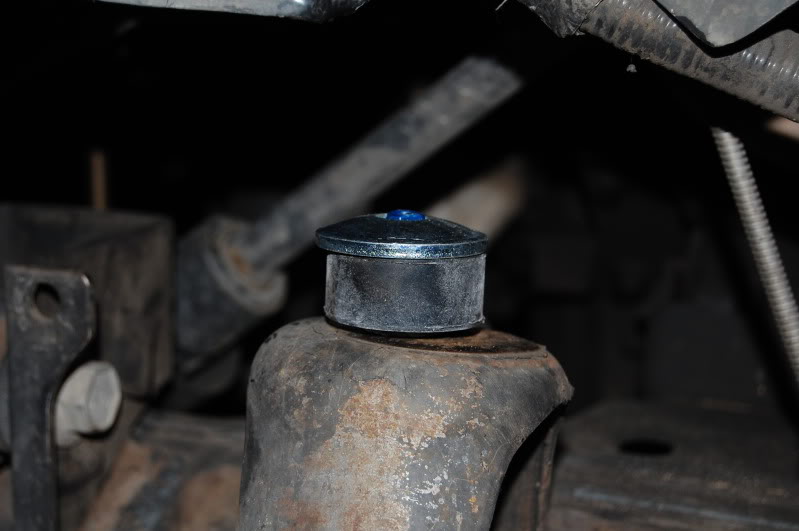
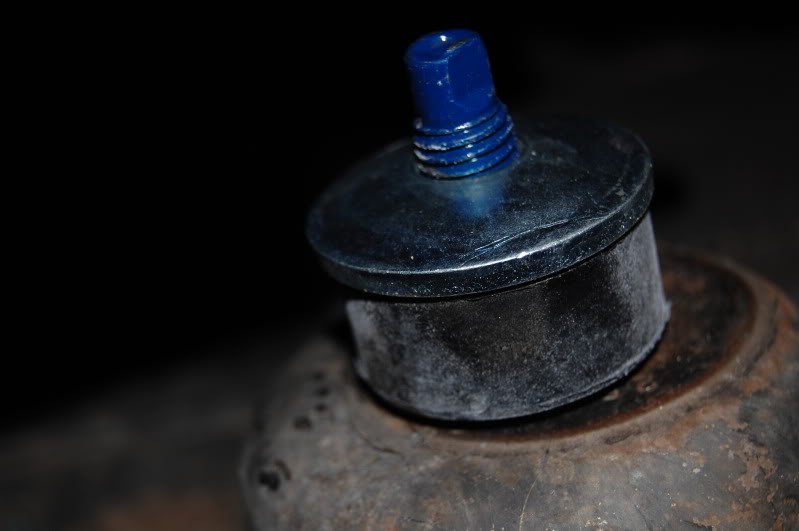
Remove the wheel and if handy, spray down the bolts with some PB blaster or WD-40. Use the 13/16" open-end and secure the nut that is inside the strut housing. Attatch the 13/16" socket to the top and using your drive, turn until the strut tower is acting as a second pair of hands to hold the wrench.
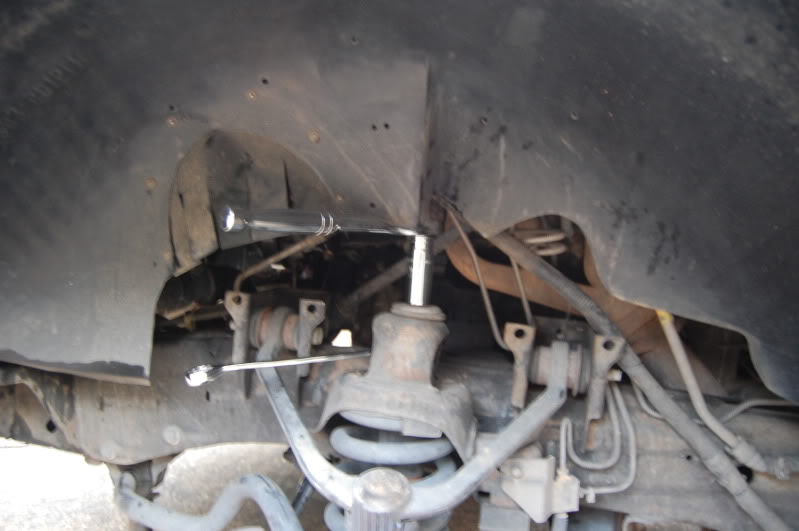
Go to down on that bad-boy. The thread is about 3-4" long, so it will take you about 50-75 swings before you feel like you are making any progress. By that time you can hand-thread off the top bolt, and remove the rubber bushing.
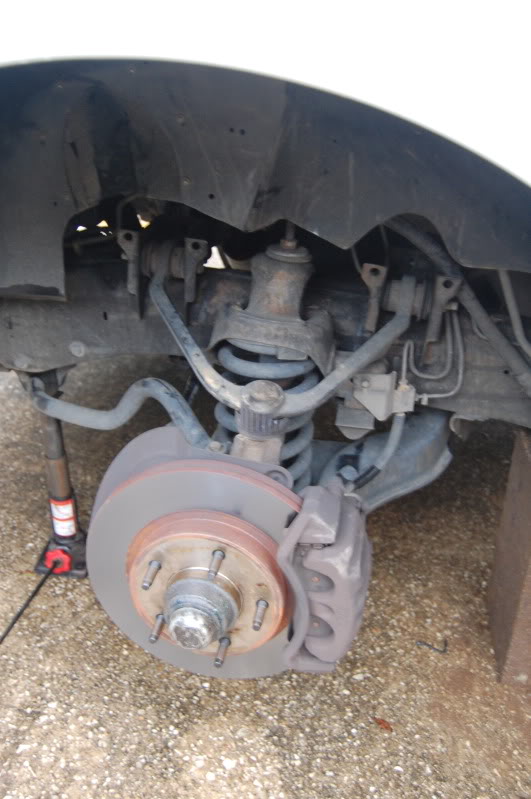
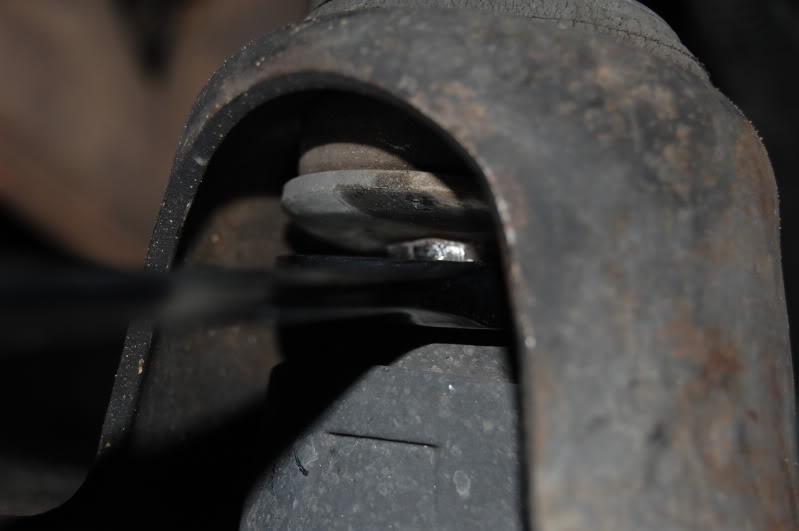
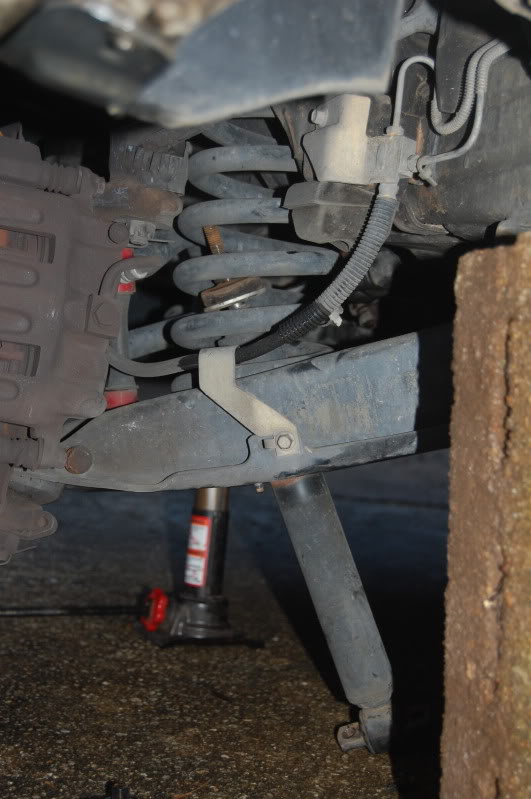
Carefully going underneath the vehicle, use your 13mm and remove the two tiny nuts holding on the bottom of the shock.
At this time, the shock should fall loose and utilizing Ford's (for once) ingenious idea of preventive maintenance, use the cut-out they have supplied and slide the shock inwards and it will have enough room to slide out. If not, do your damnest to compress it.
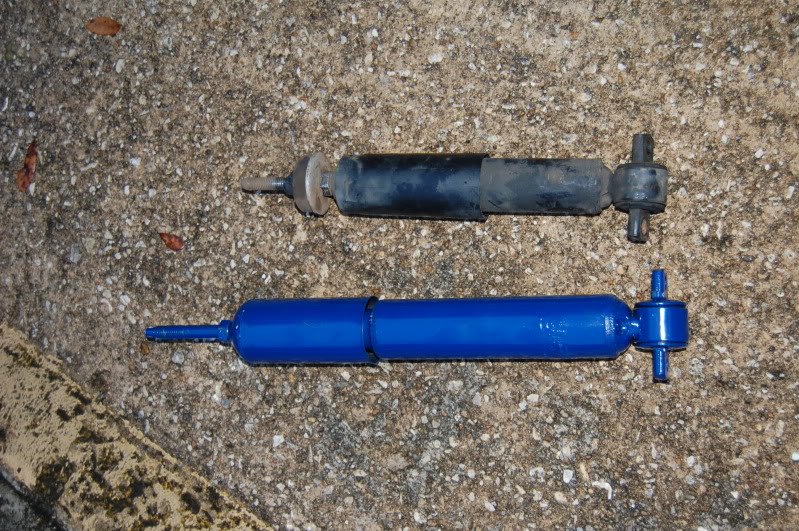
Here is my FACTORY (that's right, 210K miles. Not a good idea....) shocks versus my Monroe-Matics.
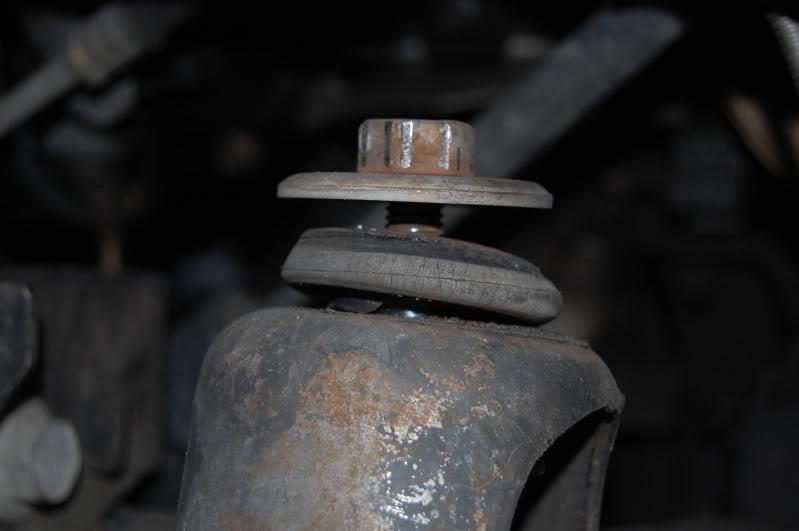
Installation is the reverse of removal. First be sure you install the first half of metal washer and new rubber bushing correctly. Slide the shock into the tower and guide the 4" thread pin at the top into the hole. Then secure both 13mm nuts at the bottom:
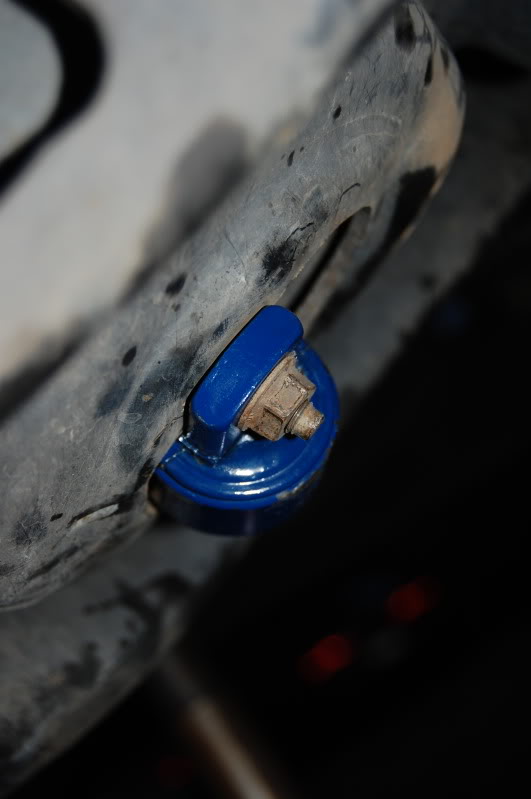
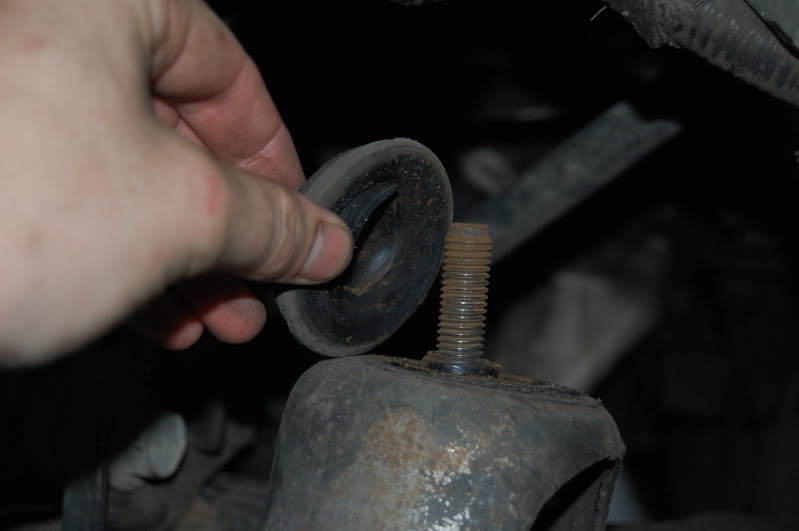
Now after putting the other bushing and washer on, you may notice a lack of room to attach the new bolt.
At this time you are going to have to reinstall the tire and lower the vehicle onto its own weight to compress the shock. Allowing you to secure using your 13/16" open-end and 13/16" deep-socket. Tighten down appropriately (again, 50-75 swings, or until you feel tightness).
Enjoy your new ride!
Tools Needed:
13mm socket & wrench (preferably 1/2" drive)
13/16" open-end wrench
13/16" deep socket (preferably 3/4" drive)
2x New Front Shock Absorbers (I used Monroe-Matics PN#32302, $24.95 retail)
4-way Lug wrench
Jack & Stands
Average Time: 2 hours
Disclaimer: I will not be held responsible for any injury or damage resulting from following this post. This is purely for informational and comical purposes only.
Step 1:
Securely stable the rear tires of the vehicle either using chocks, or a curb like so:
Pick which side you prefer to do first, and using your 4-way, break loose the lugs on your wheel:
Jack up the vehicle until the tire is about 1" off the ground, and secure the lift using a jack-stand (do as I say, not as I do
)Remove the wheel and if handy, spray down the bolts with some PB blaster or WD-40. Use the 13/16" open-end and secure the nut that is inside the strut housing. Attatch the 13/16" socket to the top and using your drive, turn until the strut tower is acting as a second pair of hands to hold the wrench.
Go to down on that bad-boy. The thread is about 3-4" long, so it will take you about 50-75 swings before you feel like you are making any progress. By that time you can hand-thread off the top bolt, and remove the rubber bushing.
Carefully going underneath the vehicle, use your 13mm and remove the two tiny nuts holding on the bottom of the shock.
At this time, the shock should fall loose and utilizing Ford's (for once) ingenious idea of preventive maintenance, use the cut-out they have supplied and slide the shock inwards and it will have enough room to slide out. If not, do your damnest to compress it.
Here is my FACTORY (that's right, 210K miles. Not a good idea....) shocks versus my Monroe-Matics.
Installation is the reverse of removal. First be sure you install the first half of metal washer and new rubber bushing correctly. Slide the shock into the tower and guide the 4" thread pin at the top into the hole. Then secure both 13mm nuts at the bottom:
Now after putting the other bushing and washer on, you may notice a lack of room to attach the new bolt.
At this time you are going to have to reinstall the tire and lower the vehicle onto its own weight to compress the shock. Allowing you to secure using your 13/16" open-end and 13/16" deep-socket. Tighten down appropriately (again, 50-75 swings, or until you feel tightness).
Enjoy your new ride!
#2
08-27-2010, 09:09 PM

Join Date: Feb 2008
Location: Rosenberg/Baytown TX
Posts: 8,673
Likes: 0
Received 0 Likes
on
0 Posts
#3
08-27-2010, 10:23 PM

Member
Join Date: Nov 2008
Location: Ontario, Canada
Posts: 93
Likes: 0
Received 0 Likes
on
0 Posts
#4
08-27-2010, 10:45 PM


couple of pointers (as i always seem to have on your writeups) 
If you use a Jack stand (or pair of stands) you can use the floor jack to compress the coil if necessary to install the shock, just be careful not to compress so much that you lift the vehicle off the stands.
If you are using OEM, or Bilsteins with the rubber bushings, they do not need to be sandwiched and smashed flat. They merely need to be a little tighter then snug.
Also remember to retorque the wheels when all is said and done
#5
08-28-2010, 01:00 AM

Senior Member
Join Date: Apr 2009
Location: Mountain City, North Carolina
Posts: 1,423
Likes: 0
Received 0 Likes
on
0 Posts
#6
08-28-2010, 04:25 AM
Great ride for such a cheap set. I also have Monroe-Matics on the rear. They take the Tally bumps pretty damned well. Now all I need to do is my ball joins and A-arm bushings and I should be set.
#7
08-30-2010, 12:11 PM

Member
Trending Topics

#10
08-30-2010, 10:20 PM
Senior Member
Join Date: Apr 2009
Location: Mountain City, North Carolina
Posts: 1,423
Likes: 0
Received 0 Likes
on
0 Posts
#11
08-30-2010, 10:25 PM
#12
08-30-2010, 10:30 PM
Senior Member
Join Date: Apr 2009
Location: Mountain City, North Carolina
Posts: 1,423
Likes: 0
Received 0 Likes
on
0 Posts
#13
08-31-2010, 03:07 AM

#15
08-31-2010, 08:15 PM
Senior Member
Join Date: Apr 2009
Location: Mountain City, North Carolina
Posts: 1,423
Likes: 0
Received 0 Likes
on
0 Posts