


"HOW TO" install Double Din unit in 2003 F150


Thread Starter
|
Technical Article Contributor
Joined: Sep 2009
Posts: 660
Likes: 0
From: NC
"HOW TO" install Double Din unit in 2003 F150
Ok guys, I got my deck installed. Thanks for all the quick replies when I got stuck a couple of times!
This is a HOW TO on installation of a double din deck in a 2003 1.5 Din F150.
My truck is a 2003 Lariat FX4. The deck I will be installing is a Pioneer AVH-P3200 DVD unit. I got it online shipped to my door for $225!!!
DISCONNECT YOUR NEGATIVE BATTERY CABLE!!
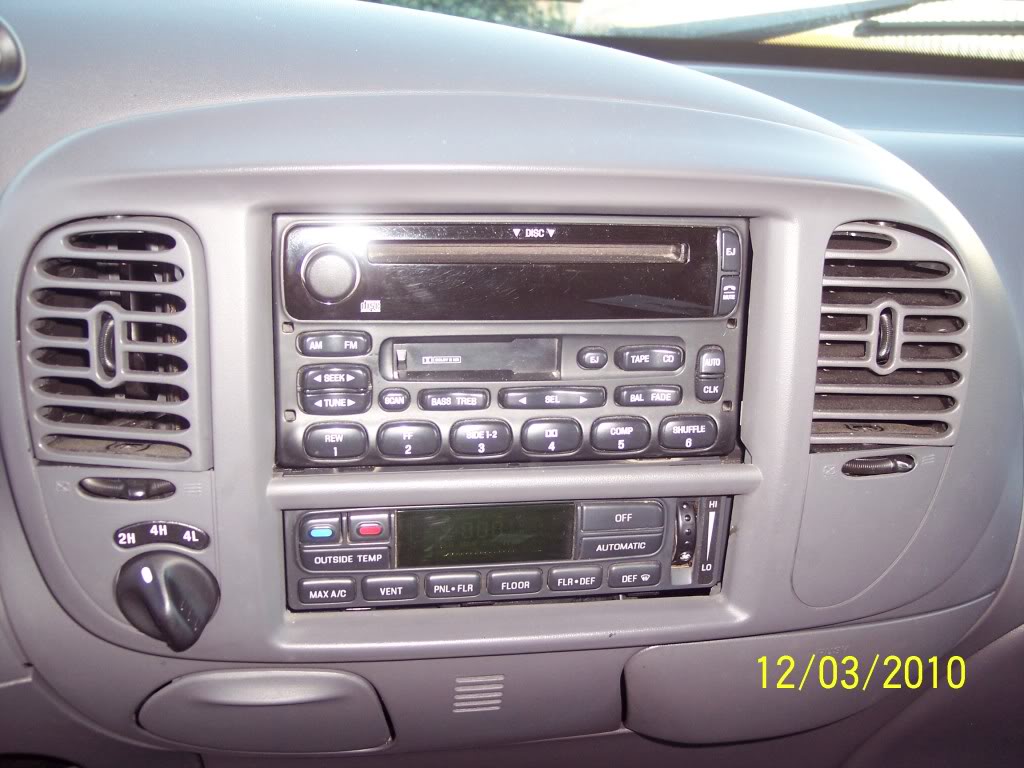
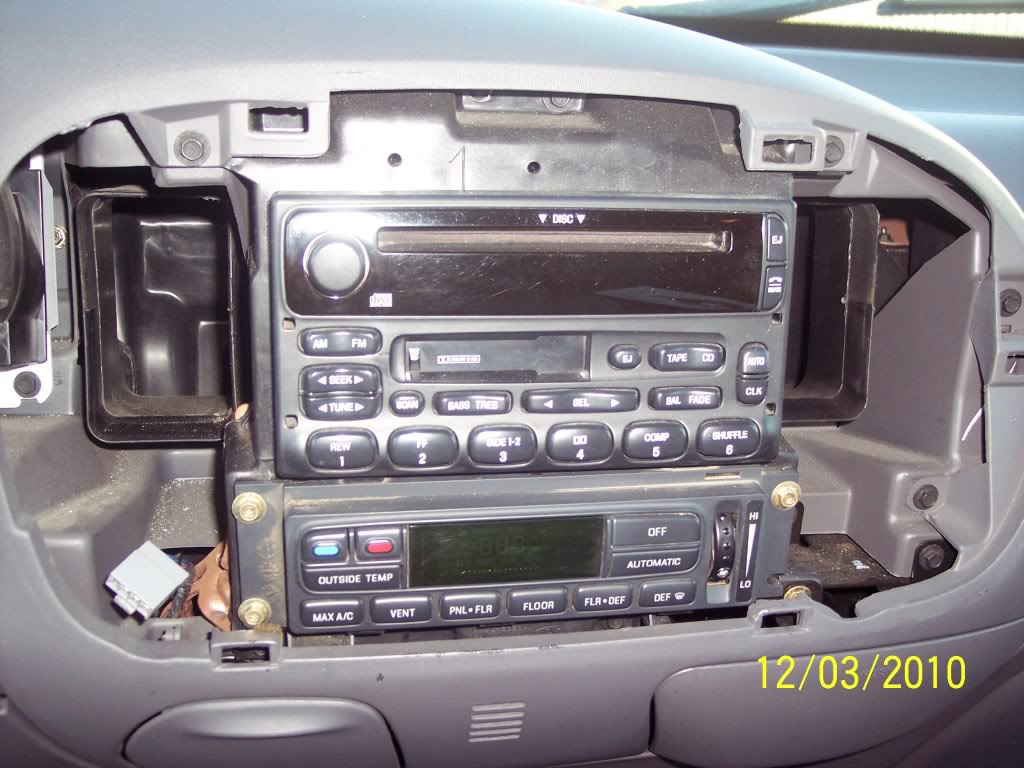
First, here's a pic of the boring factory Cd/cassette unit.
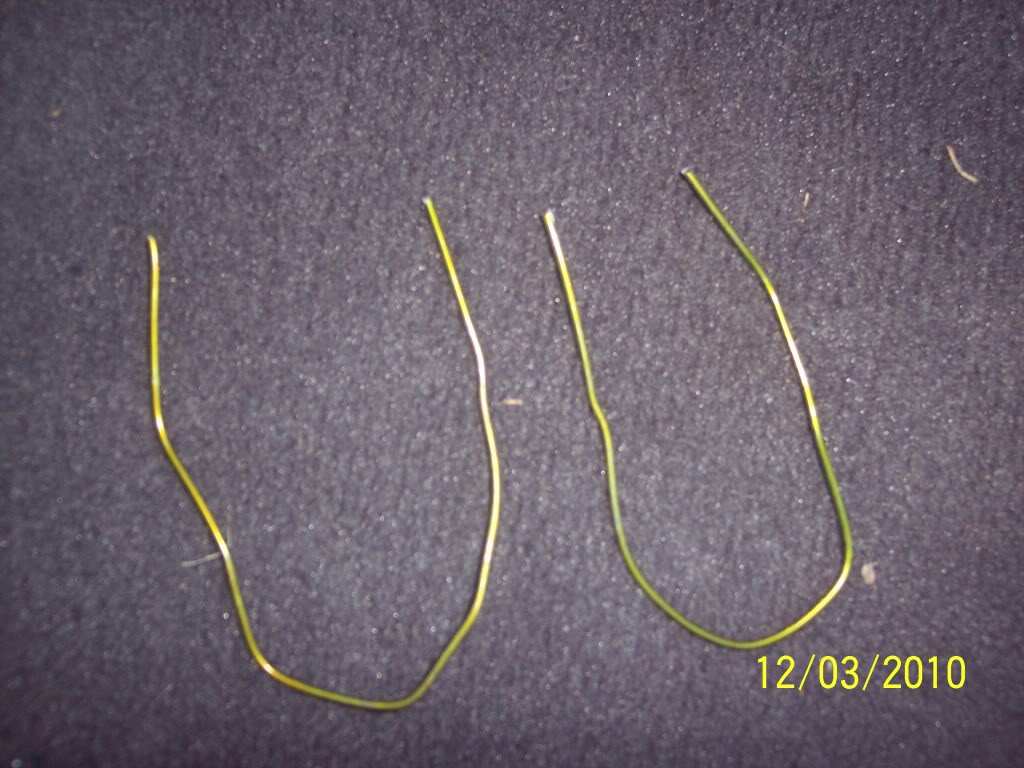
Next, you need to have a Ford radio removal tool, OR make your own like I did out of a clothes hanger!
Pull the oval dash straight out, and in my case, disconnect the 4x4 plug.
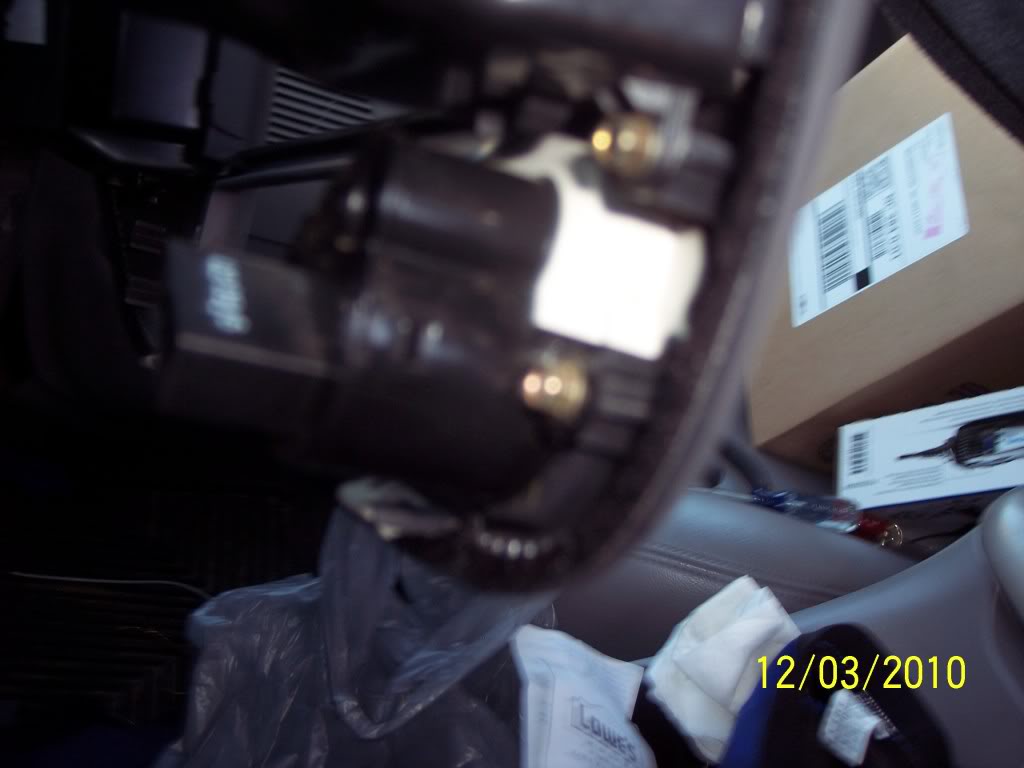
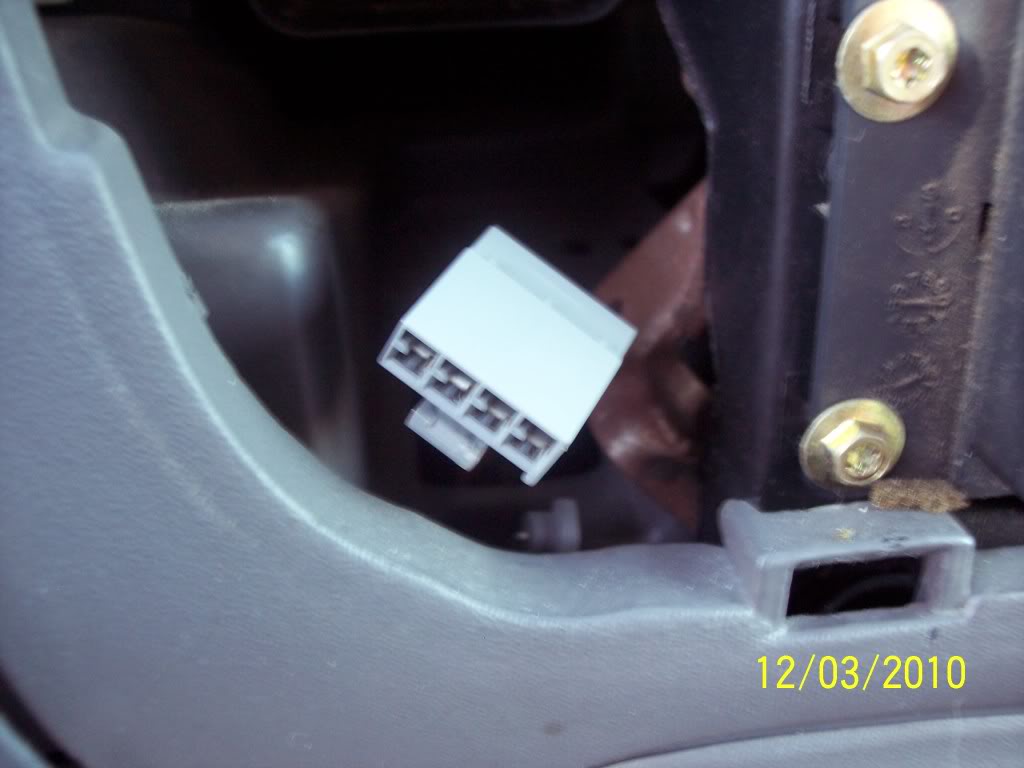
This is what you will have.
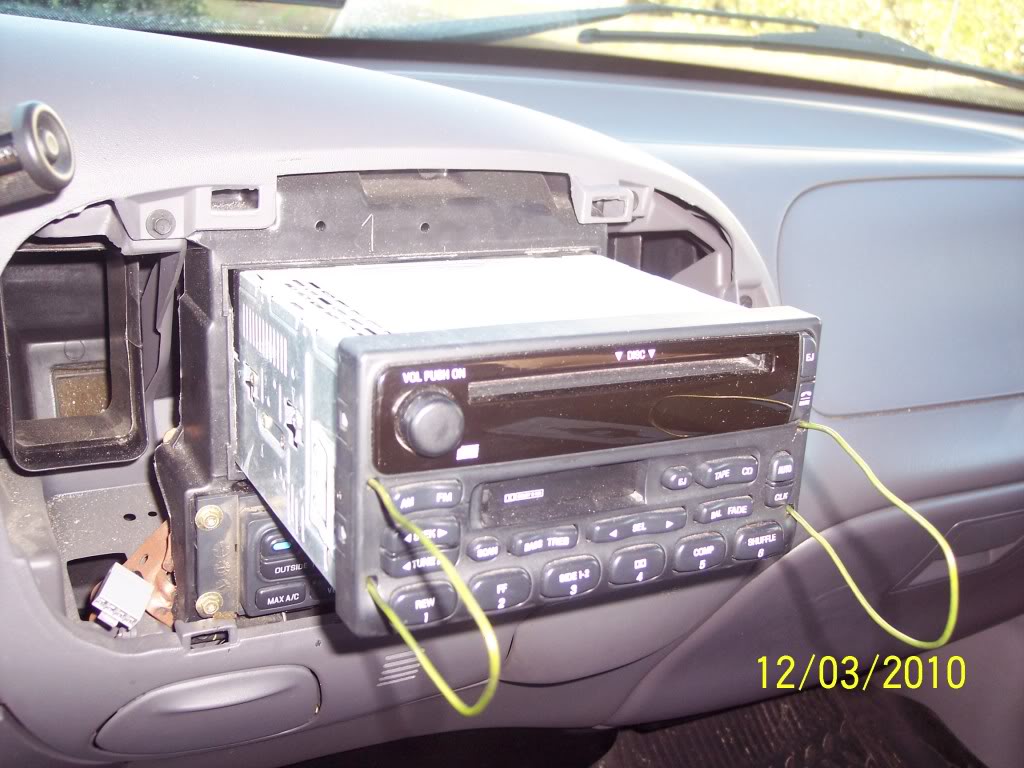
Once the dash is out of the way, use your homemade removal tool and remove the factory radio.
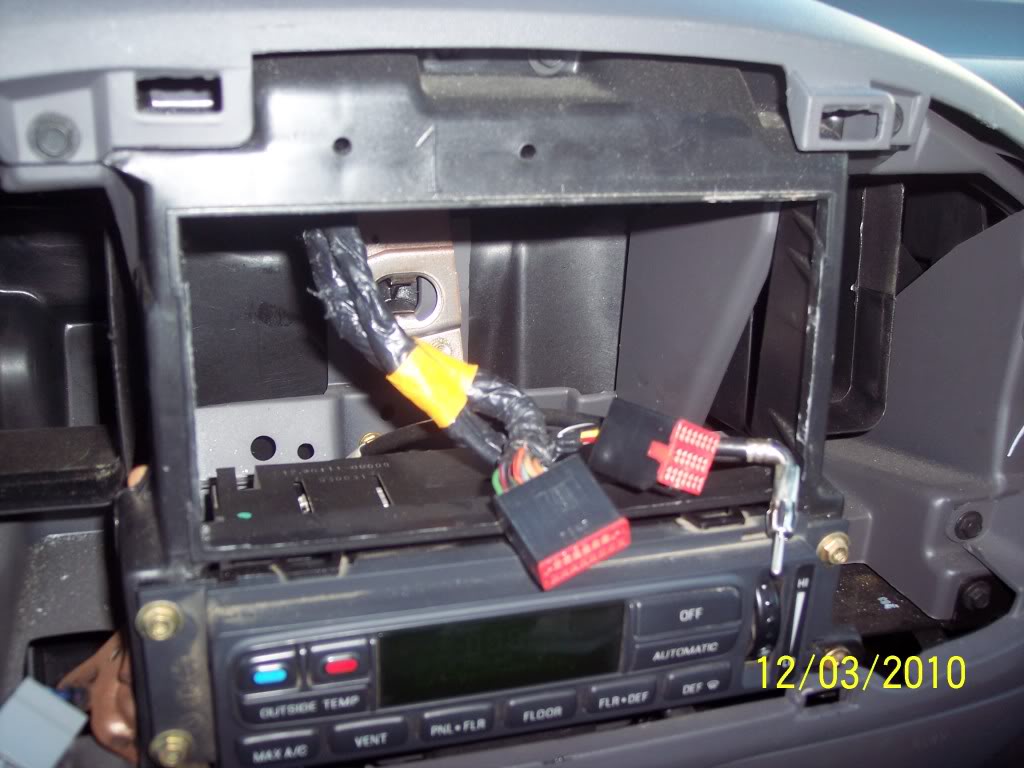
Disconnect the wire harnesses and radio antenna.
Now, I'm using the Metra kit, and it's instructions advised to remove the HVAC..so I did that to have a little more room.
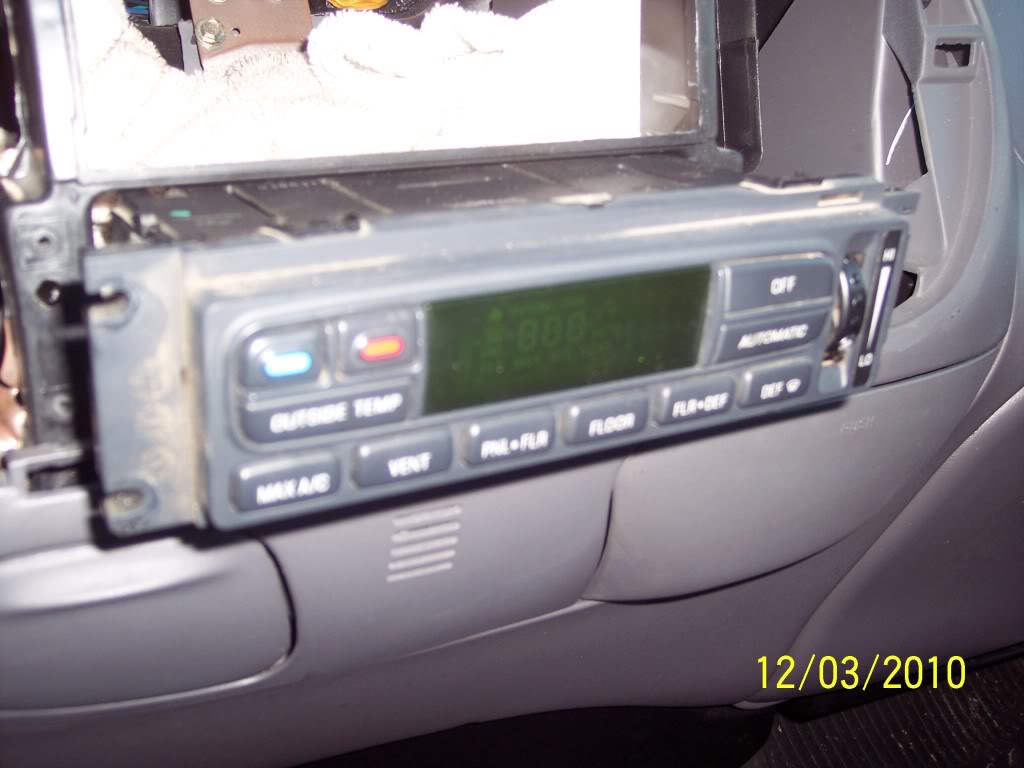
Just unplug the wire harnesses from the HVAC as well.
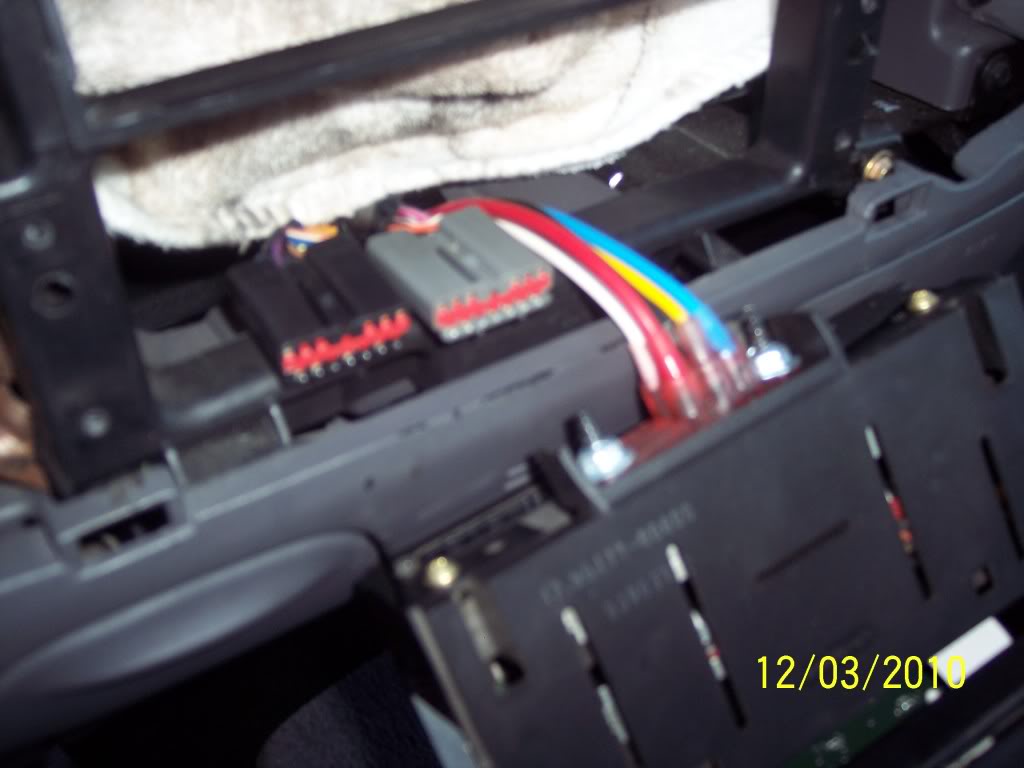
Here are some angles.
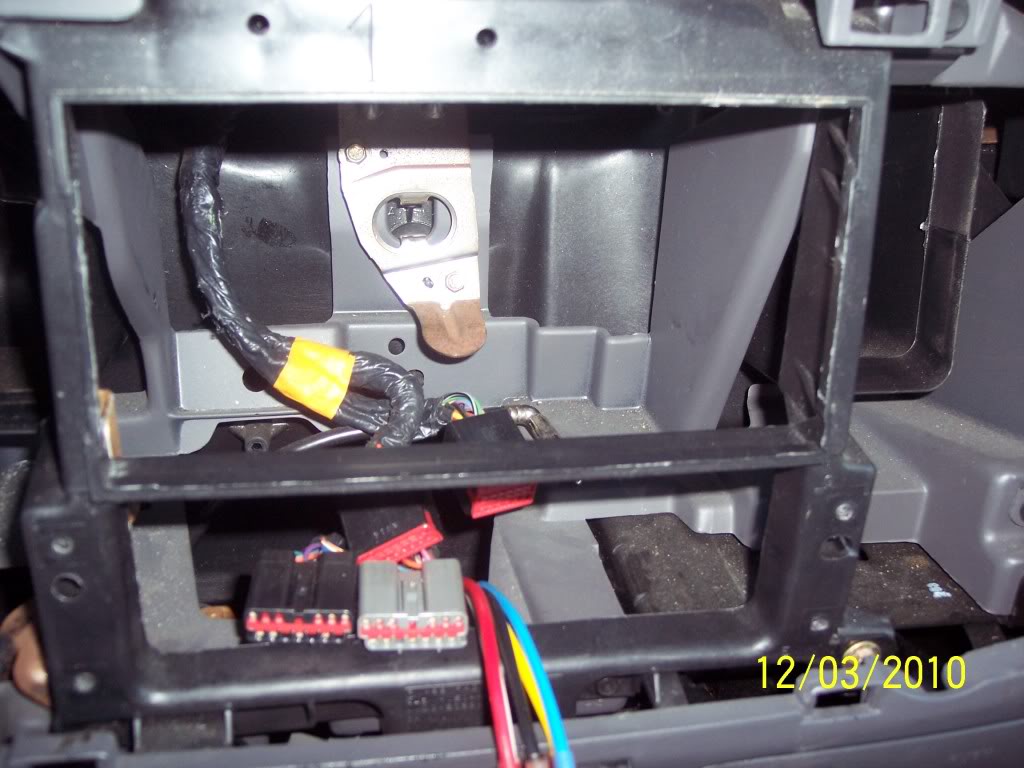
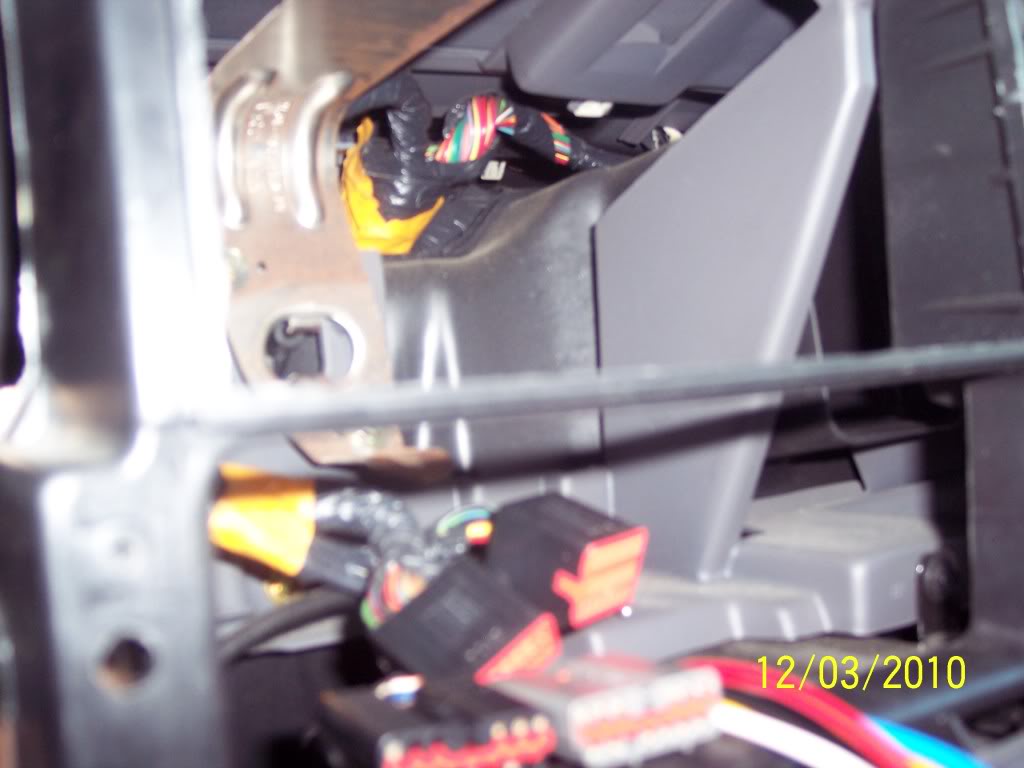
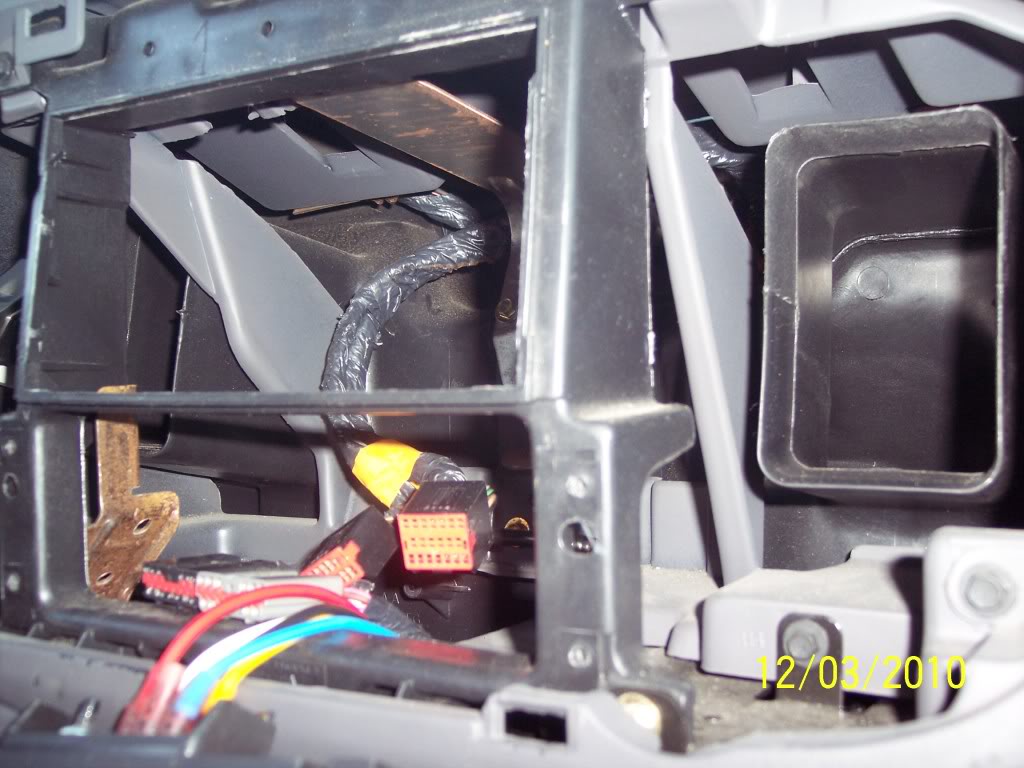
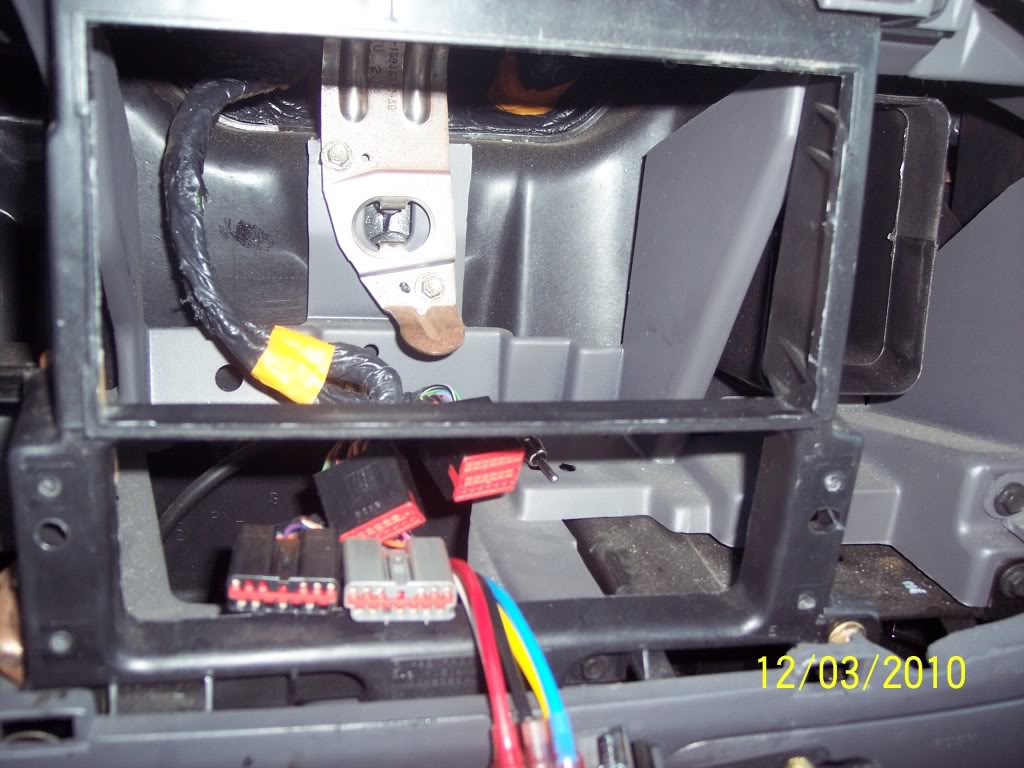
Ok, now I took my Pioneer and held it up to the opening to see how much I would have to cut. I took a flat screwdriver and made a score mark to go by.
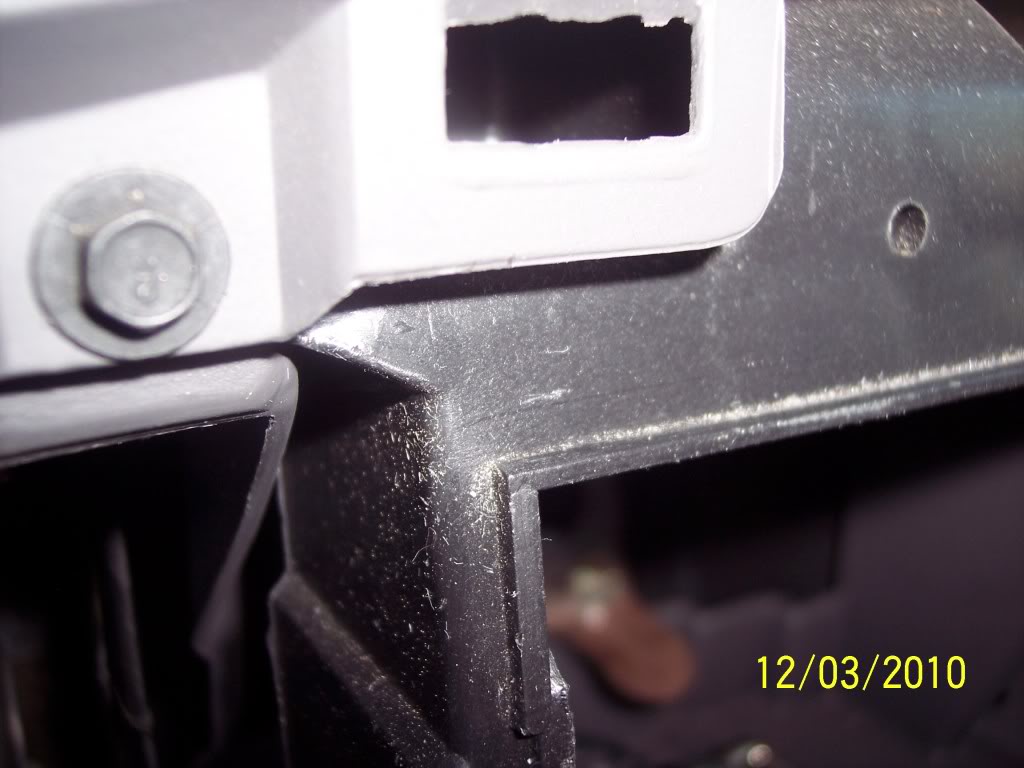
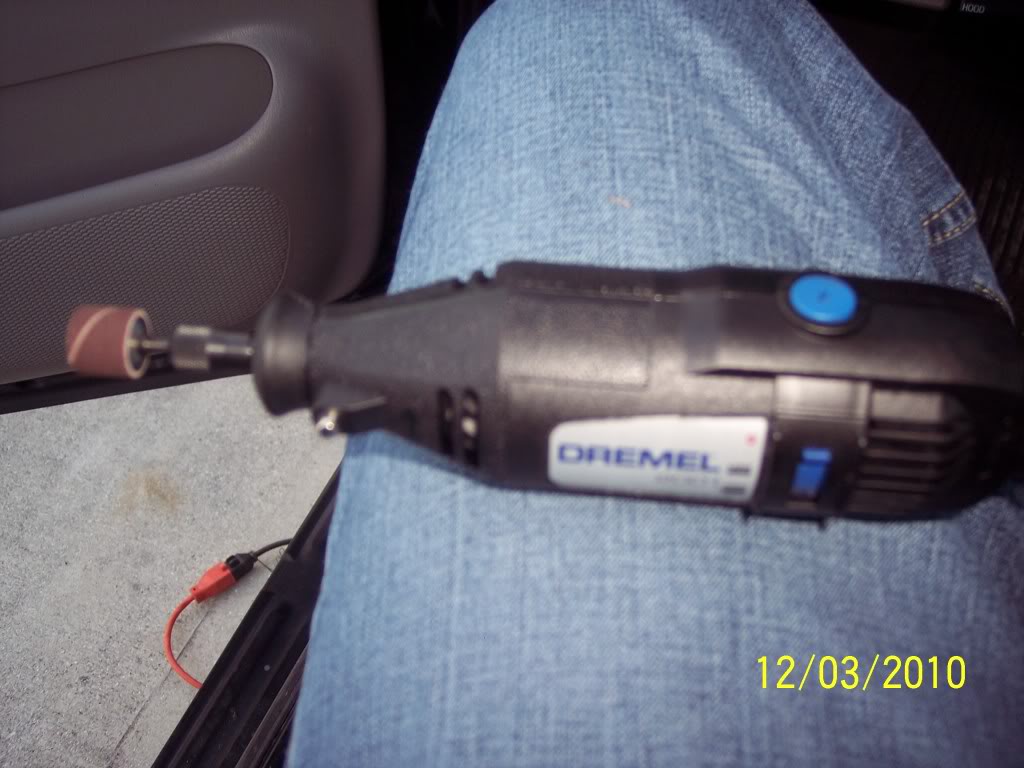
Now I started with a Dremel with a cutting bit.
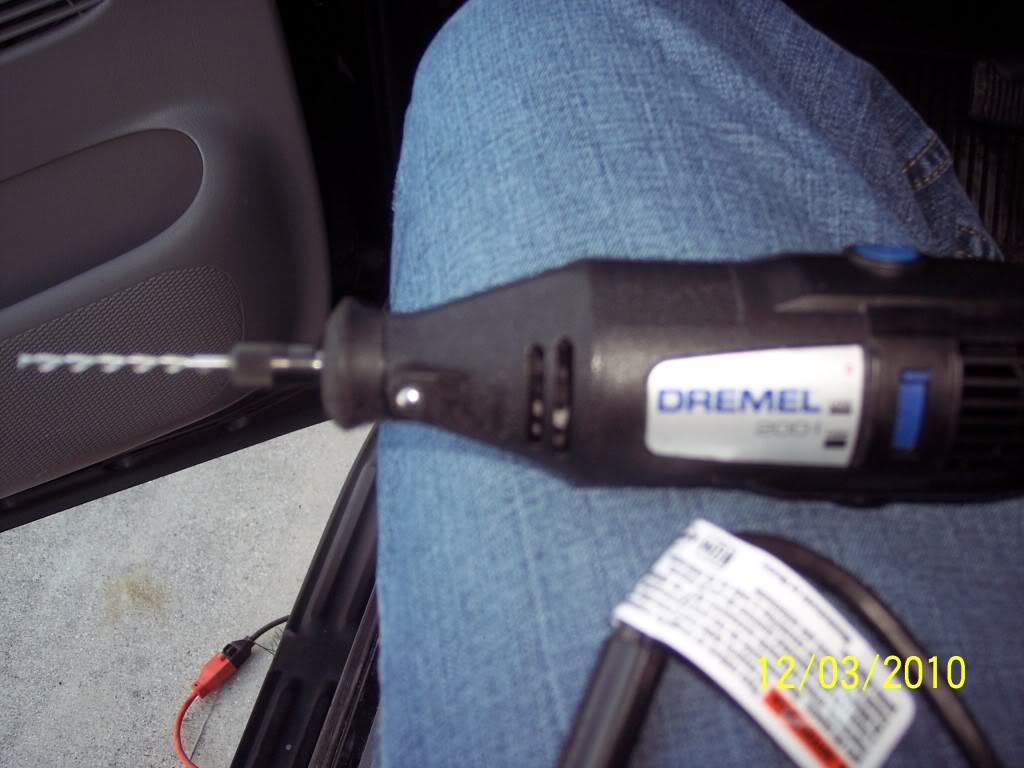
Here's the progress.
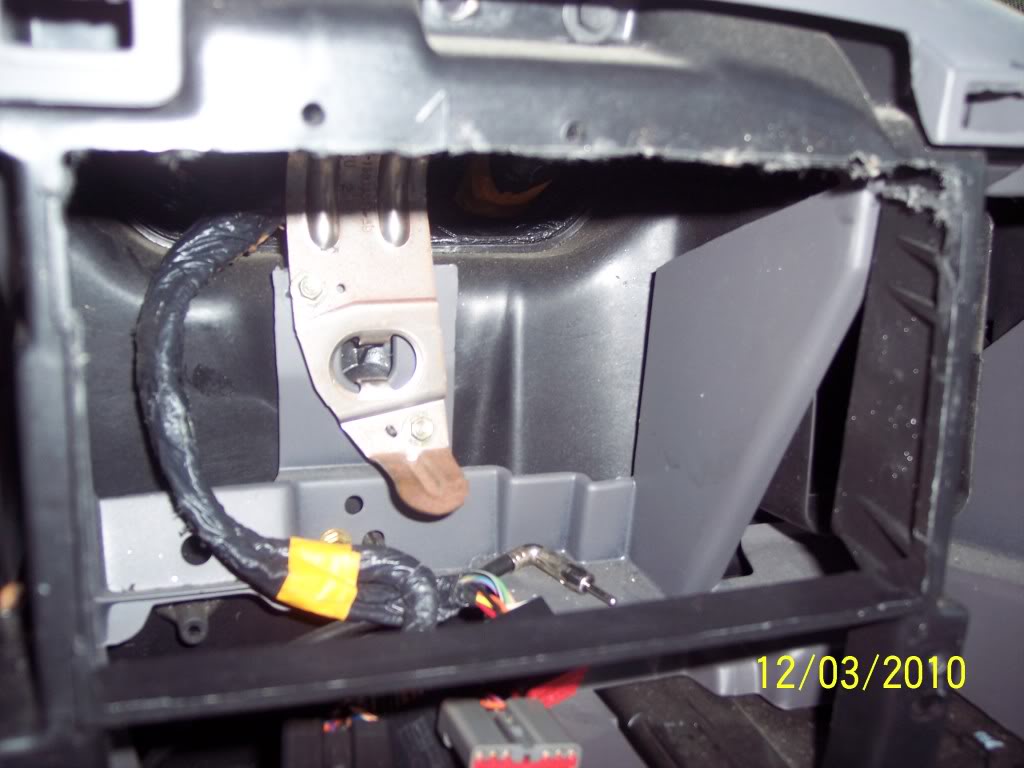
Then I switched to a sanding bit when I got closer. I still kept putting the pioneer up and trying to make score marks.
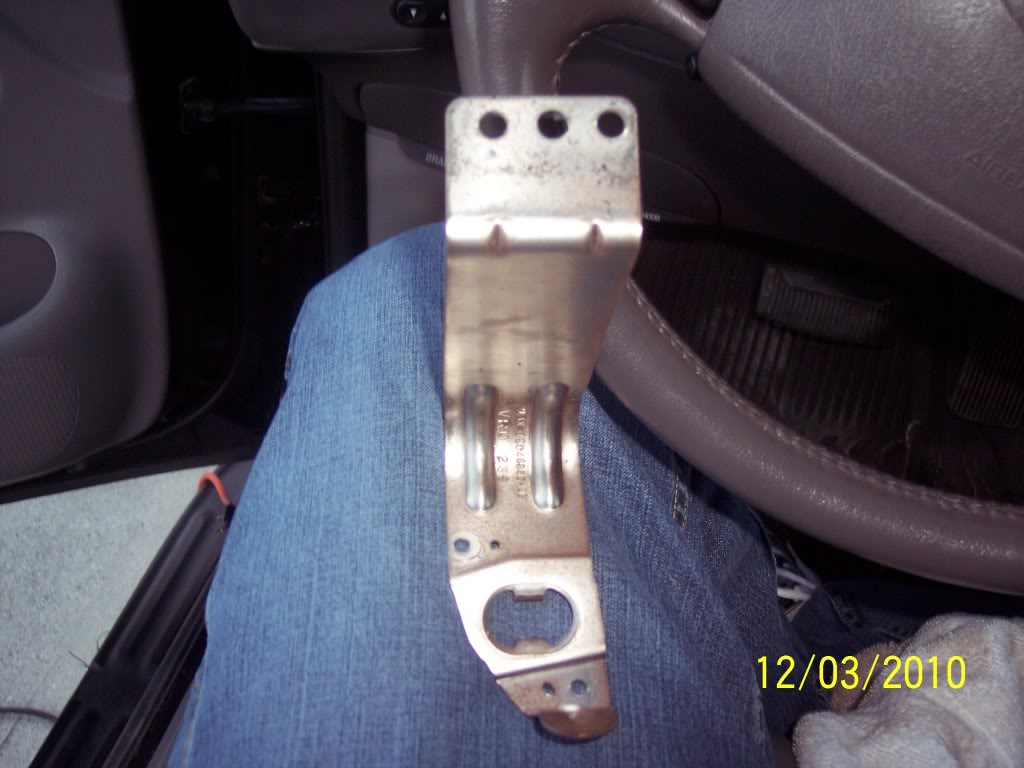
I had to remove this factory bracket that's held in with a few 10mm bolts.
Now, you will have to loosen a few dash screws to get that bracket out.
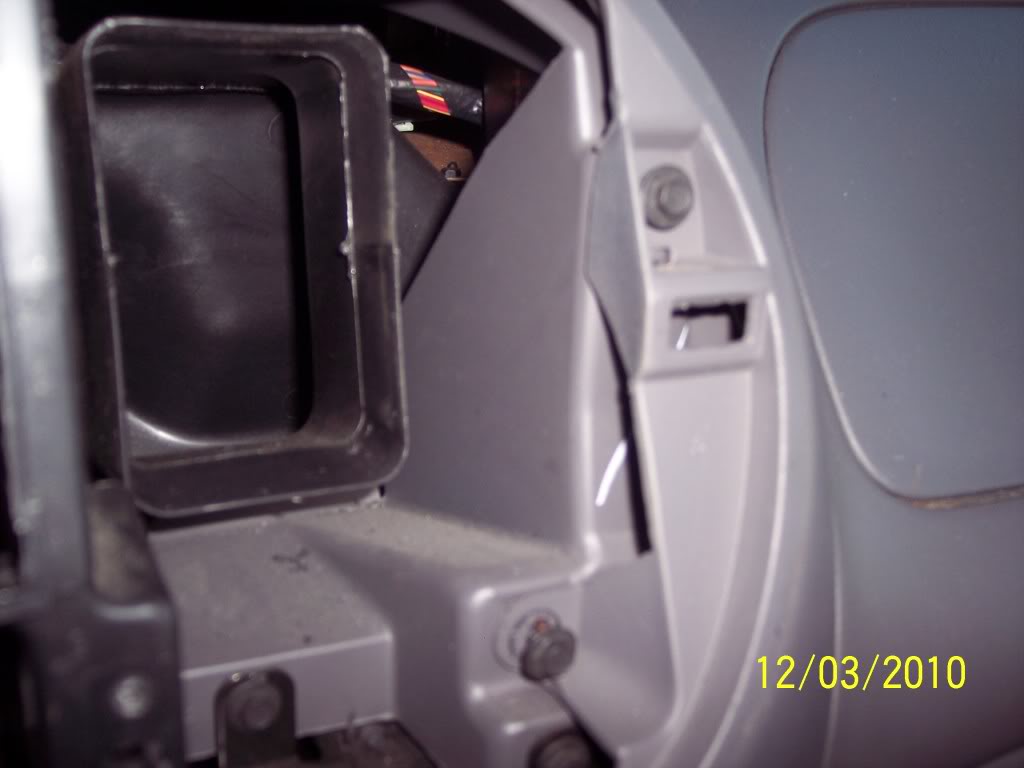
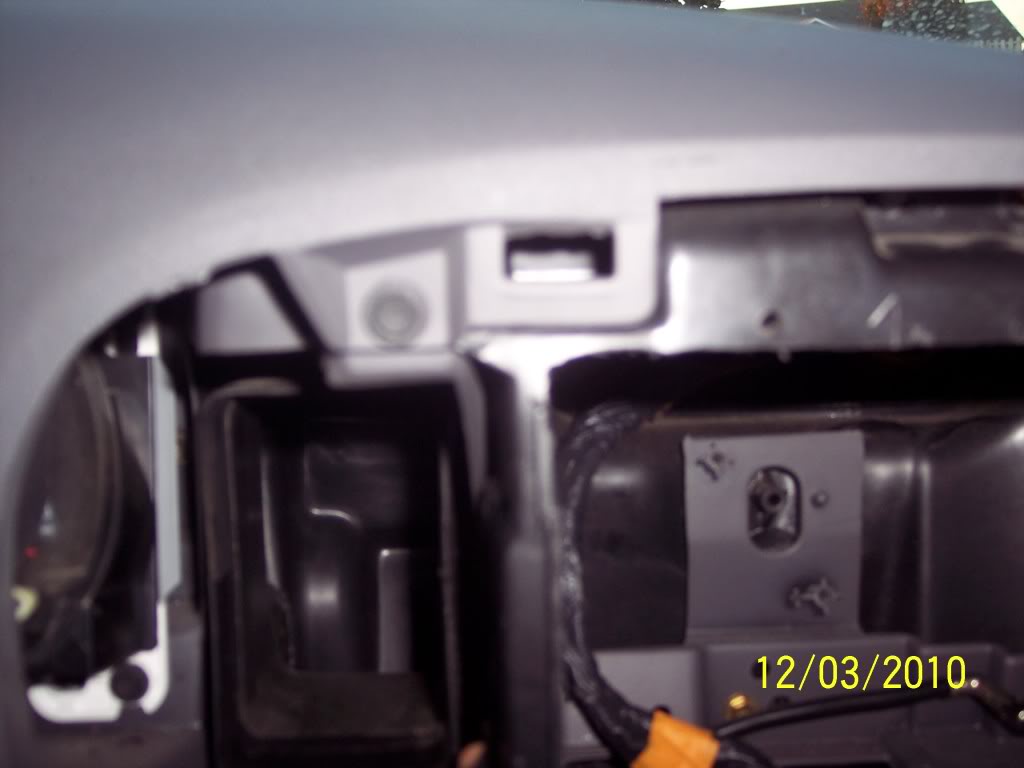
Here's some rough fits.
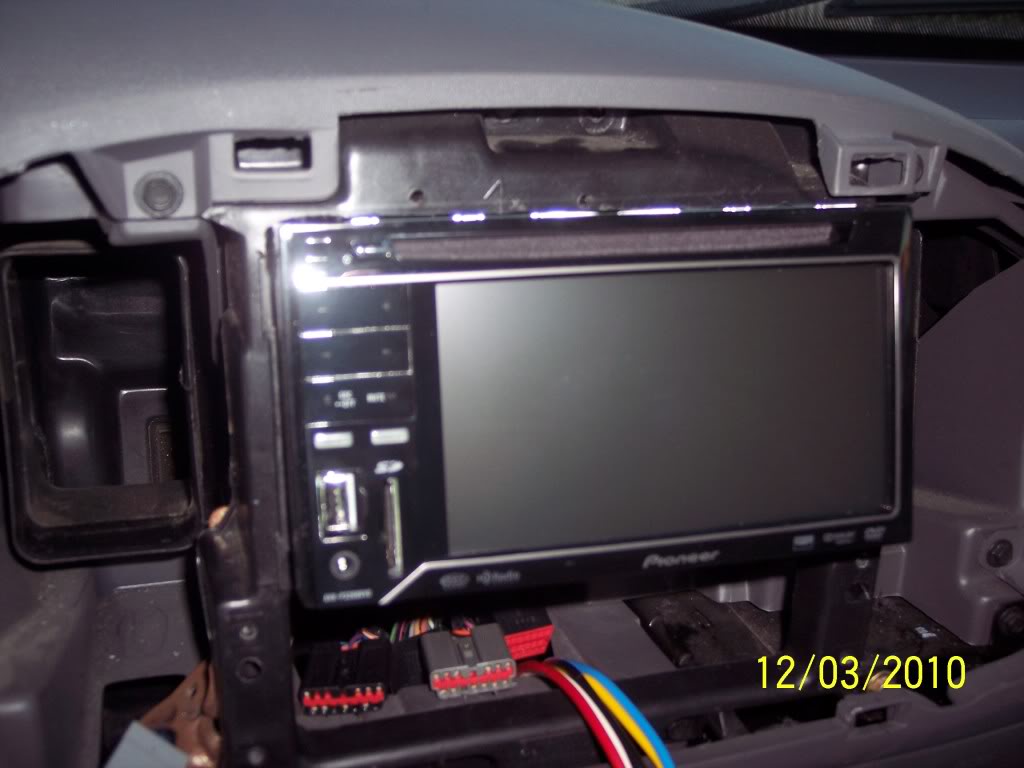
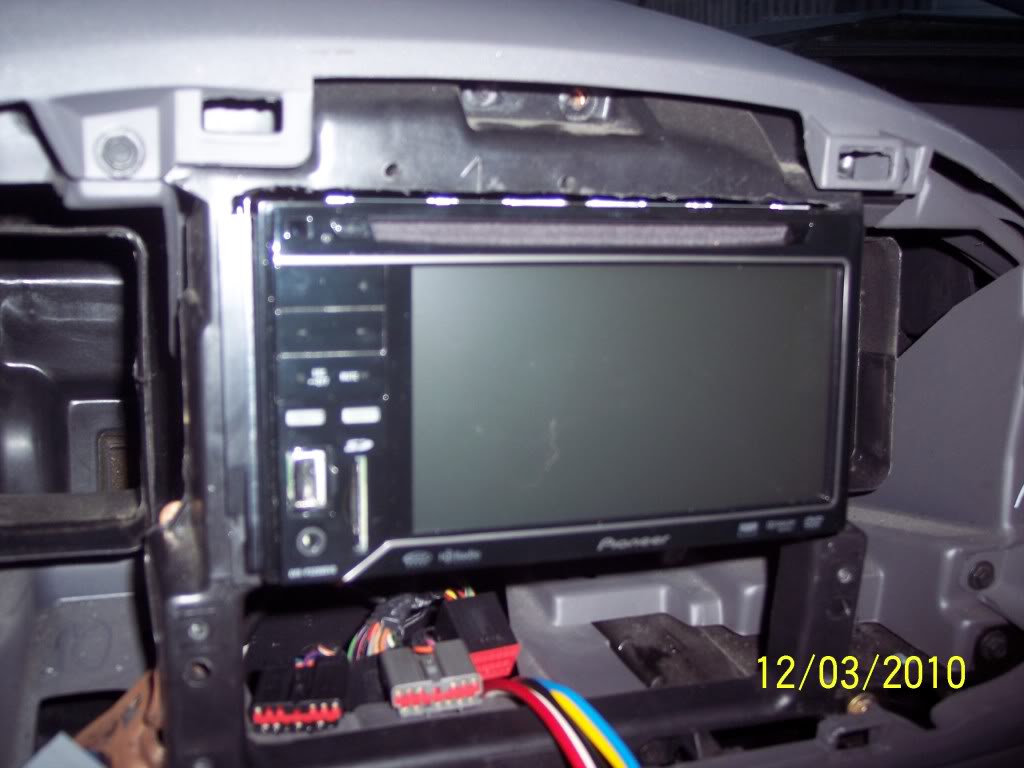
Now, I find it a lot easier to do the wire harness INSIDE of your nice warm (or cool) cozy home/garage/etc.etc. So that's what I did as far as connecting the wire harnesses. This Pioneer is a DVD unit and I did not want to have to depress the parking brake everytime I wanted to view a video. So I did the BYPASS; I followed this You Tube video to a tee:
http://www.youtube.com/watch?v=lDGZEZrUdRo
It's pretty self-explanatory. Just FYI...the black ground from the RELAY and the black ground from the wire harness adapter were put together. The Pioneer harness has another ground for chassis. Here's a quick pic of the harness in the truck.
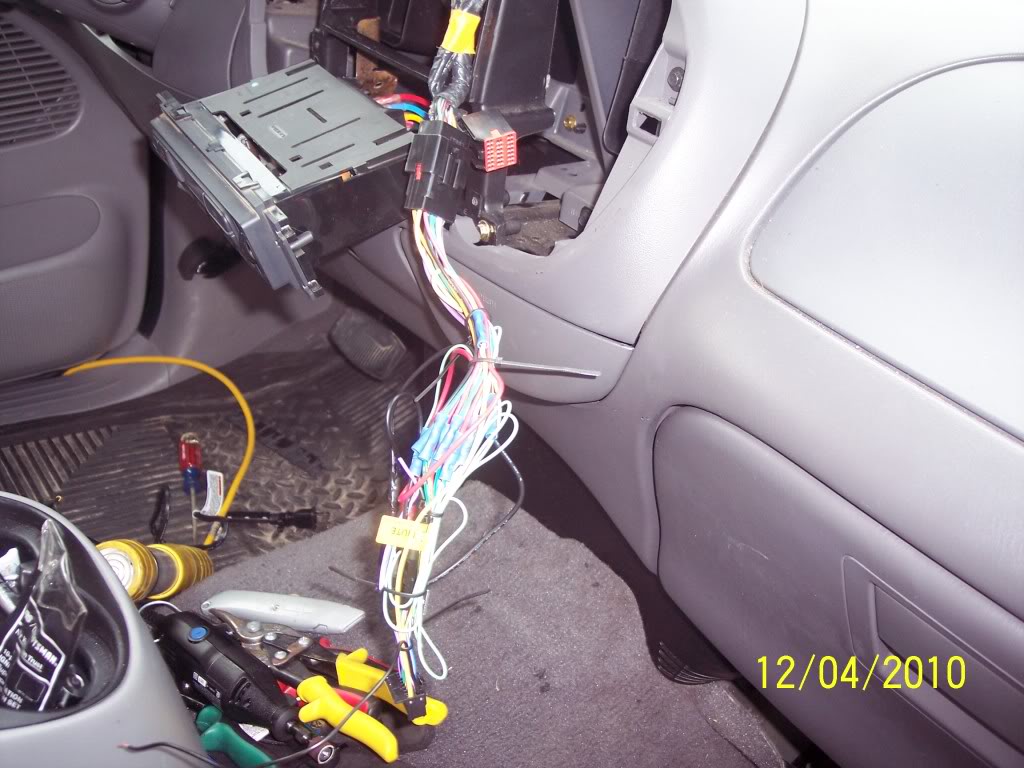
This is a HOW TO on installation of a double din deck in a 2003 1.5 Din F150.
My truck is a 2003 Lariat FX4. The deck I will be installing is a Pioneer AVH-P3200 DVD unit. I got it online shipped to my door for $225!!!
DISCONNECT YOUR NEGATIVE BATTERY CABLE!!
First, here's a pic of the boring factory Cd/cassette unit.
Next, you need to have a Ford radio removal tool, OR make your own like I did out of a clothes hanger!
Pull the oval dash straight out, and in my case, disconnect the 4x4 plug.
This is what you will have.
Once the dash is out of the way, use your homemade removal tool and remove the factory radio.
Disconnect the wire harnesses and radio antenna.
Now, I'm using the Metra kit, and it's instructions advised to remove the HVAC..so I did that to have a little more room.
Just unplug the wire harnesses from the HVAC as well.
Here are some angles.
Ok, now I took my Pioneer and held it up to the opening to see how much I would have to cut. I took a flat screwdriver and made a score mark to go by.
Now I started with a Dremel with a cutting bit.
Here's the progress.
Then I switched to a sanding bit when I got closer. I still kept putting the pioneer up and trying to make score marks.
I had to remove this factory bracket that's held in with a few 10mm bolts.
Now, you will have to loosen a few dash screws to get that bracket out.
Here's some rough fits.
Now, I find it a lot easier to do the wire harness INSIDE of your nice warm (or cool) cozy home/garage/etc.etc. So that's what I did as far as connecting the wire harnesses. This Pioneer is a DVD unit and I did not want to have to depress the parking brake everytime I wanted to view a video. So I did the BYPASS; I followed this You Tube video to a tee:
http://www.youtube.com/watch?v=lDGZEZrUdRo
It's pretty self-explanatory. Just FYI...the black ground from the RELAY and the black ground from the wire harness adapter were put together. The Pioneer harness has another ground for chassis. Here's a quick pic of the harness in the truck.
Last edited by Bluejay; Dec 4, 2010 at 08:35 PM.
Thread Starter
|
Technical Article Contributor
Joined: Sep 2009
Posts: 660
Likes: 0
From: NC
Now, like I was saying, the Pioneer has a chassis ground lead that looks like this.
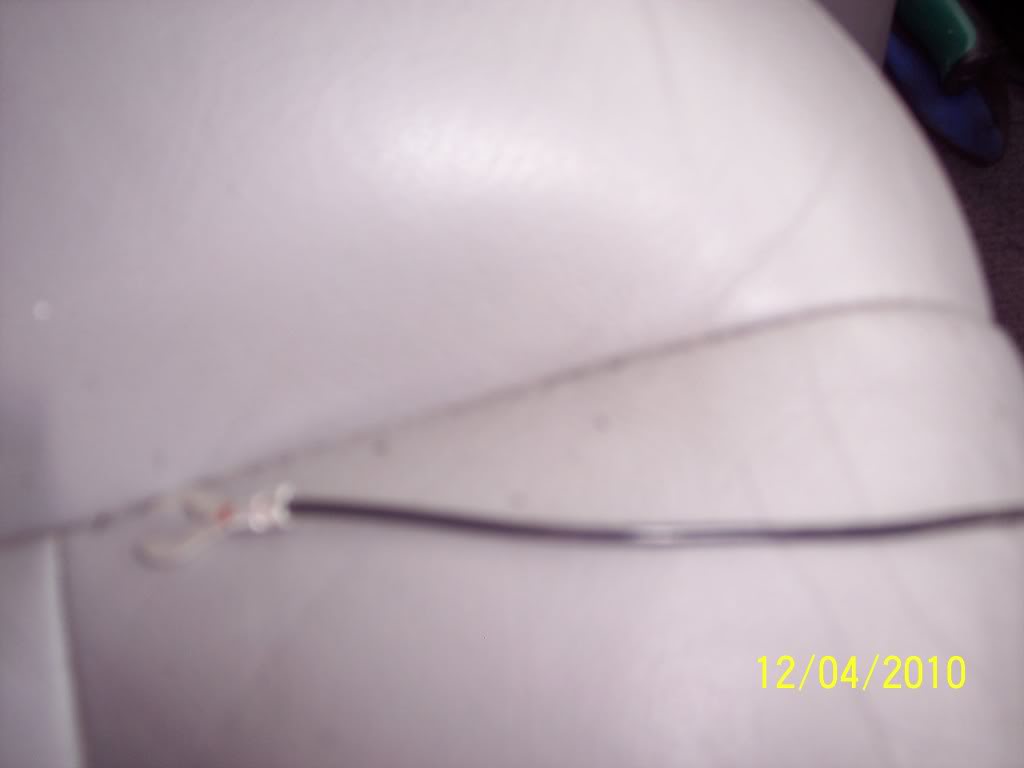
I had to cut it and make a longer lead and fish it through the dash to where I could find some metal. Everything inside the dash is plastic. I found a spot under the parking brake.
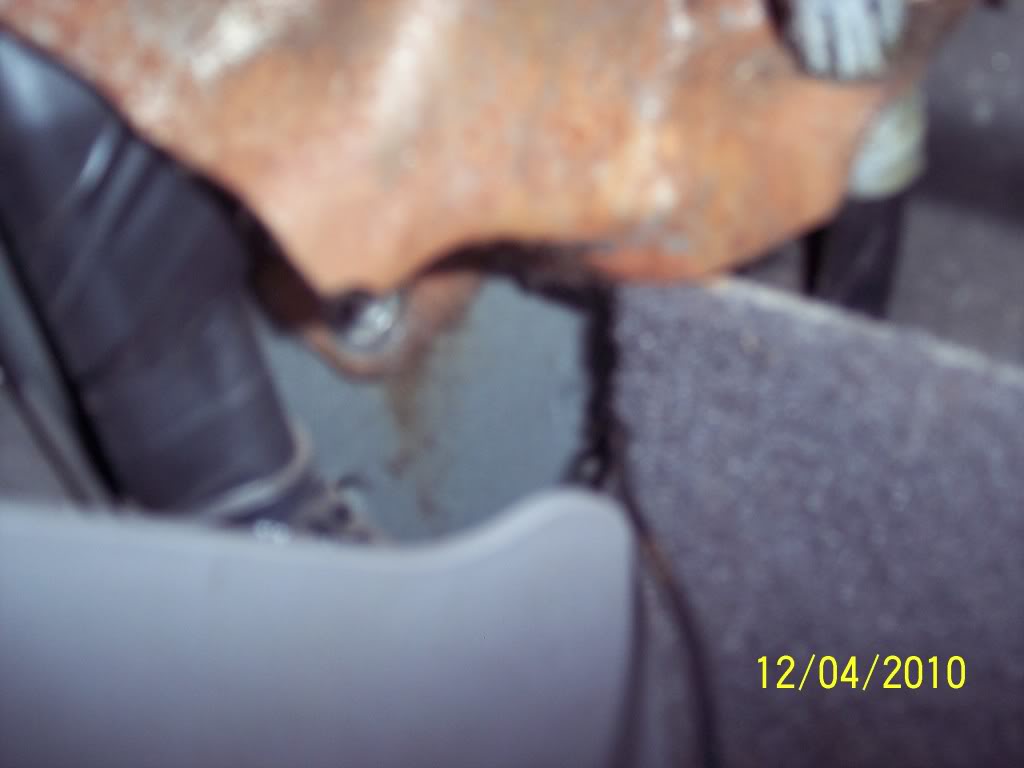
I ran the wire under the carpet over to the parking brake.
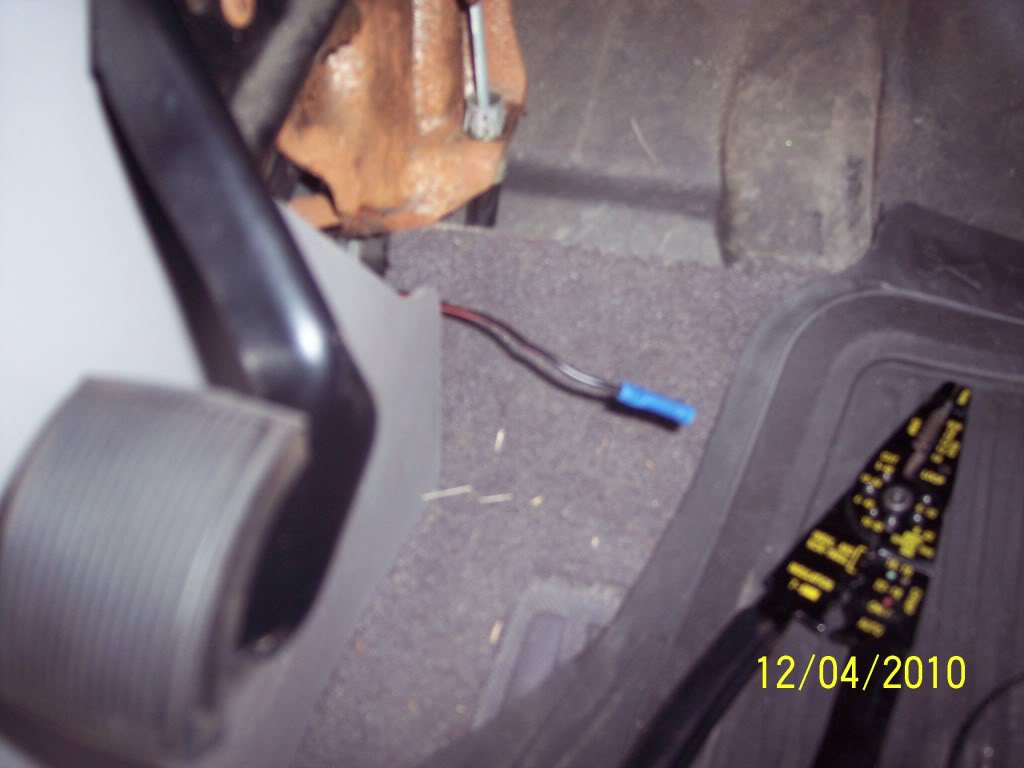
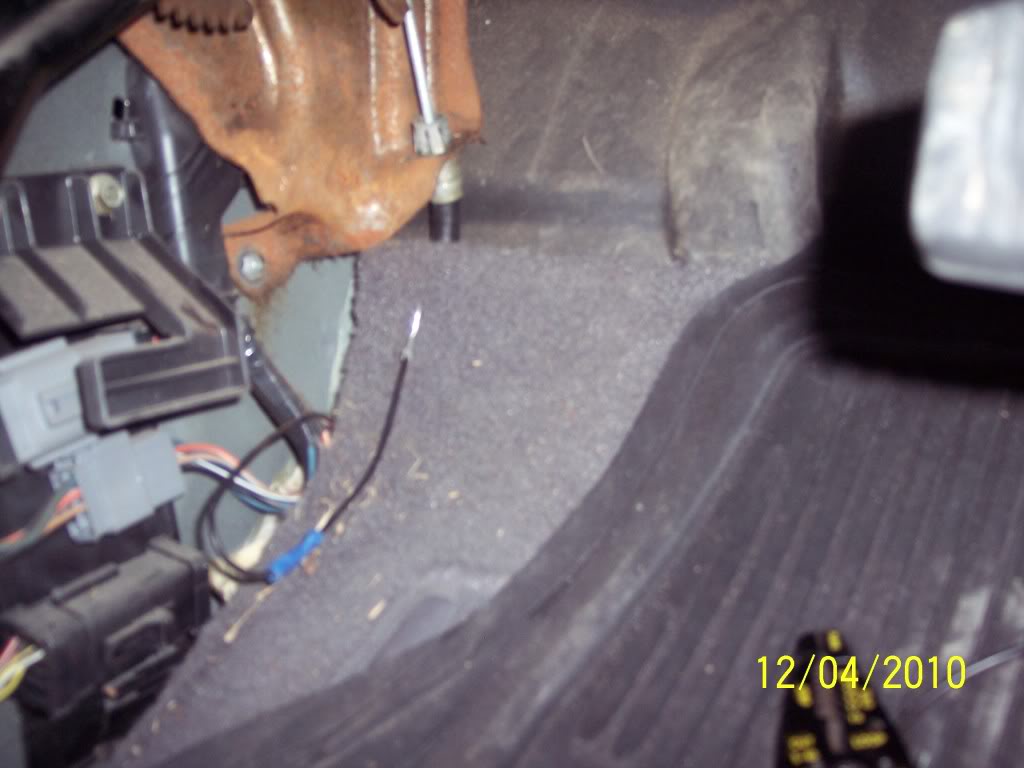
I added the Pioneer connector and bolted it back down.
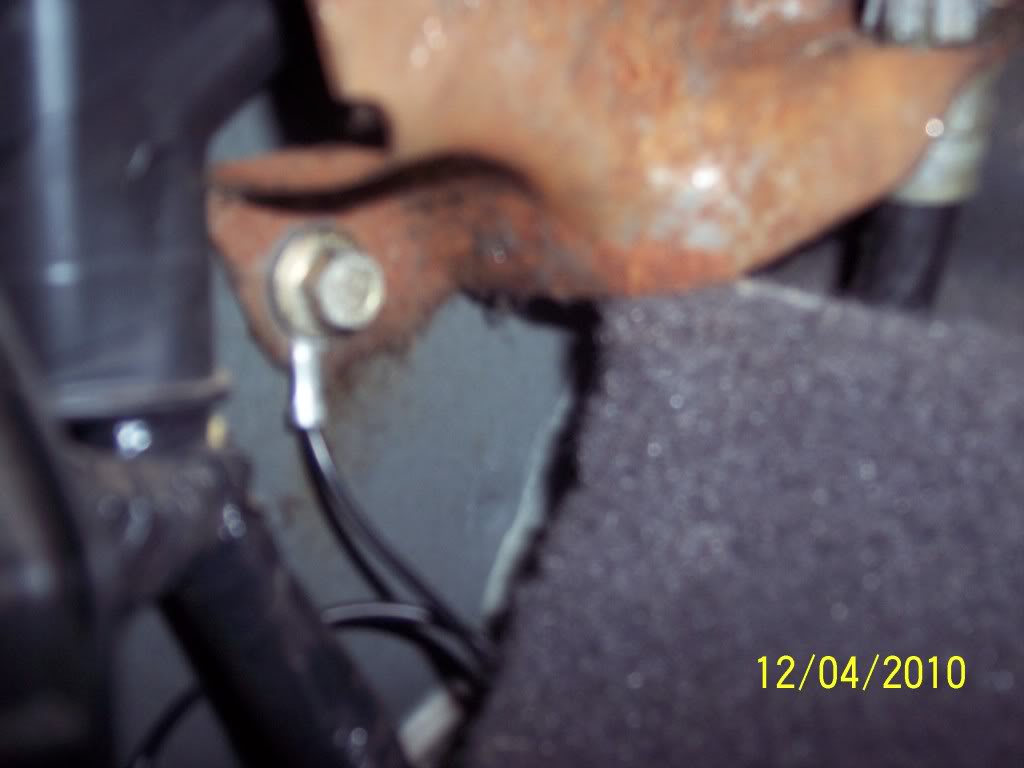
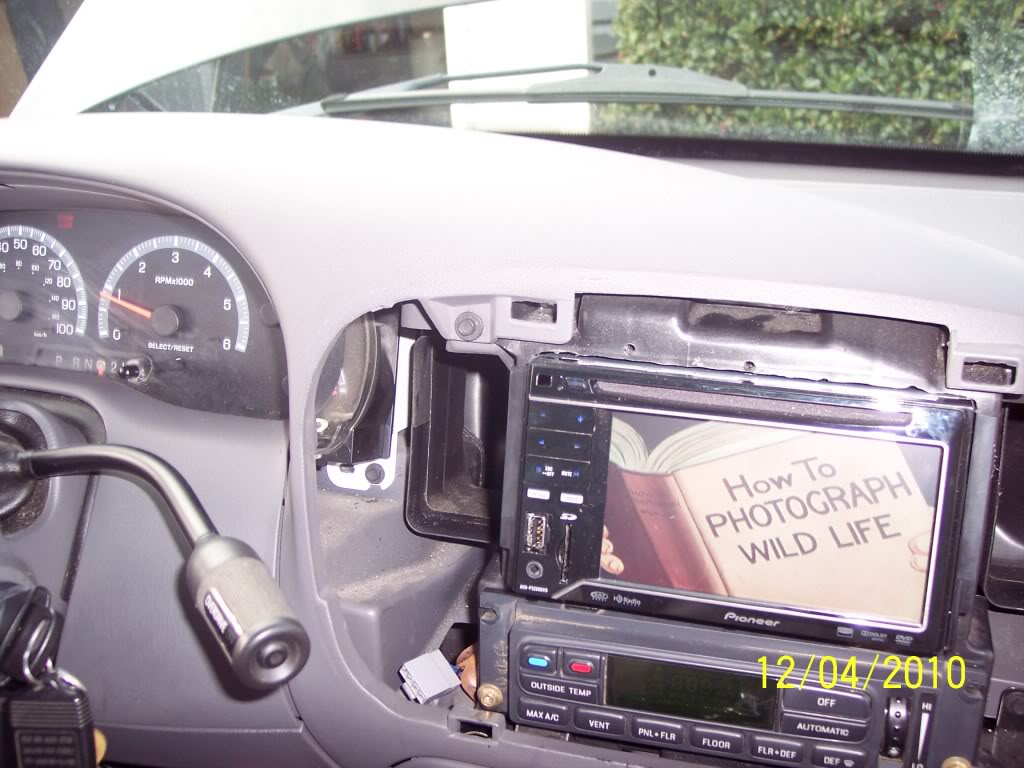
I hooked the wire harness and radio antenna into the deck and put it in place. Then I reconnected the negative battery cable. I wanted to check out the wiring and make sure everything worked while I still have the dash apart.
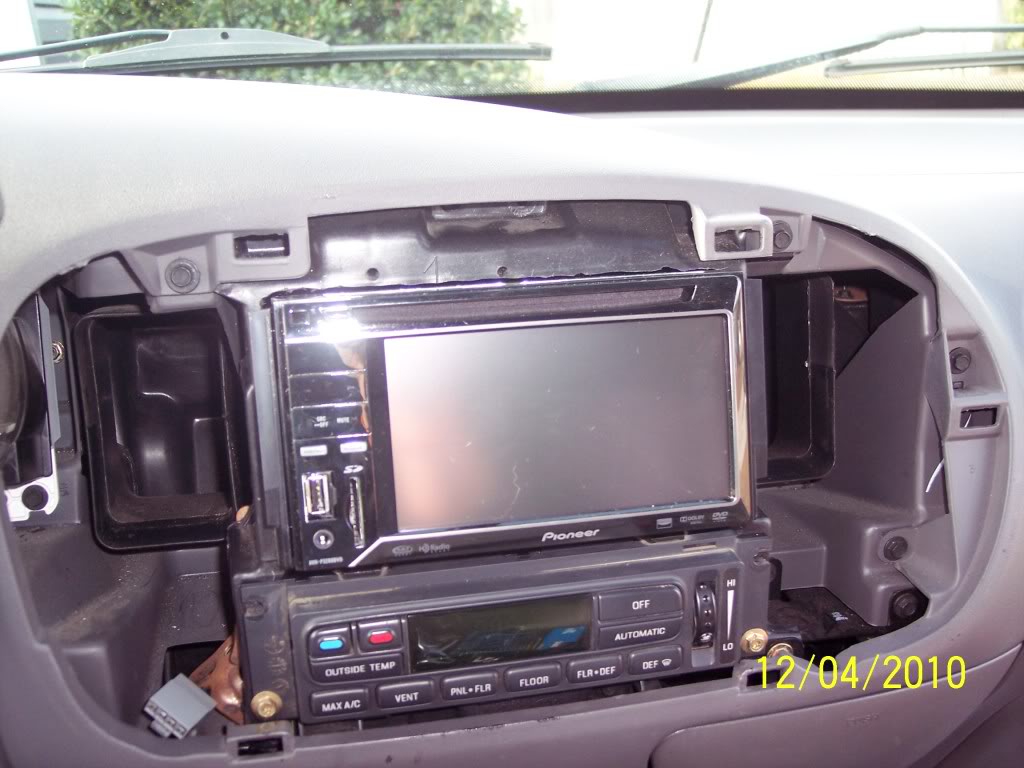
It works on CDs
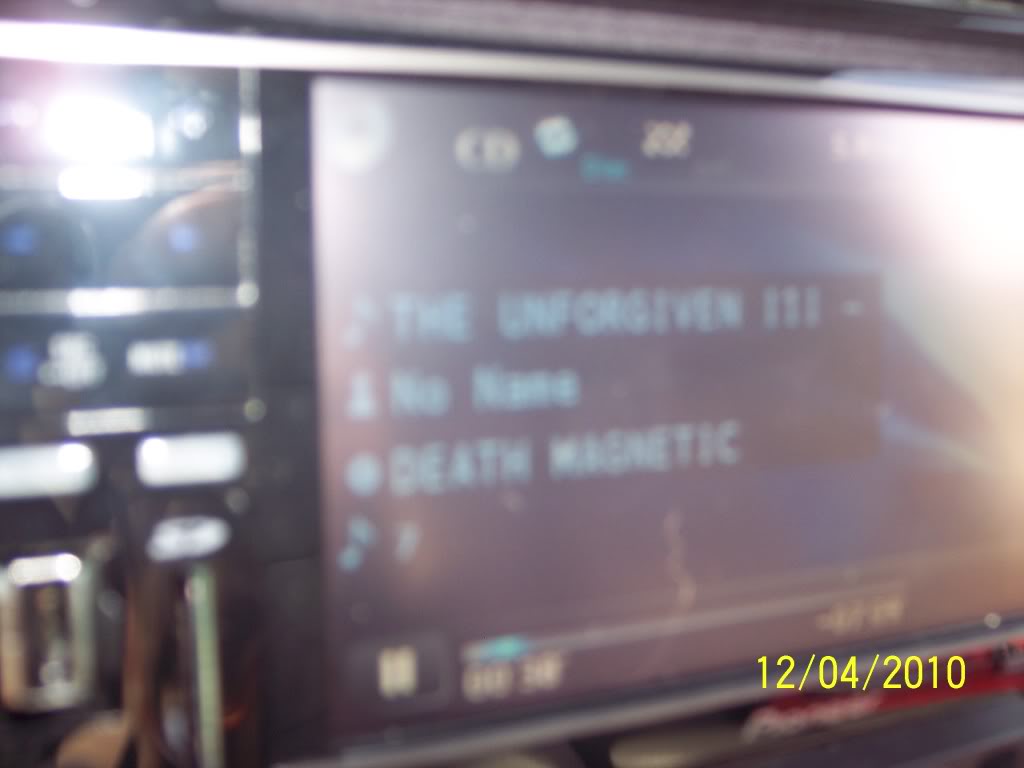
And it works on DVDS!!
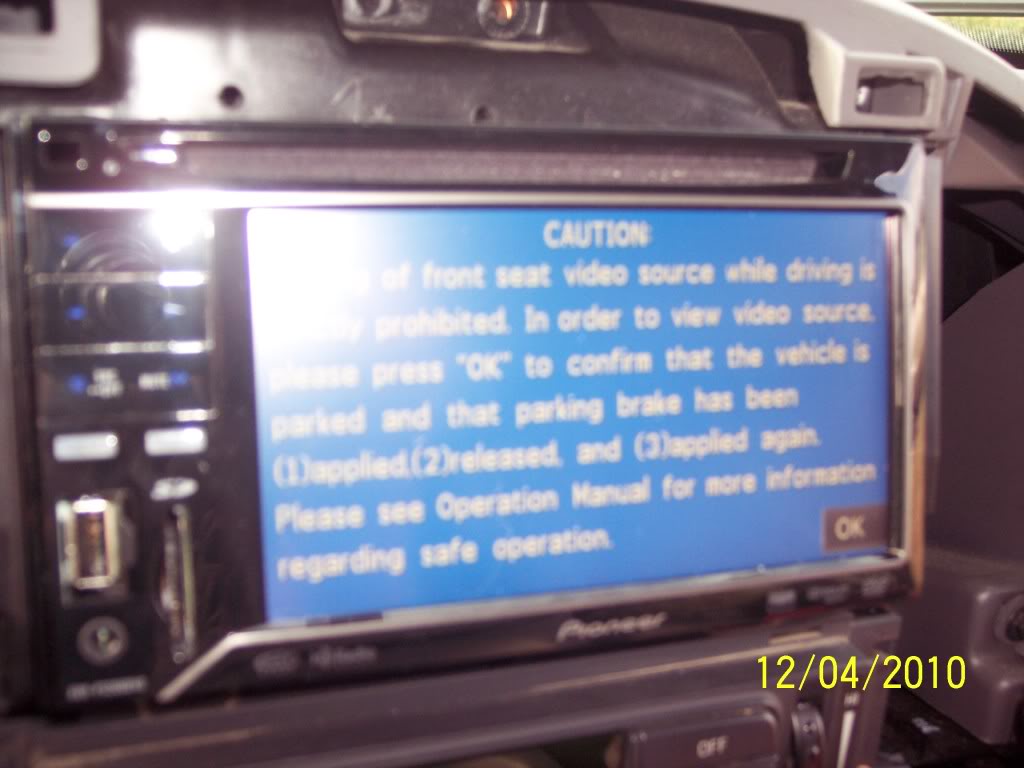
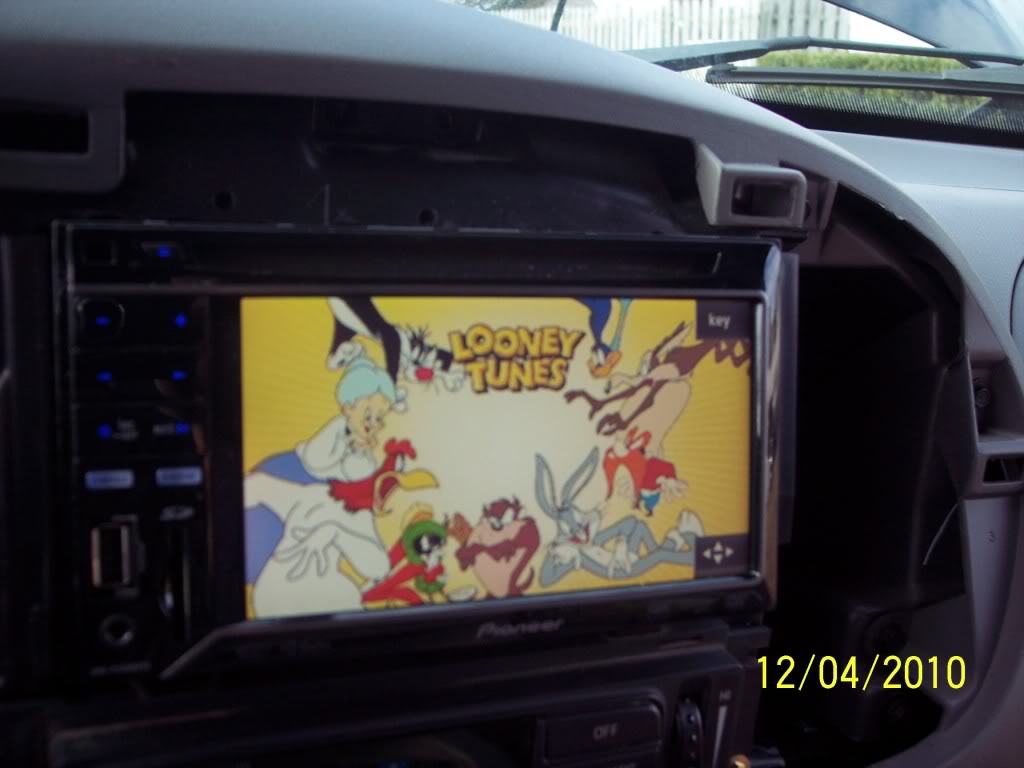
And the RELAY WORKS!!!!!!!! Here you can see I am in "DRIVE" and the movie is on!
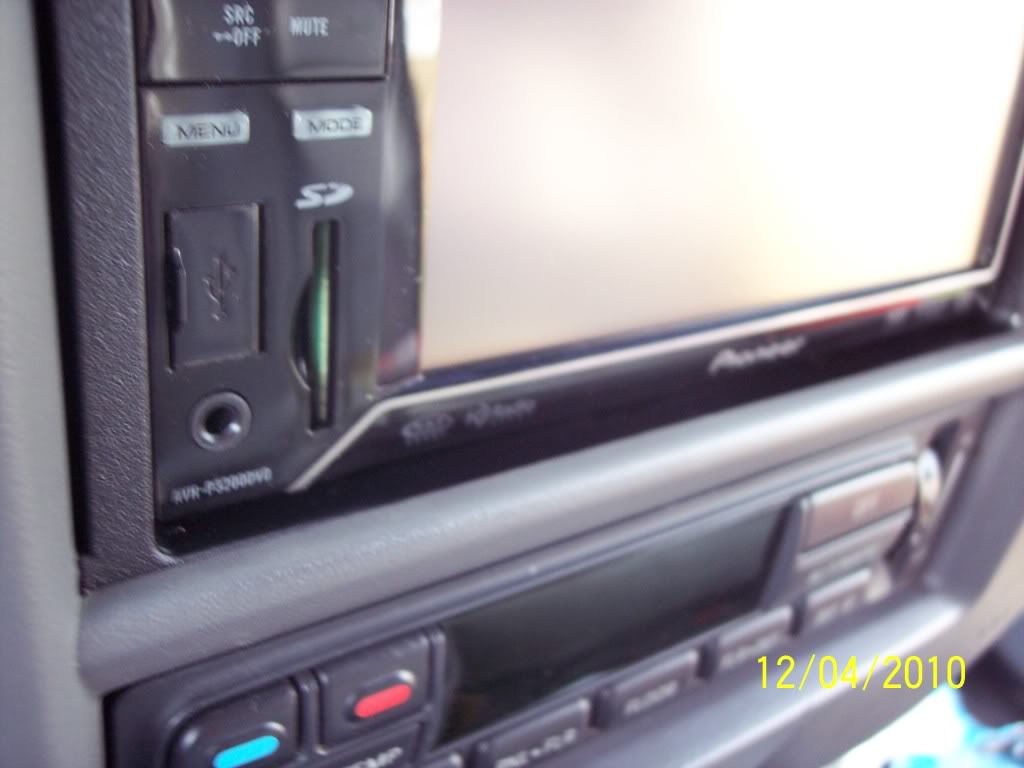
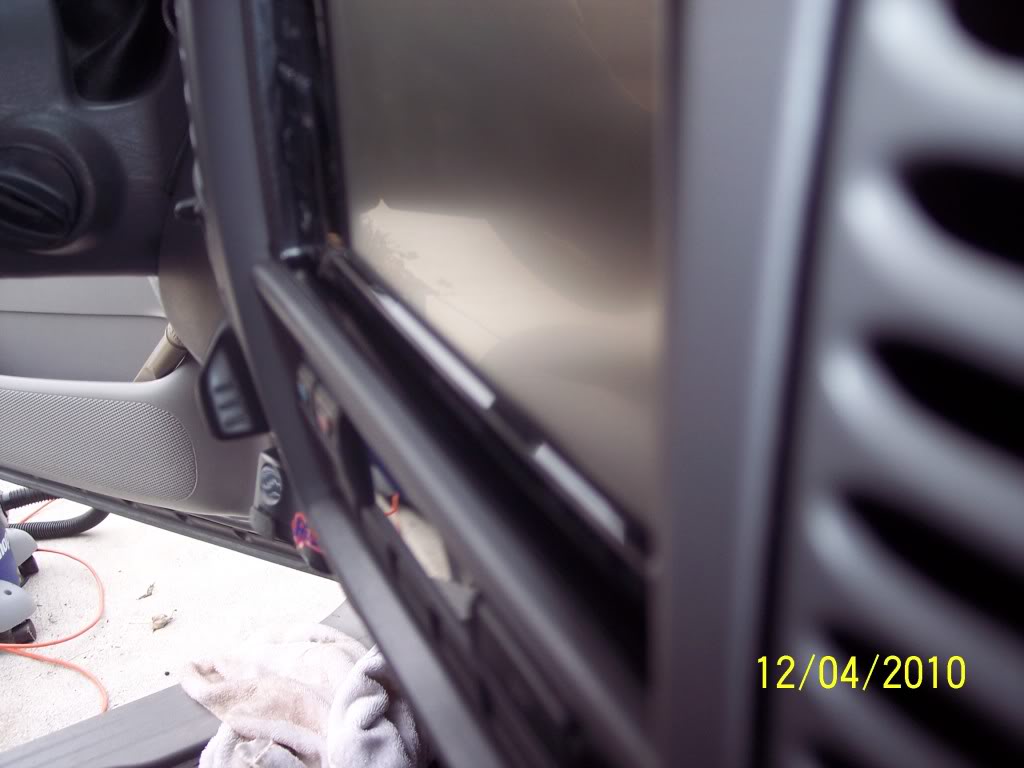
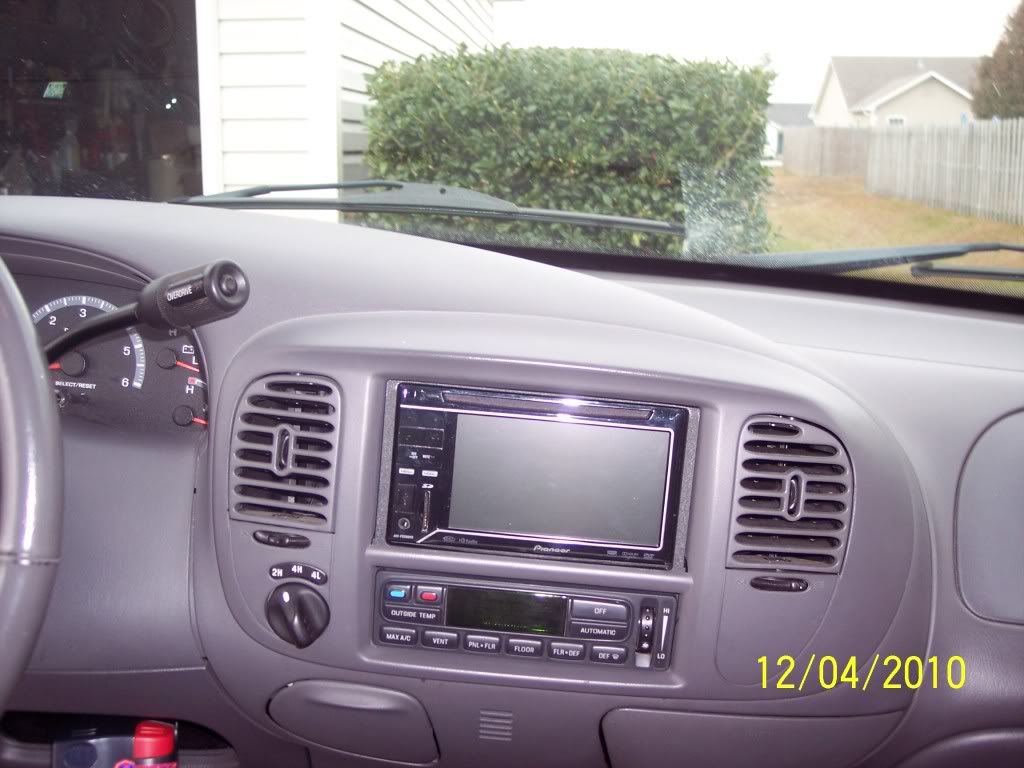
Now you just have to put the dash back together! Again, I used the Metra kit. The outer bezel is ok. I have a slight gap at the bottom of the unit, about 1/8". I don't know if it is just this kit or if all of the would be like this. It took me awhile to get everything lined back up. I'm probably just gonna live with it.
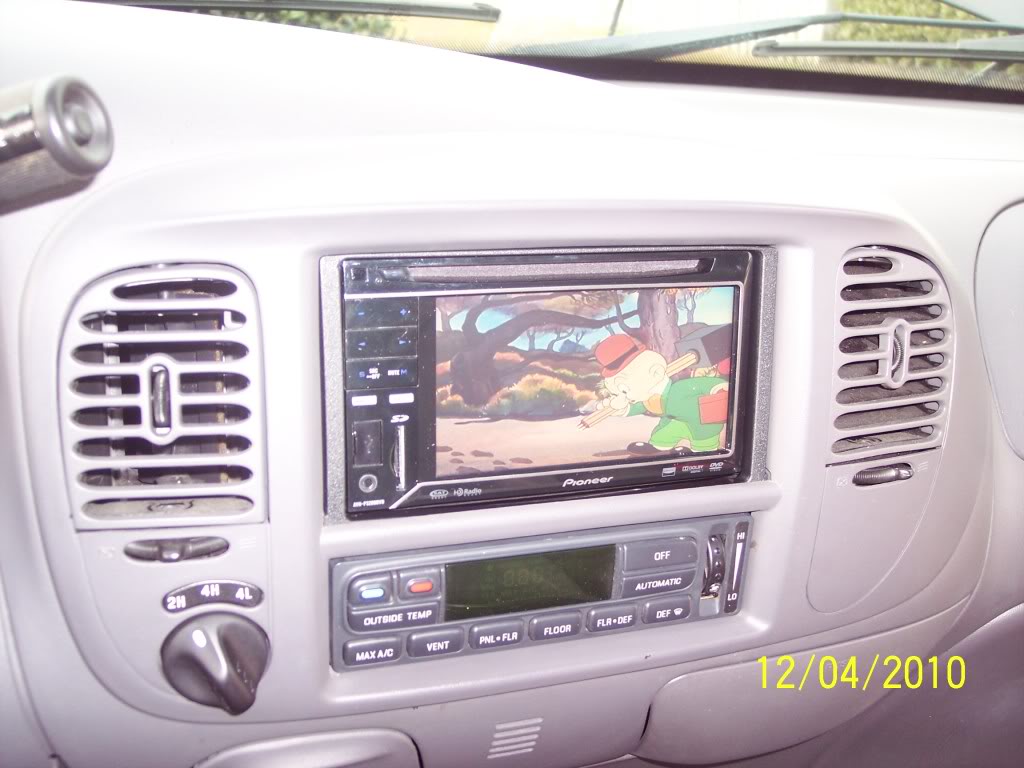
Here are the pics:
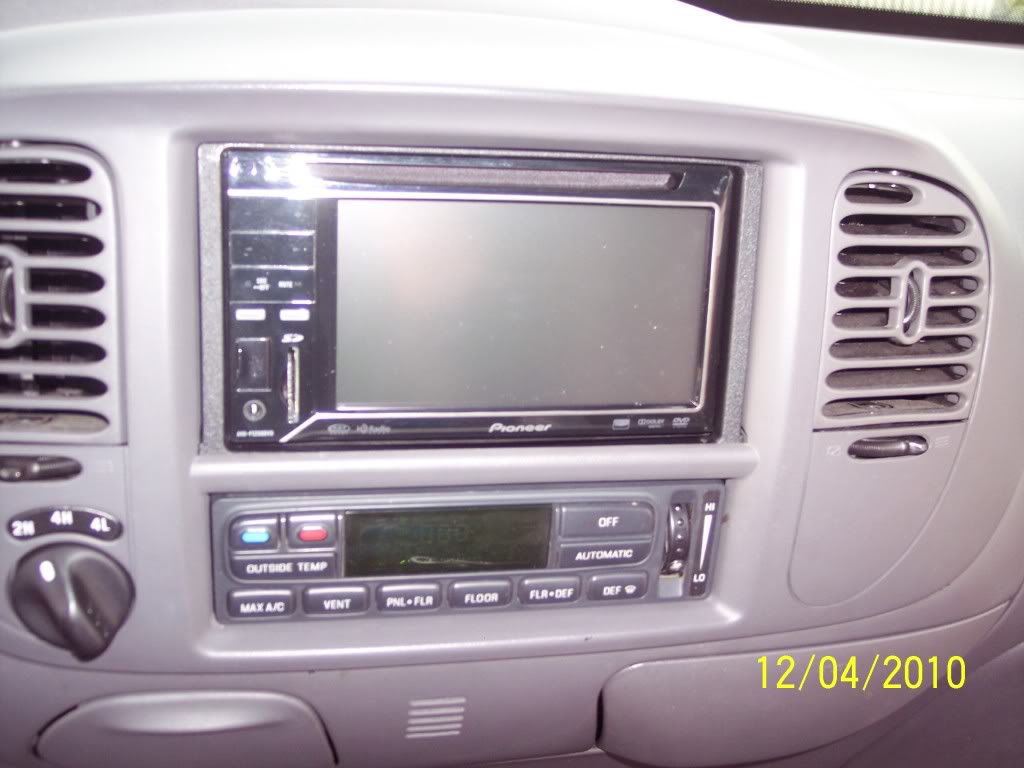
the gap
Finished
Overall, this isn't too bad a process. I've installed many single din decks before..which are easier as you have the metal bracket that you secure and then you just slide the deck in until it "clicks". This is my first Double Din unit. The cutting wasn't bad; I just had the Dremel on low (15000 RPMS) and went slow and kept test fitting! Once I got close, i switched to the sanding bit which was nice as you could have a pretty straight line as long as you didn't put too much pressure.
I'm happy with the results as my stereo is "alive" now compare to the crappy factory. I'd recommend a dvd unit; especially this Pioneer AVH-P3200DVD. I have multiple options at my disposal: DVD, CD, Ipod, USB, SD card!!! I haven't tried a backup movie yet...but I'm sure it will play DVD+-R's just fine. There's even a vid on You Tube where it DOES accept 32GB SD cards..I think it just has to be a class 2 card. Well, I hope you've enjoyed this tutorial. I wanted to update it as the other one is around 3 years old. ---------DirtySCREW
I had to cut it and make a longer lead and fish it through the dash to where I could find some metal. Everything inside the dash is plastic. I found a spot under the parking brake.
I ran the wire under the carpet over to the parking brake.
I added the Pioneer connector and bolted it back down.
I hooked the wire harness and radio antenna into the deck and put it in place. Then I reconnected the negative battery cable. I wanted to check out the wiring and make sure everything worked while I still have the dash apart.
It works on CDs
And it works on DVDS!!
And the RELAY WORKS!!!!!!!! Here you can see I am in "DRIVE" and the movie is on!
Now you just have to put the dash back together! Again, I used the Metra kit. The outer bezel is ok. I have a slight gap at the bottom of the unit, about 1/8". I don't know if it is just this kit or if all of the would be like this. It took me awhile to get everything lined back up. I'm probably just gonna live with it.
Here are the pics:
the gap
Finished
Overall, this isn't too bad a process. I've installed many single din decks before..which are easier as you have the metal bracket that you secure and then you just slide the deck in until it "clicks". This is my first Double Din unit. The cutting wasn't bad; I just had the Dremel on low (15000 RPMS) and went slow and kept test fitting! Once I got close, i switched to the sanding bit which was nice as you could have a pretty straight line as long as you didn't put too much pressure.
I'm happy with the results as my stereo is "alive" now compare to the crappy factory. I'd recommend a dvd unit; especially this Pioneer AVH-P3200DVD. I have multiple options at my disposal: DVD, CD, Ipod, USB, SD card!!! I haven't tried a backup movie yet...but I'm sure it will play DVD+-R's just fine. There's even a vid on You Tube where it DOES accept 32GB SD cards..I think it just has to be a class 2 card. Well, I hope you've enjoyed this tutorial. I wanted to update it as the other one is around 3 years old. ---------DirtySCREW

Senior Member
Joined: May 2006
Posts: 477
Likes: 0
From: NC
Great write up! Nice job on the 1.5 to the double din. If you read the screen where the OK button is, you will see what i was saying about the pulse on the parking brake. I went back to mine and tried the relay again..... same message "it is unlawful to observe movies while vehicle is in motion". I also then tried moving the ground from the head unit to the body. Still the same. My relay clicked once, I had continuity on the terminals and the parking brake wire was grounded. I still had the same message.
One thing I did notice was that the unit came on (all lighting) then the relay clicked. Then I tried the DVD and got the message. I unplugged the parking brake wire from the relay and plugged it back in and it worked..... but only that one time.
As soon as I shut the unit off, it had the same warning screen again. I plugged my switch back in and it works perfectly. I leave the switch in the on position and then just flip it off and back on and it works perfectly.
This feature doesn't affect the operation of the audio portion of the HU..... just the playback of DVD and the use of the navigation (added) while in motion.
The unit does EVERYTHING you would expect it to do and then some! Highly customizable sound with the graphic EQ. Customizable back light, home screen, splash screen, sub controls, rear camera controls and is Sat radio and HD radio ready.
The AVIC-U220 Nav unit is outstanding and it is a seamless integration with the head unit.
I also added the SWI jack for my steering wheel controls. Looks like a complete factory install. Planning on adding the backup camera within the next couple of weeks. I found a nice camera that mounts on the rear license plate for under $100. It will make it a lot easier to hook up to my trailers.
Once again, GREAT JOB on your install!
One thing I did notice was that the unit came on (all lighting) then the relay clicked. Then I tried the DVD and got the message. I unplugged the parking brake wire from the relay and plugged it back in and it worked..... but only that one time.
As soon as I shut the unit off, it had the same warning screen again. I plugged my switch back in and it works perfectly. I leave the switch in the on position and then just flip it off and back on and it works perfectly.
This feature doesn't affect the operation of the audio portion of the HU..... just the playback of DVD and the use of the navigation (added) while in motion.
The unit does EVERYTHING you would expect it to do and then some! Highly customizable sound with the graphic EQ. Customizable back light, home screen, splash screen, sub controls, rear camera controls and is Sat radio and HD radio ready.
The AVIC-U220 Nav unit is outstanding and it is a seamless integration with the head unit.
I also added the SWI jack for my steering wheel controls. Looks like a complete factory install. Planning on adding the backup camera within the next couple of weeks. I found a nice camera that mounts on the rear license plate for under $100. It will make it a lot easier to hook up to my trailers.
Once again, GREAT JOB on your install!
Senior Member
Joined: May 2006
Posts: 477
Likes: 0
From: NC


Global Moderator &
Senior Member
Senior Member

Joined: Aug 2005
Posts: 21,337
Likes: 159
From: DFW
FWIW there are a couple factory ground bolts (marked with green paint) on the trans tunnel up against the drivers foot well, behind that plastic bottom dash piece.
I like the new radio surround, hows the color matching?
I like the new radio surround, hows the color matching?
Thread Starter
|
Technical Article Contributor
Joined: Sep 2009
Posts: 660
Likes: 0
From: NC
It's pretty good I think. I didn't know about those bolts. I was frustrated cause everything inside the dash is plastic. There is one metal bracket that I was gonna put it to, but I couldn't find any bolts that would fit. I saw the bolt on the parking brake assembly and went with that. I'm sure there are easier ways...but it works for me---DirtySCREW
Trending Topics


Registered User
Joined: Nov 2000
Posts: 68
Likes: 0
From: Here, BC Canada
Nice clean install!! I havent considered that for my '03 Screw in the past.............. Butt, now you have me thinkin about it. If you cant live with the gap issue, you could always weld in a filler and then use SEM spray finish to duplicate the OEM finish and repaint the stereo trim?

Senior Member
Joined: Jun 2007
Posts: 987
Likes: 0
From: Fenton,Missouri
Soo how does the DD secure in the back then? Am I missing somthing? LOOKS GOOD! I want a DD w/ nav for my 02 screw. I am tired of having the Garmin stuck to the widshield and having the power cord draped across my dash! And yes I know that I could probbably wire the Garmin up directly but I would rather have nav in a head unit instead!!

Thread Starter
|
Technical Article Contributor
Joined: Sep 2009
Posts: 660
Likes: 0
From: NC
Soo how does the DD secure in the back then? Am I missing somthing? LOOKS GOOD! I want a DD w/ nav for my 02 screw. I am tired of having the Garmin stuck to the widshield and having the power cord draped across my dash! And yes I know that I could probbably wire the Garmin up directly but I would rather have nav in a head unit instead!!

Senior Member
Joined: Nov 2007
Posts: 117
Likes: 0
From: Whitehall
Hey Dirty,
I'm working on putting a DD in my 03 also. Just going with a Clarion CX609, no DVD or Nav. I'm using the Metra kit also and was wondering how tight the fit was when installing the unit. In regards to the gap, the Metra instructions call for the removal of the center cross brace between the radio opening and the HVAC control opening which would lower the unit although I'm not anxious to remove that piece to maintain strength. I'm thinkin of removing some of the small triangular braces on the sides visable in your one pic to allow the unit to snap into place like it should. I recieved a small slide on trim surrond for the front of my unit which should hide any gap if there is one. Hope to work on it some more this weekend.
I'm working on putting a DD in my 03 also. Just going with a Clarion CX609, no DVD or Nav. I'm using the Metra kit also and was wondering how tight the fit was when installing the unit. In regards to the gap, the Metra instructions call for the removal of the center cross brace between the radio opening and the HVAC control opening which would lower the unit although I'm not anxious to remove that piece to maintain strength. I'm thinkin of removing some of the small triangular braces on the sides visable in your one pic to allow the unit to snap into place like it should. I recieved a small slide on trim surrond for the front of my unit which should hide any gap if there is one. Hope to work on it some more this weekend.
Thread Starter
|
Technical Article Contributor
Joined: Sep 2009
Posts: 660
Likes: 0
From: NC
Hey Dirty,
I'm working on putting a DD in my 03 also. Just going with a Clarion CX609, no DVD or Nav. I'm using the Metra kit also and was wondering how tight the fit was when installing the unit. In regards to the gap, the Metra instructions call for the removal of the center cross brace between the radio opening and the HVAC control opening which would lower the unit although I'm not anxious to remove that piece to maintain strength. I'm thinkin of removing some of the small triangular braces on the sides visable in your one pic to allow the unit to snap into place like it should. I recieved a small slide on trim surrond for the front of my unit which should hide any gap if there is one. Hope to work on it some more this weekend.
I'm working on putting a DD in my 03 also. Just going with a Clarion CX609, no DVD or Nav. I'm using the Metra kit also and was wondering how tight the fit was when installing the unit. In regards to the gap, the Metra instructions call for the removal of the center cross brace between the radio opening and the HVAC control opening which would lower the unit although I'm not anxious to remove that piece to maintain strength. I'm thinkin of removing some of the small triangular braces on the sides visable in your one pic to allow the unit to snap into place like it should. I recieved a small slide on trim surrond for the front of my unit which should hide any gap if there is one. Hope to work on it some more this weekend.

Senior Member

Joined: Jan 2004
Posts: 1,115
Likes: 0
From: San Antonio, TX
Looks great and I'd love to do this to my 02. Quick question though. Is this one of those mods that once you take the plunge, there's no going back to a single din unit? I'm just thinking about resale and whatnot. Some people aren't fans of the double din and may want to reinstall the factory or a single din of their liking. Just asking all questions before making the move. Thanks!