


Axle Bearing & Seal replacement-2003


Thread Starter
|
Technical Article Contributor
Joined: Sep 2009
Posts: 660
Likes: 0
From: NC
Axle Bearing & Seal replacement-2003
Ok guys, first I have to give credit where credit is due. Quintin wrote an excellent article on how to change your axle bearings and seals for his 04.
https://www.f150online.com/forums/ar...lots-pics.html
I consider myself a pretty good shadetree mechanic but am no ASE certified tech like I assume Quintin is. I replaced mine on my 03 in the driveway. So here’s another “how to” to help.
SAFETY: Make sure you shock your front tires. Then jack up your truck securing it with jack stands. You have to have your trans in neutral so you can spin your gears later on, so I went ahead and did so after it was secure on the jack stands.
Remove your wheels. (sidenote: Quintin advised that the wheels are 21mm. My 03 is not as I even went to the parts store and bought a 21mm socket as I couldn’t find mine. Mine must be a 22mm. I didn’t have that either so I just used a 7/8 and was fine.
Remove your calipers by removing the 2 10mm bolts. I tied my calipers up with some rope to prevent any strain on the brake lines.
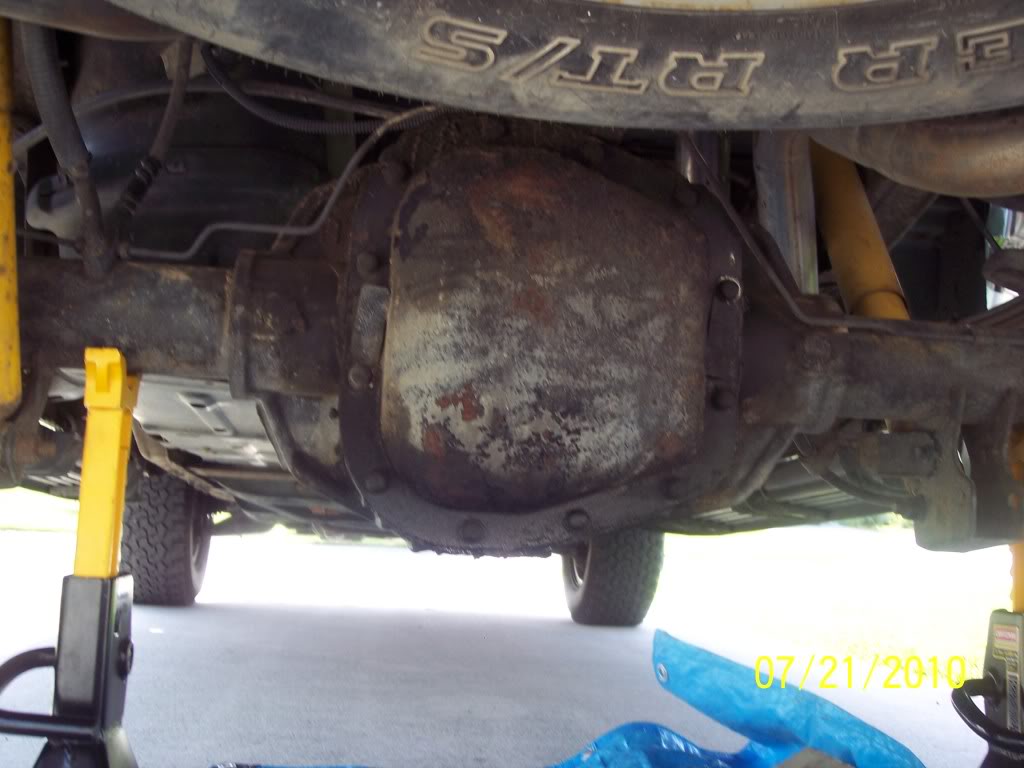
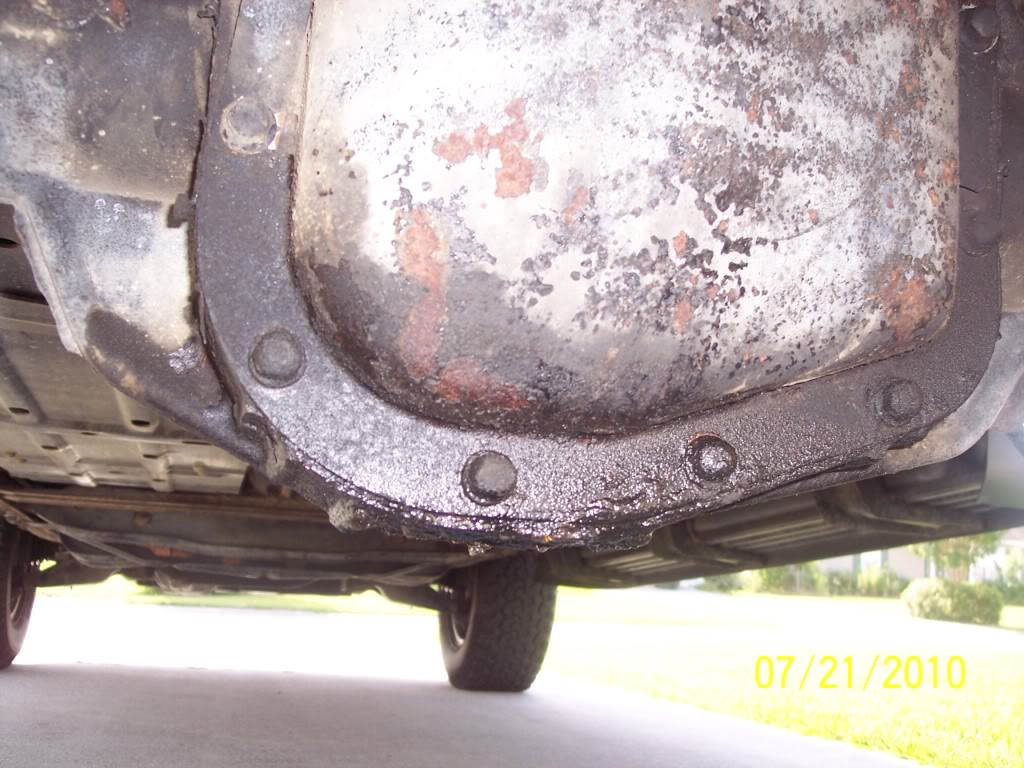
Here’s my diff leak
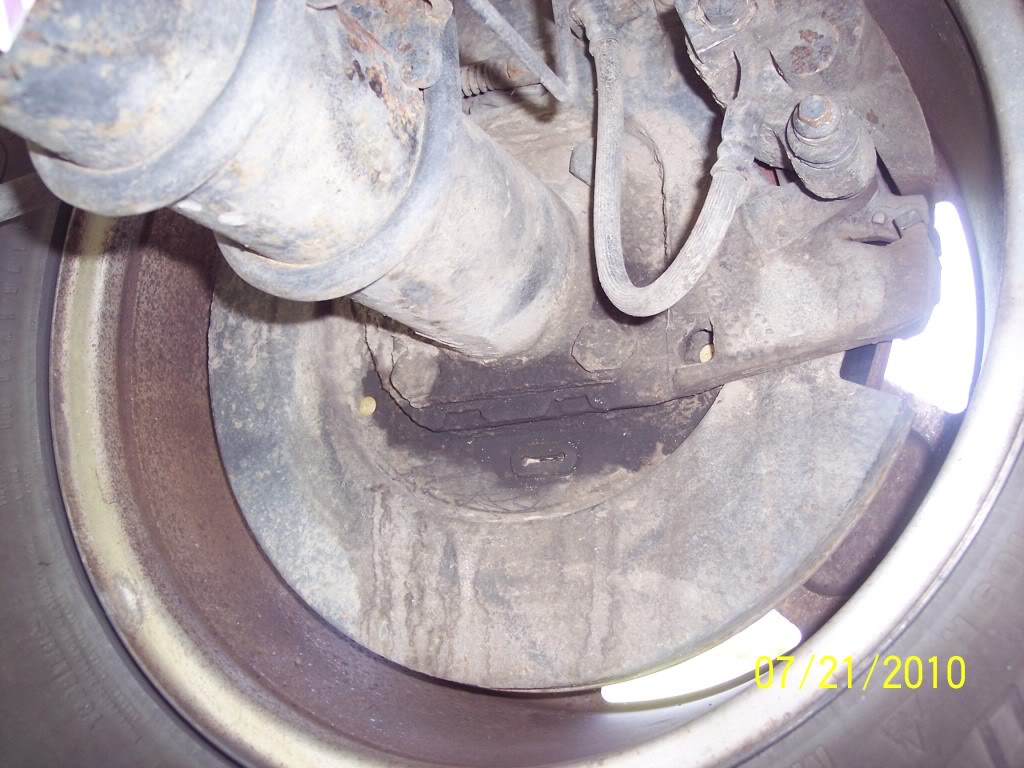
Here’s my passenger side with bad bearings and seal leak.
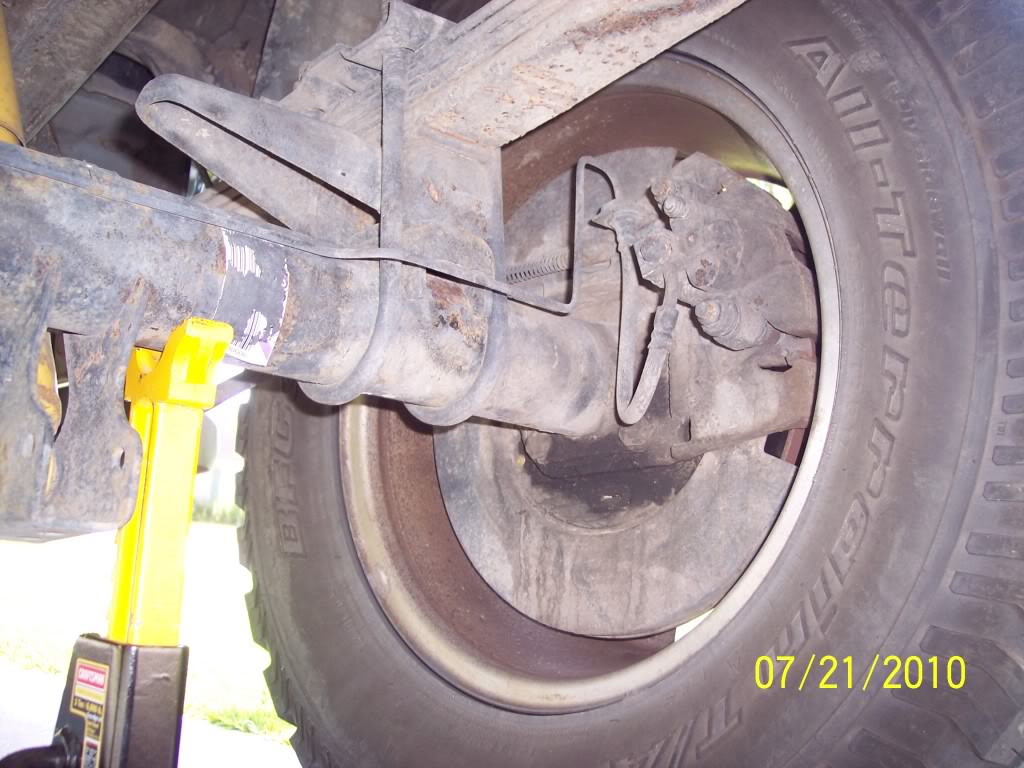
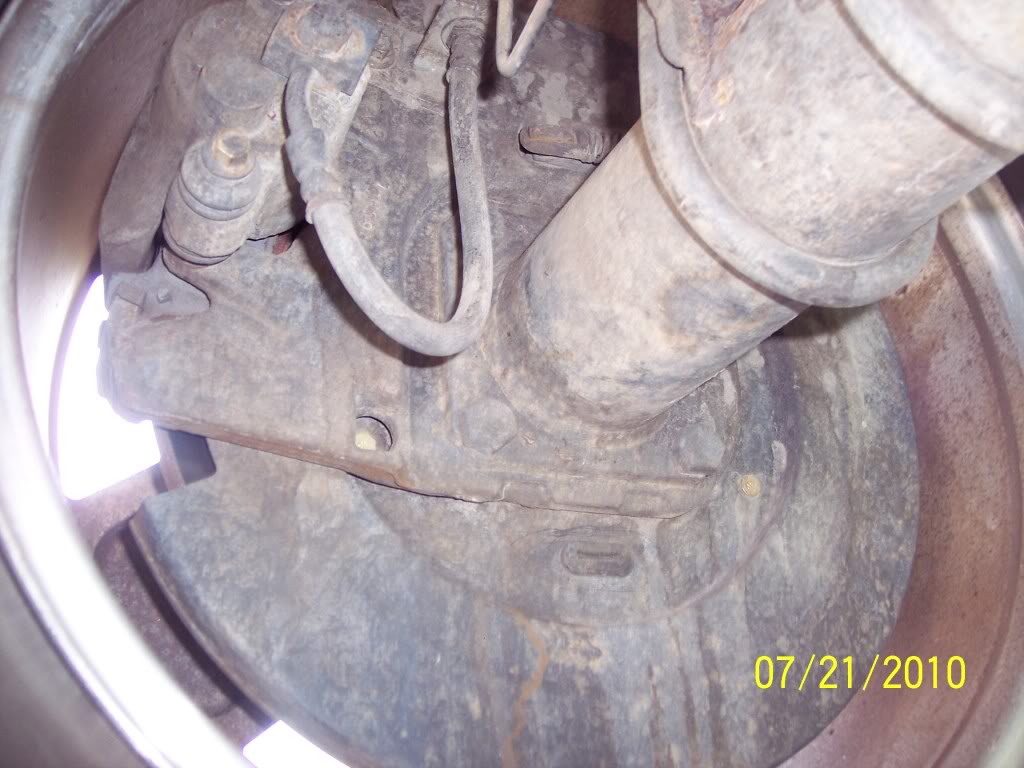
Driver’s side
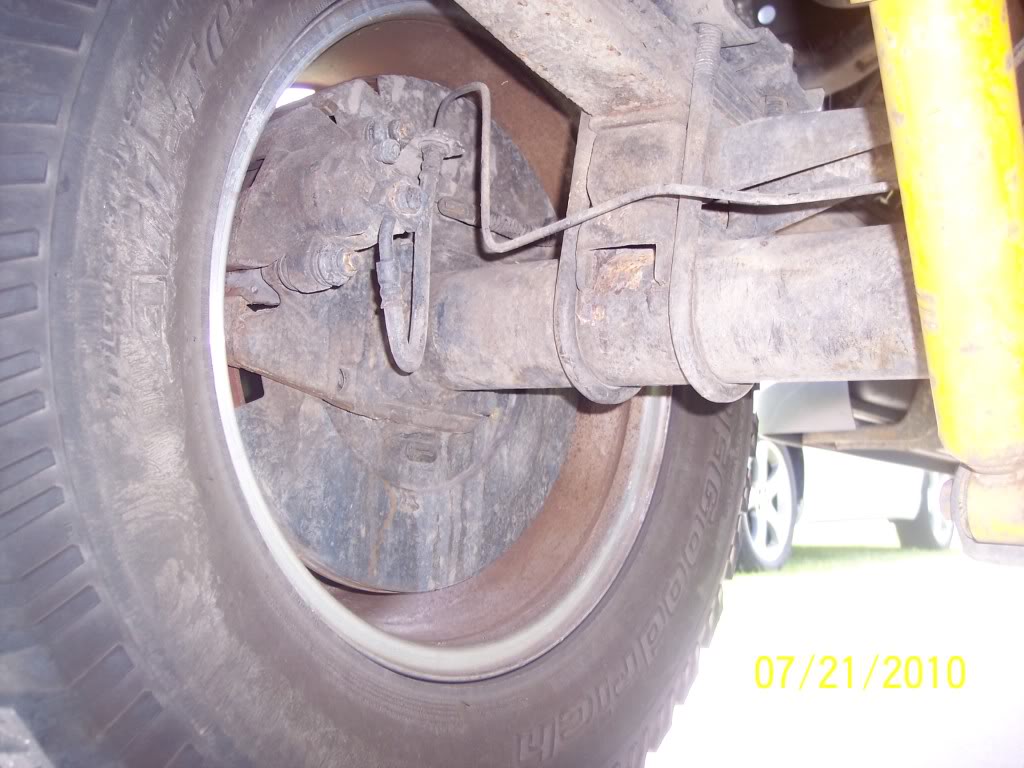
More diff leak
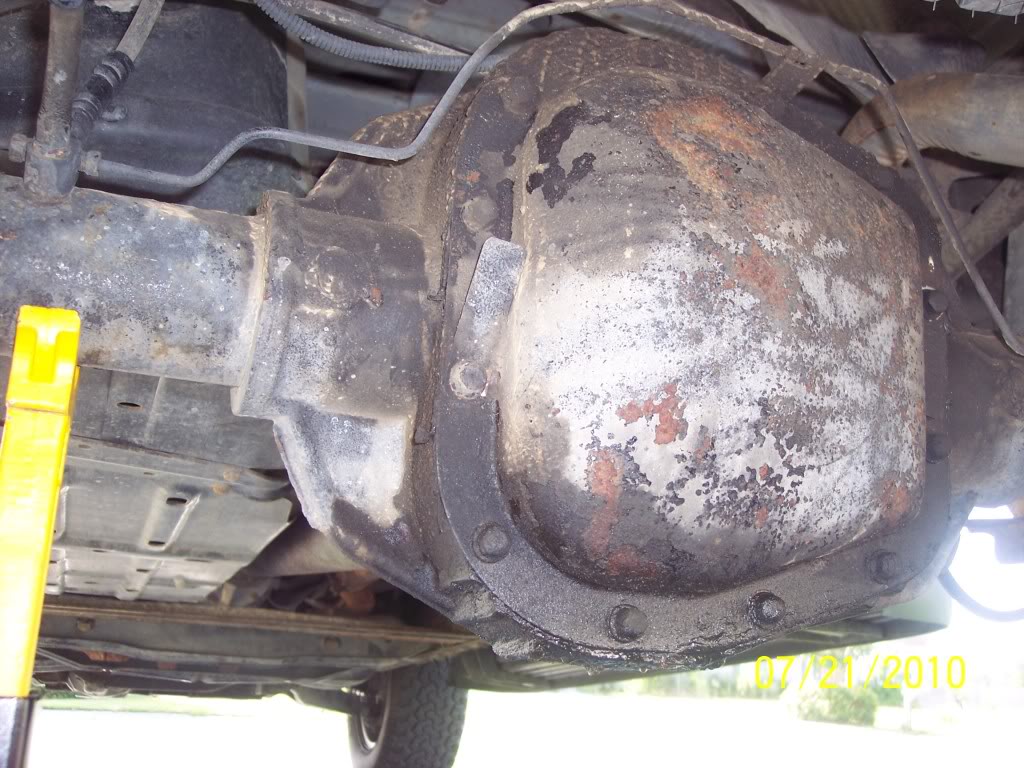
Close up of passenger side leak
Close up of driver’s side
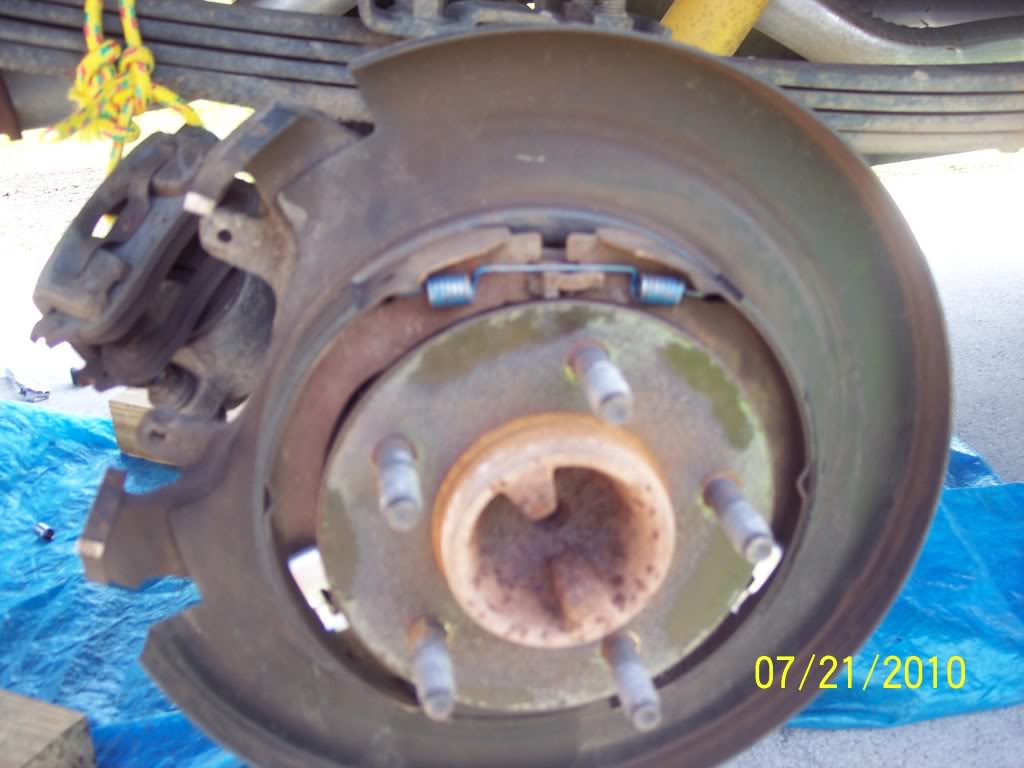
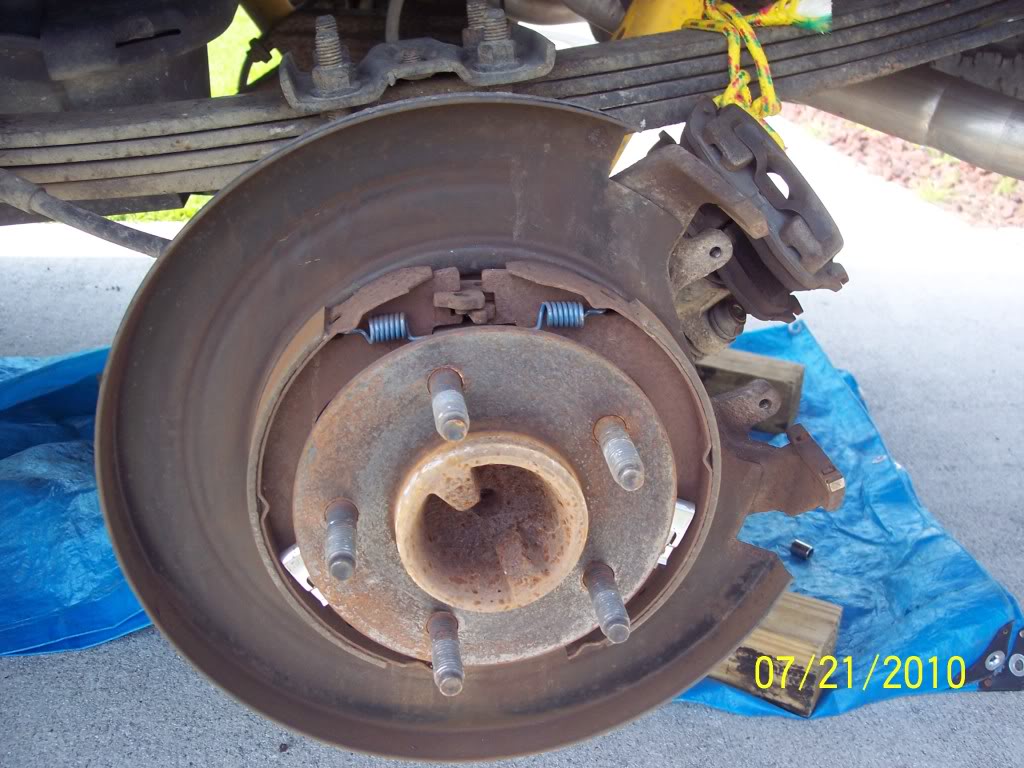
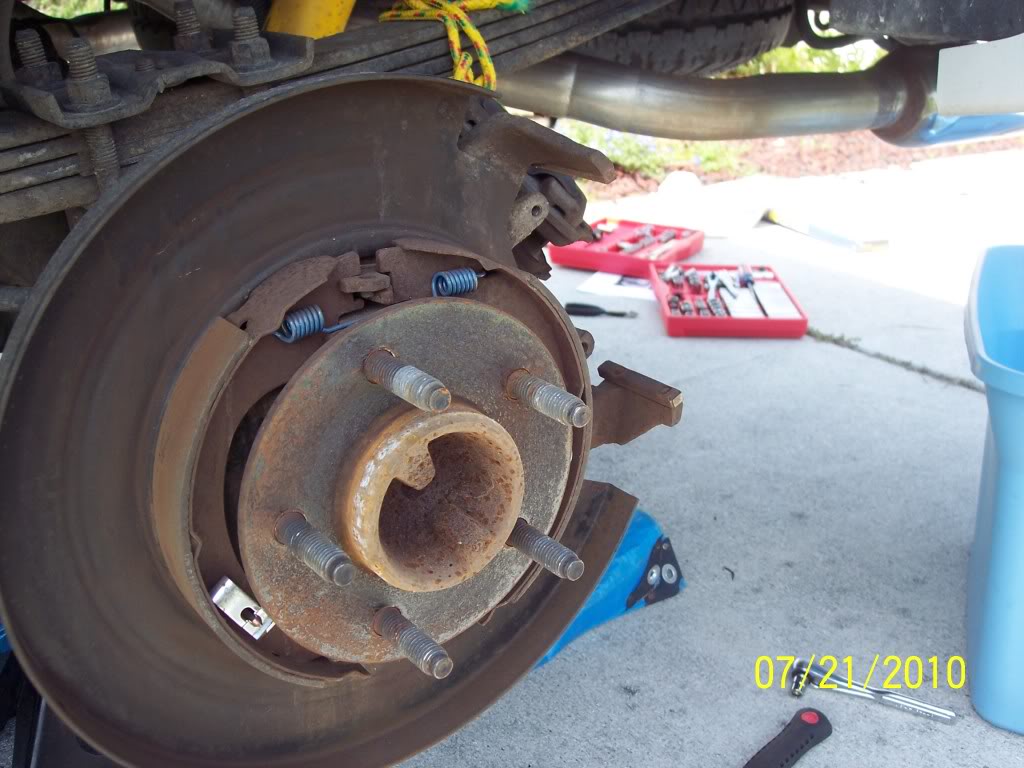
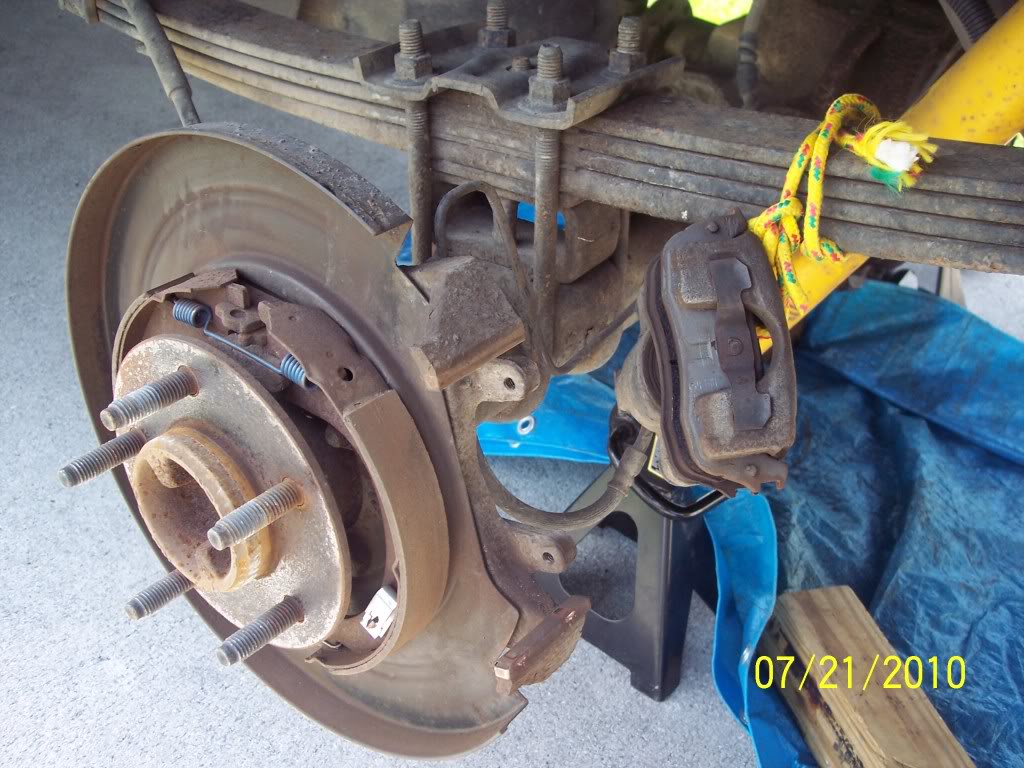
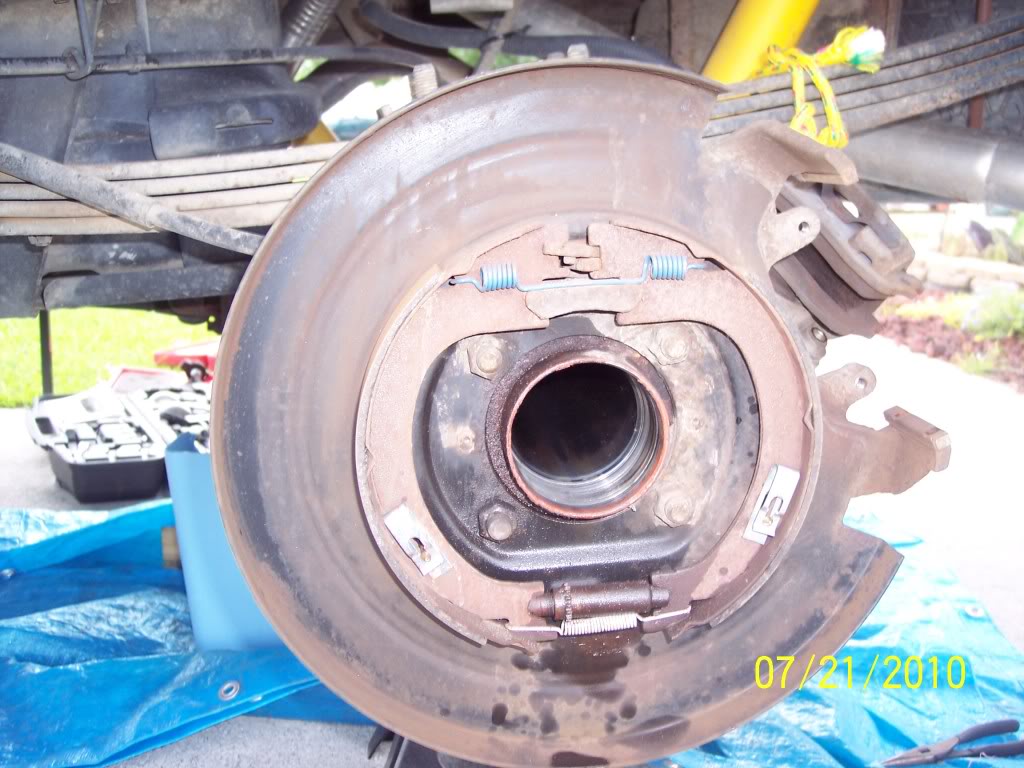
Remove rotors (passenger side)
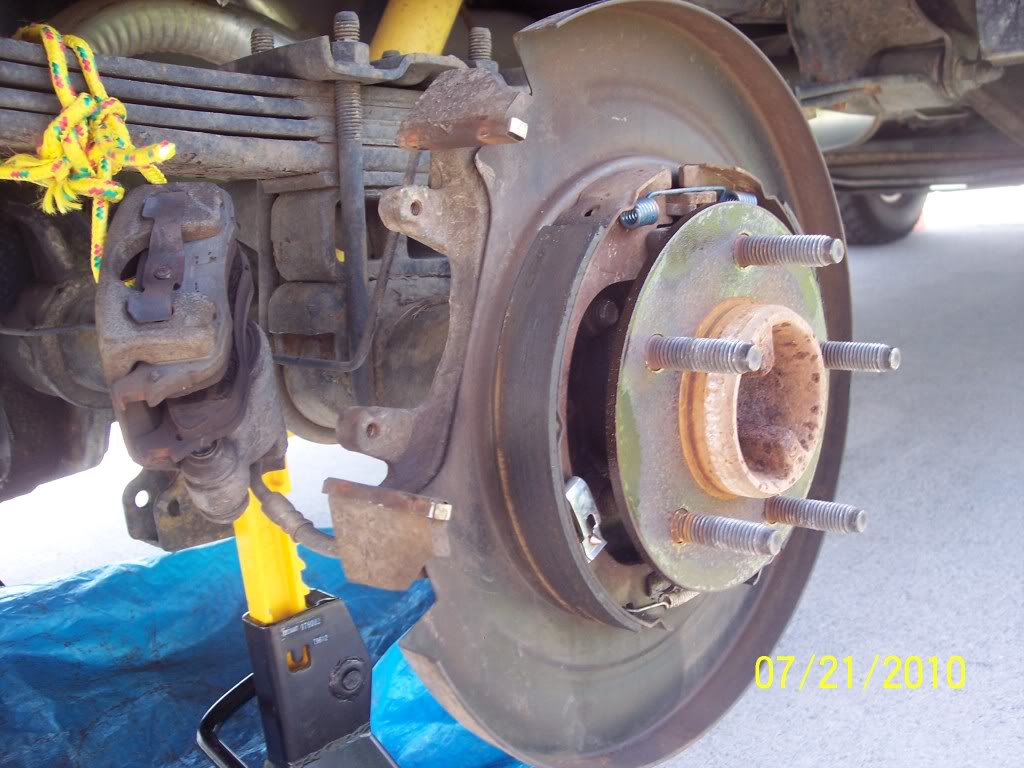
Driver’s side
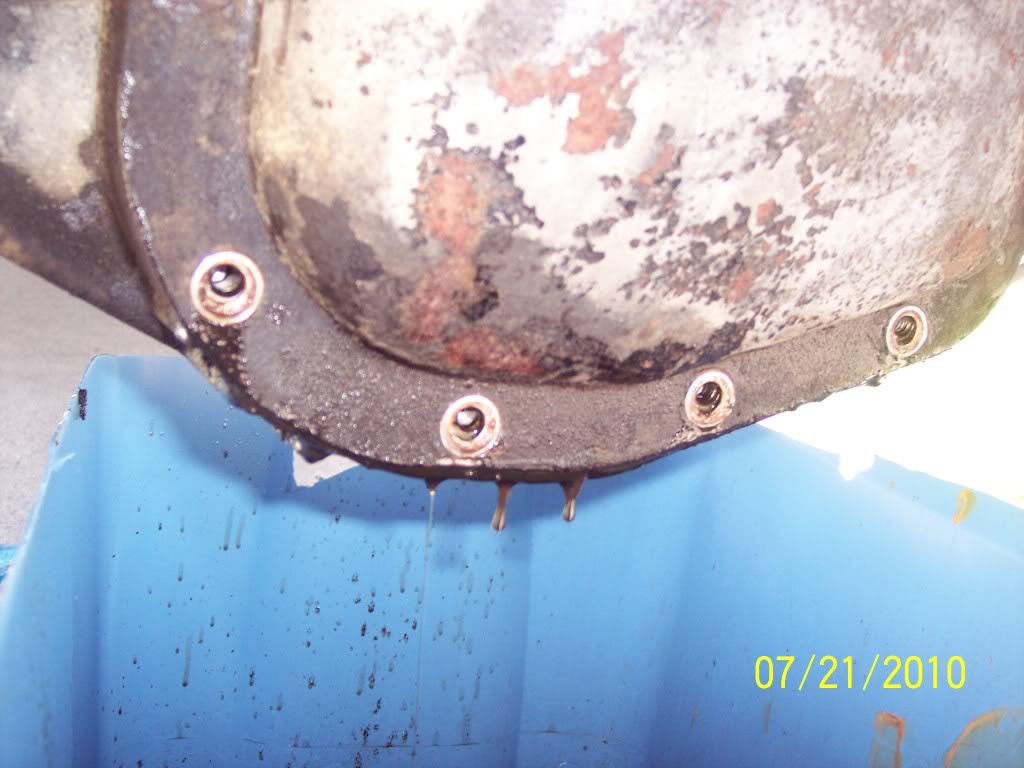
Remove the 12 13mm bolts holding the diff cover on. (For 9.75 rear end) It is best to remove most of the bolts leaving 2 or 3 at the top so most of the gear oil can drain and prevent a big mess. Make sure you have a pan underneath to catch the oil. I cut down a Rubbermaid container I had and it worked perfectly!
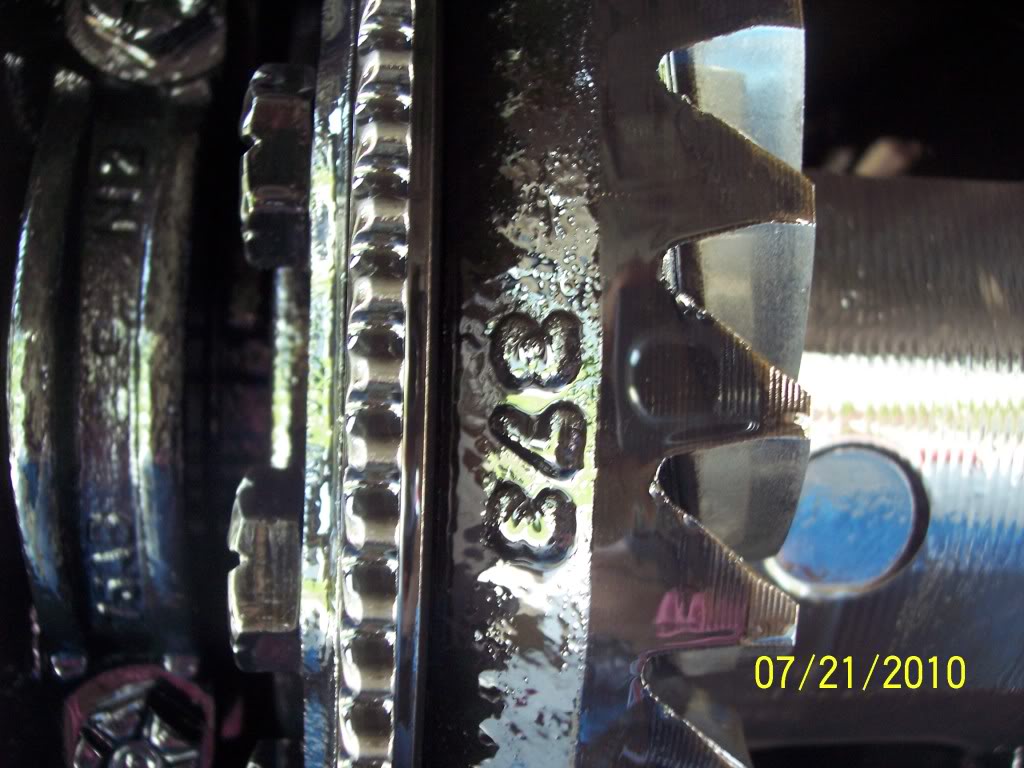
Note the “373” indicating my 3.73 gears
Inside the diff
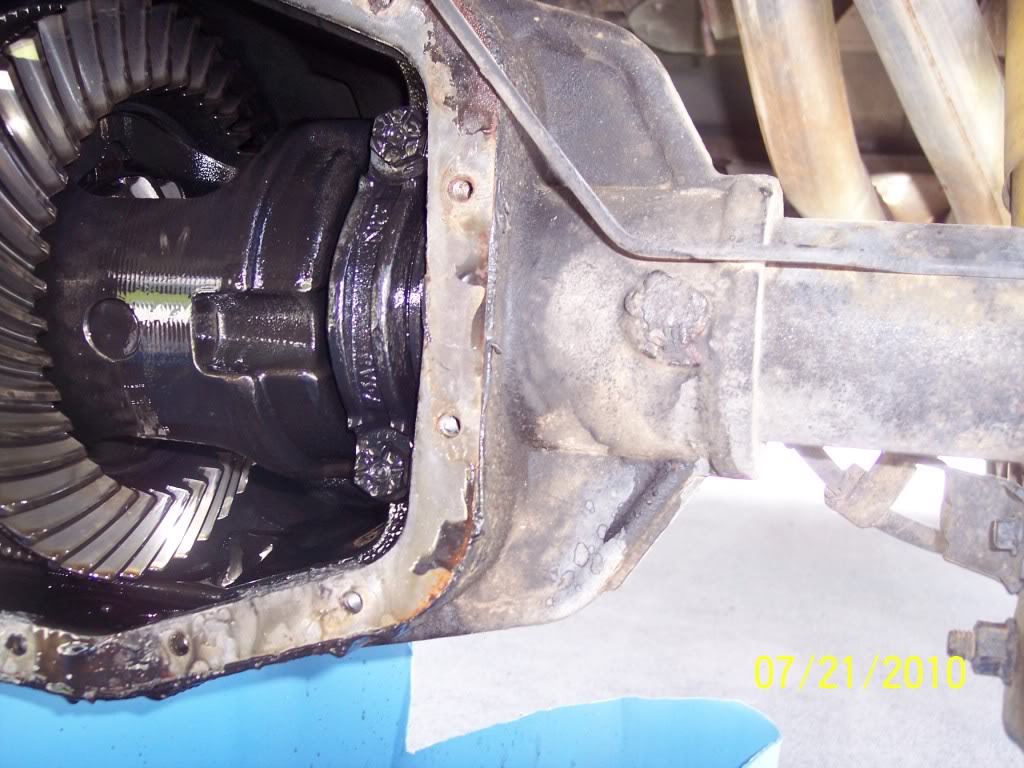
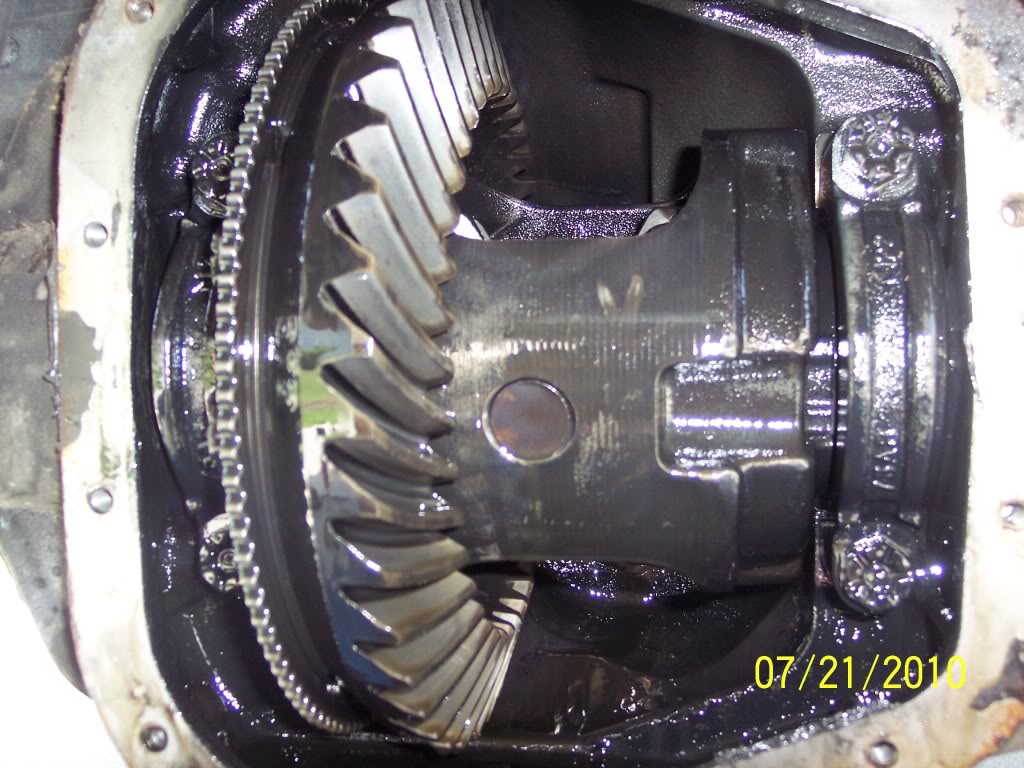
Rotate the gears around so you can remove the pinion shaft and pinion shaft retaining bolt.
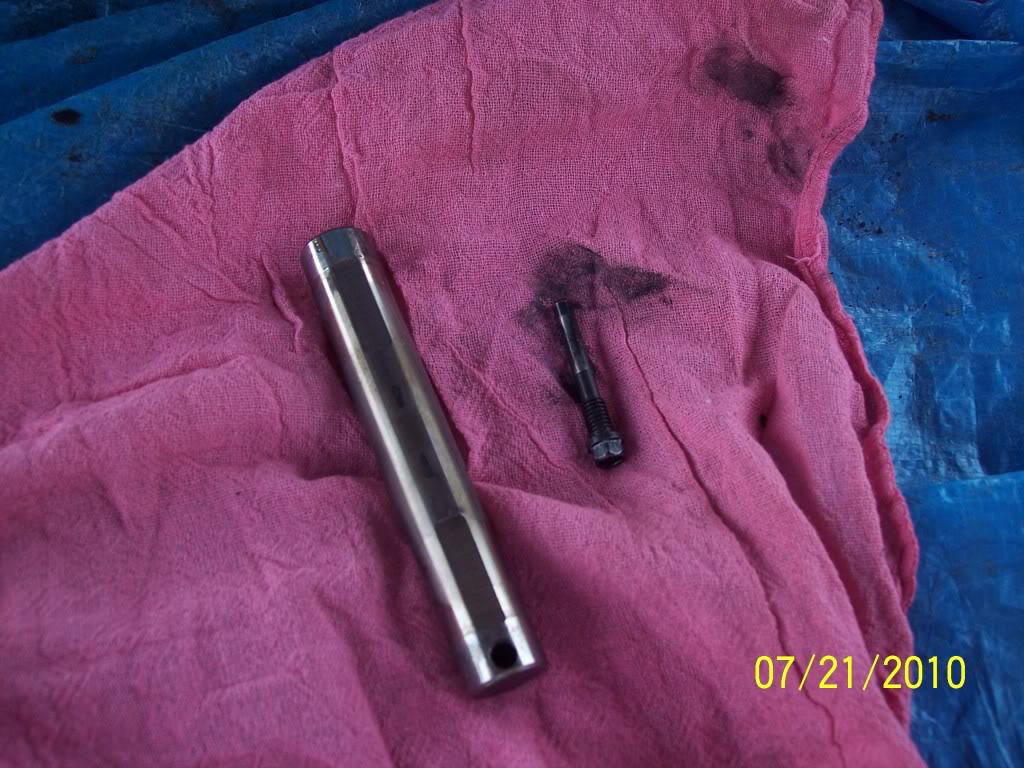
Remove the C-clips and then slide each axle out. Put the pinion shaft and bolt back in to prevent the spyder gears from moving without the axles in!!
Now you are ready to use the slide hammer and bearing removal tool. I borrowed one from Advance Auto but it did not have the big washer and nut to tighten up against the bearing. So, I had to take a trip to Autozone and borrow theirs. I actually chose one adapter that was too big. I was slamming away and the bearing wasn’t moving. I removed and noticed that I had actually gouged the inside of the axle housing some. I went to the next size adapter down and eventually got the bearing out.
Passenger side
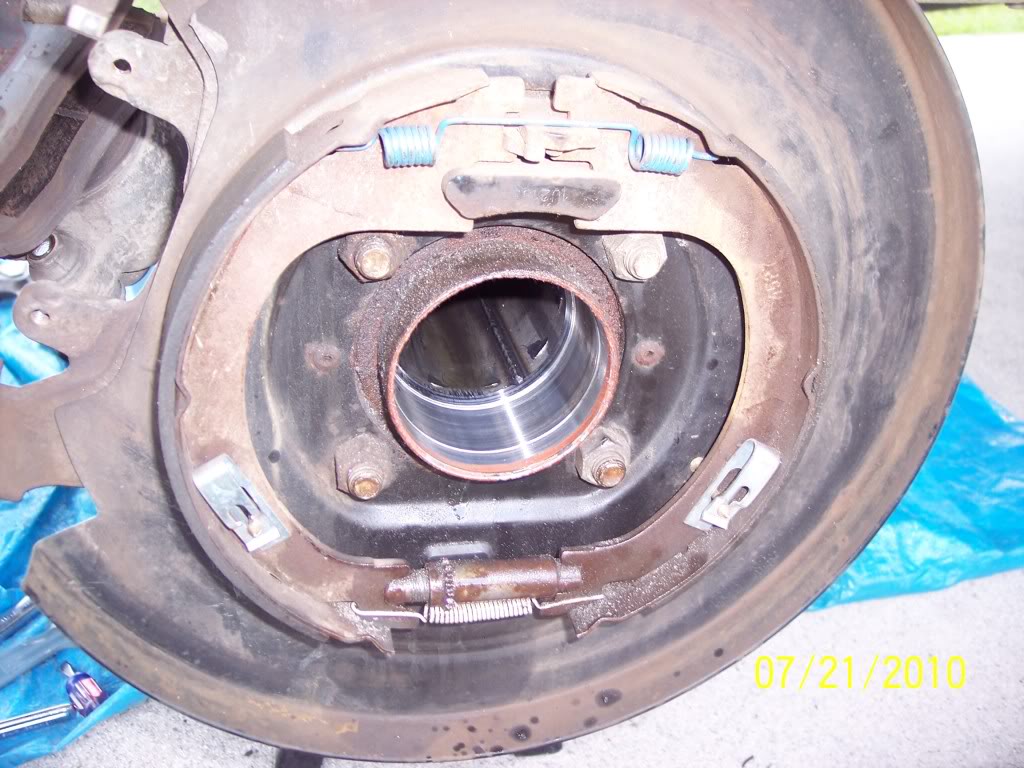
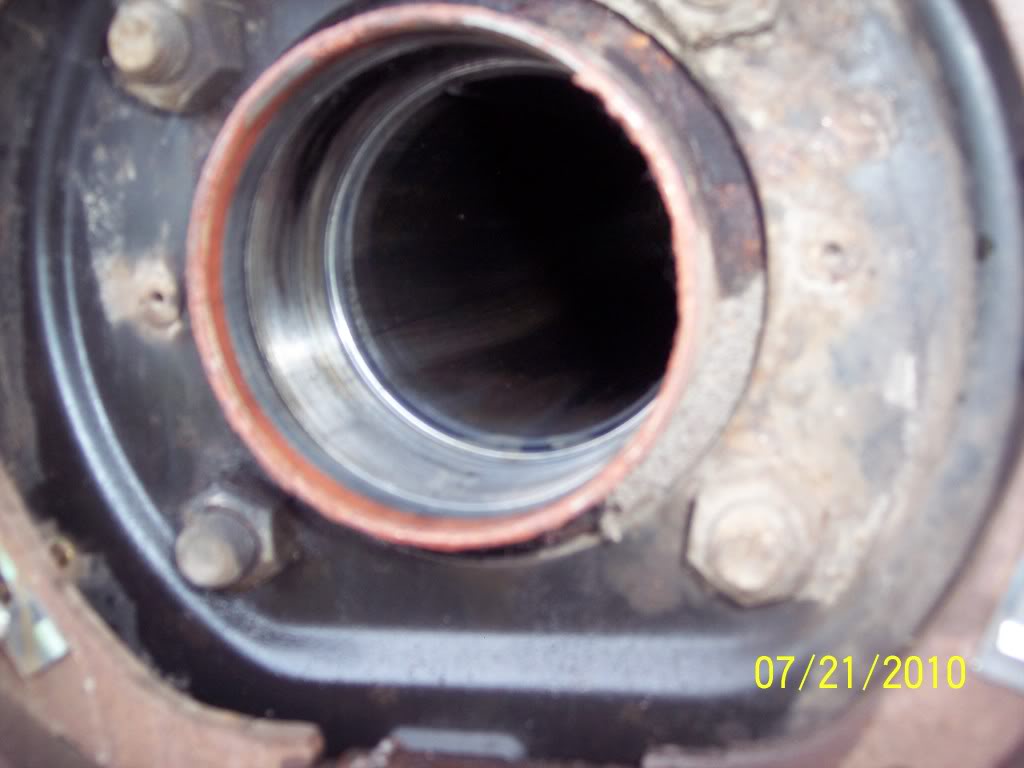
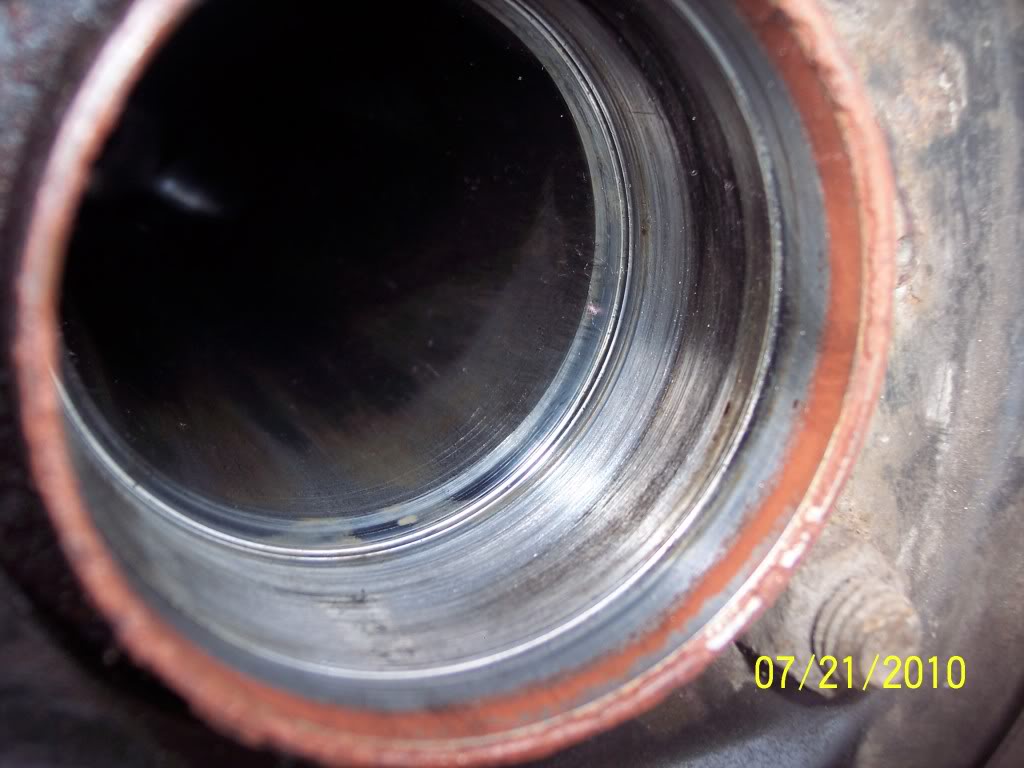
Notice the burrs
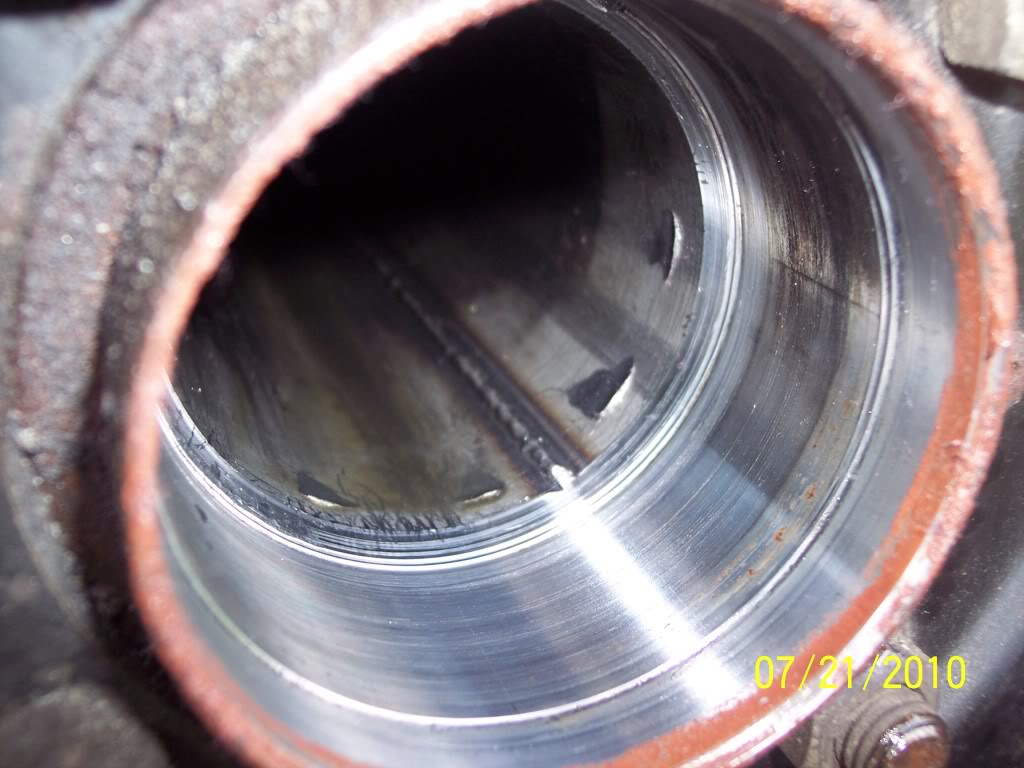
Driver’s side
https://www.f150online.com/forums/ar...lots-pics.html
I consider myself a pretty good shadetree mechanic but am no ASE certified tech like I assume Quintin is. I replaced mine on my 03 in the driveway. So here’s another “how to” to help.
SAFETY: Make sure you shock your front tires. Then jack up your truck securing it with jack stands. You have to have your trans in neutral so you can spin your gears later on, so I went ahead and did so after it was secure on the jack stands.
Remove your wheels. (sidenote: Quintin advised that the wheels are 21mm. My 03 is not as I even went to the parts store and bought a 21mm socket as I couldn’t find mine. Mine must be a 22mm. I didn’t have that either so I just used a 7/8 and was fine.
Remove your calipers by removing the 2 10mm bolts. I tied my calipers up with some rope to prevent any strain on the brake lines.
Here’s my diff leak
Here’s my passenger side with bad bearings and seal leak.
Driver’s side
More diff leak
Close up of passenger side leak
Close up of driver’s side
Remove rotors (passenger side)
Driver’s side
Remove the 12 13mm bolts holding the diff cover on. (For 9.75 rear end) It is best to remove most of the bolts leaving 2 or 3 at the top so most of the gear oil can drain and prevent a big mess. Make sure you have a pan underneath to catch the oil. I cut down a Rubbermaid container I had and it worked perfectly!
Note the “373” indicating my 3.73 gears
Inside the diff
Rotate the gears around so you can remove the pinion shaft and pinion shaft retaining bolt.
Remove the C-clips and then slide each axle out. Put the pinion shaft and bolt back in to prevent the spyder gears from moving without the axles in!!
Now you are ready to use the slide hammer and bearing removal tool. I borrowed one from Advance Auto but it did not have the big washer and nut to tighten up against the bearing. So, I had to take a trip to Autozone and borrow theirs. I actually chose one adapter that was too big. I was slamming away and the bearing wasn’t moving. I removed and noticed that I had actually gouged the inside of the axle housing some. I went to the next size adapter down and eventually got the bearing out.
Passenger side
Notice the burrs
Driver’s side
Thread Starter
|
Technical Article Contributor
Joined: Sep 2009
Posts: 660
Likes: 0
From: NC
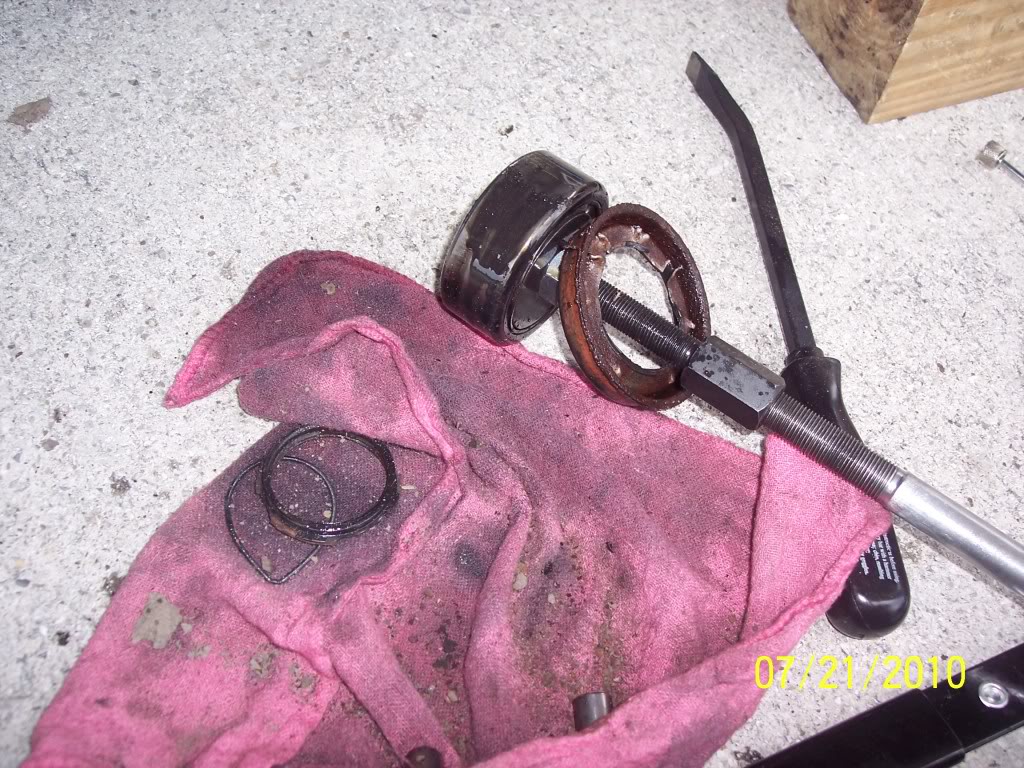
Now you may be wondering why the axle deal is on the slide hammer with the bearing. It’s because the seal removal tool was cutting through the rusted seal like a can of tuna and I had to hammer both the bearing and seal together.
I did the only thing I knew to do on the passenger side to get the burrs out. I put a clean rag inside the axle housing past the burrs. Then I turned the air compressor down to like 25 PSI and took a die grinder to it taking the edge off and smoothing them out. I then took another clean rag and kept wiping until I didn’t get any more metal shavings; as I didn’t want them ending up in my gears!
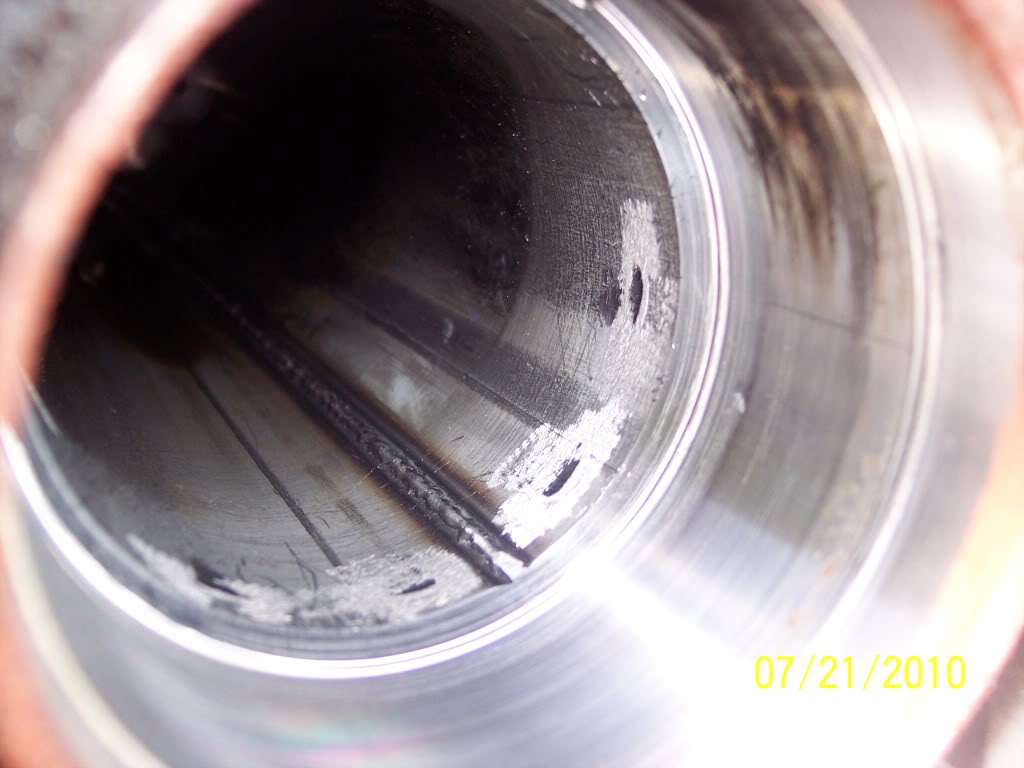
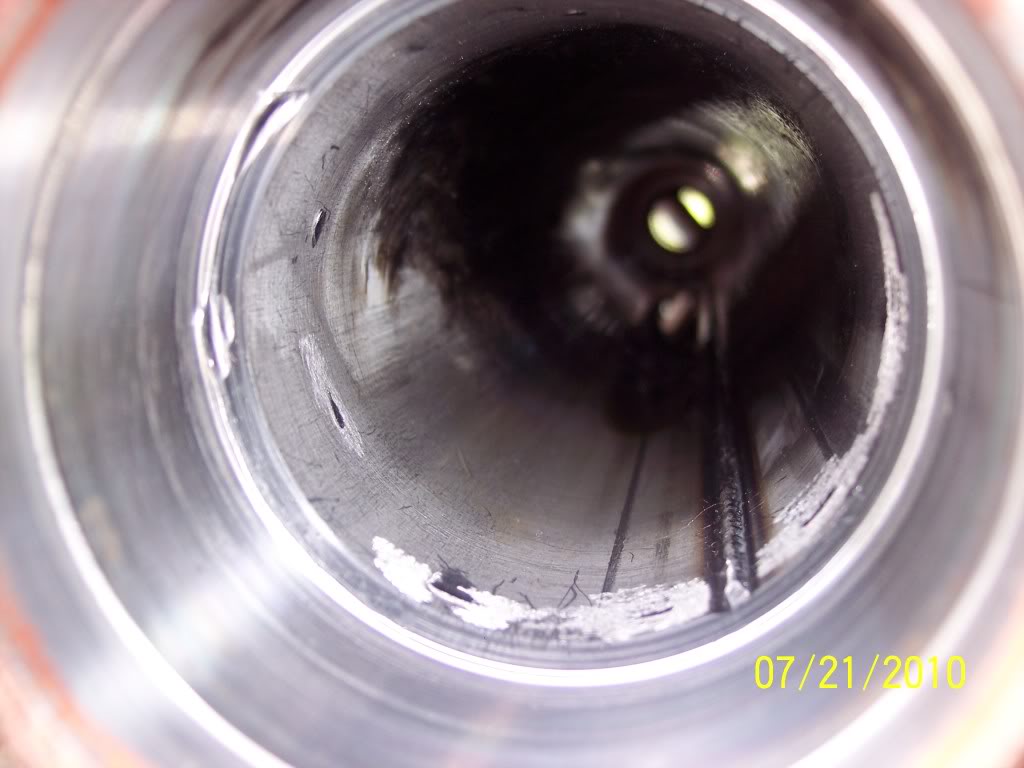
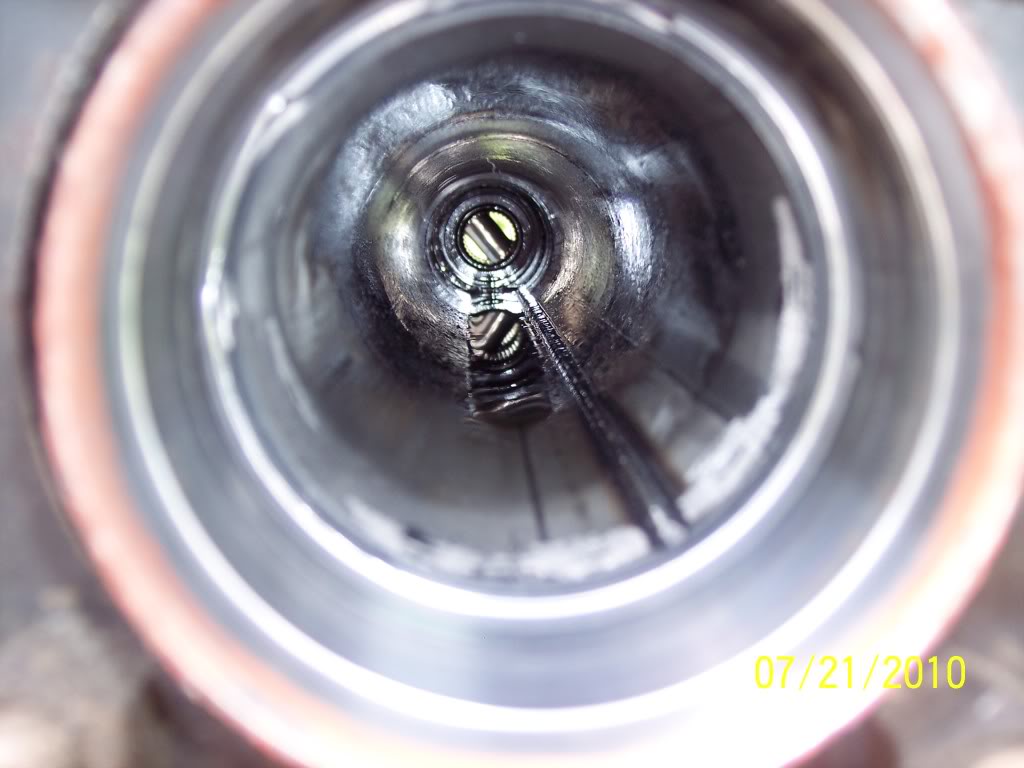
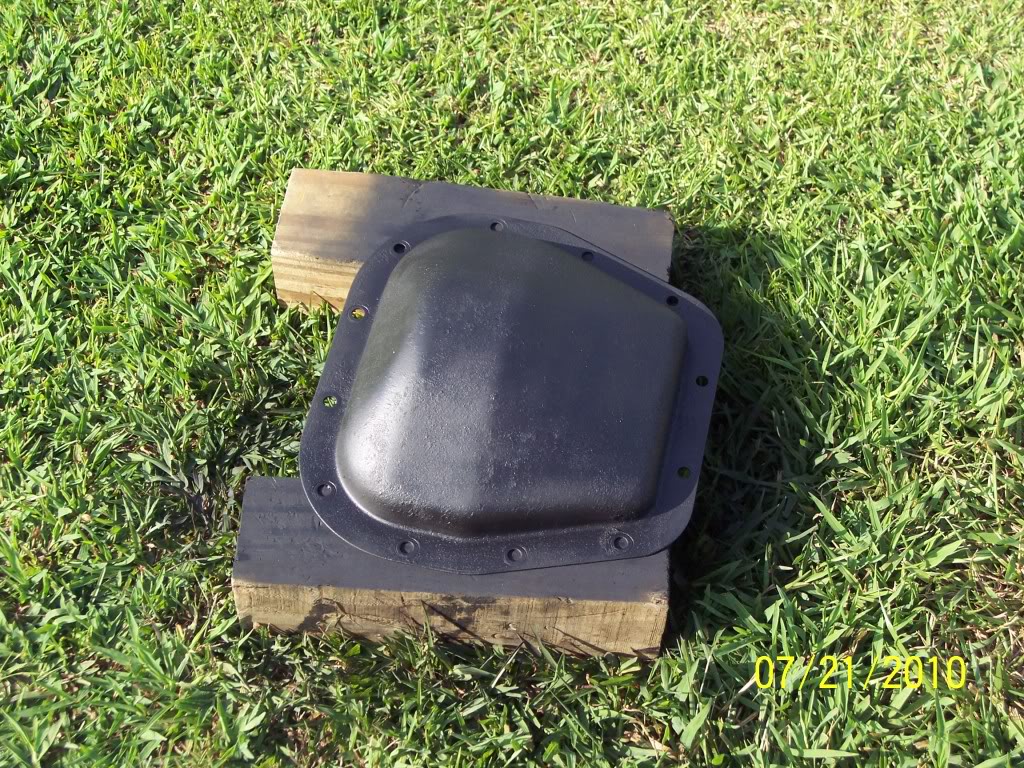
I also scrubbed my diff cover with a scotch brite pad, razor scraper and brake cleaner. Then I painted her black.
I was also tired of the surface rust on my rotor hats. So I painted them as well since I had them off.
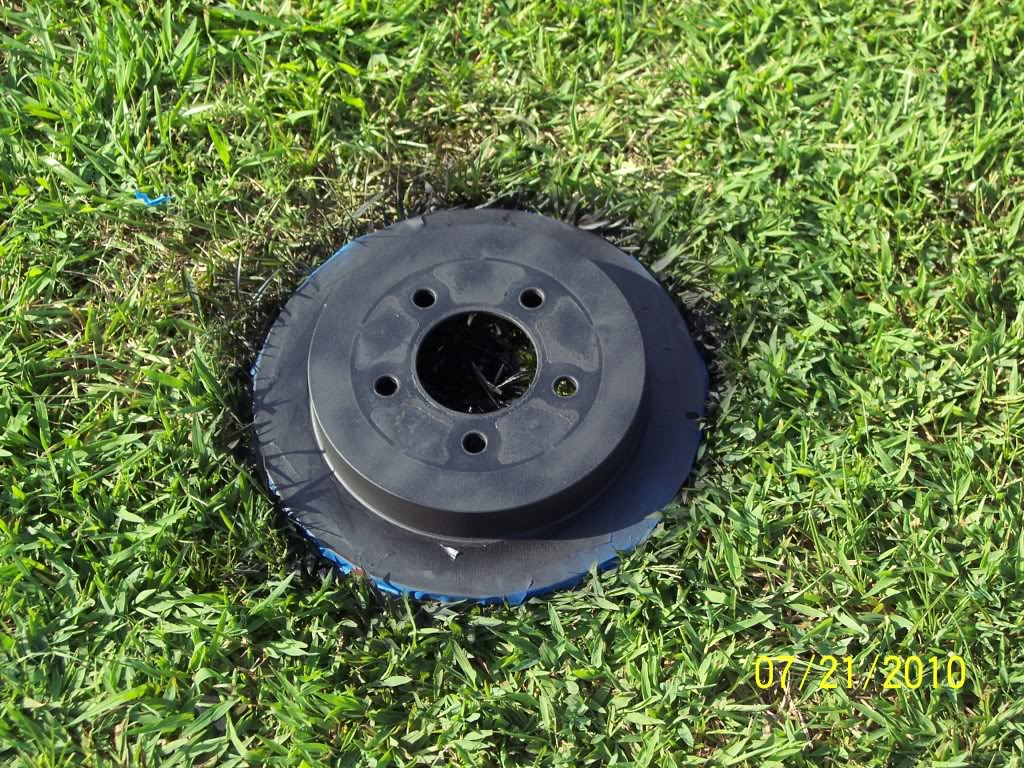
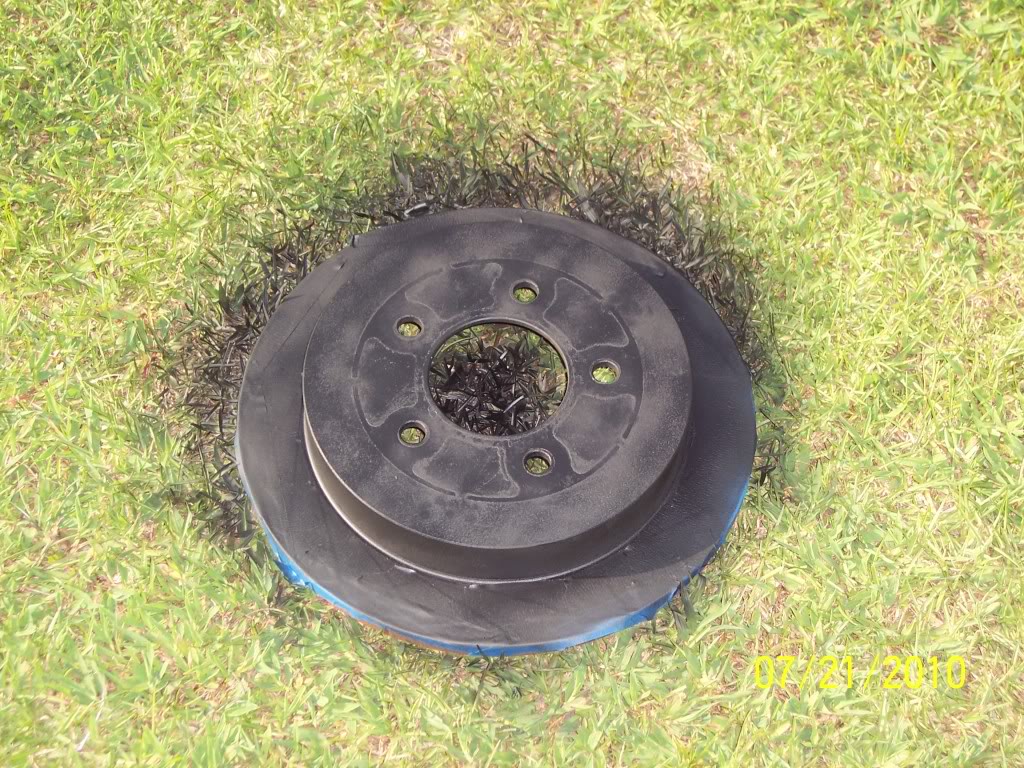
Now it’s time to put it all back together. The parts:
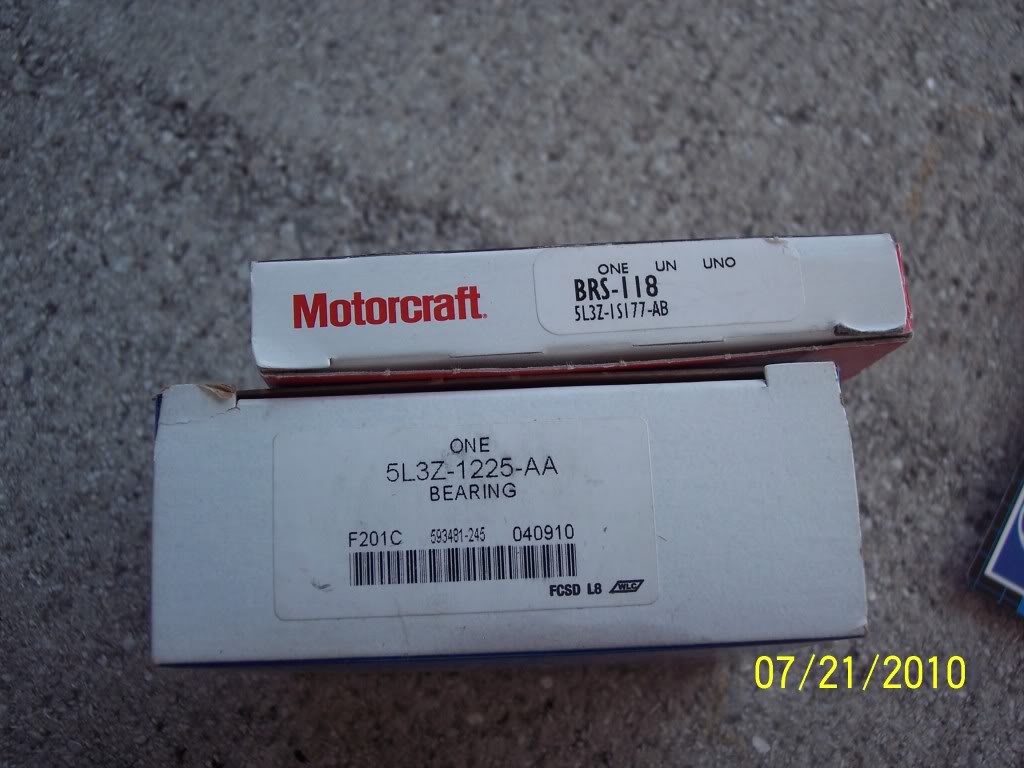
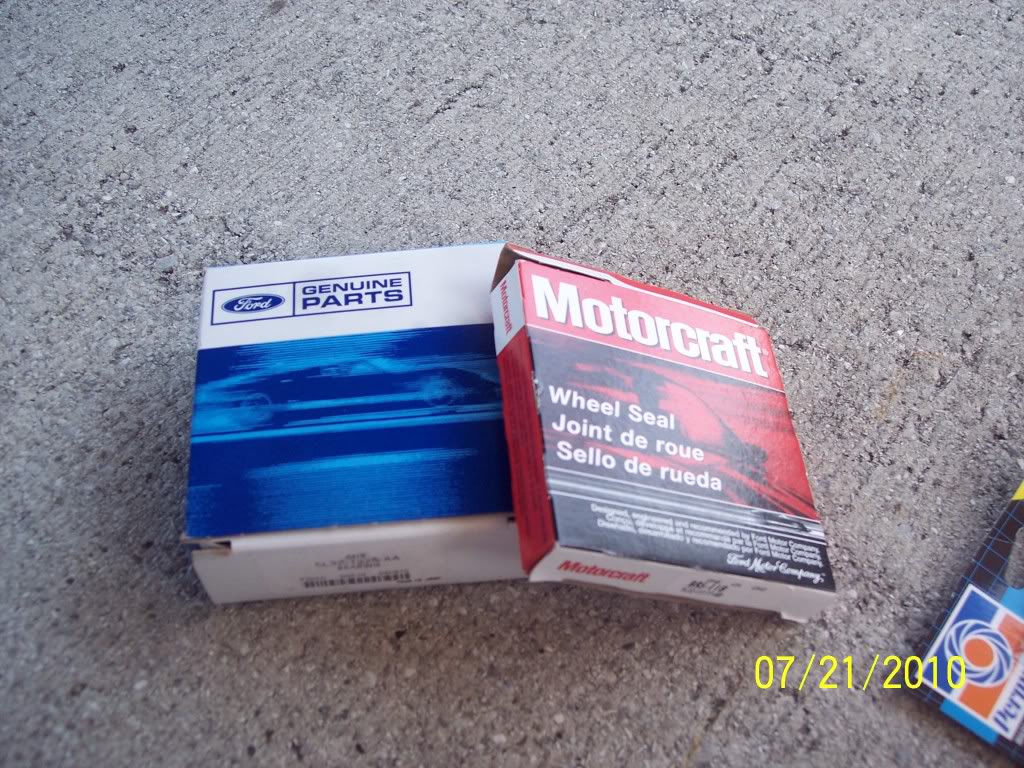
I did not have a race driver set, so I did as Quintin advised and just used an old bearing. I also used a block of wood that seem to help as well.
Driver’s side
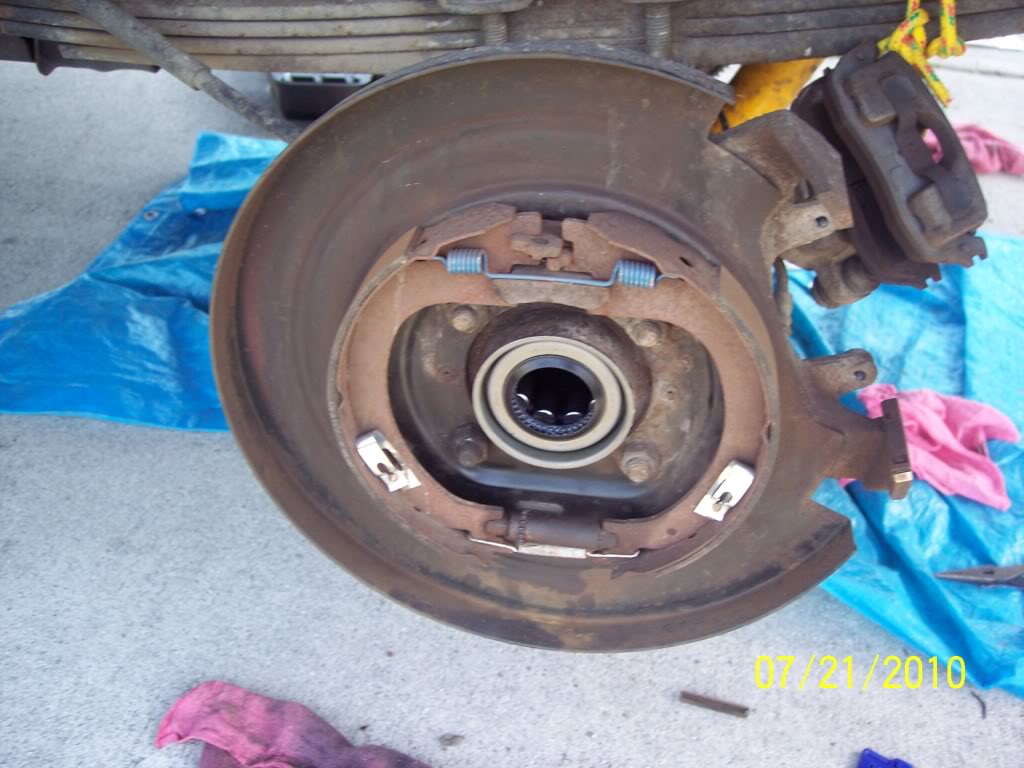
Passenger side
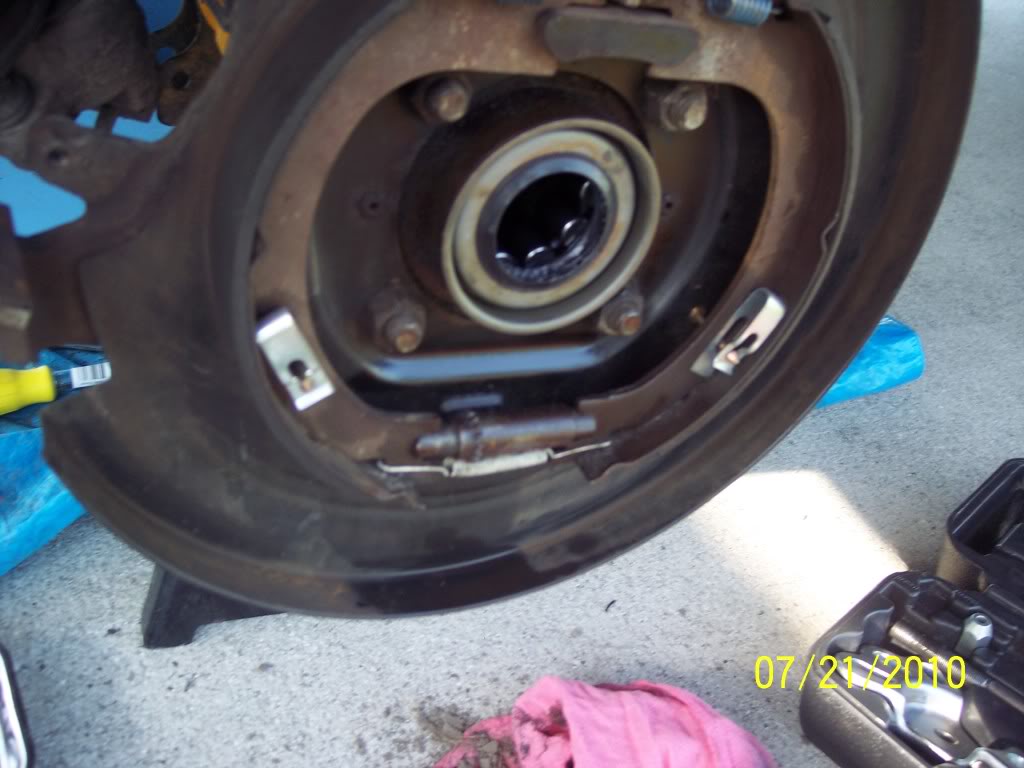
Now you need to clean you diff cover and get all the old sealant off as well as the axle housing it mates to. I cleaned my diff cover bolts as well with brake cleaner.
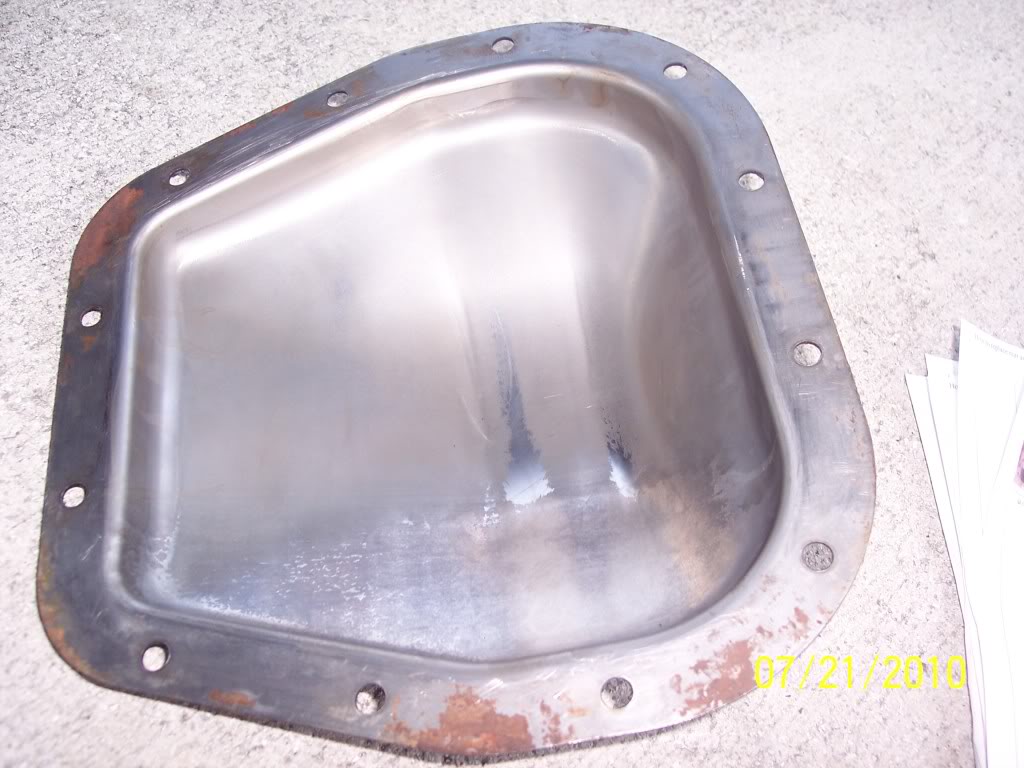
Now you need to remove the pinion shaft and retaining bolt you put back in (You did put it back in didn’t you?!!!!)
Slide the axles back in and remember to put the C-clips back in. I had a little trouble on the passenger C-clip for some reason. I fiddle with it and eventually got it. Now pull your axles straight out on both sides. Now you reinstall the pinion shaft and pinion shaft retaining bolt.
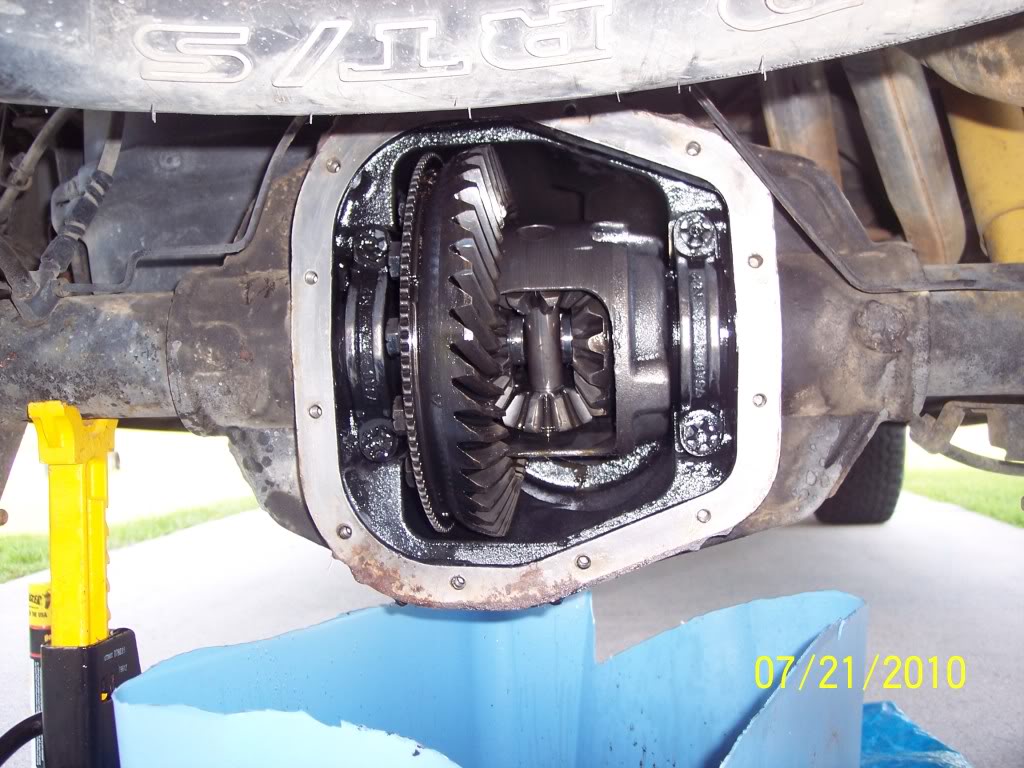
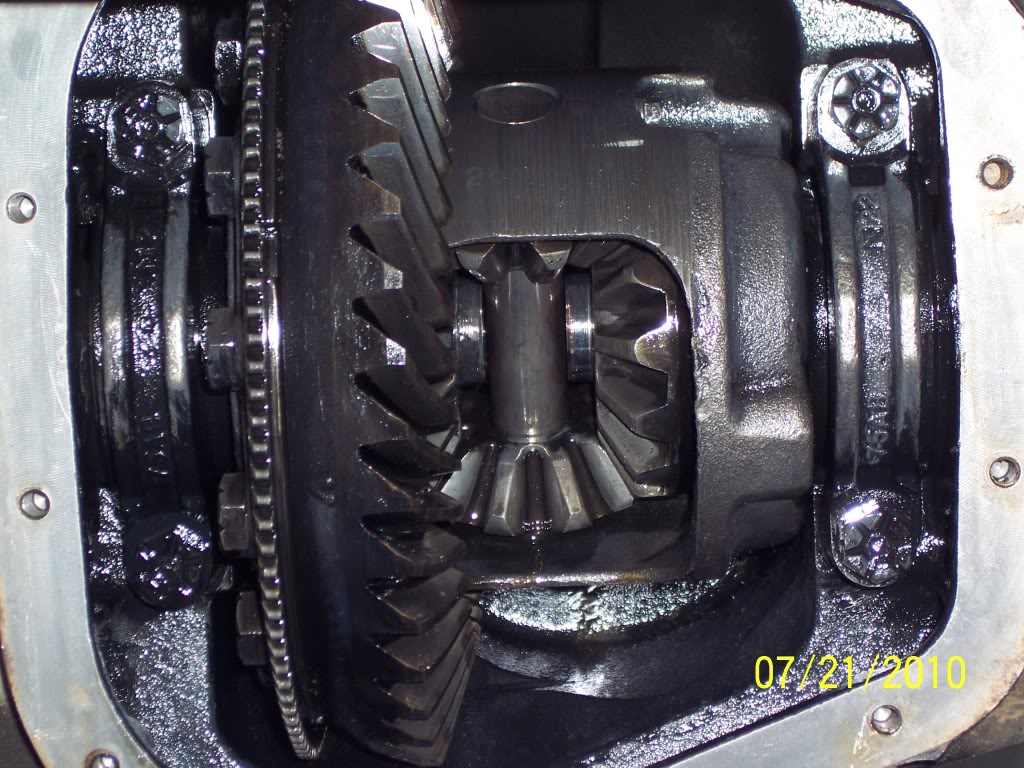
Put RTV sealant on your diff cover and bolt it up. Some have recommended waiting an hour before adding the gear oil while others advised you could put in right in. I decided to wait an hour as it couldn’t hurt; and it ended up being like 2+ hours as a neighbor came over and we started talking.
My hats look good!
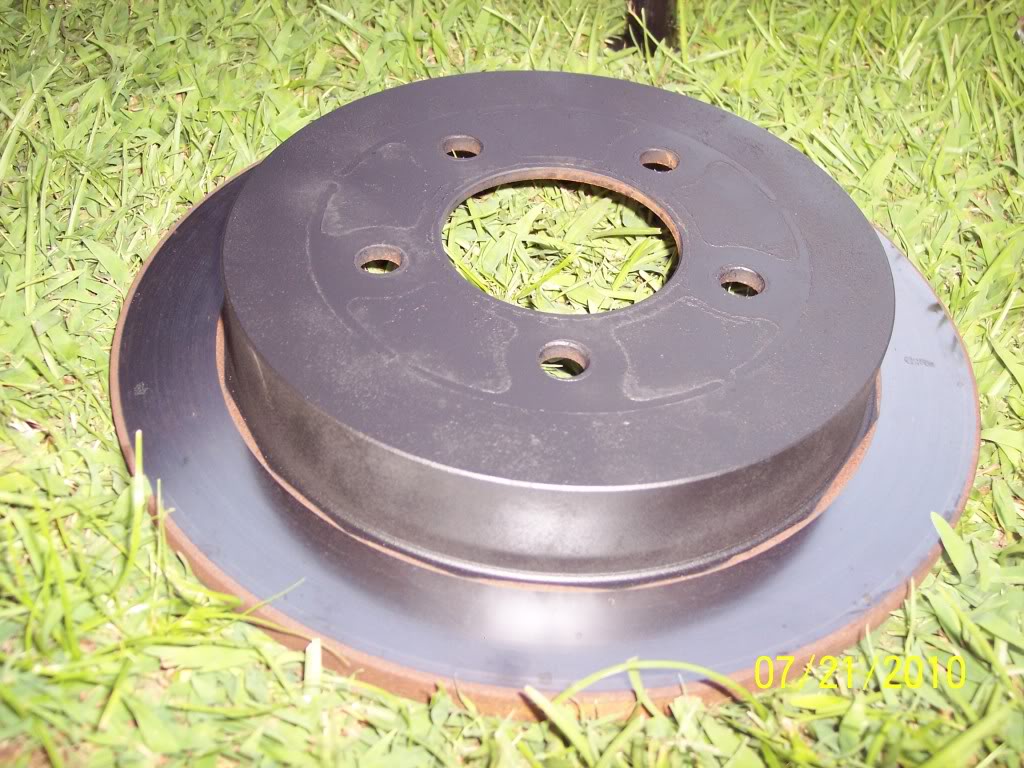
Now just put your rotors back on, then you calipers.
Passenger side installed
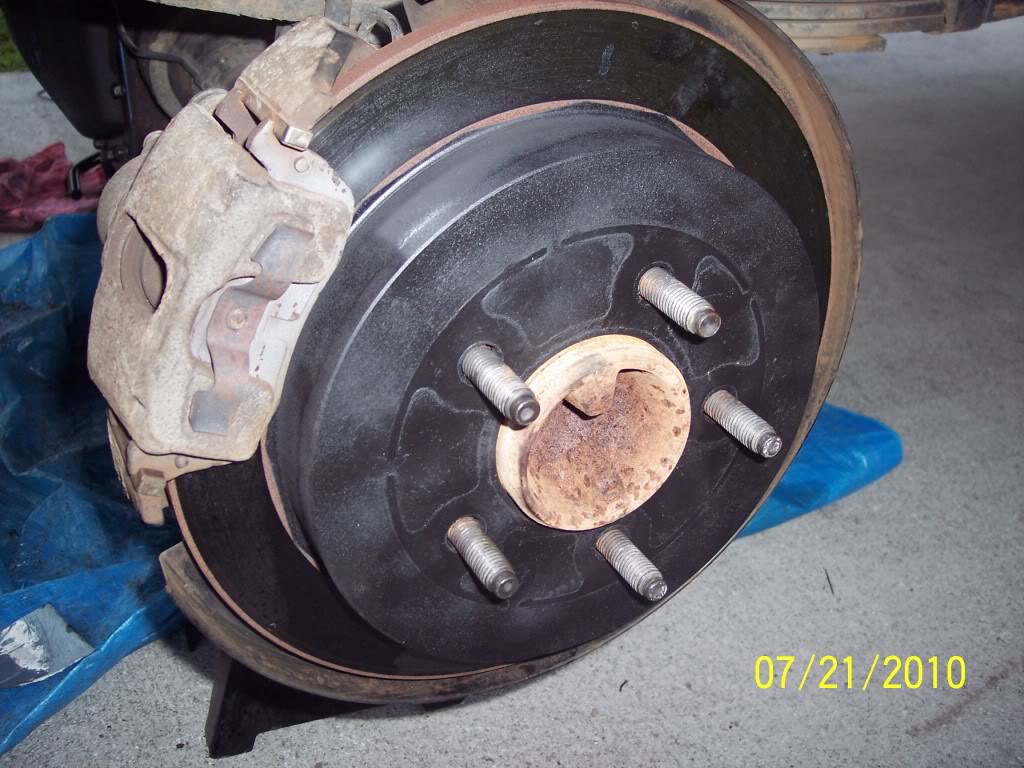
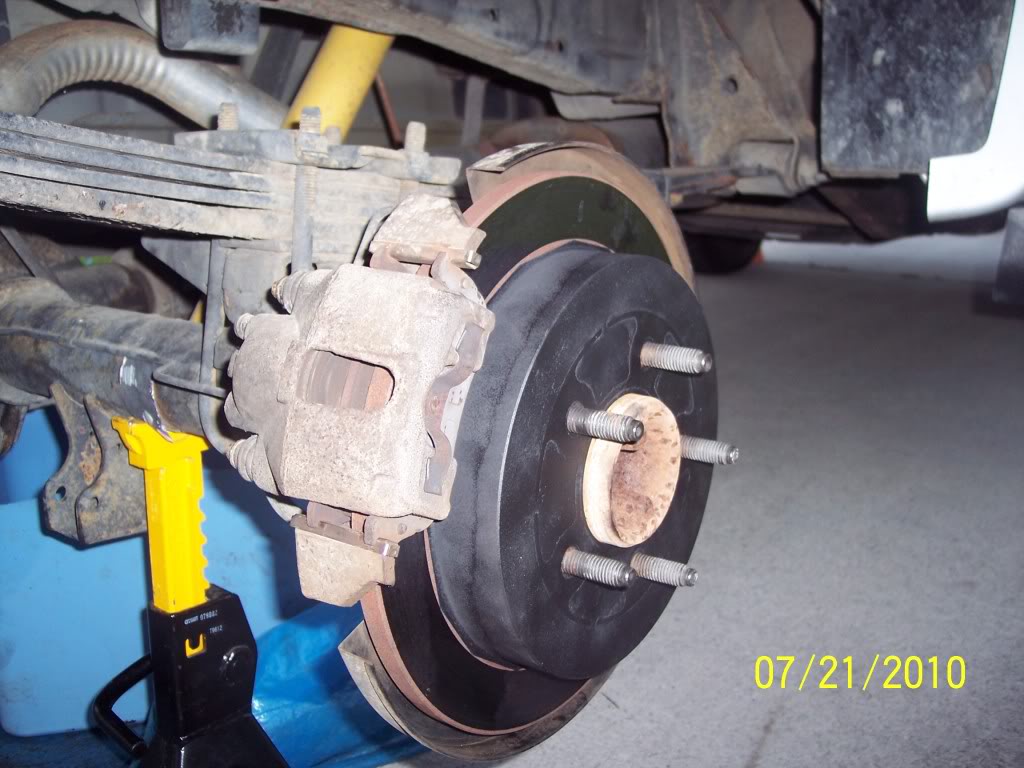
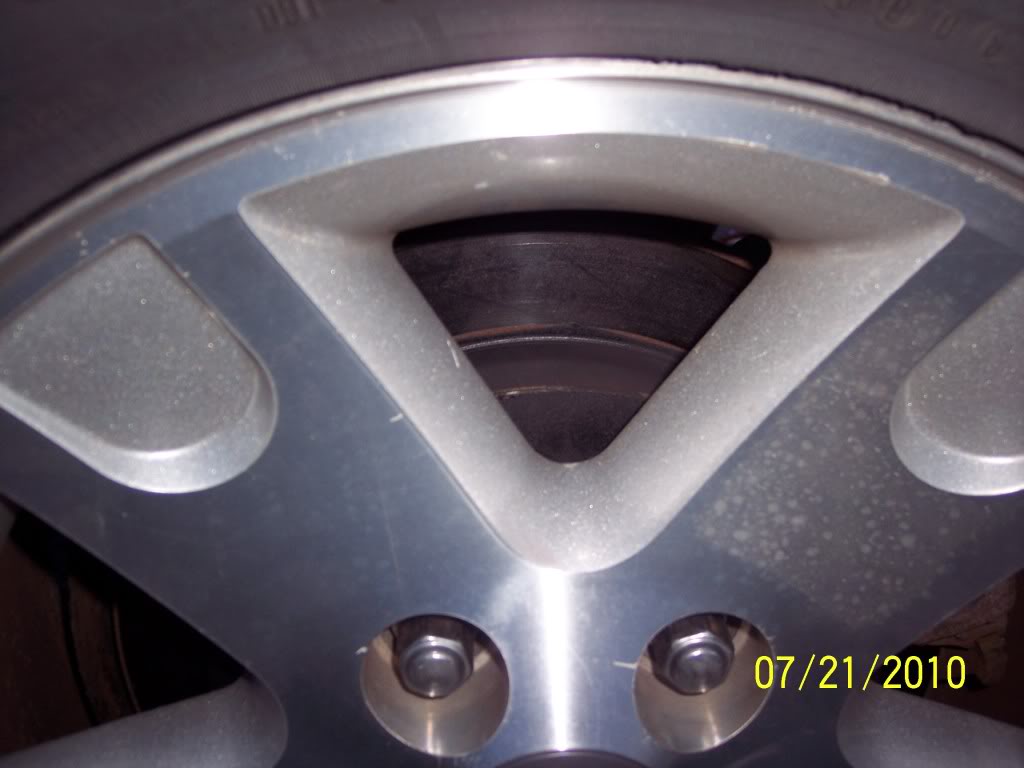
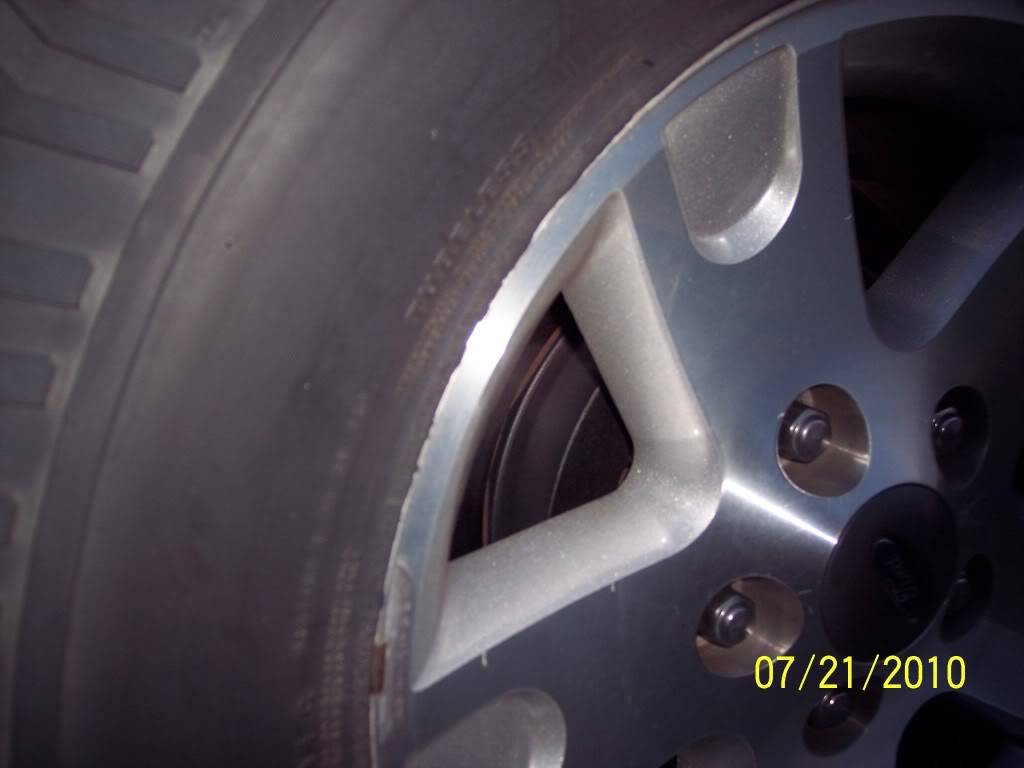
With wheels on
Now I will say that the owner’s manual and Haynes manual LIE about fluid capacity. Quintin advised it takes a little over 3 Qts. I thought with his truck being an 04 and mine an 03 something was different. I went by the owner’s manual/Haynes manual. After you convert their PINTS to QUARTS, it is 2.75 Quarts for the rear diff. I put in 3 Qts of Royal Purple 75w140 Synthetic gear oil and it is still not full. It is not coming out of the fill hole and I don’t see it either. I even had to transfer the 3 bottle into one after I got most of it in so I could squeeze more into the diff. That horizontal fill hole SUCKS!!! I went and bought another quart today (1 for the rear and went ahead and bought another one for the front diff I plan on changing today). SO another lesson learned: TRUST Quintin!!!
Another tip: Don’t do this with a 105 heat index like I did yesterday. I got sick at one point and had to take more breaks. Overall it took me about 8-9 hours with trips to the parts store, about an hour lunch break, numerous water/cool down breaks, taking pictures, doing other tasks like painting my rotor hats and diff cover, and clean up.
So I hope this helps-----DirtySCREW
I did the only thing I knew to do on the passenger side to get the burrs out. I put a clean rag inside the axle housing past the burrs. Then I turned the air compressor down to like 25 PSI and took a die grinder to it taking the edge off and smoothing them out. I then took another clean rag and kept wiping until I didn’t get any more metal shavings; as I didn’t want them ending up in my gears!
I also scrubbed my diff cover with a scotch brite pad, razor scraper and brake cleaner. Then I painted her black.
I was also tired of the surface rust on my rotor hats. So I painted them as well since I had them off.
Now it’s time to put it all back together. The parts:
I did not have a race driver set, so I did as Quintin advised and just used an old bearing. I also used a block of wood that seem to help as well.
Driver’s side
Passenger side
Now you need to clean you diff cover and get all the old sealant off as well as the axle housing it mates to. I cleaned my diff cover bolts as well with brake cleaner.
Now you need to remove the pinion shaft and retaining bolt you put back in (You did put it back in didn’t you?!!!!)
Slide the axles back in and remember to put the C-clips back in. I had a little trouble on the passenger C-clip for some reason. I fiddle with it and eventually got it. Now pull your axles straight out on both sides. Now you reinstall the pinion shaft and pinion shaft retaining bolt.
Put RTV sealant on your diff cover and bolt it up. Some have recommended waiting an hour before adding the gear oil while others advised you could put in right in. I decided to wait an hour as it couldn’t hurt; and it ended up being like 2+ hours as a neighbor came over and we started talking.
My hats look good!
Now just put your rotors back on, then you calipers.
Passenger side installed
With wheels on
Now I will say that the owner’s manual and Haynes manual LIE about fluid capacity. Quintin advised it takes a little over 3 Qts. I thought with his truck being an 04 and mine an 03 something was different. I went by the owner’s manual/Haynes manual. After you convert their PINTS to QUARTS, it is 2.75 Quarts for the rear diff. I put in 3 Qts of Royal Purple 75w140 Synthetic gear oil and it is still not full. It is not coming out of the fill hole and I don’t see it either. I even had to transfer the 3 bottle into one after I got most of it in so I could squeeze more into the diff. That horizontal fill hole SUCKS!!! I went and bought another quart today (1 for the rear and went ahead and bought another one for the front diff I plan on changing today). SO another lesson learned: TRUST Quintin!!!
Another tip: Don’t do this with a 105 heat index like I did yesterday. I got sick at one point and had to take more breaks. Overall it took me about 8-9 hours with trips to the parts store, about an hour lunch break, numerous water/cool down breaks, taking pictures, doing other tasks like painting my rotor hats and diff cover, and clean up.
So I hope this helps-----DirtySCREW


Member
Joined: Apr 2011
Posts: 38
Likes: 0
I replaced the rear axle bearing and seals today on my 2000 f150 Lariat 4.6 l engine 8.8 diff because the passenger side seal was leaking. This post was a great help. Everything went fine at first- removed pinion nut and shaft, removed C-clips, axles and old bearings/seals. Installed new bearings and seals, reinstalled axles and C-clips. However, when I went to replace the pinion shaft after putting in the C-clips, the holes in the carrier weren't lined up with the top and bottom gear (pinion gears?). I don't know how they got misaligned but they somehow did - I suppose it happened when I pushed in the axles. I tried turning the axles and that just seemed to make things worse. At that point a storm was coming up so I stopped for the night. This is my first time working on a differential. How do you get the holes and gear openings lined up?
Trending Topics

Global Moderator &
Senior Member
Senior Member

Joined: Aug 2005
Posts: 21,337
Likes: 159
From: DFW
that passenger side isnt a leak, its a seep. Leaks are defined by a drip. While im glad you're fixing your truck, you probably could have just monitored it in case it got worse
also its "chock" not "shock" front wheels
also its "chock" not "shock" front wheels
Member
Joined: Apr 2011
Posts: 38
Likes: 0
I replaced the rear axle bearing and seals today on my 2000 f150 Lariat 4.6 l engine 8.8 diff because the passenger side seal was leaking. This post was a great help. Everything went fine at first- removed pinion nut and shaft, removed C-clips, axles and old bearings/seals. Installed new bearings and seals, reinstalled axles and C-clips. However, when I went to replace the pinion shaft after putting in the C-clips, the holes in the carrier weren't lined up with the top and bottom gear (pinion gears?). I don't know how they got misaligned but they somehow did - I suppose it happened when I pushed in the axles. I tried turning the axles and that just seemed to make things worse. At that point a storm was coming up so I stopped for the night. This is my first time working on a differential. How do you get the holes and gear openings lined up?

Member
Joined: Mar 2010
Posts: 94
Likes: 0
Just curious to how you know when your bearings are going bad? I have a whine from the rear but I can't tell if its from my tires which are similar to yours (General Grabber AT2) or the rear end. Also if you don't mind me asking how much were all the parts?
Great write up by the way
Great write up by the way

Junior Member
Joined: Feb 2012
Posts: 7
Likes: 0
Nice writeup!
First off, thanks for the writeup, this'll help a ton when I do this hopefully in the next couple of weeks (I've gotta do pads and rotors, so I figured I might as well do this while it's all taken apart).
For those of you (like me) who haven't ever opened up a diff and didn't know how exactly to get the center pin or c clips out take a look at this (start at ~8:50): http://www.youtube.com/watch?v=Zgl5xcZmWpI. That made it look pretty straight forward.
So I've got a question, and it's probably an obvious one, but I can't find an answer anywhere... Where are the wheel bearings? Or are there only axle bearings? Or are they the same thing in this case (or all cases?)? My truck's got 210k on it and figure that while I've got it all apart, I might as well replace everything that might need it. Thanks in advance!
For those of you (like me) who haven't ever opened up a diff and didn't know how exactly to get the center pin or c clips out take a look at this (start at ~8:50): http://www.youtube.com/watch?v=Zgl5xcZmWpI. That made it look pretty straight forward.
So I've got a question, and it's probably an obvious one, but I can't find an answer anywhere... Where are the wheel bearings? Or are there only axle bearings? Or are they the same thing in this case (or all cases?)?
My truck's got 210k on it and figure that while I've got it all apart, I might as well replace everything that might need it. Thanks in advance!