
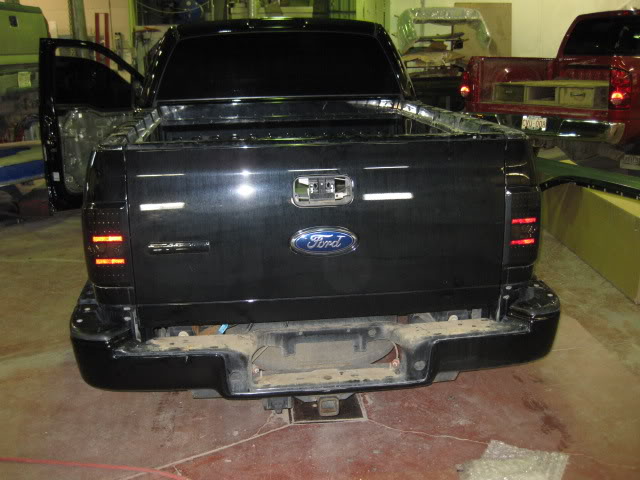
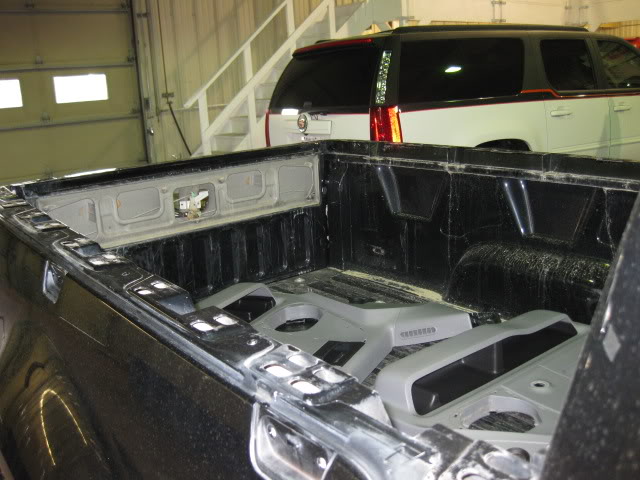
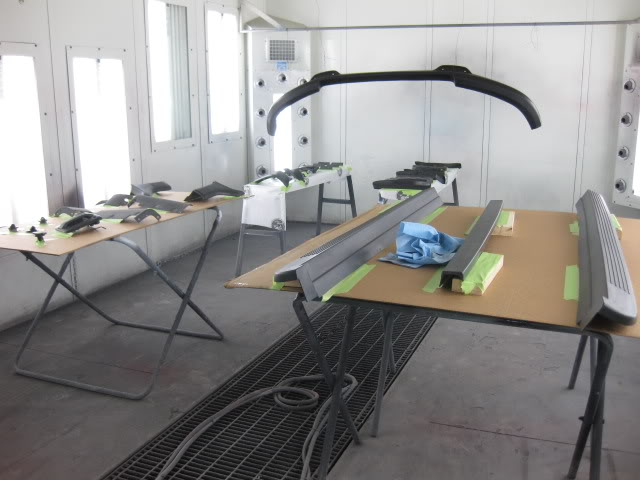
Bed Rail Cap Trim repainting How-To


Member
Joined: Jan 2009
Posts: 25
Likes: 0
From: Atlanta, GA
Do you have part numbers and costs?
Please and thank you.

Member
Joined: Dec 2010
Posts: 37
Likes: 0
Did this yesterday to my bed rail caps, except i used spray on bedliner. I was a little nervous on how it would hold to the plastic, but i wanted something a little thicker and tougher than regular paint. It looks great so far though!

Junior Member
Joined: Mar 2013
Posts: 6
Likes: 0
From: Seattle
Darren, nice write up. Very thorough and I think I will give this a try.
Couple of questions; what was the 400 grit sand paper used for? And whats the purpose of sanding between layers with the 1000?
Could you not sand out the nicks and etches with the 1000?
From the replies, looks like adding clear coat afterwards is a must.
Thanks, great write up.
Couple of questions; what was the 400 grit sand paper used for? And whats the purpose of sanding between layers with the 1000?
Could you not sand out the nicks and etches with the 1000?
From the replies, looks like adding clear coat afterwards is a must.
Thanks, great write up.
I traded this truck in around May 2011, so I only had 2 years of it after painting, but it was already beginning to chip and flake off.
I say either paint and clear it with shop quality stuff, or keep hitting the plastics with dressing.
Senior Member
Joined: May 2005
Posts: 1,514
Likes: 0
From: Southern, CA
Another trick is take a heat gun (practice first) and when you heat up the plastic it turns back to the original color...check it out there are You tube vids out there showing the procedure...