
Autospring install with photos


Senior Member
Joined: Dec 2007
Posts: 213
Likes: 0
From: BC, Canada
I think I looked at the instructions once and said "**** that." I never removed the strut, at least not the bottom 30mm nut. I removed the upper control arm/ball joint nut, the steering link nut, and the sway bar nut. Swung the strut down and out, installed the spacer and put it back. Much easier IMO.
EDIT: Actually, I think -TXF150- did it all, I just watched and smoked a couple cigs. Right Chris?
EDIT: Actually, I think -TXF150- did it all, I just watched and smoked a couple cigs. Right Chris?


Senior Member
Joined: Apr 2009
Posts: 300
Likes: 0
From: Honolulu, HAWAII BABY!!!!!
Alright...I'm convinced to do the install myself..well and the help with a friend with tools..lol!!!
so where is a good place to order from?
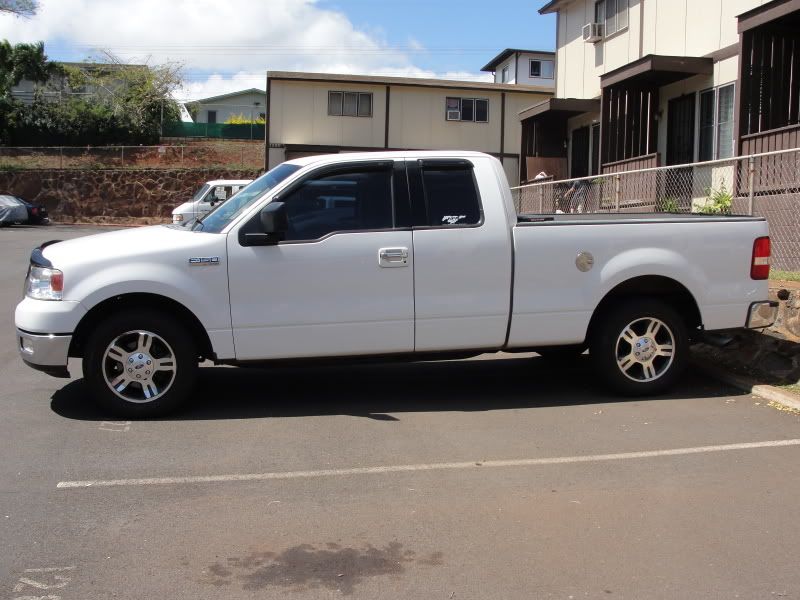
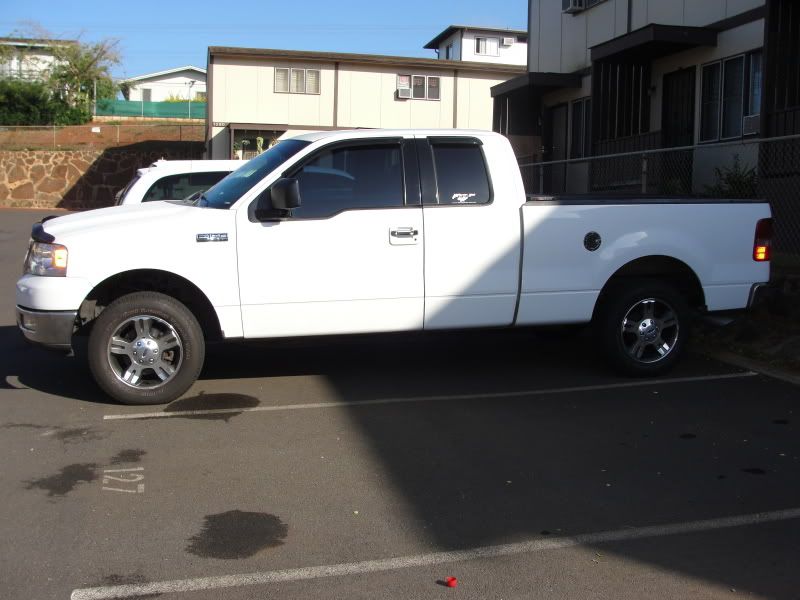
Also..I have an 04 4.6 and not the 5.4, will the 2.5" be level or will it be higher than the back? I know the question was asked, but I didn't see an answer? so should I go with the 2.5"?
so where is a good place to order from?
Also..I have an 04 4.6 and not the 5.4, will the 2.5" be level or will it be higher than the back? I know the question was asked, but I didn't see an answer? so should I go with the 2.5"?
Senior Member
Joined: Apr 2009
Posts: 300
Likes: 0
From: Honolulu, HAWAII BABY!!!!!
Just got through with the install today...Thanks to this very helpfull thread, we got the job done in about 1.5 hours.
We didn't even remove the strut. All we did was remove the ball joint nut and the sway nut located at the bottom of the lower arm. We had it compressed with the jack and as soon as the arm came loose, we lowered the jack and the strut came down with it. With the help of a ball joint remover, got the arm off in seconds. Also had the airtolls which made the install that much better.
We were also able to get to the top of the strut (3 screw nuts) through the engine bay with a long extensioner and that mad it that much easier. I held the plastic sheild away while my partner loosened them from the top.
I'll post some pics tomorrow...thanks again for this write up..

Member
Joined: Mar 2010
Posts: 29
Likes: 0
From: LOW COUNTRY SC
OK all of you who have installed the leveling kit. I have an 04 Lariat supercrew 4X4. Original owner mostly hard top driving.
After you install one of these leveling kits, Does the truck ride any different?? Is the handling IYO the same, better, worst ect????
Also dito on the original post with pics. Fantastic job!!!
After you install one of these leveling kits, Does the truck ride any different?? Is the handling IYO the same, better, worst ect????
Also dito on the original post with pics. Fantastic job!!!

Member
Joined: Mar 2010
Posts: 12
Likes: 0
From: Panama City
Installed AS 2.5 yesterday....almost gave up cause I couldn't get the strut out without taking the bottom bolt out....decided it wasn't going to whip me. Bottom bolt came out without much trouble. EZPZ - Thanks for the write up
New rims and brakes too
New rims and brakes too

Member
Joined: May 2010
Posts: 10
Likes: 0
Nice write up! I am putting 2" Auto Springs up front on my 05 Screw FX4 this weekend. My question is did any of you guys damage the rubber fitting on the ball joint when you took it apart? Nobody mentioned this happening but I'm wondering if I should pick up new ones just in case. Also it seems like a pickle fork might be a better way get the ball joint to seperate? No one mentioned that either so maybe it's not a big deal? Thanks for any input!
Member
Joined: May 2010
Posts: 10
Likes: 0
i just did an auto spring 2" lift on my 2005 FX4. I thought the article was a lot of help but here are a few things I found out on my install that may help yours. First, it would be nice if you didn't have to take out the struts bottom bolt and just had to swing the strut out of the top mount and install the lift and push it back in (as some have said) but I couldn't. The strut had to come out because the lower assembly(spindle, control arm??) is limited in the amount of drop by the length of the break lines. The other thing I found helpful was on my second side I didn't pop out the steering connection. Yes the tie rod nut still comes off but by not removing the steering nut all the way it had travel but didn't allow the assembly to flop around like it did on side one. You just have be more careful when putting the strut back in. The only hard part from there was making the lower strut bolt line up properly with the top in. However, take your time use a little force here a little there, use the jack to move the assembly up and down a bit and you will get it back in.
My project took 2 hours on the first side and 30 minutes on the second. I bet I could do both sides in an hour now. This isn't a hard project but it makes you think. I love my trucks new stance. I went from 3" of rake to only .5 inch (I know the math doesn't seem possible and maybe she will settle out a little yet) By the way, my toe was off a half a degree (what ever that means) when I took it in for alignment.
My project took 2 hours on the first side and 30 minutes on the second. I bet I could do both sides in an hour now. This isn't a hard project but it makes you think. I love my trucks new stance. I went from 3" of rake to only .5 inch (I know the math doesn't seem possible and maybe she will settle out a little yet) By the way, my toe was off a half a degree (what ever that means) when I took it in for alignment.
Senior Member
Joined: Apr 2009
Posts: 300
Likes: 0
From: Honolulu, HAWAII BABY!!!!!
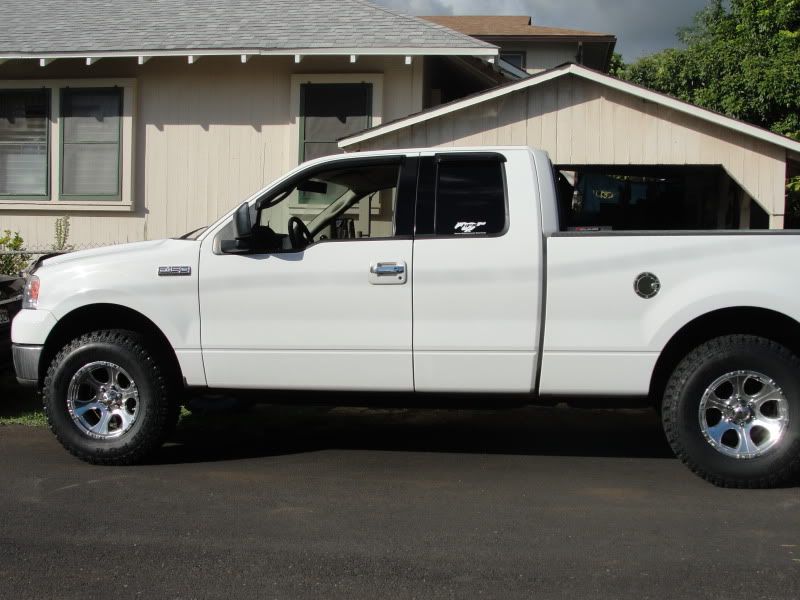
Here is mine with the the 2.5 with my DC Cepek rims and FCII tires...
And yes...I used a pickle fork to get the ball joint off. I put it in there and hit it once and wallah...bad boy fell hit right through. Got both sides done in about an hour. I did tear a boot on the passenger side, but real small....not a real big problem, but having a spare might be a good thing..lol!!!! I'll be replacing mine when I have the time.
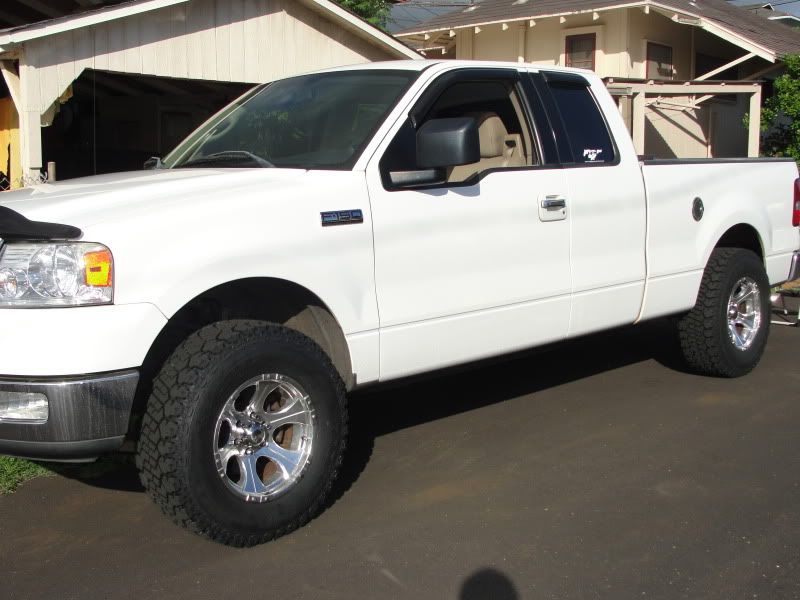
And yes...I used a pickle fork to get the ball joint off. I put it in there and hit it once and wallah...bad boy fell hit right through. Got both sides done in about an hour. I did tear a boot on the passenger side, but real small....not a real big problem, but having a spare might be a good thing..lol!!!! I'll be replacing mine when I have the time.
