
Sealed 3rd Brake Light - Looks Like Water Did Get In, pics.


Thread Starter
|
Member
Joined: Feb 2013
Posts: 24
Likes: 1
Sealed 3rd Brake Light - Looks Like Water Did Get In, pics.
So, after having what was a consistent damp/wet area roughly in the center of driver floor (which takes a really, REALLY, long time to dry out, even with the rubber "stoppers" removed from the underside), I finally pulled off the third brake light and rtv'd the whole thing. The screws too... The carpet even wore off in that center spot, as that's where my right foot heel digs in. I had to remove the floor mat, as it was trapping the moisture (you'd pull the mat off, and you'd see water drops in about an 8 inch diameter on the underside) Of course, then I realized, well, what if I need to change a bulb? Screw it, I'll deal with that at that point in time. 
So, check these pics out, to me, it does look like evidence that something was getting through. Seems like the screws were also culprit, they didn't take too much effort to come off, and their mount are a bit rusted...


So, check these pics out, to me, it does look like evidence that something was getting through. Seems like the screws were also culprit, they didn't take too much effort to come off, and their mount are a bit rusted...

Thread Starter
|
Member
Joined: Feb 2013
Posts: 24
Likes: 1
It's hard to photograph, but there is a distinct water flow/pattern dust residue indication. The seal felt like a very thin (2-3 millimeters maybe) cheap condensed foam (the kind they include with home window air conditioners to stick the accordion sides to the window frame). Then again, the truck is 8 years old... Check out the top of the first pic, how it looks like dust/crud seems to have penetrated the seal, those wave-like dips... Not sure why they didn't use a more rubber-like seal (cost of course!), but then that's why this appears to be a rampant problem...
I wonder what the seals on the newer trucks look like...
I wonder what the seals on the newer trucks look like...
Senior Member

Joined: Jul 2006
Posts: 1,557
Likes: 2
From: NJ
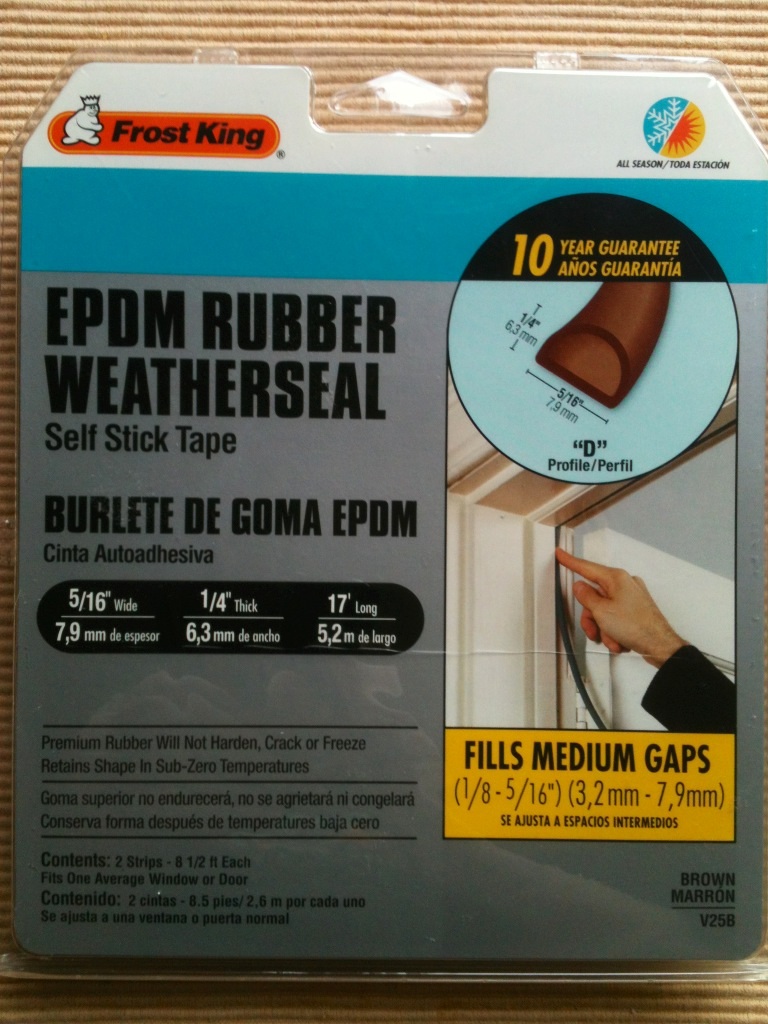
This is what I used below when I sealed a 3rd brake light that I tinted. First i removed the old seal and cleaned it up real good. Then I started at the middle bottom with the weatherseal and worked my way all the way around so the seam would be at the bottom middle. Then I applied some rtv on the seam and around the light between the base and the weatherseal for added protection. I check it every time we have rain and so far it's working excellent. Got the idea from an older thread on here. You can get this stuff at homedepot, lowes etc.
Thread Starter
|
Member
Joined: Feb 2013
Posts: 24
Likes: 1
[QUOTE=tg150;4972672]This is what I used below when I sealed a 3rd brake light that I tinted. First i removed the old seal and cleaned it up real good. Then I started at the middle bottom with the weatherseal and worked my way all the way around so the seam would be at the bottom middle. Then I applied some rtv on the seam and around the light between the base and the weatherseal for added protection. I check it every time we have rain and so far it's working excellent. Got the idea from an older thread on here. You can get this stuff at homedepot, lowes etc.[\QUOTE]
This is how I should have done it!
This is how I should have done it!

Senior Member
Joined: Sep 2009
Posts: 3,031
Likes: 45
From: The Shenandoah Valley
Guess I should do mine. It stays in a shed so I've never noticed any leak, but it might help if I were on a road trip, etc.
Trending Topics
Senior Member
Joined: Jul 2006
Posts: 1,557
Likes: 2
From: NJ
Biggest reason I did this is because I've got amps on the back wall and I don't want to damage them.
Senior Member
Joined: Sep 2009
Posts: 3,031
Likes: 45
From: The Shenandoah Valley
Before snow & sleet and now rain started late today .... earlier like .... I did pull her out and give her a good washing and I did look and feel the headliner and didn't feel / see any wetness.
I also worry if someday the moon roof seal is gonna leak? I never had a moon roof until this FX4.
I also worry if someday the moon roof seal is gonna leak? I never had a moon roof until this FX4.