
Matt's '07 Retrofit Build Thread


Technical Article Contributor
Joined: Aug 2006
Posts: 7,862
Likes: 0
From: Northern California
Looking good! I recommend using epoxy glue on the back of the projector and around the screws once they are perfectly aimed. This will ensure that they cannot ever come loose. I chose to do this since I offroad a decent bit and would hate to have a projector somehow come loose.

Thread Starter
|
Senior Member

Joined: Aug 2008
Posts: 2,042
Likes: 1
From: Clemson, SC
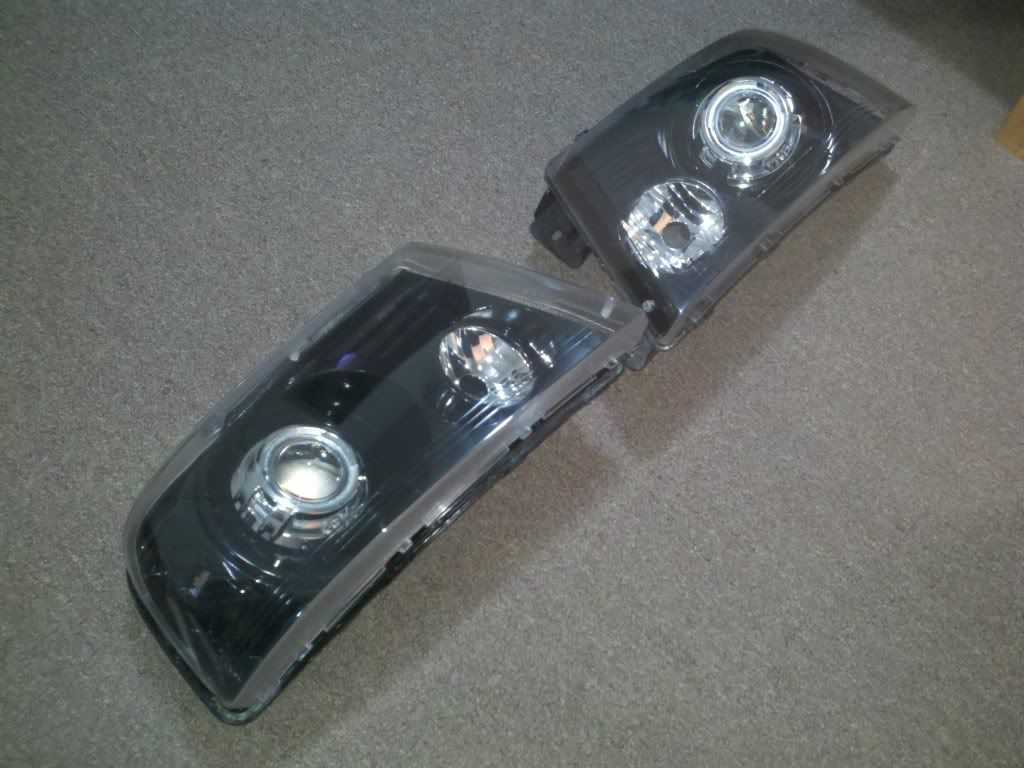
Progress Update:
- Painted clear corners black. Tried Niteshades but it was an old can and did not apply evenly.
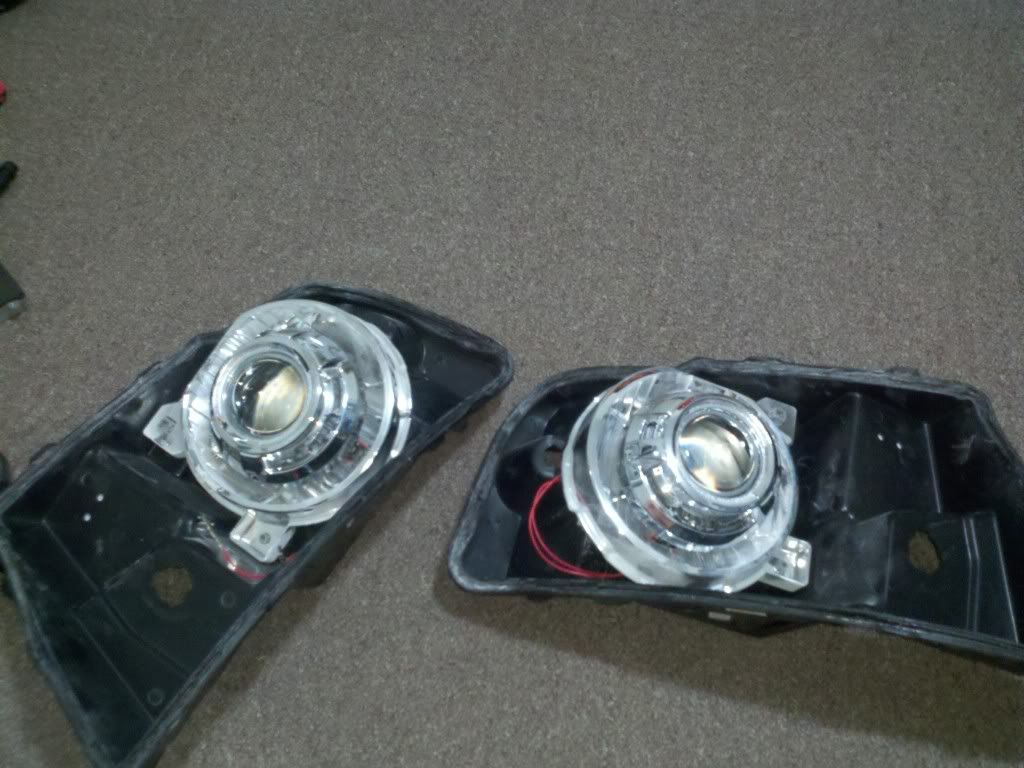
- Got projectors lined up and bolted in place
- Cut shrouds to length
- Checked the fit---everything went in great
- Painted reflector bowl
Will install HIDs, aim them, and re-seal on Friday.
Teaser shot:
- Painted clear corners black. Tried Niteshades but it was an old can and did not apply evenly.
- Got projectors lined up and bolted in place
- Cut shrouds to length
- Checked the fit---everything went in great
- Painted reflector bowl
Will install HIDs, aim them, and re-seal on Friday.
Teaser shot:
Thread Starter
|
Senior Member
Joined: Aug 2008
Posts: 2,042
Likes: 1
From: Clemson, SC
Looking good! I recommend using epoxy glue on the back of the projector and around the screws once they are perfectly aimed. This will ensure that they cannot ever come loose. I chose to do this since I offroad a decent bit and would hate to have a projector somehow come loose.
How did you attach the shroud to the projector? I noticed that the shroud has little raised sections that seem to coincide with notches on the circumference of the projector, but they don't quite reach. Not to mention getting them there would have the projector sticking way out of the shroud.
Did you just glue it in? My plan was to use the RTV sealant...I think that's what was mentioned in the How-To after aiming them.

Thread Starter
|
Senior Member
Joined: Aug 2008
Posts: 2,042
Likes: 1
From: Clemson, SC

Will be lighting up Clemson until May 14th, which is when I move into my G'ville apartment. I'll still be around on weekends, though.
Technical Article Contributor
Joined: Aug 2006
Posts: 7,862
Likes: 0
From: Northern California
How did you attach the shroud to the projector? I noticed that the shroud has little raised sections that seem to coincide with notches on the circumference of the projector, but they don't quite reach. Not to mention getting them there would have the projector sticking way out of the shroud.
Did you just glue it in? My plan was to use the RTV sealant...I think that's what was mentioned in the How-To after aiming them.
Did you just glue it in? My plan was to use the RTV sealant...I think that's what was mentioned in the How-To after aiming them.
For mine I pushed it down until that chrome piece on the projector lense is sticking out about 1/4" from the shroud opening.
Last edited by mSaLL150; Apr 6, 2011 at 11:07 PM.


Sweet! Can't wait to see them fired up!
As a bit of trivia for the day, anyone know what RTV stands for? (NO GOOGLING!)
I just learned the other day.
- NCSU
I just learned the other day.
- NCSU


