How to install PIAA 540 fog lights, 04-08 F150
#1
 12-03-2010, 02:30 PM


Join Date: Apr 2009
Location: Paintsville Ky.
Posts: 1,080
Likes: 0
Received 0 Likes
on
0 Posts
How to install PIAA 540 fog lights, 04-08 F150
Review on the lights later, not had time to really test them out and get them pointed right.
First off, I am going to assume that you know how to do basic things to you're truck, and have access to the following.
Should be similar for bull bars and behind the grille install.
Here is what I used.
PIAA 540 series lights, came with wiring harness.
Cutters/pliers and crimper's all in one. Cat brand.
Diagonal cutters.
Lots of zip ties.
Hands (if you don't have any hands you are in trouble)
Butt connectors.
dielectric grease.
Pig tale fuse (in pics)
Wire loom/sheath.
Time. about 1 -3 hours.
(wow my truck is dirty!)
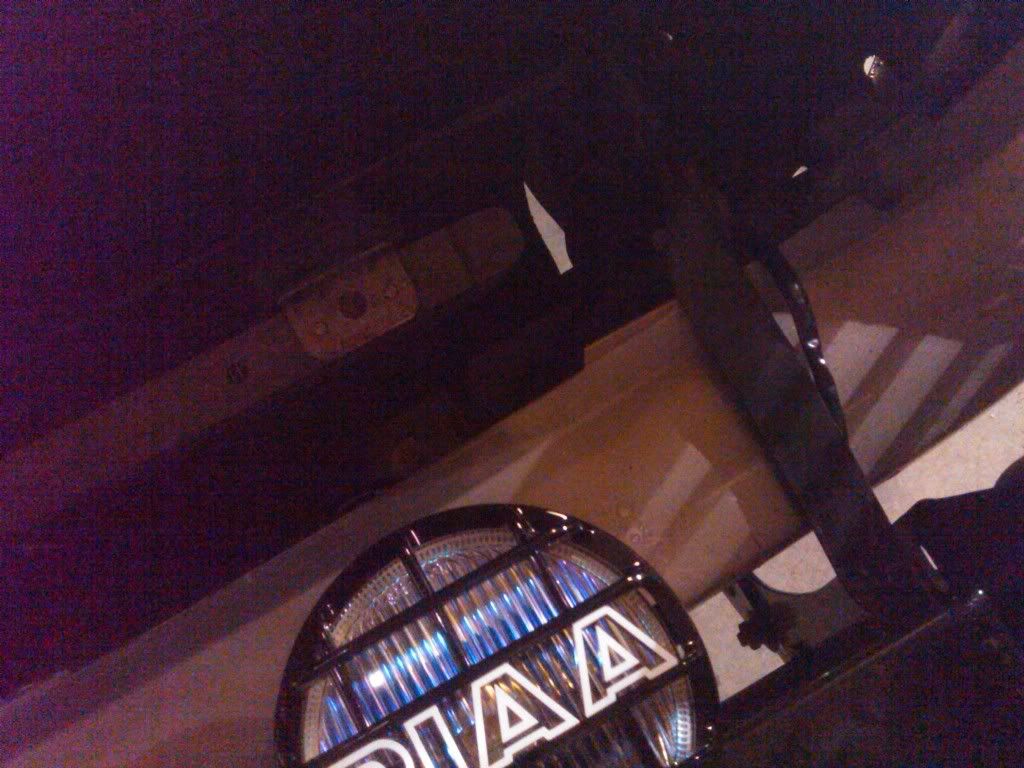
Ok, so first I placed and secured the lights to the grill guard cross bar, no pictures because it is really simple.
Here is a example of the lights, if you have space/time to adjust the lights leave them loose enough adjust, but tight enough to not flop all over.
If not, tighten them up tight, and kind of eyeball the adjustments.
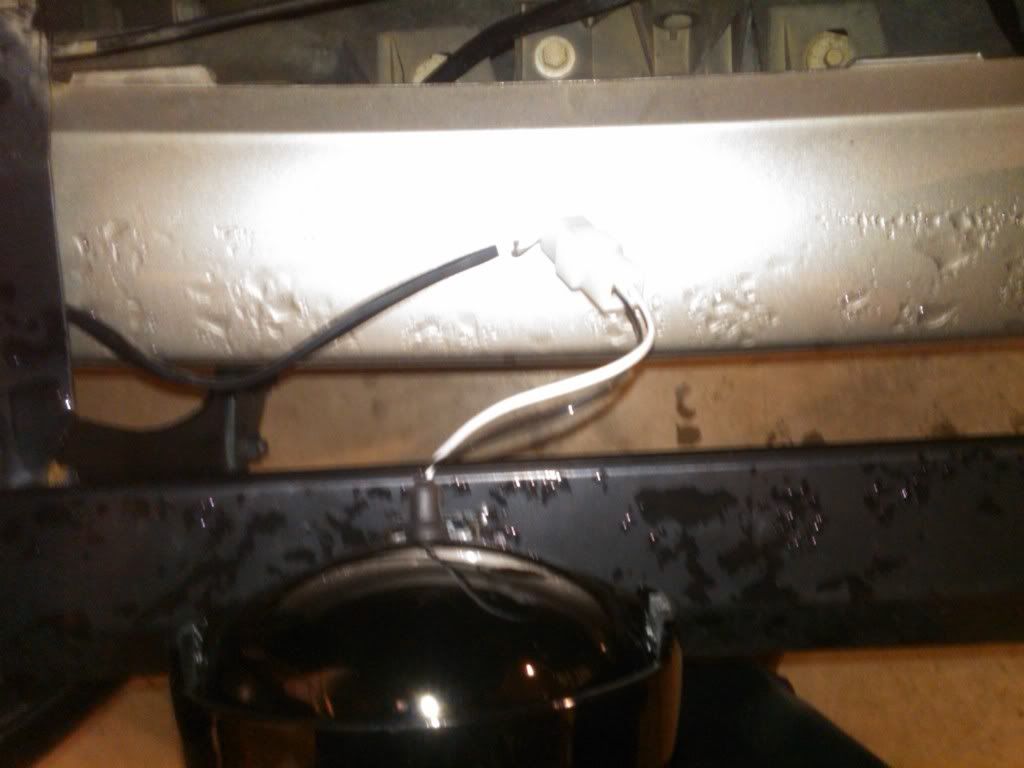
I ran the wires down from the battery area like this, its behind the head light.
Its really easy, just take the wires and run them from the battery side to through a gap to behind the head light.
Then take and run them through a gap in the little rubber spacer, flap thing.
The rubber flap can be moved over by removing a 4 way (Phillips) screw and moving it out of the way.
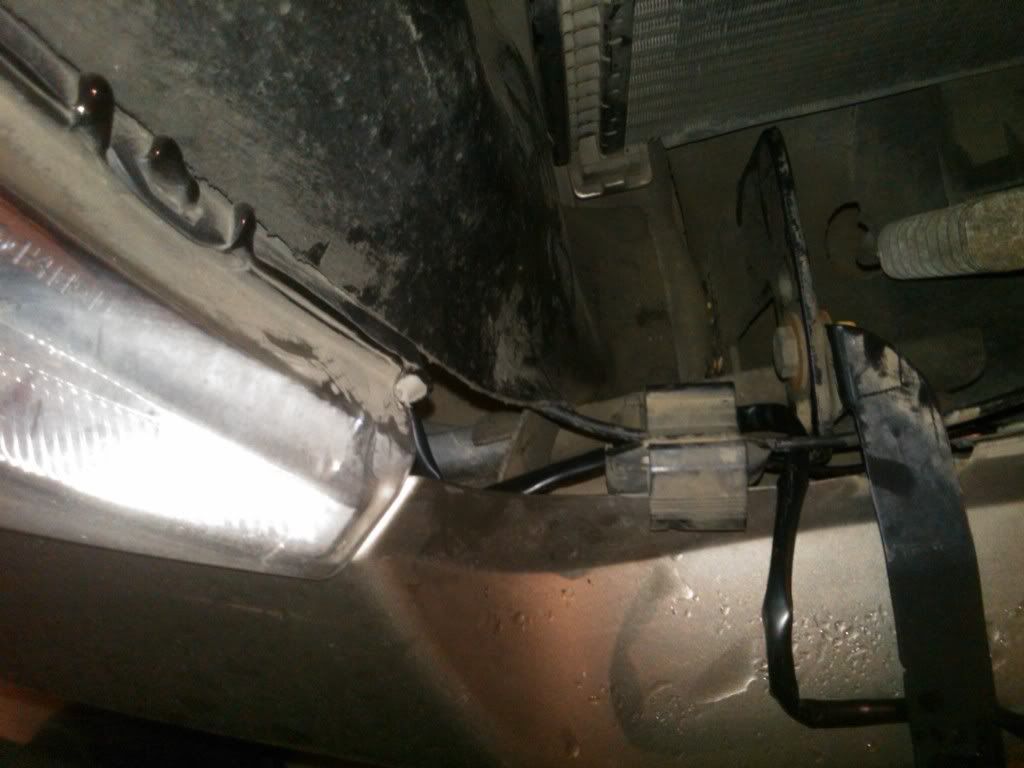
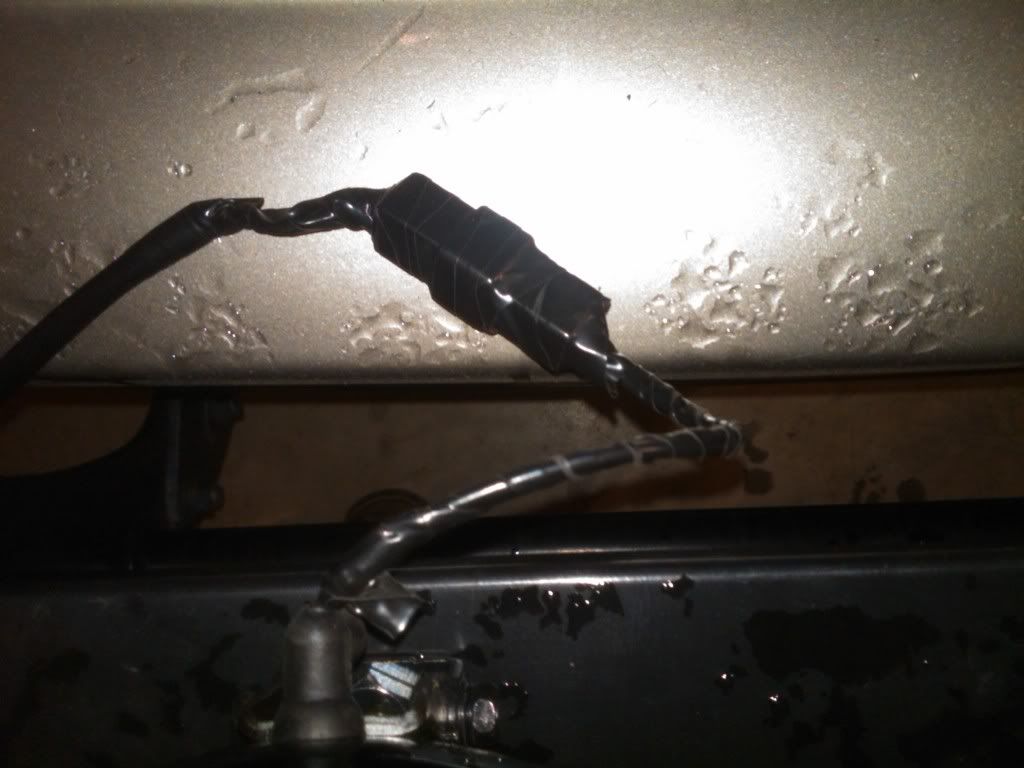
Then after I got the wires ran, as you can see they are kind of exposed, and so are the connectors.
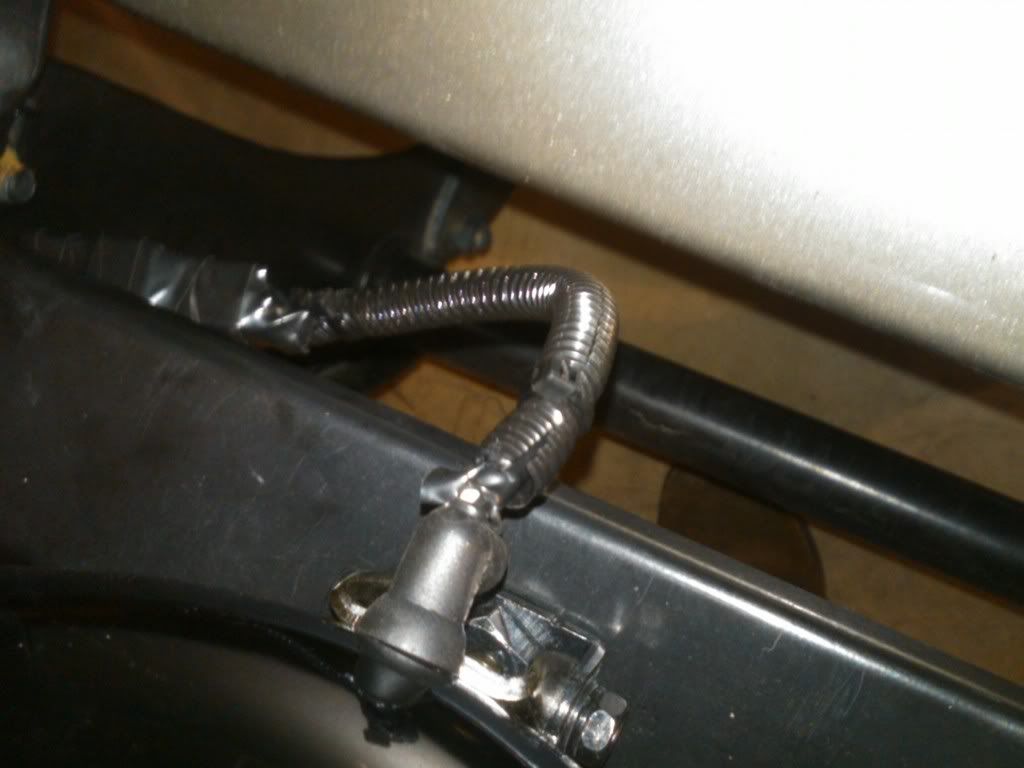
So I wrapped them in tape, and then in wire conduit. Like this.
Well, I lost the pic of the light wiring wrapped in the wire loom.
Please, see next post!
First off, I am going to assume that you know how to do basic things to you're truck, and have access to the following.
Should be similar for bull bars and behind the grille install.
Here is what I used.
PIAA 540 series lights, came with wiring harness.
Cutters/pliers and crimper's all in one. Cat brand.
Diagonal cutters.
Lots of zip ties.
Hands (if you don't have any hands you are in trouble)
Butt connectors.
dielectric grease.
Pig tale fuse (in pics)
Wire loom/sheath.
Time. about 1 -3 hours.
(wow my truck is dirty!)
Ok, so first I placed and secured the lights to the grill guard cross bar, no pictures because it is really simple.
Here is a example of the lights, if you have space/time to adjust the lights leave them loose enough adjust, but tight enough to not flop all over.
If not, tighten them up tight, and kind of eyeball the adjustments.
I ran the wires down from the battery area like this, its behind the head light.
Its really easy, just take the wires and run them from the battery side to through a gap to behind the head light.
Then take and run them through a gap in the little rubber spacer, flap thing.
The rubber flap can be moved over by removing a 4 way (Phillips) screw and moving it out of the way.
Then after I got the wires ran, as you can see they are kind of exposed, and so are the connectors.
So I wrapped them in tape, and then in wire conduit. Like this.
Well, I lost the pic of the light wiring wrapped in the wire loom.
Please, see next post!
Last edited by Titan357; 12-06-2010 at 10:55 AM.
#2
12-03-2010, 03:12 PM
Join Date: Apr 2009
Location: Paintsville Ky.
Posts: 1,080
Likes: 0
Received 0 Likes
on
0 Posts
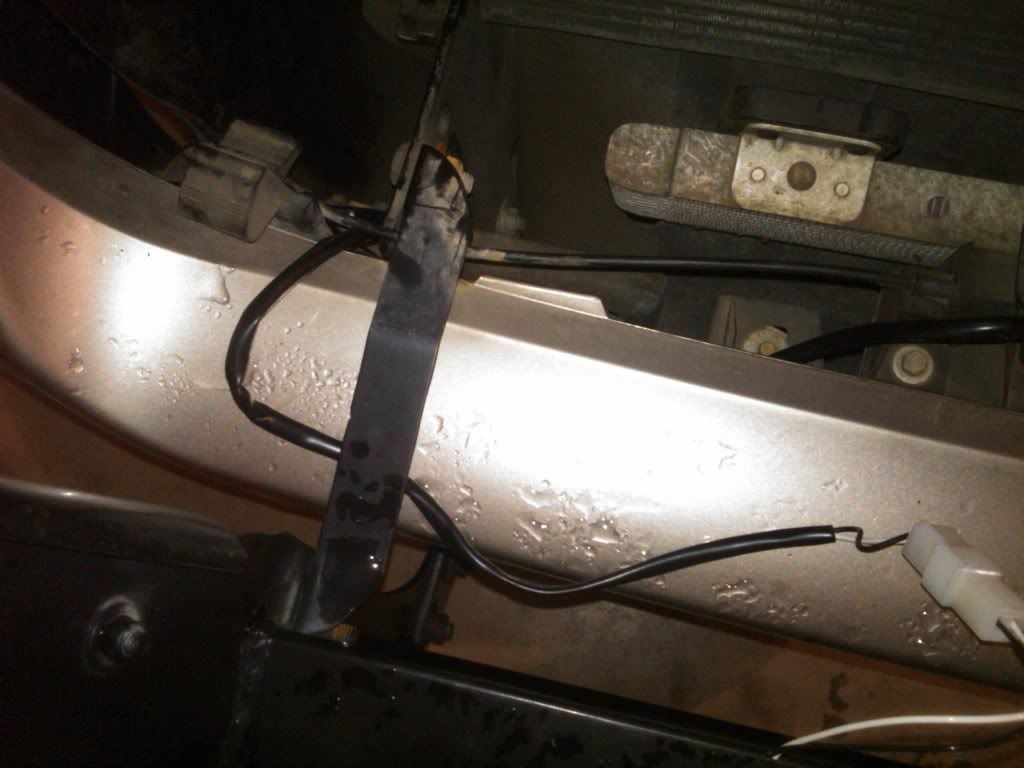
Ok, So I had the light wiring, and connectors in tape. They seemed exposed and likely to get water in them and screw up, or corrode.
Now, I used the zip ties here to secure the wire running along the inside of the bumper, then to the grill guard. See above pics.
Then I also secure the connectors under the cross bar, my cross bar has a angled front piece and that should keep most wind/water off the connectors.
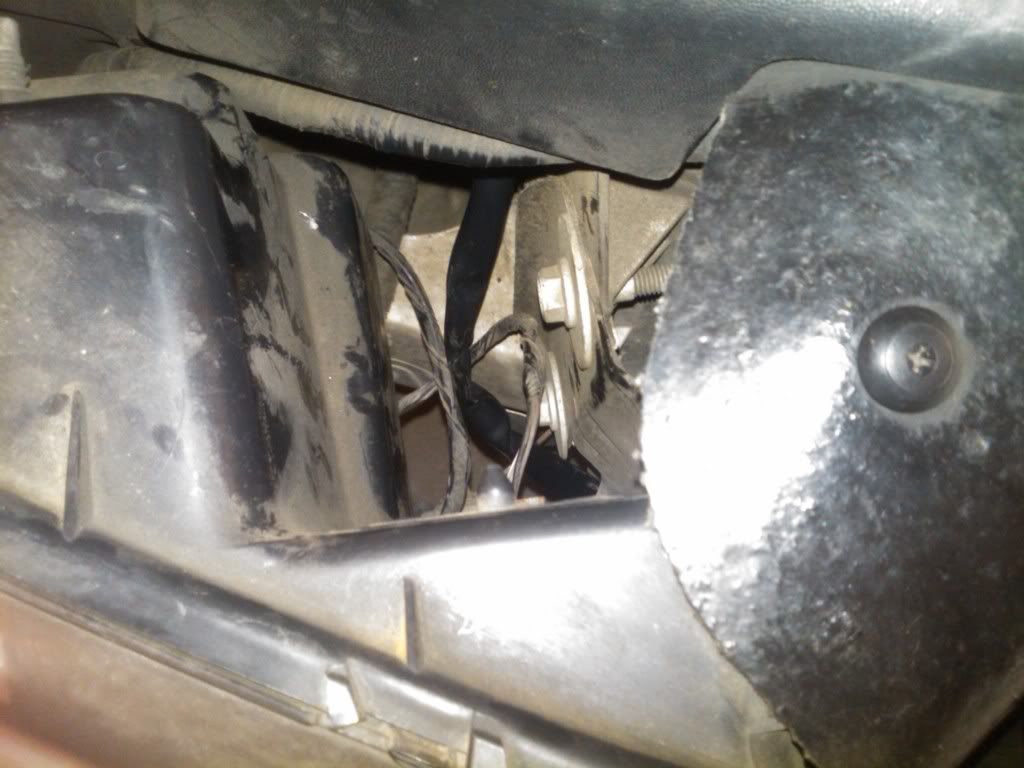
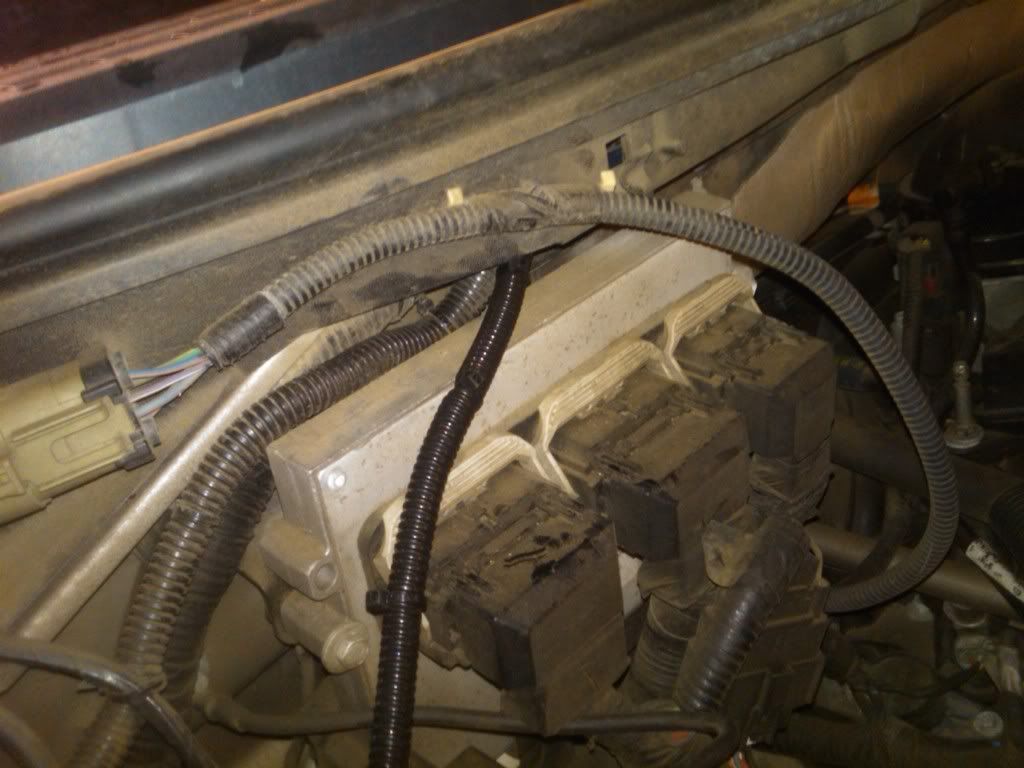
Here is where I mounted the relay and the fuse that comes with the kit, I am sure you can use a regular relay if you wanted, but I had this one and it was pre-wired so I used it.
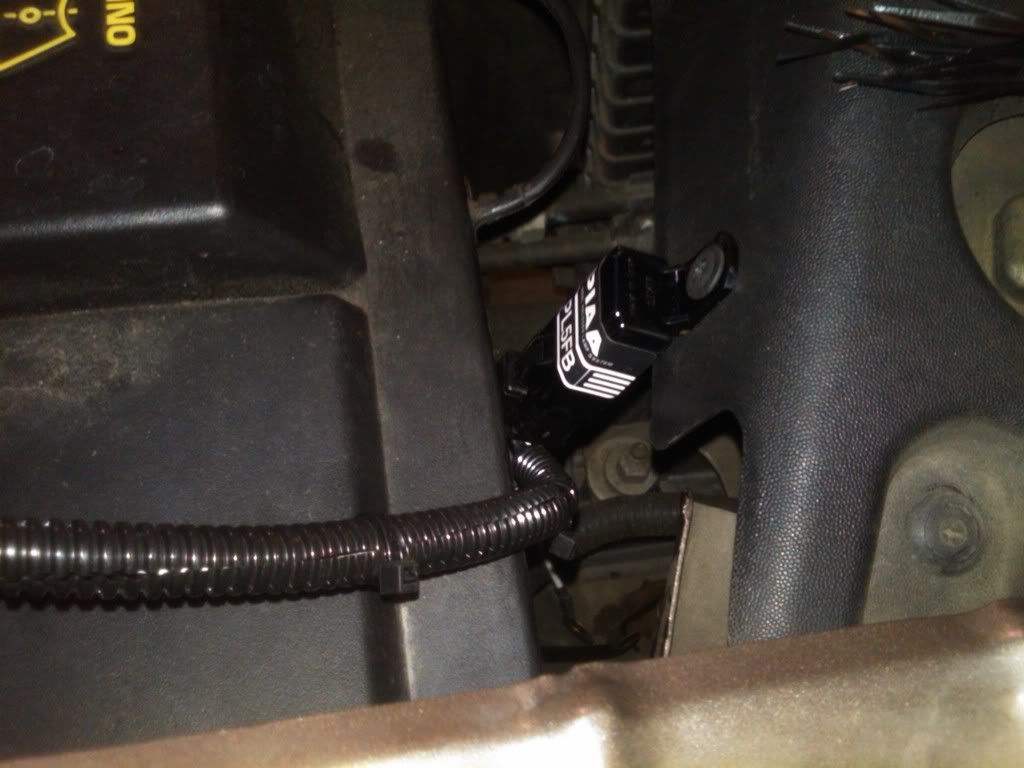
As you can see, I taped up, then wire loomed the wires, using zip ties to secure the loom to the wires. Should provide plenty of protection.
Then I had to run the wired from the relay to inside the cab.
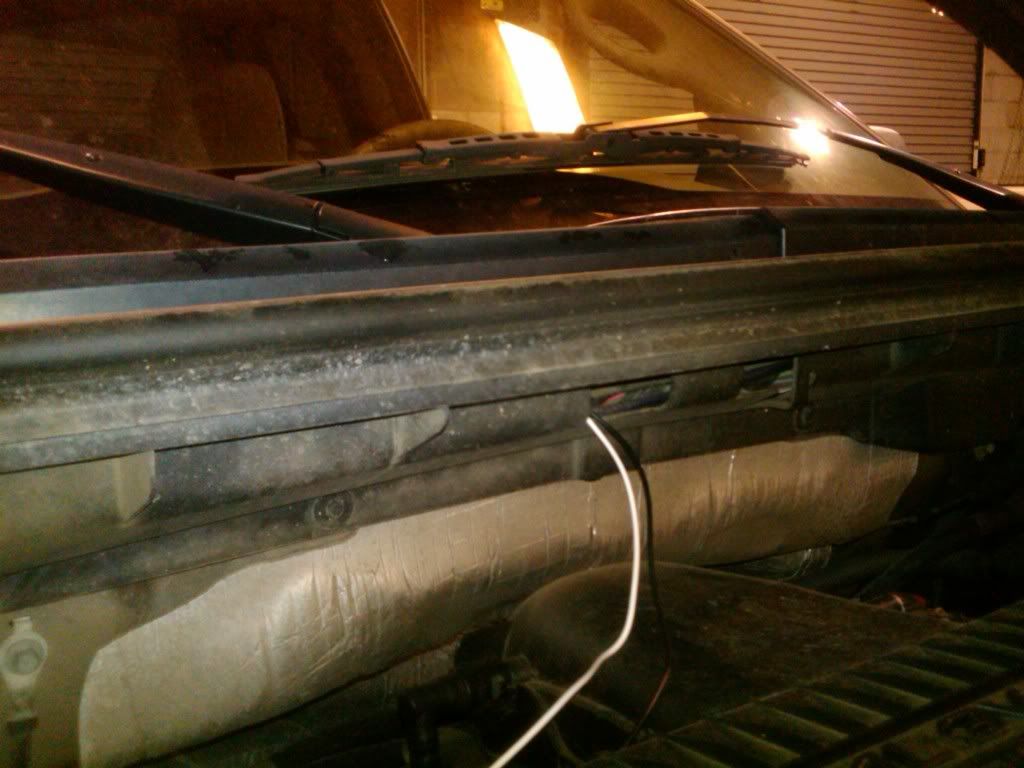
What I did was run the wires through the plastic wiper cowl area, the factory harness goes through it, so I used it too.
Its also where I ran my power wires for my amp for my subs.
So as you can see here, this is where I ran the wires, and my power wire for my amp. (Done long ago) and have had no problems doing it this way.
Fish tape (as I call it) comes in handy, its flexible metal that is thin and good for doing this.
802.jpg)
Eventually work it all the way over to the brake booster, like this.
I also ran out of wire, so I cut the plug off and extended the wire, its easier to run the wires with the plug cut off anyway.
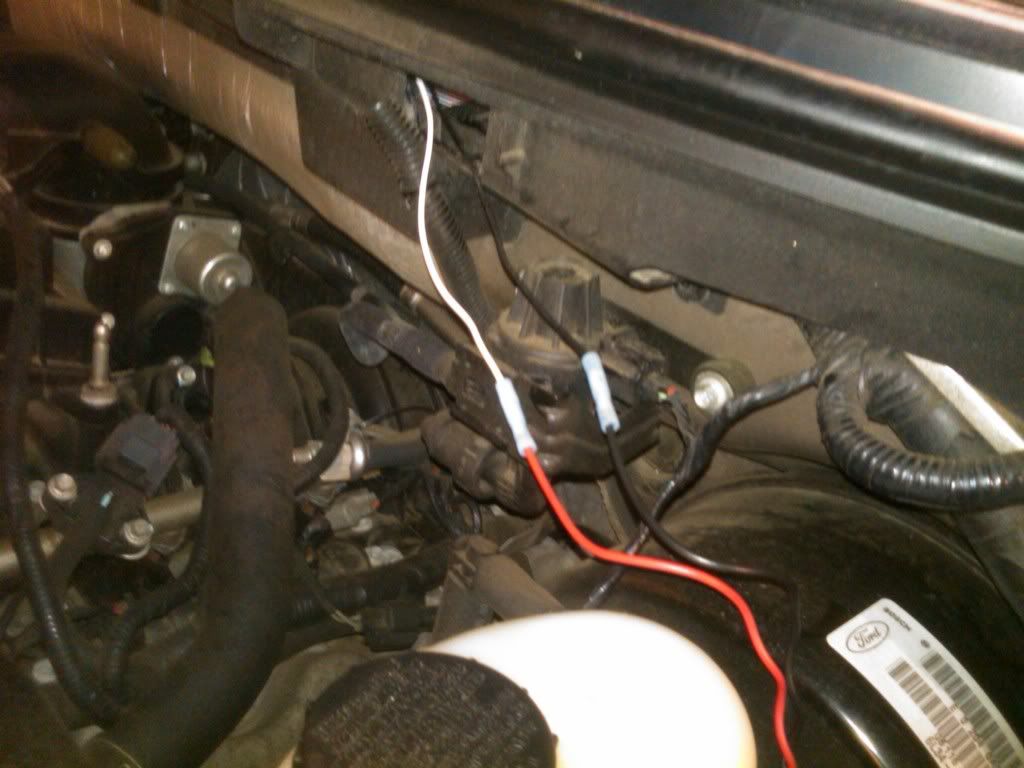
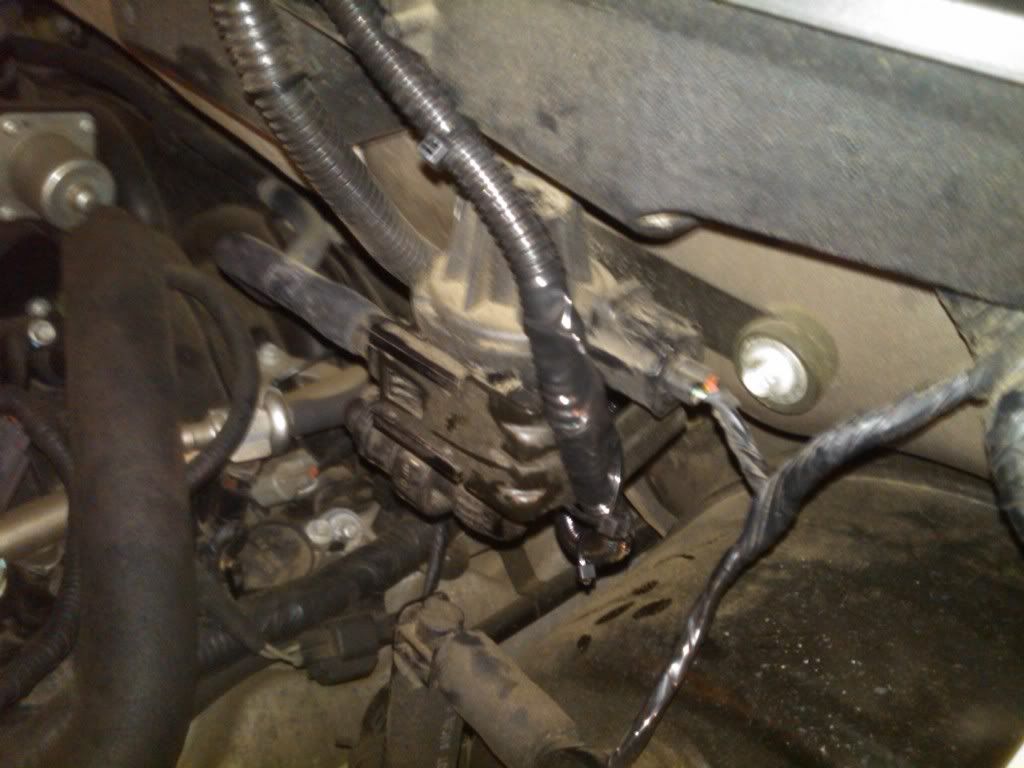
That is also what it looks like when you are done.
here is the grommet I used to run the wires from the engine bay to the cab.
It has never leaked yet, but you can make extra sure and use some RTV clear on it.
It is right next to the brake booster. On the left of it. Nothing was run in it on my truck.
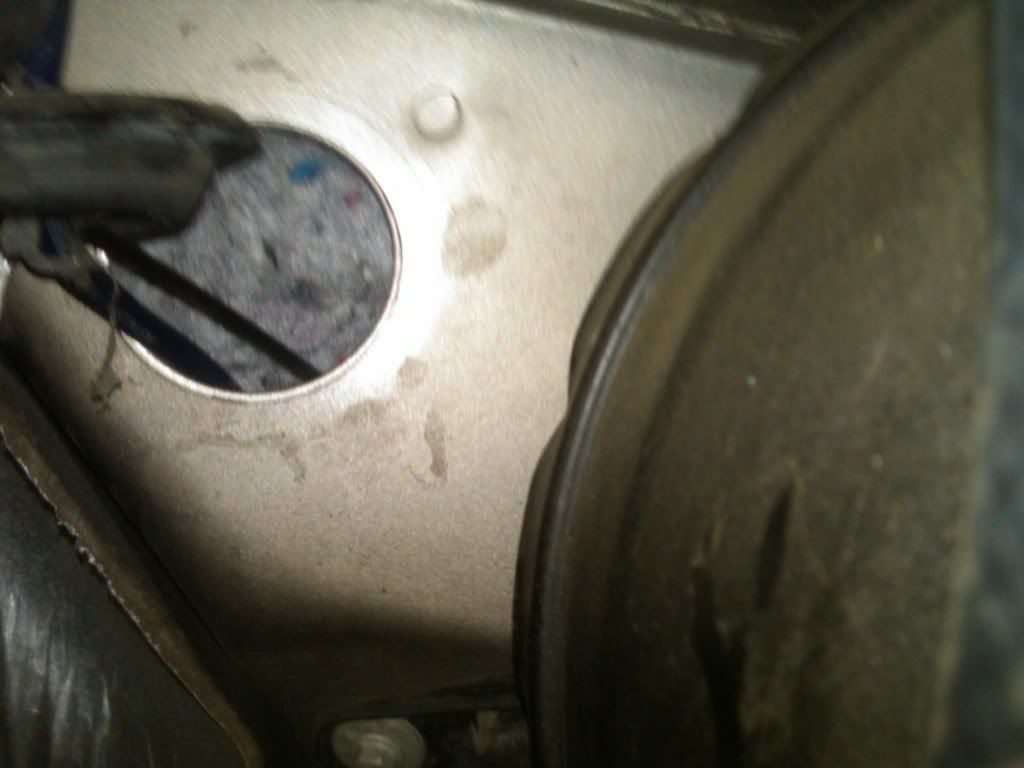
This will come out fairly close to the steering wheel shaft on the inside of the truck.
It takes a little bit of work to run all the wires this way, but I think it looks really nice, and keeps them out of the way.
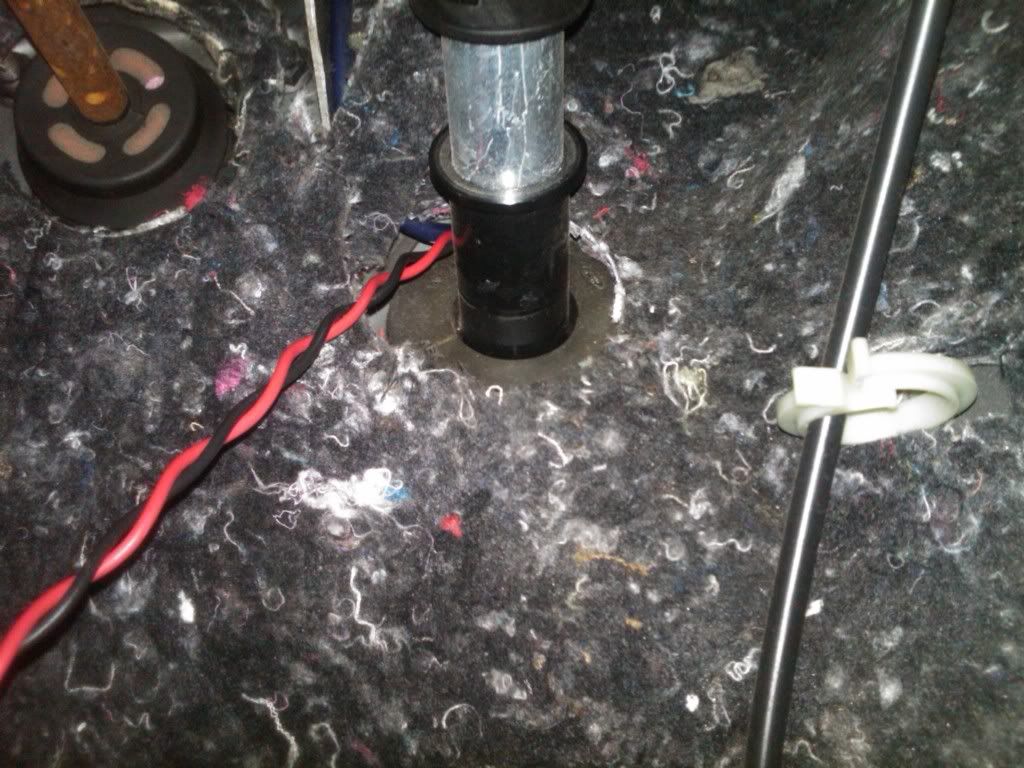
Also, the inside has the fire mat in the way, so you need to remove it, (replace it later) to run the wires, try not to rip or damage it, it is easily done.
(once again my pictures seem to be disappearing?)
Now where did they go?
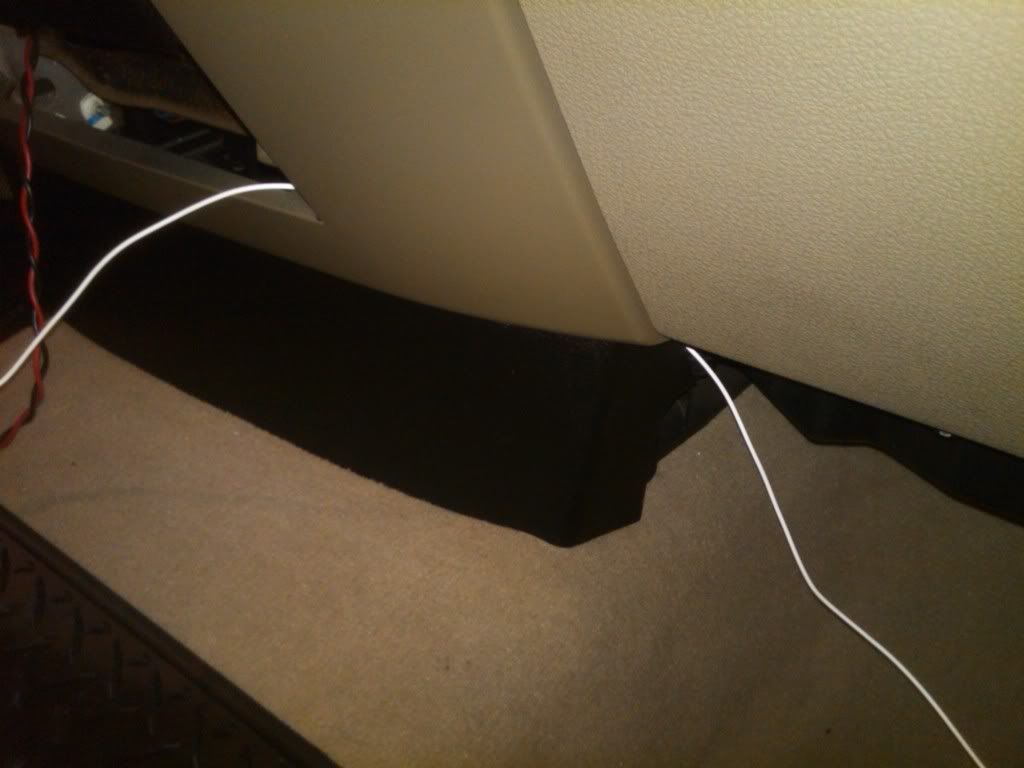
Anyway, I run the wires through the grommet and into the cab, then I use the factory wiring to hold them up (saving zip ties and head ache) and run the wires over to my center hump (I do not have a center console, I have 40-20/-40 seats)
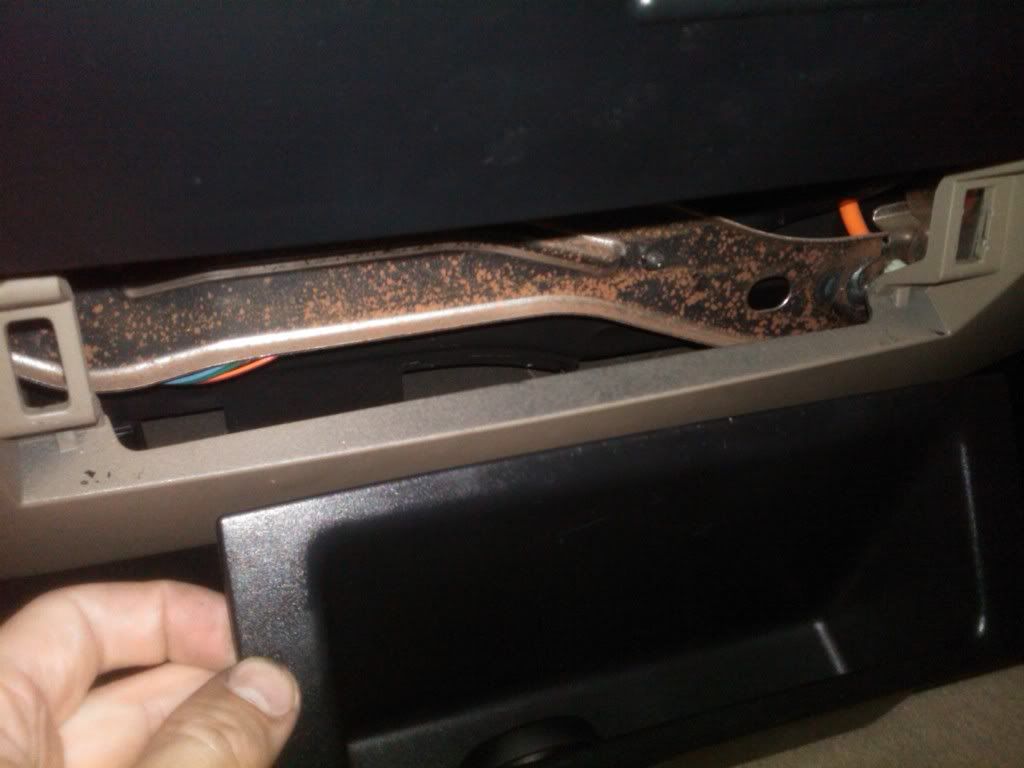
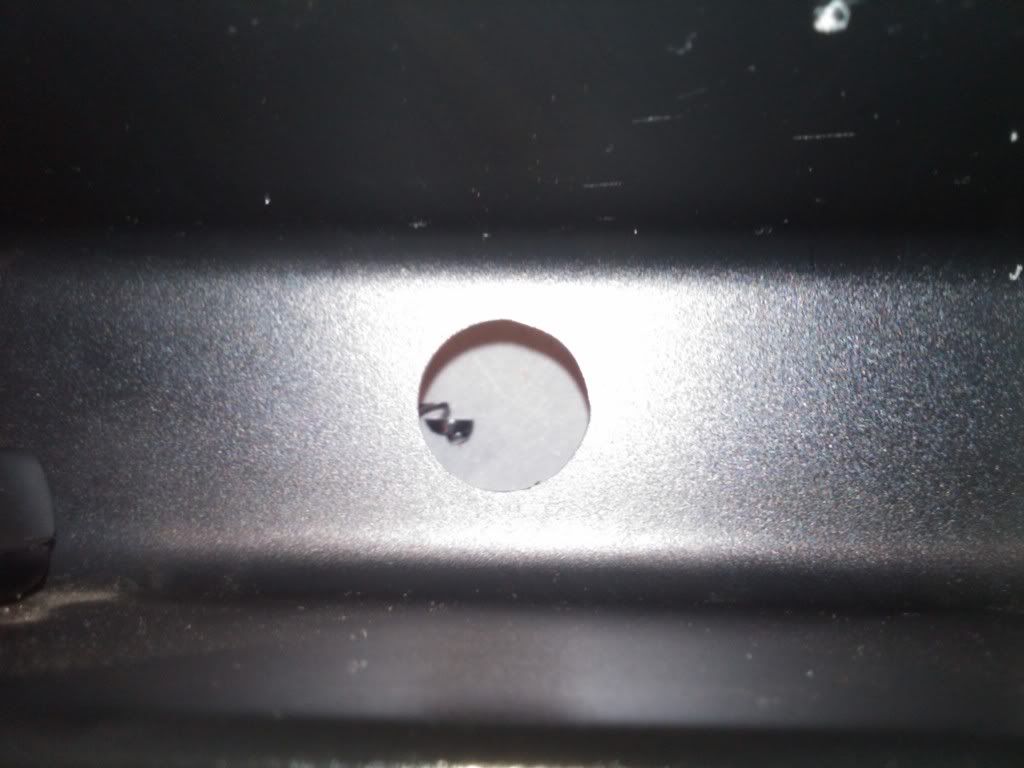
I use a pry tool (trim tool) to pry the little empty cubby hole off, (held in by clips) and drill a hole in it. This is where the switch will be.
It is under my ash tray, I don't smoke, so its my change holder.
I place the button to turn the lights on/off here using some 3M tape (not supplied) or you can leave it loose.
I leave the wires long in case I want to move the button.
Shameless floor mat picture! ^
Now there is a white wire on my kit, other wise this would be the wire that triggers the relay and turn the lights "on" and "off".
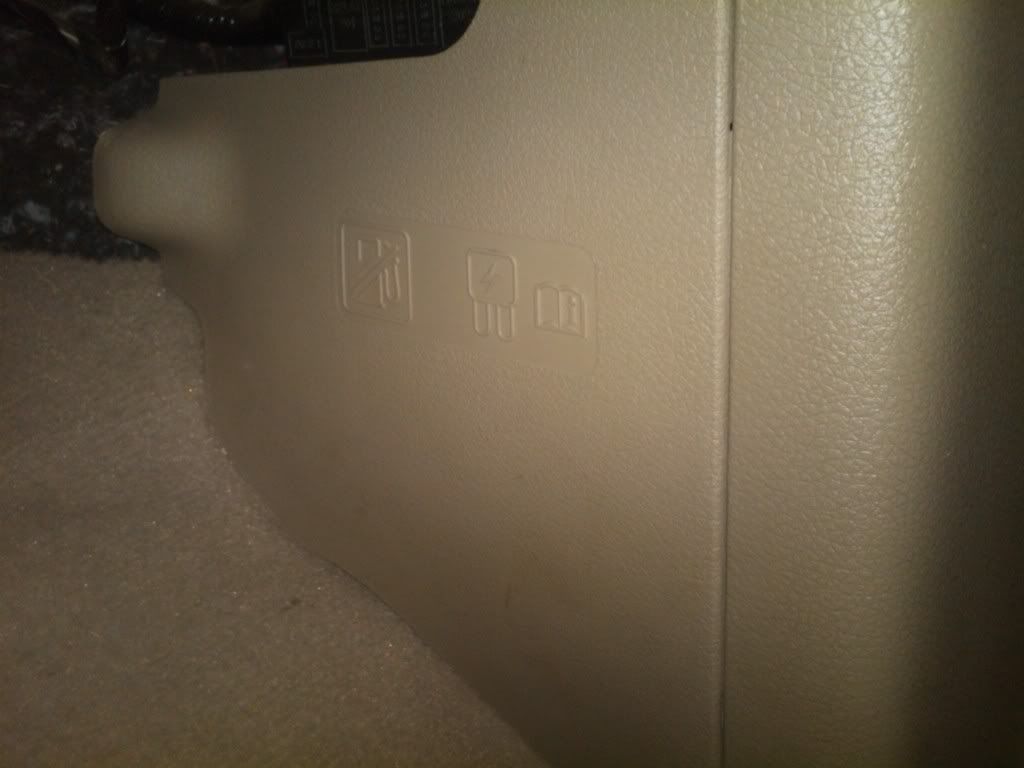
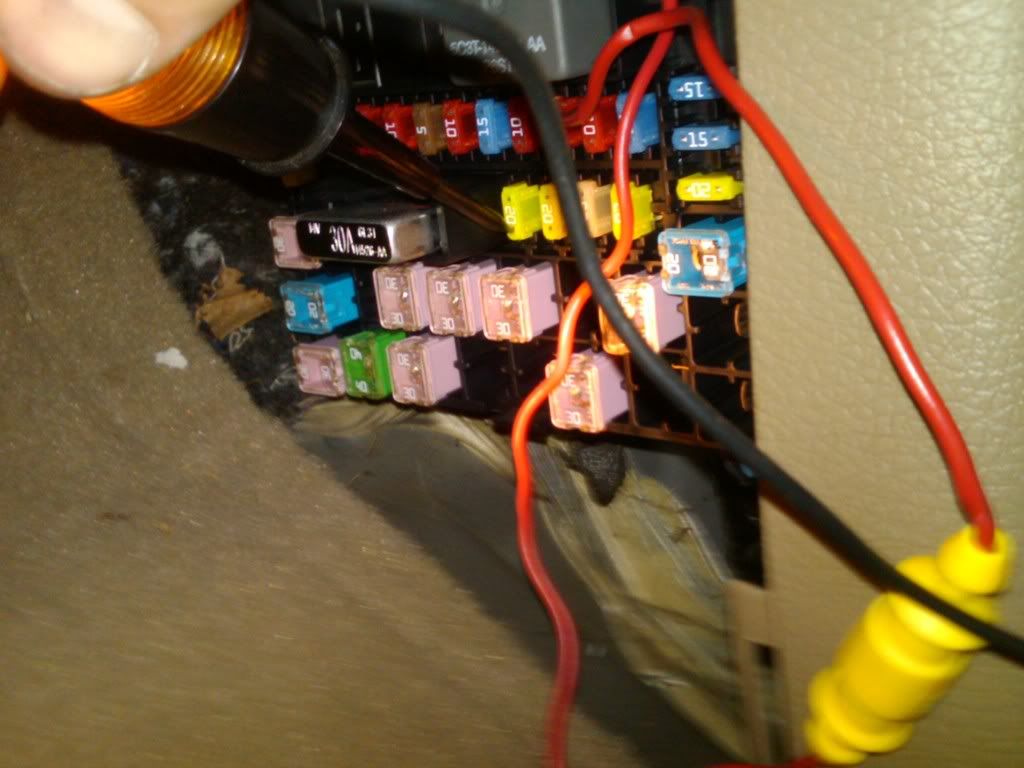
I am going to run it to the fuse box located on the passenger side, in the floor.
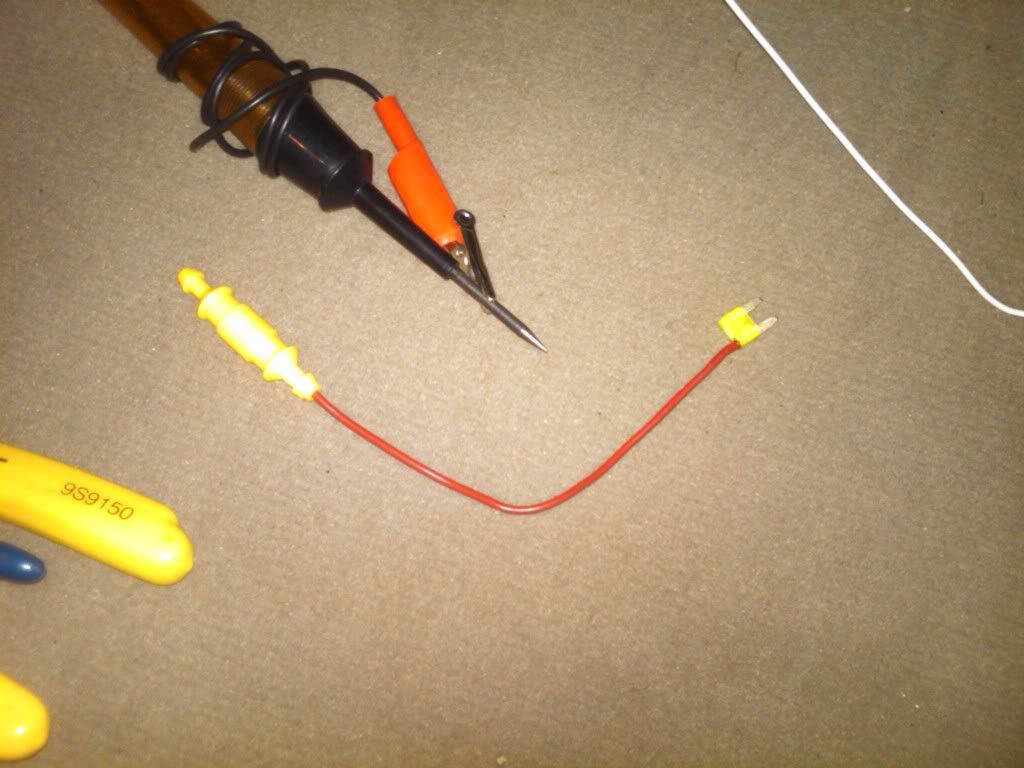
This I used a pig tale fuse, and add a extra in line fuse (the wiring kit already had a inline fuse, but I like to be sure.
I unplug a 20Amp fuse and replace it with the pig tale fuse.
Please note, you can always find a fuse that is only on with the key, like the other wire you see in the pic. that runs my XM radio, and only works on the key.
I do not think its legal in all states to wire lights up like I did though.
Now, I used the zip ties here to secure the wire running along the inside of the bumper, then to the grill guard. See above pics.
Then I also secure the connectors under the cross bar, my cross bar has a angled front piece and that should keep most wind/water off the connectors.
Here is where I mounted the relay and the fuse that comes with the kit, I am sure you can use a regular relay if you wanted, but I had this one and it was pre-wired so I used it.
As you can see, I taped up, then wire loomed the wires, using zip ties to secure the loom to the wires. Should provide plenty of protection.
Then I had to run the wired from the relay to inside the cab.
What I did was run the wires through the plastic wiper cowl area, the factory harness goes through it, so I used it too.
Its also where I ran my power wires for my amp for my subs.
So as you can see here, this is where I ran the wires, and my power wire for my amp. (Done long ago) and have had no problems doing it this way.
Fish tape (as I call it) comes in handy, its flexible metal that is thin and good for doing this.
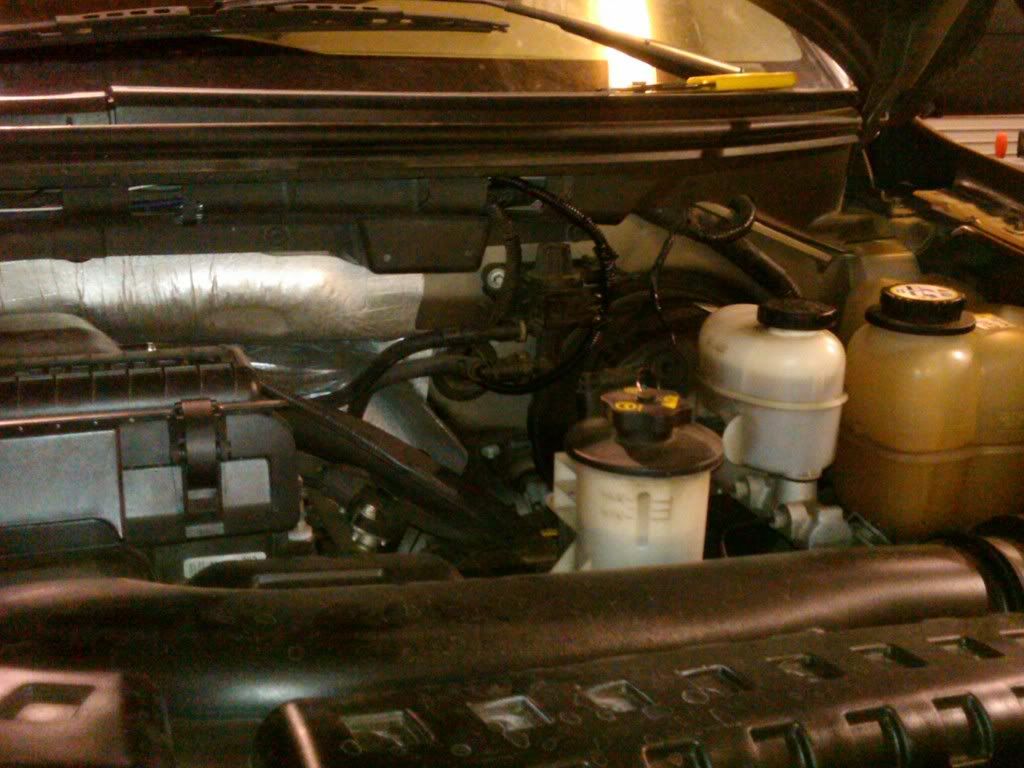
Eventually work it all the way over to the brake booster, like this.
I also ran out of wire, so I cut the plug off and extended the wire, its easier to run the wires with the plug cut off anyway.
That is also what it looks like when you are done.
here is the grommet I used to run the wires from the engine bay to the cab.
It has never leaked yet, but you can make extra sure and use some RTV clear on it.
It is right next to the brake booster. On the left of it. Nothing was run in it on my truck.
This will come out fairly close to the steering wheel shaft on the inside of the truck.
It takes a little bit of work to run all the wires this way, but I think it looks really nice, and keeps them out of the way.
Also, the inside has the fire mat in the way, so you need to remove it, (replace it later) to run the wires, try not to rip or damage it, it is easily done.
(once again my pictures seem to be disappearing?)
Now where did they go?
Anyway, I run the wires through the grommet and into the cab, then I use the factory wiring to hold them up (saving zip ties and head ache) and run the wires over to my center hump (I do not have a center console, I have 40-20/-40 seats)
I use a pry tool (trim tool) to pry the little empty cubby hole off, (held in by clips) and drill a hole in it. This is where the switch will be.
It is under my ash tray, I don't smoke, so its my change holder.
I place the button to turn the lights on/off here using some 3M tape (not supplied) or you can leave it loose.
I leave the wires long in case I want to move the button.
Shameless floor mat picture! ^
Now there is a white wire on my kit, other wise this would be the wire that triggers the relay and turn the lights "on" and "off".
I am going to run it to the fuse box located on the passenger side, in the floor.
This I used a pig tale fuse, and add a extra in line fuse (the wiring kit already had a inline fuse, but I like to be sure.
I unplug a 20Amp fuse and replace it with the pig tale fuse.
Please note, you can always find a fuse that is only on with the key, like the other wire you see in the pic. that runs my XM radio, and only works on the key.
I do not think its legal in all states to wire lights up like I did though.
Last edited by Titan357; 12-06-2010 at 11:01 AM.
#3
12-03-2010, 03:26 PM
Join Date: Apr 2009
Location: Paintsville Ky.
Posts: 1,080
Likes: 0
Received 0 Likes
on
0 Posts
There is not much left to do now, I put the cubby hole back in place, and I check all wires and make sure they are tied up and secure, as well as out of the way in the cab.
Next I go over my work outside.
I am happy with my work outside, I could have run some of the wires in places better, but made small mistakes. Nothing major and it wont hurt anything, most people will not even notice even if they see it.
Just use common sense and do not get in a hurry.
I did this at work and was going back and forth between work and my truck.
It took me about 2 1/2 hours to do all this, I could have done it faster but I wanted it to be right.
Do it right the first time I say. (even if I make a few mistakes)
Then I went to hook up the wires to the battery.
My kit had a white (12+) and black (12-) on it.
I did not remove the battery terminals, I did not want to reset my dvd player, but you might want to, or if you feel uneasy about it.
First I hooked the 12- (ground) up.
My ground wire was not big enough, because I only had the one bolt on it, so I notched it to look like a "C" and tightened it down.
The 12+ had a extra stud on it, I loosed the bolt and then I put the 12+ from the lamps to the battery and replace the nut.
All is done, and it looks like this!
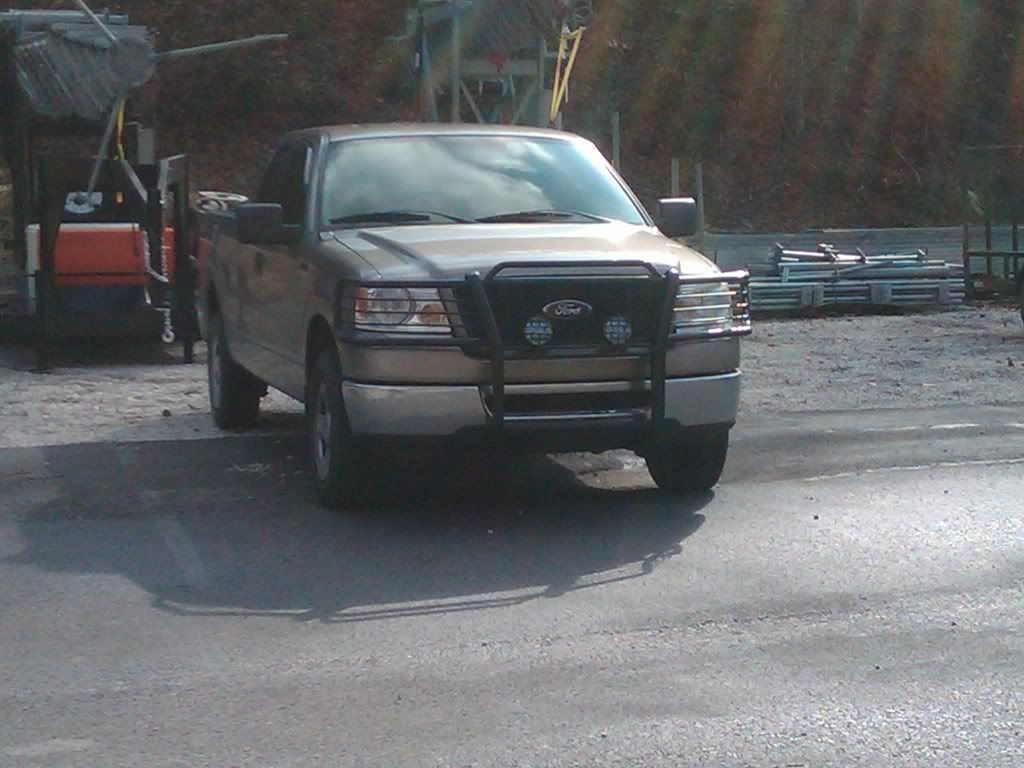
I hope this answers all questions, and is helpful.
Please fell free to ask me any questions, I have installed these, a DVD player (that plays all the time, not just with the P-brake) and a sub/amp in this truck, my first two cars and my dads truck and many other friends cars/trucks.
Next I go over my work outside.
I am happy with my work outside, I could have run some of the wires in places better, but made small mistakes. Nothing major and it wont hurt anything, most people will not even notice even if they see it.
Just use common sense and do not get in a hurry.
I did this at work and was going back and forth between work and my truck.
It took me about 2 1/2 hours to do all this, I could have done it faster but I wanted it to be right.
Do it right the first time I say. (even if I make a few mistakes)
Then I went to hook up the wires to the battery.
My kit had a white (12+) and black (12-) on it.
I did not remove the battery terminals, I did not want to reset my dvd player, but you might want to, or if you feel uneasy about it.
First I hooked the 12- (ground) up.
My ground wire was not big enough, because I only had the one bolt on it, so I notched it to look like a "C" and tightened it down.
The 12+ had a extra stud on it, I loosed the bolt and then I put the 12+ from the lamps to the battery and replace the nut.
All is done, and it looks like this!
I hope this answers all questions, and is helpful.
Please fell free to ask me any questions, I have installed these, a DVD player (that plays all the time, not just with the P-brake) and a sub/amp in this truck, my first two cars and my dads truck and many other friends cars/trucks.
#4
12-03-2010, 03:38 PM
Join Date: Apr 2009
Location: Paintsville Ky.
Posts: 1,080
Likes: 0
Received 0 Likes
on
0 Posts
If you look real hard you can see where my blue power wire to my amp sneaks into a few pictures.
I did a much better job on it, but a good job on my fog light wiring (these are fog's not driving lights) but when I did my amp wires I had more time, and was not busy that day.
Today I was going back and forth between customers as they came in, one full kit install and then back to my truck.
After a while, the clean and new looking wire loom will get dirty and begin to look like the rest of the wire loom, most people can not even tell my power wire now because it looks factory.
Thats what I was going for, a nice and clean yet factory looking job.
I think I did a great job of it.
I hope everyone enjoyed reading this, and maybe it will help some people out.
#6
12-03-2010, 04:13 PM
Join Date: Apr 2009
Location: Paintsville Ky.
Posts: 1,080
Likes: 0
Received 0 Likes
on
0 Posts
#7
12-03-2010, 04:17 PM

Join Date: May 2007
Location: St. Louis, MO
Posts: 1,221
Likes: 0
Received 0 Likes
on
0 Posts
Nice, same switch position as me. I did mine a little differently. I cut that cubby up and slid a flat peice of plastic panel material to bring the switches forward and out a little.
When I wired mine, I actually bought and wired my own fuse block to put behind the dash. This way I can add any extras on without any hassle of going through factory fuse block.
Looks good though!
When I wired mine, I actually bought and wired my own fuse block to put behind the dash. This way I can add any extras on without any hassle of going through factory fuse block.
Looks good though!
Trending Topics
#8
12-03-2010, 04:18 PM
Senior Member
Join Date: Mar 2008
Location: Charleston, SC
Posts: 2,463
Likes: 0
Received 0 Likes
on
0 Posts

#9
12-03-2010, 04:26 PM
Join Date: Apr 2009
Location: Paintsville Ky.
Posts: 1,080
Likes: 0
Received 0 Likes
on
0 Posts
Nice, same switch position as me. I did mine a little differently. I cut that cubby up and slid a flat peice of plastic panel material to bring the switches forward and out a little.
When I wired mine, I actually bought and wired my own fuse block to put behind the dash. This way I can add any extras on without any hassle of going through factory fuse block.
Looks good though!
When I wired mine, I actually bought and wired my own fuse block to put behind the dash. This way I can add any extras on without any hassle of going through factory fuse block.
Looks good though!
Thats a good idea on making a plastic thing to bring the switches out, I think I will look around and see if I can find something that will fit there and I can put the switch on it!
Great Idea.
If I could find a plastic plate that fits over the gap I could use screws to make it removable, and it would make a great switch mount!
Its really easy IMO, but I do wiring everyday, as part of my job.
As long as you had the tools I think you could do something like this in say 1 1/2 hours easy. Seeing as you already have a pretty good idea of where all the wires will be run.
Thanks guys, I am glad you all like it. Its my first full how-to and I was afraid I would not be detailed enough, or miss something.
I made sure to take lots of pics too, and that took up time.
#10
12-03-2010, 09:27 PM
Join Date: Apr 2009
Location: Paintsville Ky.
Posts: 1,080
Likes: 0
Received 0 Likes
on
0 Posts
Well (sorry double post) I got off work, and had to haul some things to a friends house, he only has a charger so no hauling for him.
When I got there, it was getting dark so I tried my lights out.
I had one hunting coons in the trees and the other was blinding other drivers.
Good thing I did not use them when I was driving, I was afraid of just this.
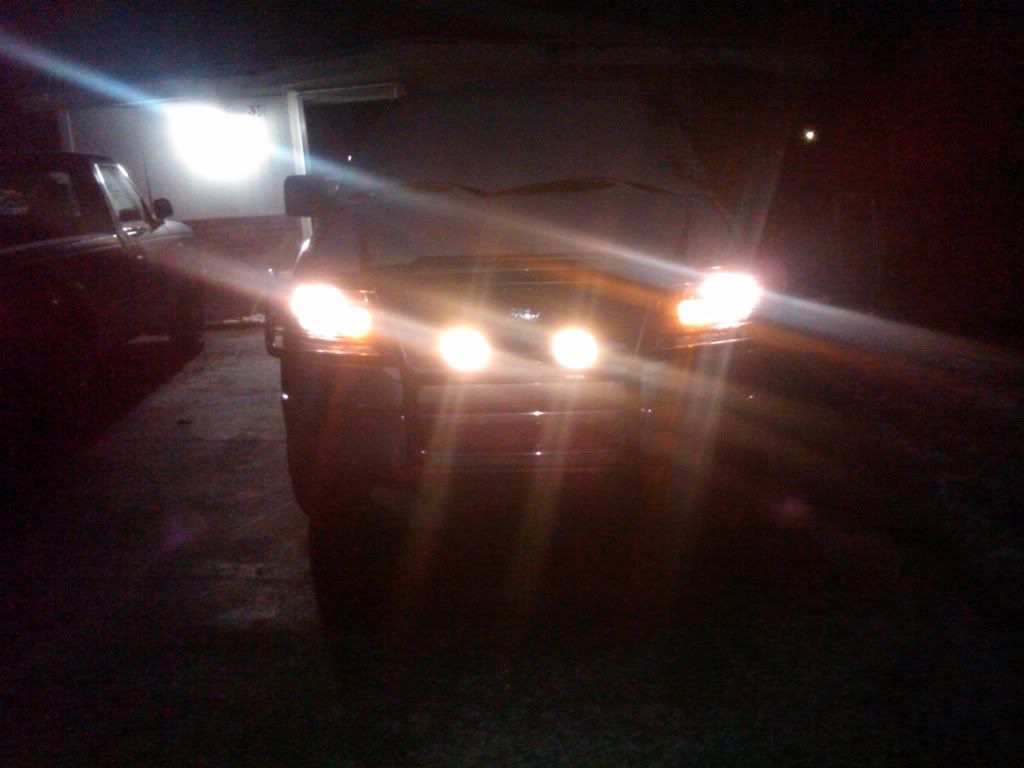
This fogs are yellow, and (to my surprise) are bright enough to drive with them on only.
I like the yellow, should make for a great light for what i want. Some times it gets really dark here and hard to see, more so when its dark and raining. This should help.
I adjusted them very slowly, first I got them set at dads garage, where I also added a second nut (lock nut) to the normal ones. That should stop it from coming loose, and maybe deter any would be petty thefts.
I also need to figure out how to secure my light caps, any ideas?
Over all, I am really happy with them, but I am considering rewiring them, so I do not forget to turn them off. I should have went with a key'ed fused, not a ATP one.
They produce a nice wide and bright area of light.
They are not so bright as to blind other drivers, I can stand in front of my truck and they are not too bad.
Now, if only my new mirrors would hurry up and get here!
My truck looks so bad with the broken mirror.

When I got there, it was getting dark so I tried my lights out.
I had one hunting coons in the trees and the other was blinding other drivers.
Good thing I did not use them when I was driving, I was afraid of just this.
This fogs are yellow, and (to my surprise) are bright enough to drive with them on only.
I like the yellow, should make for a great light for what i want. Some times it gets really dark here and hard to see, more so when its dark and raining. This should help.
I adjusted them very slowly, first I got them set at dads garage, where I also added a second nut (lock nut) to the normal ones. That should stop it from coming loose, and maybe deter any would be petty thefts.
I also need to figure out how to secure my light caps, any ideas?
Over all, I am really happy with them, but I am considering rewiring them, so I do not forget to turn them off. I should have went with a key'ed fused, not a ATP one.
They produce a nice wide and bright area of light.
They are not so bright as to blind other drivers, I can stand in front of my truck and they are not too bad.
Now, if only my new mirrors would hurry up and get here!
My truck looks so bad with the broken mirror.

#13
12-06-2010, 09:08 PM
Join Date: Apr 2009
Location: Paintsville Ky.
Posts: 1,080
Likes: 0
Received 0 Likes
on
0 Posts
You are welcome.
Its fairly easy to be honest.
Anyway, I have had great luck out of them so far.
I am not 100% happy with them yet (I need to adjust them more) and so far I have not forgot and left them on.
I only turn them on when its dark out, so its hard to forget they are on.
I am thinking I can make them more like this \_/ and less like this |_|.
They have a really wide beam, but its not so bright it would blind some one.
In fact I think my heads (higher up) are more likely to blind some one.
I at the least may move the right side (passenger side) more out to get a better look out for deer and such leaving the driver set on the road.
#14
12-09-2010, 09:13 PM

Senior Member
Join Date: Jul 2008
Location: Chicago
Posts: 197
Likes: 0
Received 0 Likes
on
0 Posts
#15
12-10-2010, 12:50 AM

Senior Member
Join Date: Jul 2007
Location: Ann Arbor, MI (Ypsilanti)
Posts: 259
Likes: 0
Received 0 Likes
on
0 Posts