

Write-up: Auto Spring 2.5" Leveling Kit Install


Senior Member

Joined: Mar 2013
Posts: 6,677
Likes: 0
From: Houston and College Station, TX
I had to use a crow bar to push the upper control arm up a little bit to fit the assy back in. At least it was straight forward, just takes a ton of time! The whole "2 hour install" is a laugh!

Junior Member
Joined: Jun 2013
Posts: 2
Likes: 0
From: Snowmass Village, CO
I did my front end kit solo last weekend. Here are a few things I consider to be must have/must dos, and a couple of optional suggestions. First the optional stuff: 1. Have a helper. 2. Use air tools if you have them. Now the imperatives: 1. Use Blaster on EVERY fastener and joint to be disassembled one full day before you start, and again about an hour before disassembly. 2. Make sure you have a 2-arm puller. Rapping on the steering knuckle and other parts to loosen them is unlikely to work. 3. A jack to raise and lower the control arm is safer and quicker than not using one. 4. DO make sure you have a long pry bar to reposition the lower part of the strut back into position on the lower control arm. 5. Pre-inspect all of the fasteners that come into play in this job and if they look even remotely corroded...buy new ones before starting. 6. Use red thread-locker for re-assembly.

Member
Joined: Oct 2006
Posts: 37
Likes: 0
From: California
OP, THANK YOU for the great write up. Your info made my install go smoothly. The only issue I had was when replacing the strut assembly in place. Removing only the front lower arm bolt was not enough, even with a pry bar. I had to remove both the front and rear lower arm bolts to make enough room for the strut to fit back in place. The first side (driver) took me about 3 hours. The passenger side only took 45 minutes since I knew to remove both LCA bolts. I used a jack to support lower arm while using a pitman puller to break the ball joint... WORKED LIKE A CHARM...
Thanks again for the pointers.
Now on to the negative... With the 2" lift, after alignment, the front sits 1/2" higher than the rear... not a big deal but big enough to make it noticable. BOO HOO...
BEFORE:
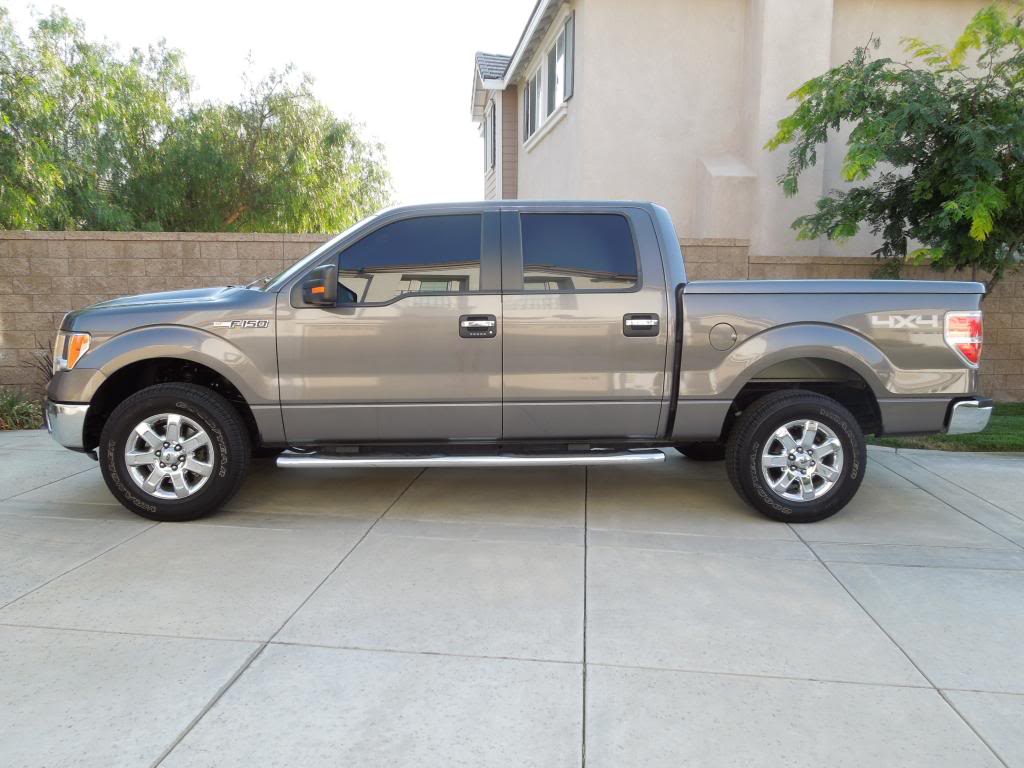
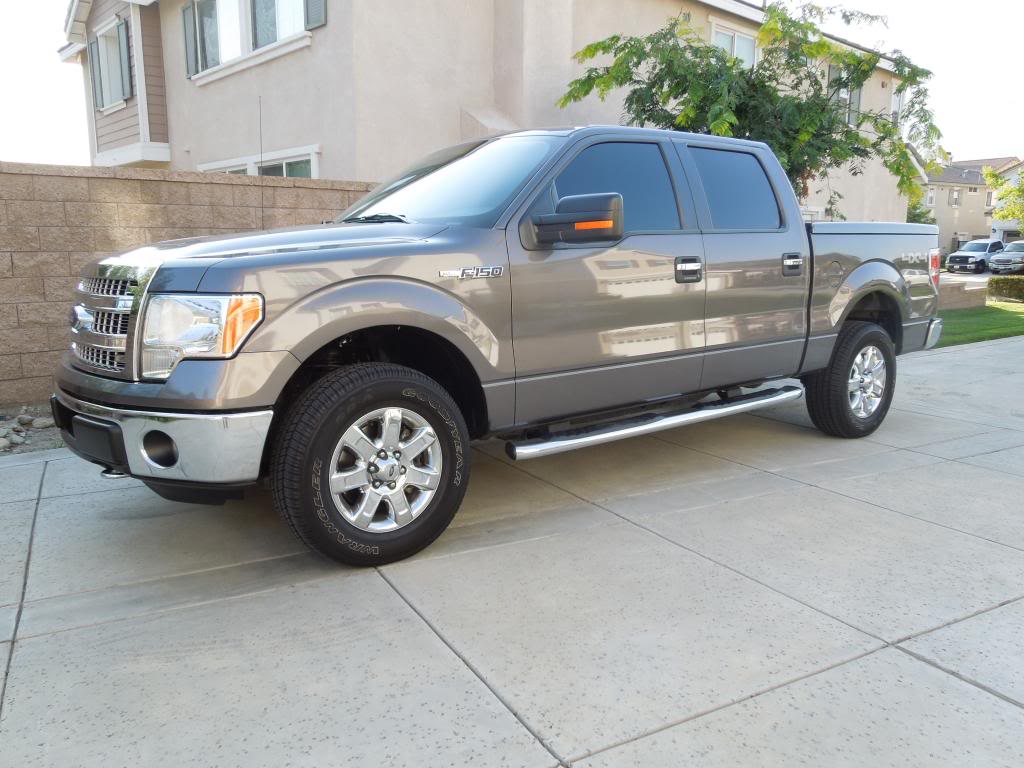
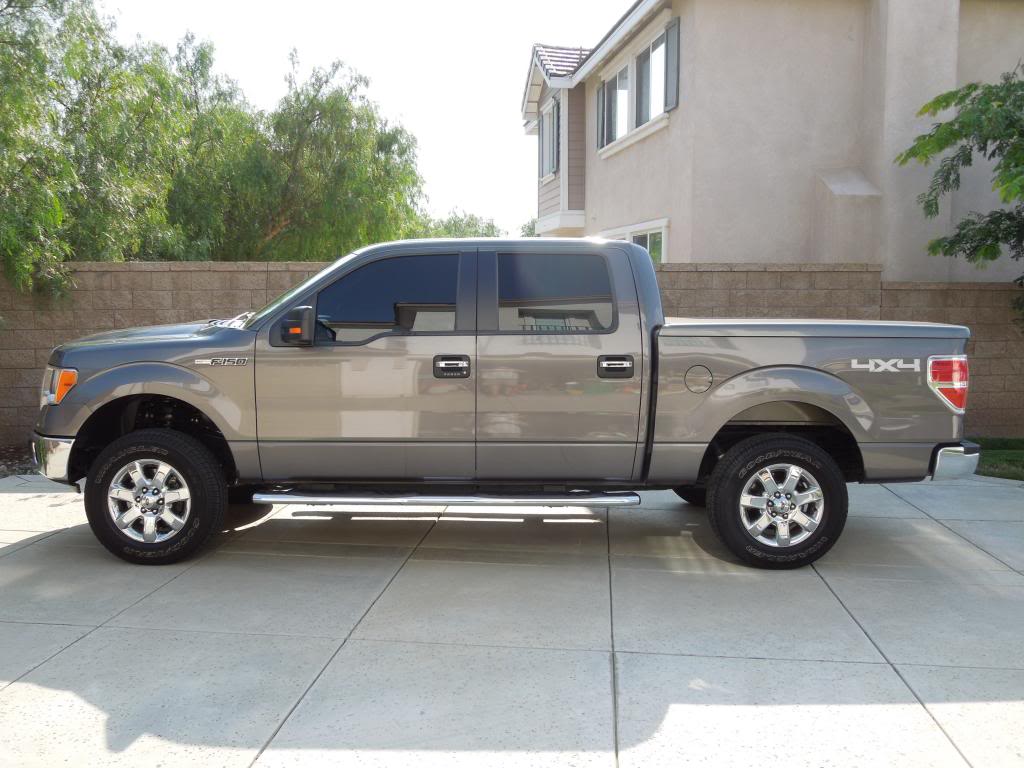
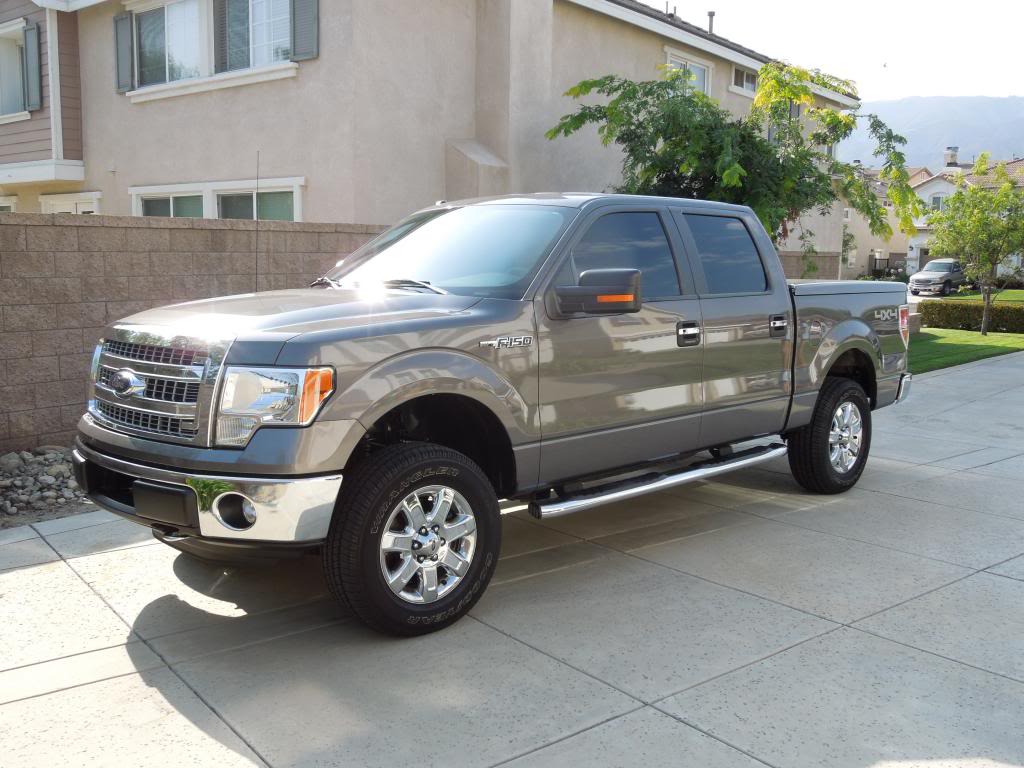
AFTER:
Thanks again for the pointers.
Now on to the negative... With the 2" lift, after alignment, the front sits 1/2" higher than the rear... not a big deal but big enough to make it noticable. BOO HOO...
BEFORE:
AFTER:

Junior Member
Joined: Dec 2013
Posts: 8
Likes: 0
OP thanks for the post it helped me out. I just finished a 2" AS kit on my '07 4x4 133" SCAB today. I'd like to add a little info to help future installers looking to do this.
First off - I did this ALL with hand tools, so air will surely help but it isn't required. You should get a torque wrench though if you don't have one. I torqued everything to specs that I could as it was going back together.
I did not remove the tie rod end as some people do, but I did have to take out the sway bar end as described in the directions. I say that because some people post that they didn't. I tried and was able to get the strut out but I couldn't get it back in with the added 2" spacer without taking the sway bar loose.
That freaking lower strut bolt. I had a 30 mm socket but it wasn't deep enough, so if you're going to buy/borrow one then make sure you get a deep well. I used a 1-3/16 since I had one already...it worked fine with only minimal amount of wiggle. That bugger is on there tight from the factory but I broke it with only a 24" 1/2" drive pull bar and I'm 5'6" 165lbs. I had to drive the bolt out. I used a 6" extension and drove it right out. The Ford shop manual DVD says it is supposed to be torqued back to 351 ft-lbs but the instructions only say 250 ft-lbs or so. I was able to get it tighter than it was from the factory with the pull bar. Granted it took me wedging the 1-1/16 wrench so that it wouldn't turn and then putting both feet up on the frame and pulling as hard as I could. I don't have a torque wrench that goes over 150 ft-lbs and I was worried about this but it actually worked out fine.
The upper ball joint.. You need prybar for moving that upper control arm around. You may need some vise grips if the ball joint starts sprinning on you..both of mine did. The threads on my ball joint were pretty haggard. I suggest using a wire brush and clean the threads before you start taking the nut off.. You may not need too but on my driver's side as I started taking the nut off it began to seize on the rust so I had to bust the joint loose and grab the ball joint with the vise grips to keep it from turning. Oh and please do not bother with any type of puller to get the ball joint loose from the spindle. Once you get the nut off just smack it with a mini sledge about 3-4 times and it will pop loose.
When I started putting the spacer on the first strut I couldn't tell by the instructions which one went on the driver's side but on my 2 in lift the spacers are the same. There isn't a driver or passenger one. They just go on one way on the strut but when you put the strut back in it spins around and goes back in at 180 degrees. The instructions say that but I didn't really get it until I put the first one it. When your putting the strut in its easier to sit the bottom in them pry the UCA up and lean the top back into position.
I had to use a vise grip on the sway bar nut both sides to keep it from spinning. I could use the ratchet to get it close but then it would spin, so I just grabbed it with the vise grips and tightened it up with a wrench. Once it was pretty tight I could torque it.
Make sure you have a big jack stand and a decent floor jack. Using one of those small jacks like for cars would be dangerous.
Give yourself plenty of time if you can....oh and the second one goes way faster.
As far as the lift it is GREAT!! It sits dead level and you can really tell the difference. You can also tell from the inside.
Last edited by todd4x4; Jan 26, 2014 at 06:01 PM. Reason: added in some other stuff I thought about

Junior Member
Joined: Jul 2012
Posts: 4
Likes: 0
From: West Kentucky
Has anyone noticed the upper control arm is touching the strut? This is only with the wheel off and the suspension is in full droop.. Otherwise its the best 100 bucks I've spent, and Ive got the 2.5 kit on mine and im at 3/4in higher in the front.

Senior Member
Joined: May 2011
Posts: 303
Likes: 1
From: PA
My 05 I had (AS 2.5) hit at full suspension flex. My cousins 06 had a different level kit and hit too. Mine was on 40,000 miles and I took the truck off road on several occasion and never had a problem. Only thing I noticed is the coil had a few marks.
Junior Member
Joined: Jul 2012
Posts: 4
Likes: 0
From: West Kentucky
Sweet Thanks.I was kinda worried about it. I thank you brohttp://images.ibsrv.net/ibsrv/res/src:http://www.f150online.com/get/forums...s/Noob.gifther

Great thread. I know this is kind of old, but it all still applies.
I just ordered a set of Rancho QuickLifts and I am thinking about doing it myself. Instead of the $360 to $415 prices I am seeing for Front / Rear install plus alignment at Ford Dealership, 4WheelParts, and PepBoys.
I am beginning to think I can do it based on this post and a couple YouTube video's.
Quick question though, if I do it myself, I would be driving about 70 miles north of where I live to do it on our Family Farm, since I don't own all the tools/jacks.
If I did it up there then drove back. Would it be bad if I didn't get the alignment till after I got back?
From what I've read the alignment isn't 'too' far off, you should be OK. I lowered ny Ranger and never got an alignment lol, drove it for seven years like that.
I just bought a 14 Screw 4x4, I'm getting a 2.5" kit and 3" blocks. My future brother in law has the Bilstein adjustable struts with 3" blocks and it looks great. Ill be doing my sister's 13 FX4 Screw also. Ordering our kits tomorrow.
I just bought a 14 Screw 4x4, I'm getting a 2.5" kit and 3" blocks. My future brother in law has the Bilstein adjustable struts with 3" blocks and it looks great. Ill be doing my sister's 13 FX4 Screw also. Ordering our kits tomorrow.

Junior Member
Joined: Jan 2015
Posts: 1
Likes: 0
2.5in leveling struts
so I went to a buddy's shop to get my strut extinctions put on and he said I'd need to get to spin falls because they were too close to my shocks? anyone else have this problem? trying to put it on my 04 f150 supercab 2wd

Member
Joined: Jul 2013
Posts: 30
Likes: 0
sorry for the necro

Junior Member
Joined: May 2016
Posts: 6
Likes: 0
Doable, but NOT easy!!!
OP, thank you for posting this, as I looked like I knew what I was doing when my neighbor stopped by... LOL...
I just did an AS 1.5" leveling kit two days ago on my 2013 FX4...
1) I had a helper, (I think it would be nearly impossible solo)
2) I have air tools, thank God, cause the lower strut bolt wasn't budging even with a huge breaker bar!
3) Be careful with the front axles on a 4x4, (I almost overextended and dropped my right front!)
4) I have new scars and bruises to show for my 4 hour job, but I also have the satisfaction of a job well done.
5) Truck looks great and I'll post before and after pics soon!