


Custom center console box build


Thread Starter
|
Technical Article Contributor
Joined: Mar 2006
Posts: 1,460
Likes: 1
From: Near Houston
Custom center console box build
I have been building a custom center console box to replace my useless center jumpseat. I have wanted to do this for a while and finally had enough time to knock it out. I wanted something that would blend well with the interior and still hold its own in the sub department without doing the typical under seat box.
I modeled it after the 09+ center shift consoles.
It holds an IDQ10 v3 sub and the enclosure has been built to the recommended specs.
It also has LED trim rings in the cupholders that light with the interior lights and are fully dim-able via the dimmer switch. (not wired in yet though)
There are over 250 pics in my allbum (link posted further down)
and they are all VERY VERY large. I just dont have the time to resize that many pics. Here are just a few of the build-up
Small pics, click for bigger res.
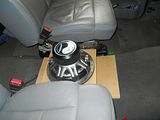
Bottom of box truck was a little dirty i vacuumed it after i got everything fitted lol.
sides
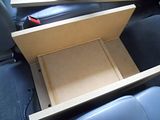
Box put together, I made some feet so it would sit level. It bolts in to the factory center seat bolts.
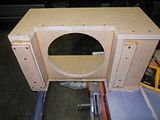
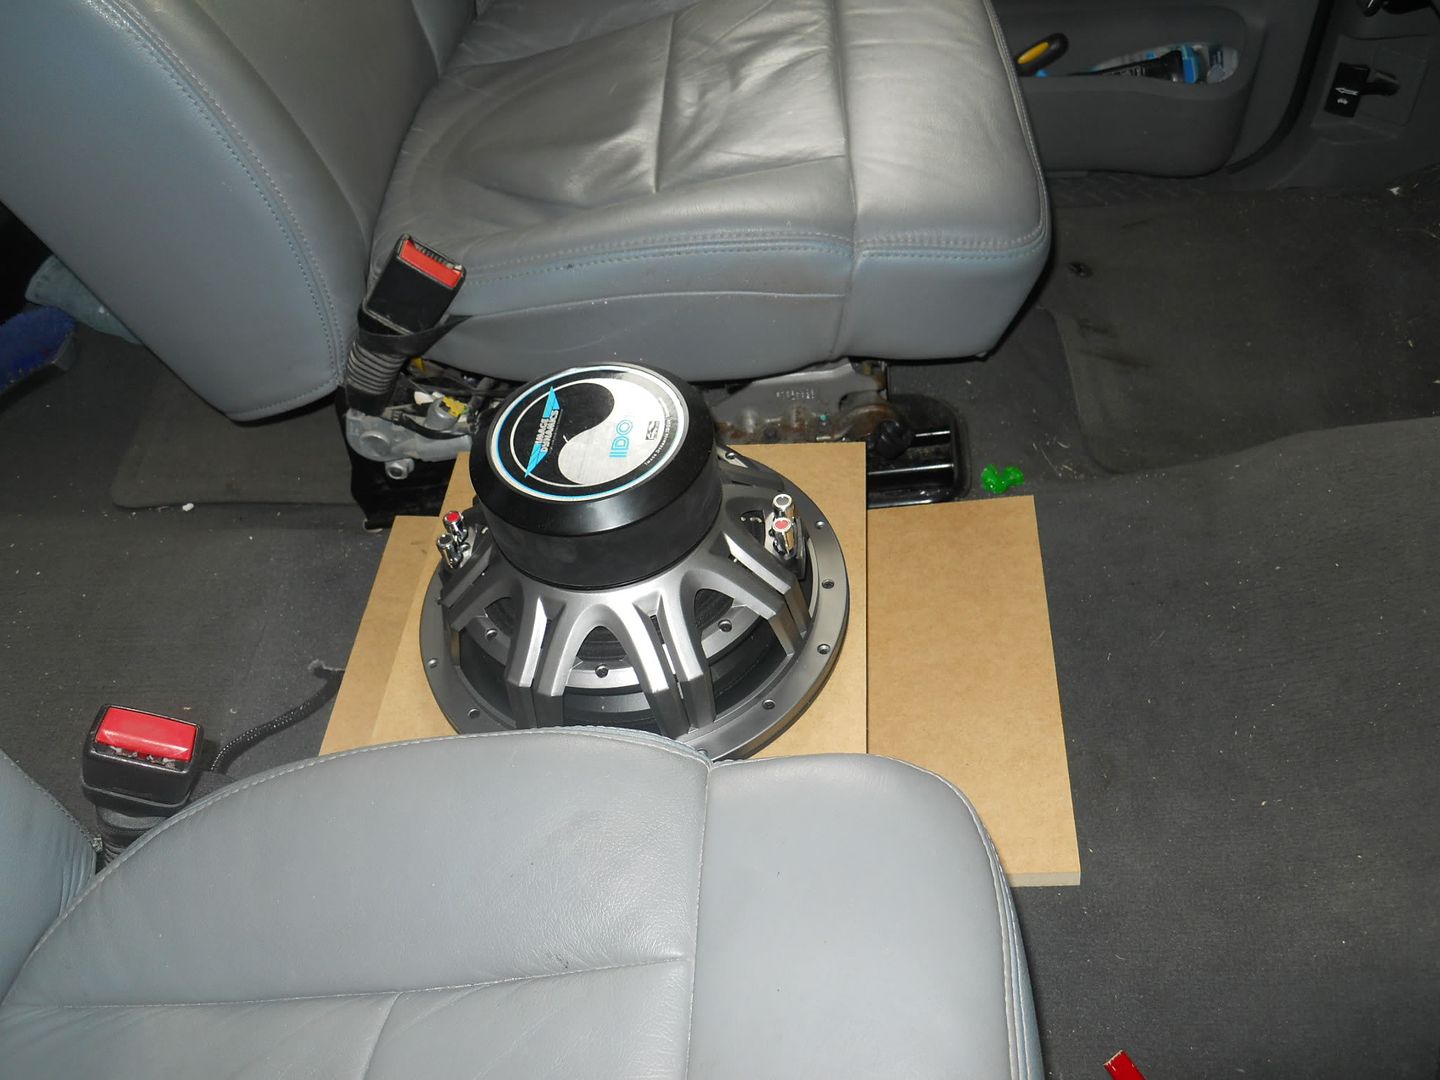
Sub in place for fitment.
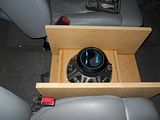
Did a few calculations and measured for the ends and top.
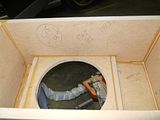
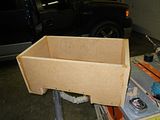
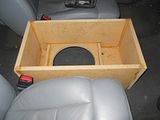
Mocked up the side panels
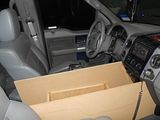
And i plan to use the factory rear cupholder/powerpoint assembly.
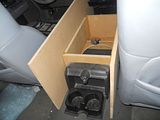
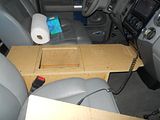
Once bolted down I cut the top and notched it to fit into the dash opening. I ditched the small compartment under the cupholders.
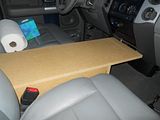
It will have two layers. One on bottom that is the box top and then a top "finish" layer on top of it that will house the cupholders and tray etc.
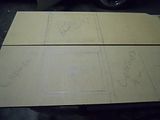
I trimmed out the top piece where the sub is. The lower top will hold a 1/2 thick sealed plexy to show off the sub.
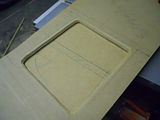
And here it is.
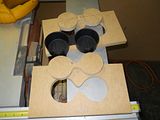
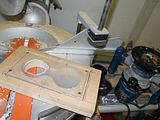
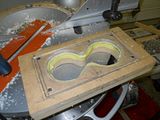
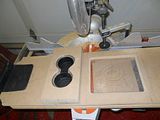
I then started on the front tray area, cupholders, and plexi lighted trim rings.
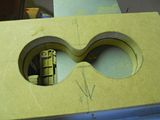
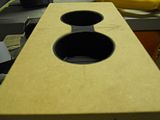
I modeled it after the 09+ center shift consoles.
It holds an IDQ10 v3 sub and the enclosure has been built to the recommended specs.
It also has LED trim rings in the cupholders that light with the interior lights and are fully dim-able via the dimmer switch. (not wired in yet though)
There are over 250 pics in my allbum (link posted further down)
and they are all VERY VERY large. I just dont have the time to resize that many pics. Here are just a few of the build-up
Small pics, click for bigger res.
Bottom of box truck was a little dirty i vacuumed it after i got everything fitted lol.
sides

Box put together, I made some feet so it would sit level. It bolts in to the factory center seat bolts.

Sub in place for fitment.

Did a few calculations and measured for the ends and top.


Mocked up the side panels

And i plan to use the factory rear cupholder/powerpoint assembly.

Once bolted down I cut the top and notched it to fit into the dash opening. I ditched the small compartment under the cupholders.

It will have two layers. One on bottom that is the box top and then a top "finish" layer on top of it that will house the cupholders and tray etc.

I trimmed out the top piece where the sub is. The lower top will hold a 1/2 thick sealed plexy to show off the sub.

And here it is.

I then started on the front tray area, cupholders, and plexi lighted trim rings.


Last edited by Fabian06SC; Jun 18, 2011 at 09:04 PM.
Thread Starter
|
Technical Article Contributor
Joined: Mar 2006
Posts: 1,460
Likes: 1
From: Near Houston
Mocked it up in the truck
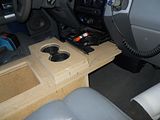
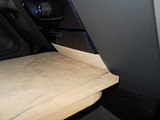
And cut a small trim piece where it meets the dash under the dash pop-out cupholders
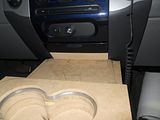
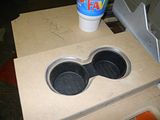
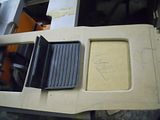
I then finished up the front tray area. The tray and cupholder inserts are from a late model fusion.
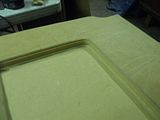
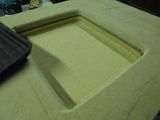
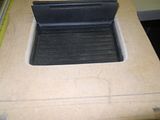
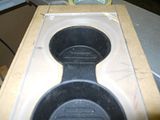
I then put the cupholders in place.
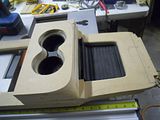
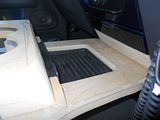
The rear mount for the factory rear cupholder.
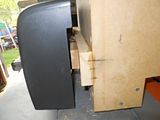
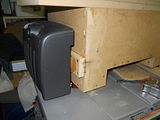
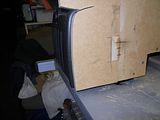
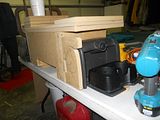
I then jumped back up front to blend the cupholders into the tray surround.
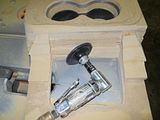
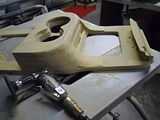
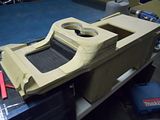
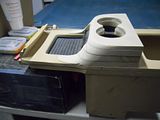

And cut a small trim piece where it meets the dash under the dash pop-out cupholders


I then finished up the front tray area. The tray and cupholder inserts are from a late model fusion.


I then put the cupholders in place.


The rear mount for the factory rear cupholder.


I then jumped back up front to blend the cupholders into the tray surround.


Thread Starter
|
Technical Article Contributor
Joined: Mar 2006
Posts: 1,460
Likes: 1
From: Near Houston
The cupholder was removable for now, i still had to do the LEDs in the plexi.
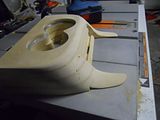
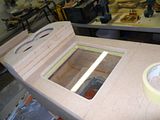
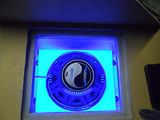
And here it is with the plexi in place
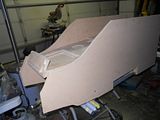
I started to rough trim down the side walls to fit.
And then a quick test fit in the truck
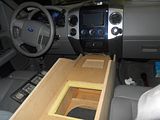
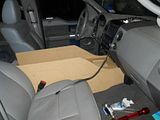
And started the center console portion.
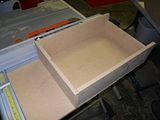
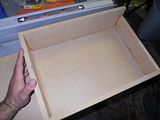
The lid for the console and i made the rear cupholders in the same fashion as the front.
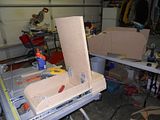
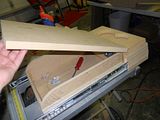
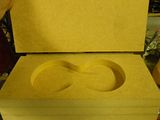
I kerfed the front of the lid to fit the rounded contour and finished up the plexi for the rear cupholder. It also has ball bearing drawer slides so that you can slide the entire upper console back to reveal the sub.
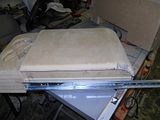
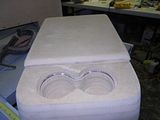

And here it is with the plexi in place

I started to rough trim down the side walls to fit.

And then a quick test fit in the truck


And started the center console portion.


The lid for the console and i made the rear cupholders in the same fashion as the front.


I kerfed the front of the lid to fit the rounded contour and finished up the plexi for the rear cupholder. It also has ball bearing drawer slides so that you can slide the entire upper console back to reveal the sub.


Thread Starter
|
Technical Article Contributor
Joined: Mar 2006
Posts: 1,460
Likes: 1
From: Near Houston
I had the inside of the box painted silver and took the IDQ apart and painted the basket blue.
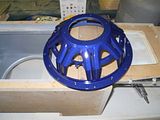
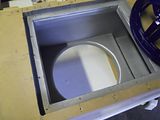
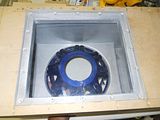
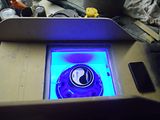
And i got my LEDs soldered up and in place on the cupholders.
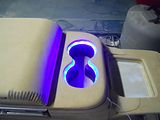
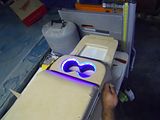
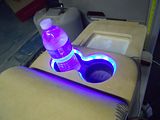
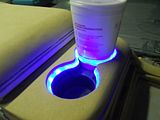
Finished the inside of the cupholders in flat black, you can see the LEDs here too
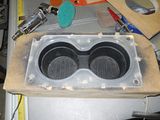
Front and rear
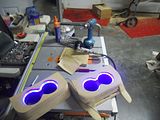
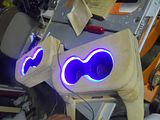


And i got my LEDs soldered up and in place on the cupholders.


Finished the inside of the cupholders in flat black, you can see the LEDs here too

Front and rear


Thread Starter
|
Technical Article Contributor
Joined: Mar 2006
Posts: 1,460
Likes: 1
From: Near Houston
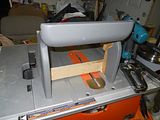
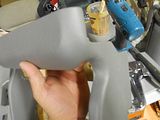
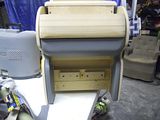
I then trimmed down the side cover panels to shape and made a rear finish plate for the area around the lower factory cupholder.
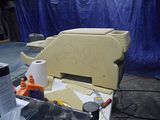
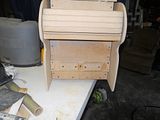
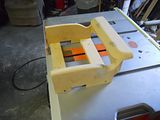
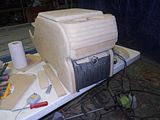
And i wrapped the rear piece. I found the perfect grey vinyl to match my seats and the factory grey plastics to the T!
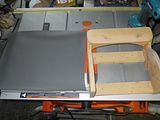
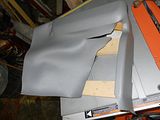
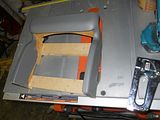
A ton more to come, ill post the rest of it tomorrow. Thanks for the comments thus far guys.


And i wrapped the rear piece. I found the perfect grey vinyl to match my seats and the factory grey plastics to the T!


A ton more to come, ill post the rest of it tomorrow. Thanks for the comments thus far guys.
Trending Topics

Senior Member

Joined: Jan 2008
Posts: 499
Likes: 0
From: Middelburg Florida
I then trimmed down the side cover panels to shape and made a rear finish plate for the area around the lower factory cupholder.
And i wrapped the rear piece. I found the perfect grey vinyl to match my seats and the factory grey plastics to the T!
A ton more to come, ill post the rest of it tomorrow. Thanks for the comments thus far guys.
And i wrapped the rear piece. I found the perfect grey vinyl to match my seats and the factory grey plastics to the T!
A ton more to come, ill post the rest of it tomorrow. Thanks for the comments thus far guys.

 mad skills


Thread Starter
|
Technical Article Contributor
Joined: Mar 2006
Posts: 1,460
Likes: 1
From: Near Houston
Thanks guys,
heres the rest.
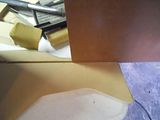
I made a small recess cut on both of the side panels for a large front pocket.
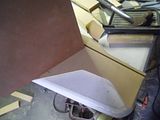
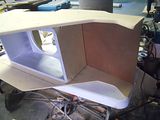
And did a little body work on the front area.
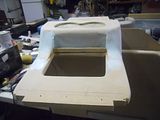
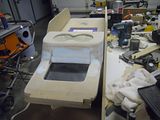
I then temporarily mounted the sub to check fitment and clearance.
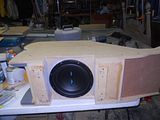
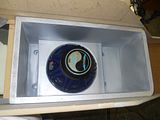
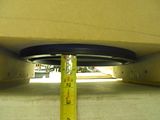
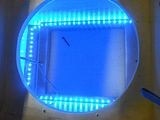
I added a large square of LED strips to the inside of the box.
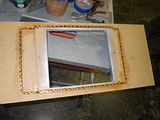
I wrapped the lid and insalled it to check fitment with the slides.
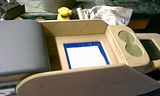
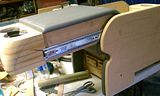
Console closed
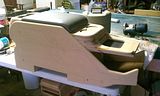
Console opened
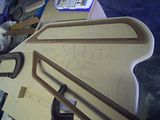
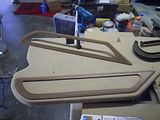
With just about everything else done, i decided my side panels looked too plain and flat. I cut two identical trim pieces and added them in. I then bodyworked the outer edge to blend it to the surroundings but left the inside edge to give it some shape.
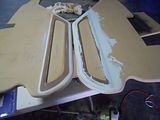
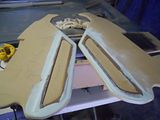
heres the rest.
I made a small recess cut on both of the side panels for a large front pocket.


And did a little body work on the front area.


I then temporarily mounted the sub to check fitment and clearance.


I added a large square of LED strips to the inside of the box.


I wrapped the lid and insalled it to check fitment with the slides.
Console closed

Console opened


With just about everything else done, i decided my side panels looked too plain and flat. I cut two identical trim pieces and added them in. I then bodyworked the outer edge to blend it to the surroundings but left the inside edge to give it some shape.


Last edited by Fabian06SC; Jun 19, 2011 at 05:05 PM.
Thread Starter
|
Technical Article Contributor
Joined: Mar 2006
Posts: 1,460
Likes: 1
From: Near Houston
With the sides done I secured them to the box and covered them in vinyl.
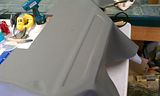
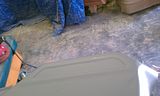
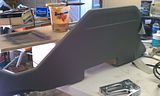
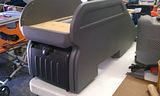
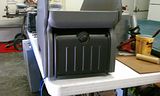
And here is the large front pocket with some fuzzy black material i bought at wally mart.
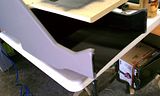
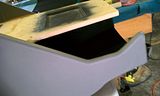
All together and almost done.
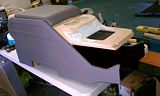
I then pulled everything apart one final time for paint and final finish.
The entire top and console area will be PTM blue.
I smoothed and prepped all the wood and then did a few coats of automotive primer.
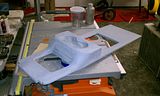
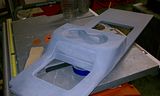
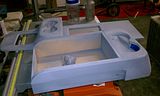
I masked off the parts and left the painting to the pros. Dropped off the parts at my bud's shop, BK customz and collision.
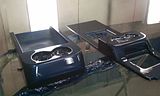
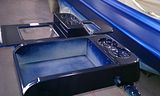
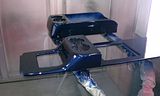


And here is the large front pocket with some fuzzy black material i bought at wally mart.


All together and almost done.

I then pulled everything apart one final time for paint and final finish.
The entire top and console area will be PTM blue.
I smoothed and prepped all the wood and then did a few coats of automotive primer.


I masked off the parts and left the painting to the pros. Dropped off the parts at my bud's shop, BK customz and collision.


