
How to: 04-08 OEM Reverse Camera Install (56k Warning)


Thread Starter
|
Senior Member
Joined: Dec 2009
Posts: 121
Likes: 0
How to: 04-08 OEM Reverse Camera Install (56k Warning)
** Disclaimer: This article is for informational purposes only. Neither I, nor F150Online.com are responsible for any damage done to yourself, vehicle, house, garage, etc. while attempting this modification. Know your limits while working on your vehicle. If you don�t know how to do something, research it or get someone who knows what they�re doing to help.**
There are a lot of different combinations of handles and cameras the you can put together to do this.. I would suggest looking for a used OEM handle/camera. You�re going to get the best quality from this set up and you can most likely find it for cheap on the Internet or at an auto recycler. And as a bonus, most of the time they come with a warranty!
What you�re going to need to do this project
Wire stripper
Soldering gun and solder
Rca Cable (If you get 20ft, you�ll be safe)
Wire
File
10mm socket (for the tailgate handle)
T30 torx bit (for the panel on the back of the tailgate)
7mm socket (to take the Head Unit out)
**if applicable** Something to cut your tailgate (I used a sawzall)
Okay, so I started inside my truck. You may start elsewhere if you wish. I started by running my RCA from the back of my HU to the back of the truck. To get the HU out, open the ashtray and pull on the bottom of the center panel. Next you�ll need a 7mm socket to remove the (4) screws holding in the HU.

I plugged in the RCA to the back of the HU and started to run the wires. I found that the best route for the wires was to go through the rubber grommet located under the drivers scuff plate.
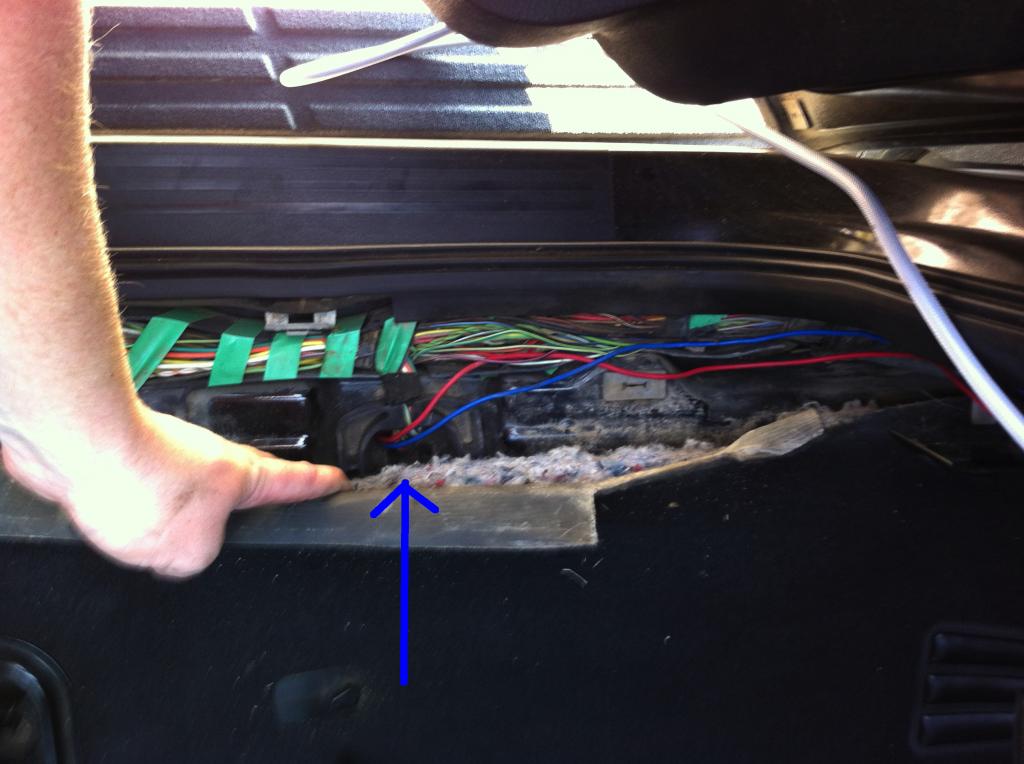
I then ran it down the drivers side frame rail and up through the tailgate. Next, I ran my reverse trigger wire from the HU, behind the dash to the drivers scuff plate. The wire you�re looking for is black/pink (reverse).

Next, I spliced into the reverse wire at my taillight for a power source and ran the wire to my camera.
After you have all your wires run, the next step is to remove your tailgate panels. You�ll need your T30 Torx bit. There are (7) screws to remove the plastic panel. Underneath the plastic panel, there is also a metal panel protecting the inside of the tailgate. This is secured with the same T30 Torx screws. So, you�ll be able to move it without removing anything else.
Now, you�ll need your 10mm socket to remove the (2) nuts securing the tailgate handle.

To run the wires up through the tailgate you just have to fish them through the bottom and it takes a little luck to get them through the holes.
** I have a 2005. My truck needed a little cutting to get the handle to fit.. Depending on the year of your truck, yours may NOT need cutting to fit the handle!!**
Now comes the scariest part, cutting your tailgate! I used a sawzall. It seemed to work pretty well. After you�re done cutting, make sure to file down the sharp edges.

Now, it is time to wire up the camera. Mine came with the wiring harness.

This is what I cut off

Here is the wiring for the camera
Pin 1-- violet/brown is the 12V power feed (Reverse Lights)
Pin 2-- white/green is the NTSC video signal from the camera (video power)
Pin 3-- brown/violet is the ground for the video signal (video ground)
Pin 4-- is the shield for the video signal (ground)
Pin 5-- black/white is a ground
You�ll need to cut the end off of your RCA cable and split the wires inside (outside wire is ground, inside wire is power). These will connect to the video power and video ground on your camera.
Once you�re done all your wiring, its time to put everything back together!!
Here is a pic of my Reverse cam mounted in the tailgate.

And a couple pics of My HU with the truck in reverse.


If I missed anything or messed anything up, let me know and I'll add it.
There are a lot of different combinations of handles and cameras the you can put together to do this.. I would suggest looking for a used OEM handle/camera. You�re going to get the best quality from this set up and you can most likely find it for cheap on the Internet or at an auto recycler. And as a bonus, most of the time they come with a warranty!
What you�re going to need to do this project
Wire stripper
Soldering gun and solder
Rca Cable (If you get 20ft, you�ll be safe)
Wire
File
10mm socket (for the tailgate handle)
T30 torx bit (for the panel on the back of the tailgate)
7mm socket (to take the Head Unit out)
**if applicable** Something to cut your tailgate (I used a sawzall)
Okay, so I started inside my truck. You may start elsewhere if you wish. I started by running my RCA from the back of my HU to the back of the truck. To get the HU out, open the ashtray and pull on the bottom of the center panel. Next you�ll need a 7mm socket to remove the (4) screws holding in the HU.
I plugged in the RCA to the back of the HU and started to run the wires. I found that the best route for the wires was to go through the rubber grommet located under the drivers scuff plate.
I then ran it down the drivers side frame rail and up through the tailgate. Next, I ran my reverse trigger wire from the HU, behind the dash to the drivers scuff plate. The wire you�re looking for is black/pink (reverse).
Next, I spliced into the reverse wire at my taillight for a power source and ran the wire to my camera.
After you have all your wires run, the next step is to remove your tailgate panels. You�ll need your T30 Torx bit. There are (7) screws to remove the plastic panel. Underneath the plastic panel, there is also a metal panel protecting the inside of the tailgate. This is secured with the same T30 Torx screws. So, you�ll be able to move it without removing anything else.
Now, you�ll need your 10mm socket to remove the (2) nuts securing the tailgate handle.
To run the wires up through the tailgate you just have to fish them through the bottom and it takes a little luck to get them through the holes.
** I have a 2005. My truck needed a little cutting to get the handle to fit.. Depending on the year of your truck, yours may NOT need cutting to fit the handle!!**
Now comes the scariest part, cutting your tailgate! I used a sawzall. It seemed to work pretty well. After you�re done cutting, make sure to file down the sharp edges.
Now, it is time to wire up the camera. Mine came with the wiring harness.
This is what I cut off
Here is the wiring for the camera
Pin 1-- violet/brown is the 12V power feed (Reverse Lights)
Pin 2-- white/green is the NTSC video signal from the camera (video power)
Pin 3-- brown/violet is the ground for the video signal (video ground)
Pin 4-- is the shield for the video signal (ground)
Pin 5-- black/white is a ground
You�ll need to cut the end off of your RCA cable and split the wires inside (outside wire is ground, inside wire is power). These will connect to the video power and video ground on your camera.
Once you�re done all your wiring, its time to put everything back together!!
Here is a pic of my Reverse cam mounted in the tailgate.
And a couple pics of My HU with the truck in reverse.
If I missed anything or messed anything up, let me know and I'll add it.


Senior Member

Joined: Mar 2013
Posts: 6,677
Likes: 0
From: Houston and College Station, TX
Trending Topics


Senior Member
Joined: May 2008
Posts: 1,836
Likes: 1
From: NY
In that case I got a place to purchase the cameras for a pretty good price
https://www.f150online.com/forums/el...eard-them.html
https://www.f150online.com/forums/el...eard-them.html
Thread Starter
|
Senior Member
Joined: Dec 2009
Posts: 121
Likes: 0
Sorry, it's been a hectic couple days.. I did pretty much the same thing as you except mine had a bigger hole in the bottom of the tailgate.. I'm glad I went to take pictures because apparently my wire loom came off haha.


