
Hood Damage.. (repaired?!)


Thread Starter
|
Senior Member
Joined: Mar 2008
Posts: 708
Likes: 0
From: Texas
Hood Damage.. (repaired?!)
lol.. Here's a quick update on what I've been doing.. I decided to take it upon myself and attempt to "fix" the hood at home.. lol
I went around town and got a few estimates ranging from $400-500.. I suppose I could have lived with the dent, as I'm sure it wont be the last. But I went out and bought $25 of supplies and I'm in the process of fixing it myself.. lol
Will it be perfect? No.. but it'll be cheap! lol, it's not like it could look any worse.. right?
Worst case scenario.. I totally screw up and I take it in to get fixed "professionally" or just buy an aftermarket hood..
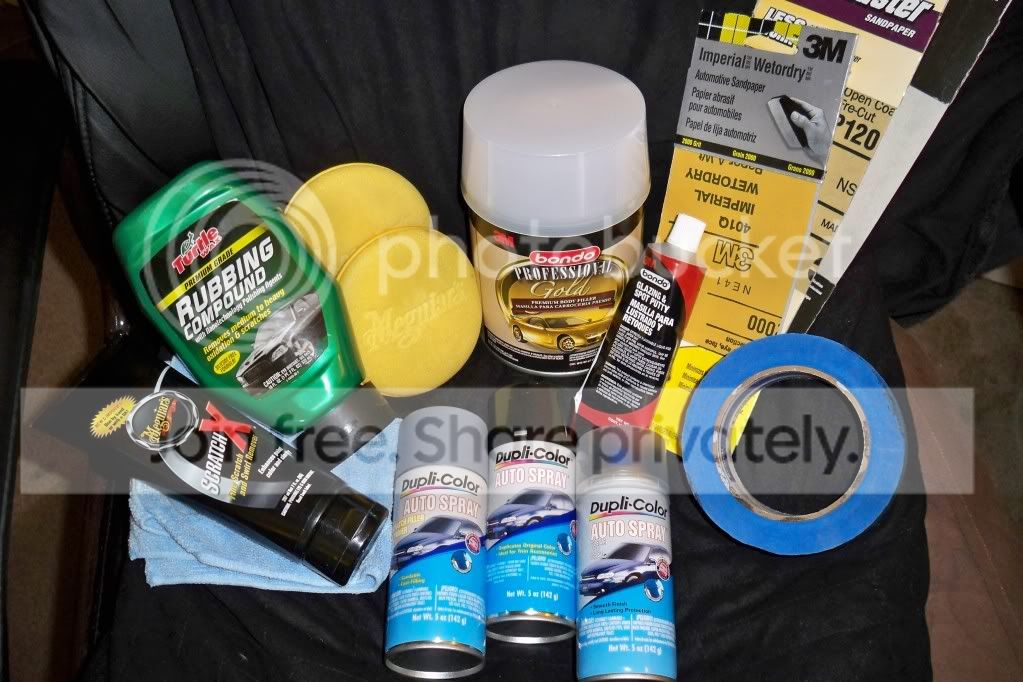
Anywho.. here's what I have in my corner.. Bondo Professional Filler, Bondo Glazing/Putty, 120grit, 320grit, 400grit, 800grit, 1500grit, 2000grit sandpapers, Blue painter's tape, brown shop paper, rubbing compound, scratch-x, Duplicolor auto primer, base, and clear coat.
It was either a hit or miss situation.. but I did some Youtube research and figured it couldn't be that hard.. lol
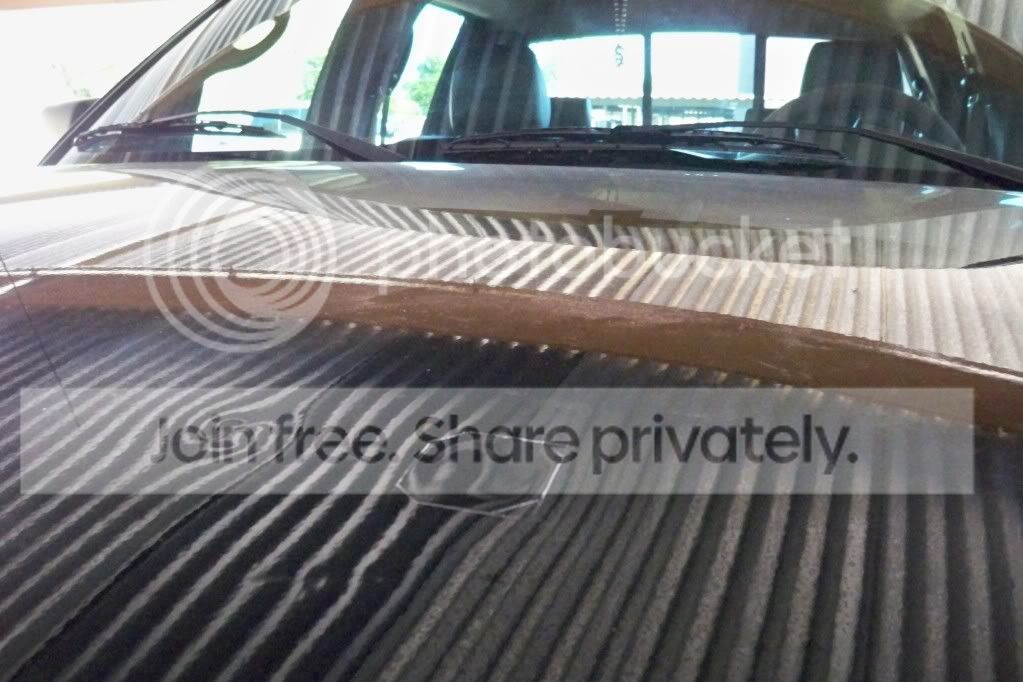
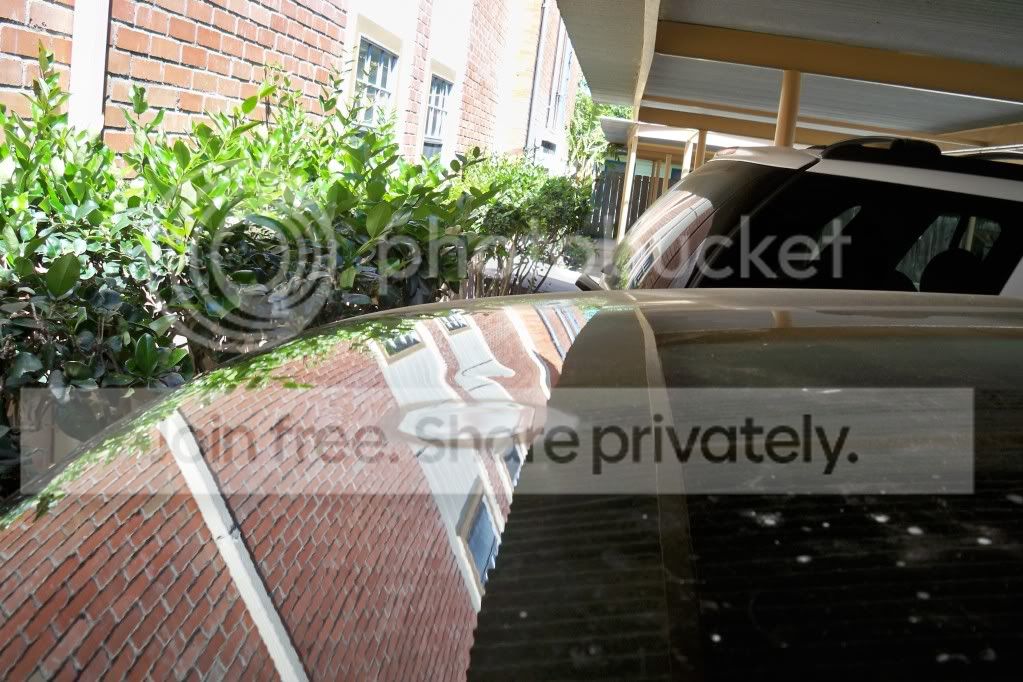
Anywho.. there's no going back now.. I already went through with the "repairs".. I only attempted to fix the big dent with the paint chip and left the smaller dent on the left alone for now.. I haven't gone back and done a final wetsand and buff.. I'll save that for tomorrow..
anywho.. I took a bunch of pics throughout the process.. Here's where I'm at right now! lol
Before


During


More on next post...
I went around town and got a few estimates ranging from $400-500.. I suppose I could have lived with the dent, as I'm sure it wont be the last. But I went out and bought $25 of supplies and I'm in the process of fixing it myself.. lol
Will it be perfect? No.. but it'll be cheap! lol, it's not like it could look any worse.. right?
Worst case scenario.. I totally screw up and I take it in to get fixed "professionally" or just buy an aftermarket hood..
Anywho.. here's what I have in my corner.. Bondo Professional Filler, Bondo Glazing/Putty, 120grit, 320grit, 400grit, 800grit, 1500grit, 2000grit sandpapers, Blue painter's tape, brown shop paper, rubbing compound, scratch-x, Duplicolor auto primer, base, and clear coat.
It was either a hit or miss situation.. but I did some Youtube research and figured it couldn't be that hard.. lol
Anywho.. there's no going back now.. I already went through with the "repairs".. I only attempted to fix the big dent with the paint chip and left the smaller dent on the left alone for now.. I haven't gone back and done a final wetsand and buff.. I'll save that for tomorrow..
anywho.. I took a bunch of pics throughout the process.. Here's where I'm at right now! lol
Before
During
More on next post...
Thread Starter
|
Senior Member
Joined: Mar 2008
Posts: 708
Likes: 0
From: Texas


As you can see.. I'm not exactly finished.. I still have some final wetsanding/buffing after the clear cures.. I'd give myself a 6/10.. for a first attempt, but we won't know the final results until tomorrow.. so stay tuned!
I'm still debating whether or not I'll go back for more! I may be able to do some scar revision on the first dent.. I may end up leaving the smaller dent on the left alone depending on how well the paint buffs out.
Worst case scenario.. I could always throw on some bullet hole decals.. FX4 Gangtsta!
Last edited by zeruin; Apr 13, 2009 at 04:58 PM.

Thread Starter
|
Senior Member
Joined: Mar 2008
Posts: 708
Likes: 0
From: Texas
I didn't want to do both dents at once, because the 2nd dent wasn't that bad, and I wanted to make sure I could figure out what I was doing on the first one..
Originally my intentions were to keep the painting as minimal as possible, the pictures don't do the hood any justice.. aside from the small impression, the touch-up area actually matches the surrounding paint fairly well.. I haven't finished blending it in yet.. so it's still too early to say what it's going to look like.. it's a work in progress. Mind you, this is the first time I've done any "body work" I dont think it's coming out that bad.. lol
Depending on the finished product tomorrow, I may end up sanding down a significantly larger perimeter and attempt to touch up both of the dents simultaneously. I decided to stick with a smaller area the first time around in the event I mess up horribly.. I figured it would be easier to "blend" a smaller touchup job than a huge one.


Senior Member
Joined: Feb 2007
Posts: 3,711
Likes: 5
From: Rhode Island
Trending Topics

Senior Member
Joined: Dec 2008
Posts: 508
Likes: 0
From: Sault,ontario,CaNaDa
hey not to shabby for your first time! shouldve gone a lil bit bigger, tape off just before the reflexion of the roof in the paint starts to wave it wouldve been easier to blend the dent but other than that. great for 25 bones, good luck on the other one
Last edited by shifty219; Apr 13, 2009 at 10:30 PM. Reason: me no typey good

Thread Starter
|
Senior Member
Joined: Mar 2008
Posts: 708
Likes: 0
From: Texas


 - Og
- Og

Senior Member
Joined: Sep 2007
Posts: 1,512
Likes: 1
From: >wwOwww<


