
PTM Project and some extras


Thread Starter
|
Senior Member
Joined: Mar 2008
Posts: 2,077
Likes: 0
From: Mesquite
Ok, got some updates.
I got the wet sanding done, let them dry overnight and cleared them this morning. About 4 coats of clear. I did get one run but its small and I will wet sand it out. I also had one of those stupid reflector filler pieces turn over on me after the clear coat. I went ahead with the rest of the coats in hopes I can wet sand it out but I think I will have to start over.
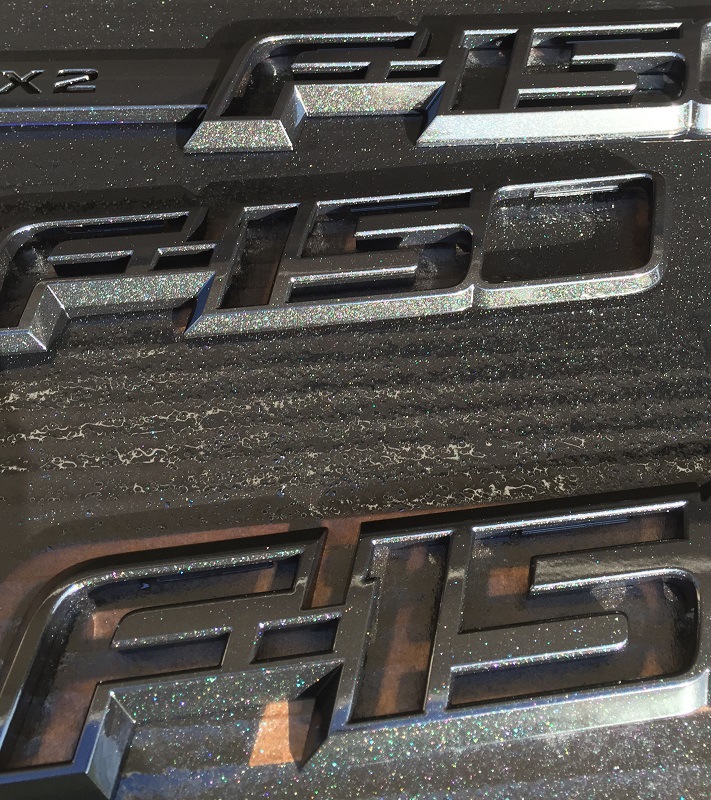
The piece that turned over. You can see the difference in the clear levels towards the lower left.
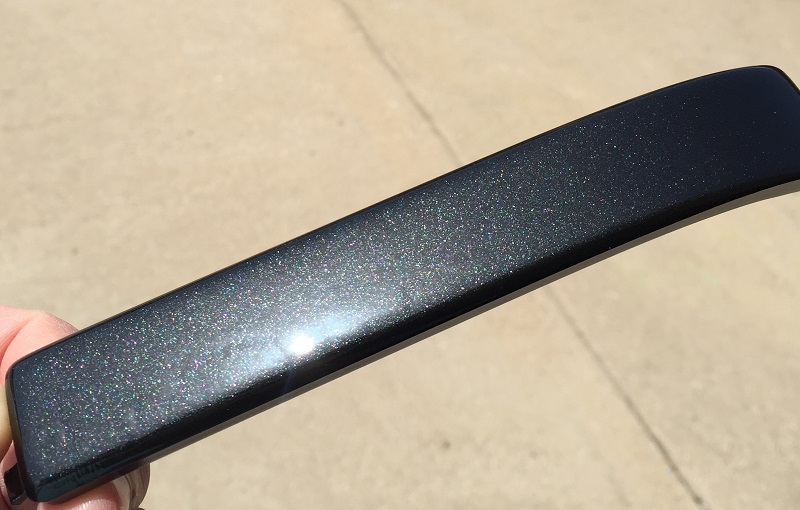
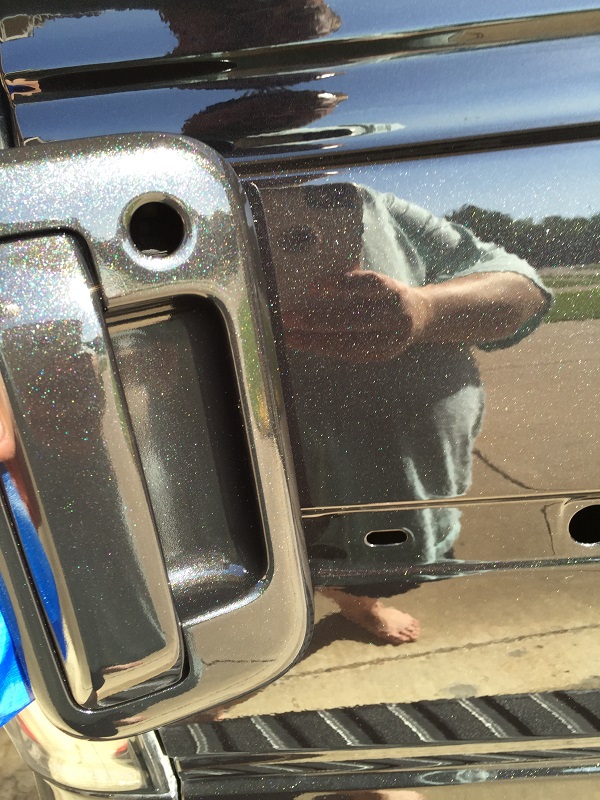
Here is a pic of the only piece dry enough to get a pic of. The tailgate handle. As you can see it is still a bit of orange peel so I need to sand and polish. I left the texture in the bucket part on purpose but only on the bottom.
Anyway, I need to figure out how I am going to wet sand these and hand polish them since I don't have a buffer. I am open to ideas.
I got the wet sanding done, let them dry overnight and cleared them this morning. About 4 coats of clear. I did get one run but its small and I will wet sand it out. I also had one of those stupid reflector filler pieces turn over on me after the clear coat. I went ahead with the rest of the coats in hopes I can wet sand it out but I think I will have to start over.
The piece that turned over. You can see the difference in the clear levels towards the lower left.
Here is a pic of the only piece dry enough to get a pic of. The tailgate handle. As you can see it is still a bit of orange peel so I need to sand and polish. I left the texture in the bucket part on purpose but only on the bottom.
Anyway, I need to figure out how I am going to wet sand these and hand polish them since I don't have a buffer. I am open to ideas.
Thread Starter
|
Senior Member
Joined: Mar 2008
Posts: 2,077
Likes: 0
From: Mesquite
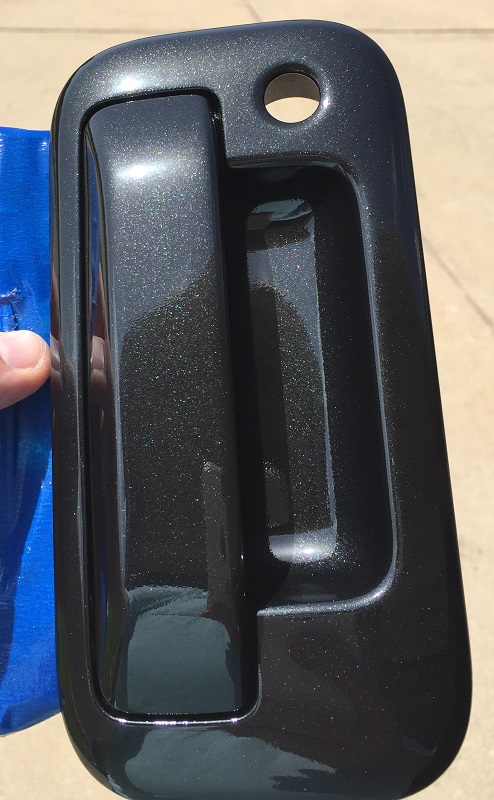
Question for you guys. I took a picture of the handle next to the paint and I really like the match. Yes, even the orange peel. It matches the truck perfectly. Now, I know there is a reason you sand and polish but is it harmful to leave it the way it is, with the orange peel so it matches the truck? If there is no harm to it to leave it then I am going to do a final sand and a couple more coats of clear to finish it off.
Last edited by Blue150; Jun 24, 2015 at 06:39 PM.
Global Moderator &
Senior Member
Senior Member


Joined: Aug 2007
Posts: 7,890
Likes: 61
From: Among javelinas and scorpions in Zoniestan
I think the match is great and don't see the "orange peel" you speak of. I certainly don't see how it could be "harmful".
Of course, I may be confused by the reflection of Bigfoot in the paint.
Seriously, that's a pretty color and I wish it wouldn't show dirt so quickly.
- Jack
Of course, I may be confused by the reflection of Bigfoot in the paint.
Seriously, that's a pretty color and I wish it wouldn't show dirt so quickly.
- Jack


Senior Member
Joined: May 2013
Posts: 273
Likes: 0
From: Angola, IN
PTM Project and some extras
As far as I know the" orange peel" is just a cosmetic thing. I've left orange peel on projects that I've painted and never had any problems with it. I will admit I haven't taken on a job like yours however.
Thread Starter
|
Senior Member
Joined: Mar 2008
Posts: 2,077
Likes: 0
From: Mesquite
Yeah my fat *** takes up alot of space in the reflection. lol
I am going to sand repair the three pieces that I need to and lay another coat of clear and call it a day. I just did my fender badges PTM too and they look outstanding. Now I just need all my vinyl work to come in so I can put it all together.
I am going to sand repair the three pieces that I need to and lay another coat of clear and call it a day. I just did my fender badges PTM too and they look outstanding. Now I just need all my vinyl work to come in so I can put it all together.
Thread Starter
|
Senior Member
Joined: Mar 2008
Posts: 2,077
Likes: 0
From: Mesquite
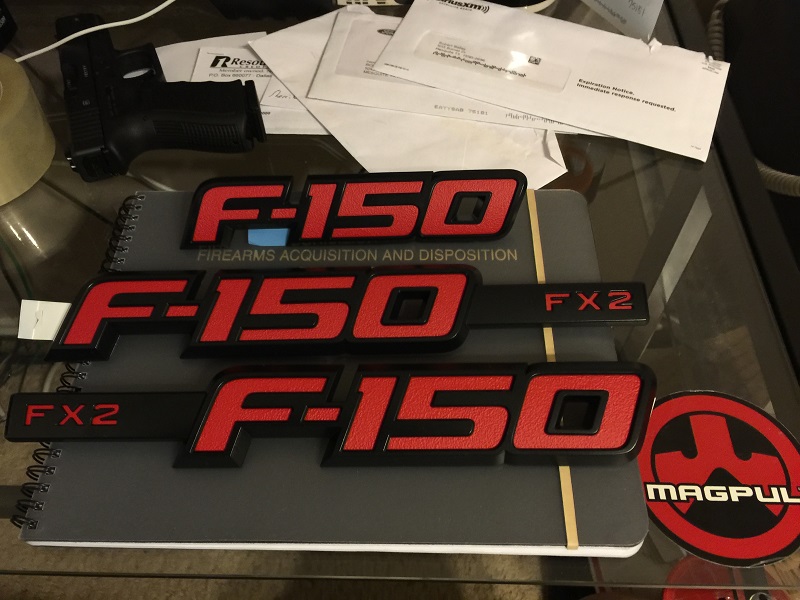
Here are the badges. They were black plastic and painted by Ford in satin black so I relied on their prep job and just applied 2 base color coats on top of the black. Then 2 coats of high gloss clear. I used the same paints I used on the other pieces so hopefully they will hold up against the elements.
Thread Starter
|
Senior Member
Joined: Mar 2008
Posts: 2,077
Likes: 0
From: Mesquite
I just noticed 1 of the 4 tabs on the underside of the side mirror caps is broke on one side. It�s still attached by one leg. I was going to superglue it but thought I would check with you guys, is it going to give me problems like rattling or falling off unless I buy another new one? Will superglue hold it or should I try gluing the cap in place when I install it?
Global Moderator &
Senior Member
Senior Member
Joined: Aug 2007
Posts: 7,890
Likes: 61
From: Among javelinas and scorpions in Zoniestan
I would not glue it in place. You may want to take it off again in the future.
It would probably stay on just fine with three tabs, but I'd certainly try supergluing the fourth back together. Possibly, you could reinforce it with a backing piece of plastic spanning the break? You can get thin plastic sheeting from ACE hardware in various thicknesses and it is pretty easy to cut with a sharp knife. I've used this stuff for various repairs over time.
I don't know what the tabs look like, so my suggestion may not be valid. Another possibility would be JB Weld. It adheres to plastics and can be "built up" on the backside to add reinforcement. I'm a fan of JB Weld for difficult and critical repairs.
- Jack
Thread Starter
|
Senior Member
Joined: Mar 2008
Posts: 2,077
Likes: 0
From: Mesquite
The new ones I have have no screw holes unless I am missing something. Mine have 4 tabs. JB Weld is a great idea. I will try that if I need it. I want to get it apart and take a look in there first.
Thread Starter
|
Senior Member
Joined: Mar 2008
Posts: 2,077
Likes: 0
From: Mesquite
All done. The handles are absent once again because my daughter dropped one and it hit the ground hard, bounced and slide half way across my garage. I damn near cried. One small corner chipped down to the primer, a spot about a millimeter and a half wide and the rest of the clear had a few scuff marks. But, with some sand paper and TLC I have it back into glossy perfection. Now they sit and cure in my hot garage for a week until next weekend when I will install them.
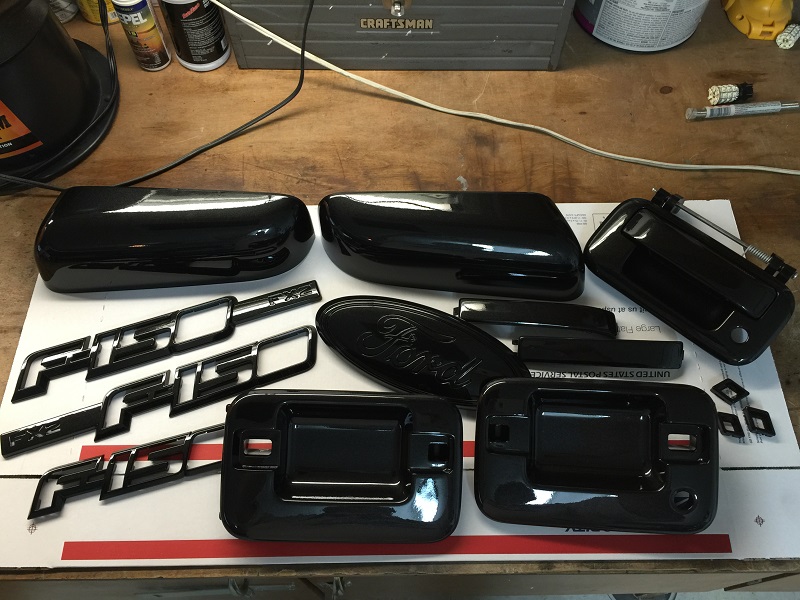
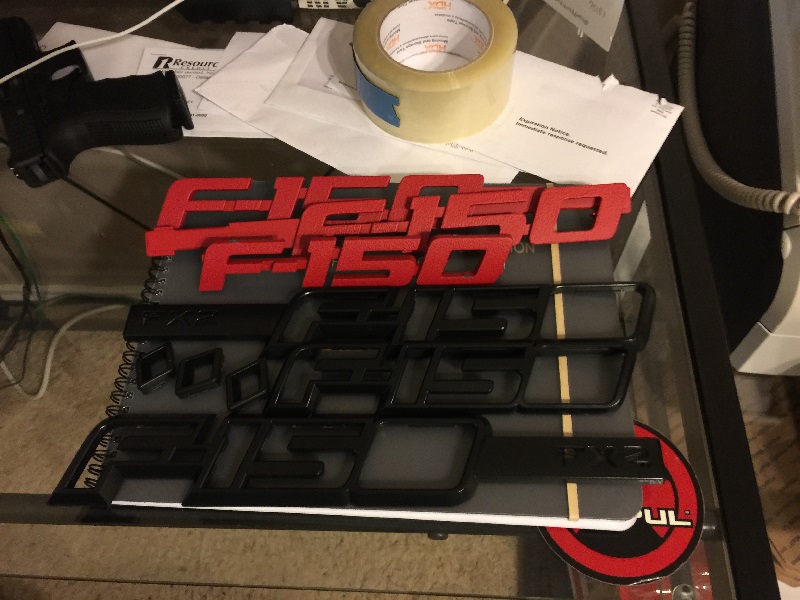
The "Ford" badge is from the grille and has an overlay coming. I did not feel like messing with taking it apart. The tailgate one is off but I have a new one on order to replace it with. The old one will go on ebay for someone who feels like taking it apart and reapplying the double-sided tape. I will paint the new one like this on in preparation for the new overlays. My other vinyl work should be in next week sometime.
The "Ford" badge is from the grille and has an overlay coming. I did not feel like messing with taking it apart. The tailgate one is off but I have a new one on order to replace it with. The old one will go on ebay for someone who feels like taking it apart and reapplying the double-sided tape. I will paint the new one like this on in preparation for the new overlays. My other vinyl work should be in next week sometime.
Thread Starter
|
Senior Member
Joined: Mar 2008
Posts: 2,077
Likes: 0
From: Mesquite
Thank you and yes it does. I made my mistakes and learned from them along the way. It's been a long process since I have not had time M-F to work on them very much but the curing time seems to have helped greatly. This is my first time to try anything at this quality level. To see the one handle take a spill like it did and suffer only minimal damage makes me confident in my process.
On a lighter note...I tried taking my tailgate emblem apart last night when I got bored and broke the outer ring so no love loss there. lol. Looks like painting and overlays are the way for me. lol Installed pics will be coming soon.
-Robert
On a lighter note...I tried taking my tailgate emblem apart last night when I got bored and broke the outer ring so no love loss there. lol. Looks like painting and overlays are the way for me. lol Installed pics will be coming soon.
-Robert
Last edited by Blue150; Jul 2, 2015 at 10:52 AM.