


Mirror reflectors turned into turn signals how to w/pics


Senior Member
Joined: Jun 2010
Posts: 227
Likes: 0
From: Houston, TX
I need help! Planned on doing it today but I cant figure it out. I cant seem to get to the wire without taking anything off and just going through the little bottom hole AND I can figure out how to take the mirror apart to get to where I need to be. Can someone please help me out. Details and pics possibly? I'd appreciate it Id really like to do this mod today...its been on my list.

Thread Starter
|
Technical Article Contributor
Joined: Jul 2009
Posts: 493
Likes: 0
From: Port Neches, Texas
I need help! Planned on doing it today but I cant figure it out. I cant seem to get to the wire without taking anything off and just going through the little bottom hole AND I can figure out how to take the mirror apart to get to where I need to be. Can someone please help me out. Details and pics possibly? I'd appreciate it Id really like to do this mod today...its been on my list.
 PM me if you want to do this.
Senior Member
Joined: Jun 2010
Posts: 227
Likes: 0
From: Houston, TX
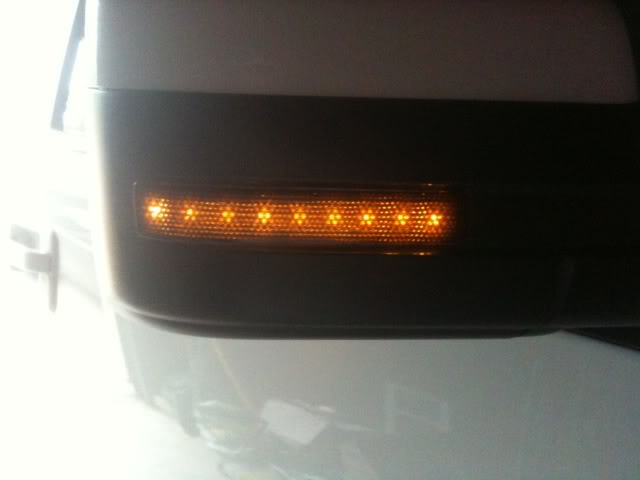
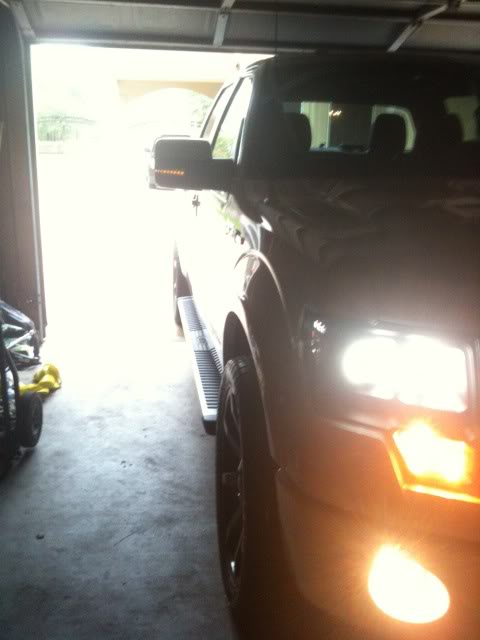
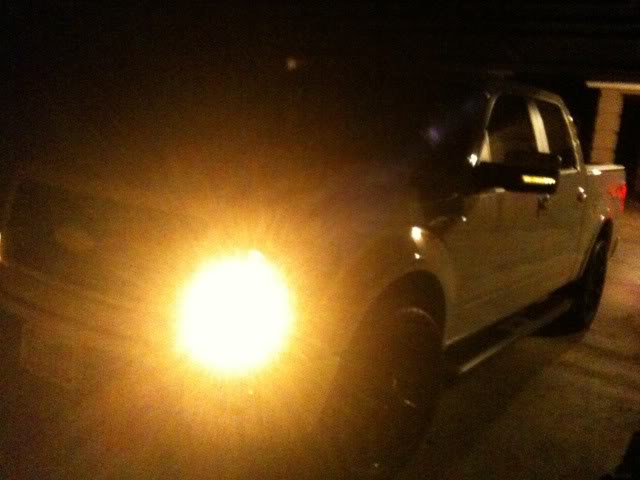


Senior Member
Joined: May 2010
Posts: 134
Likes: 0
From: Houston, TX
Did you have to pop off the mirrors or did you do it that other way you couldn't figure out?
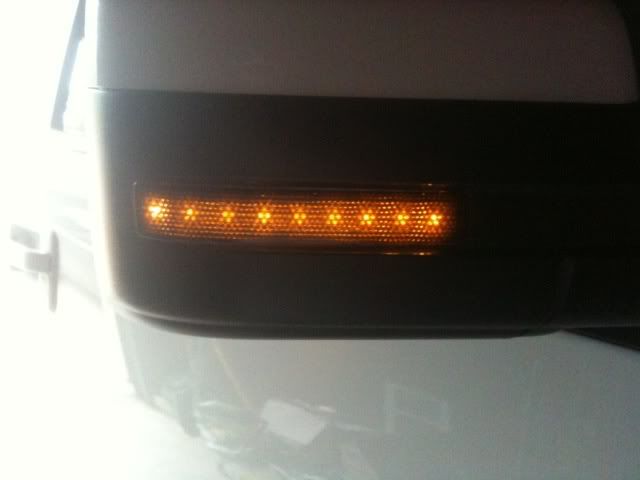
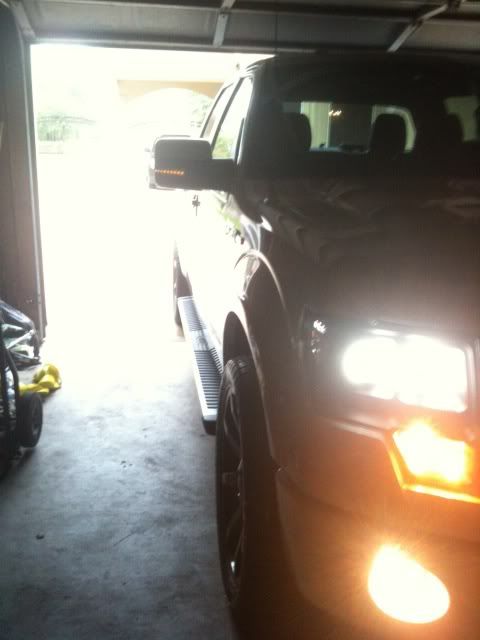
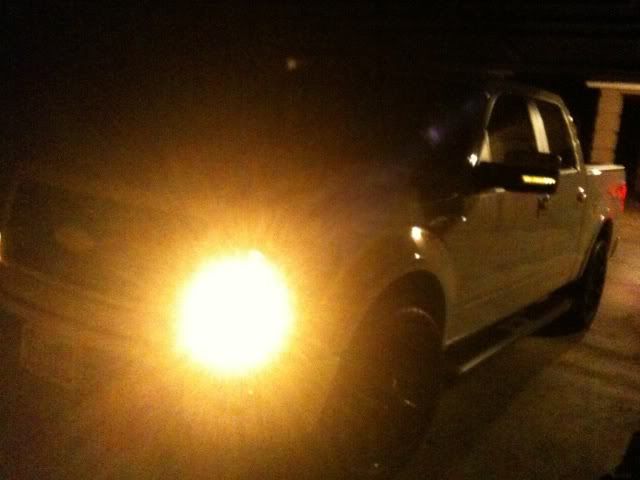
Senior Member
Joined: Jun 2010
Posts: 227
Likes: 0
From: Houston, TX
Did it from the little cap under the mirror. Only reason it took me so long was figuring that out...first one took about 2.5 hrs the second only took 15 mins total. Anyone doing this mod needing help contact me, I found a way without cutting ANY wires =D
makes it 123423904723496x easier. Thats where I messed up, I cut the stock wires for the first mirror then by time I spliced each one I didnt have enough slack =/ sooo I had to make like a bridge of other wire for that lol still works tho but for the second one I learned a better way to avoid cutting the stock wires and tapping the led wire right into that.
makes it 123423904723496x easier. Thats where I messed up, I cut the stock wires for the first mirror then by time I spliced each one I didnt have enough slack =/ sooo I had to make like a bridge of other wire for that lol still works tho but for the second one I learned a better way to avoid cutting the stock wires and tapping the led wire right into that.

Member
Joined: Jul 2010
Posts: 20
Likes: 0
Did it from the little cap under the mirror. Only reason it took me so long was figuring that out...first one took about 2.5 hrs the second only took 15 mins total. Anyone doing this mod needing help contact me, I found a way without cutting ANY wires =D
makes it 123423904723496x easier. Thats where I messed up, I cut the stock wires for the first mirror then by time I spliced each one I didnt have enough slack =/ sooo I had to make like a bridge of other wire for that lol still works tho but for the second one I learned a better way to avoid cutting the stock wires and tapping the led wire right into that.
makes it 123423904723496x easier. Thats where I messed up, I cut the stock wires for the first mirror then by time I spliced each one I didnt have enough slack =/ sooo I had to make like a bridge of other wire for that lol still works tho but for the second one I learned a better way to avoid cutting the stock wires and tapping the led wire right into that.
the only thing stopping me form this was I have no faith in my ability to safely remove the mirrors.

would be great if you get time to detail it but otherwise I will contact some time
thanks
Senior Member
Joined: May 2010
Posts: 134
Likes: 0
From: Houston, TX
Did it from the little cap under the mirror. Only reason it took me so long was figuring that out...first one took about 2.5 hrs the second only took 15 mins total. Anyone doing this mod needing help contact me, I found a way without cutting ANY wires =D
makes it 123423904723496x easier. Thats where I messed up, I cut the stock wires for the first mirror then by time I spliced each one I didnt have enough slack =/ sooo I had to make like a bridge of other wire for that lol still works tho but for the second one I learned a better way to avoid cutting the stock wires and tapping the led wire right into that.
makes it 123423904723496x easier. Thats where I messed up, I cut the stock wires for the first mirror then by time I spliced each one I didnt have enough slack =/ sooo I had to make like a bridge of other wire for that lol still works tho but for the second one I learned a better way to avoid cutting the stock wires and tapping the led wire right into that.


Member
Joined: Aug 2009
Posts: 74
Likes: 0
From: Boston
Did it from the little cap under the mirror. Only reason it took me so long was figuring that out...first one took about 2.5 hrs the second only took 15 mins total. Anyone doing this mod needing help contact me, I found a way without cutting ANY wires =D
makes it 123423904723496x easier. Thats where I messed up, I cut the stock wires for the first mirror then by time I spliced each one I didnt have enough slack =/ sooo I had to make like a bridge of other wire for that lol still works tho but for the second one I learned a better way to avoid cutting the stock wires and tapping the led wire right into that.
makes it 123423904723496x easier. Thats where I messed up, I cut the stock wires for the first mirror then by time I spliced each one I didnt have enough slack =/ sooo I had to make like a bridge of other wire for that lol still works tho but for the second one I learned a better way to avoid cutting the stock wires and tapping the led wire right into that.
Yea, I would need help getting the mirrors off without damaging them.
I have the parts needed to do the light, just need to get in their.
Senior Member
Joined: May 2010
Posts: 134
Likes: 0
From: Houston, TX
I used a butter knife like others on here and it was much easier. You basically have to find those little slots about at the 90 degree angle mark of the mirror where it is mounted. Once you stick the knife in the slot just twist and it will pop up just enough where you can that the knife and slip it in the back of the gap created by popping out just one side. Once the knife is behind the mirror just twist the it again and pull on the mirror softly towards you. This will detach it completly without going to each slot...fyi on the driver side mirror there is silicone rubber that comes off the back of the mirror.

Senior Member
Joined: Jul 2010
Posts: 303
Likes: 0
From: Houston, TX
I used a little screw driver and popped the bottom cap out. Even with the little slack there is this way if you do it my way u dont need the slack. Just pull as much as you can out then spread the housing where there is about an inch space of wire for each one. Then take the led wires with a good amount of wire sliced and tie, turn and twist each led wire around each stock cable (black led wire to black factory wire and the so on..NOT one led wire to BOTH stock wires!!) then seal it up good with electrical tape and your good

Senior Member
Joined: Jul 2010
Posts: 303
Likes: 0
From: Houston, TX
For example, It will look like the wire that says WIRES SOLDERED.
http://www.texastimers.com/helpful_h...solderikng.jpg
it wont be soldered it will look like this tho once the housing is spread.
You just spread the housing (i used a lighter, done it numerous times, just barely heat it and then spread it housing right after you take the heat away and it will spread creating an opening like the picture example. Then tap the led wires into it.