


Extra Battery Install - How to


Thread Starter
|
Technical Article Contributor
Joined: Mar 2012
Posts: 154
Likes: 0
Extra Battery Install - How to
I know alot of us members have quite a few electrical components running off factory wiring and our factory alternator. Hid's, Amps, Winches, Aftermarket HU's, Off Road Lights, Power inverters, CB's, etc.
Hence, I thought it could be very useful to find a place to install an extra battery for reserve power or to integrate into the factory system. This would require a few modifications;
First, under our hood there is little to now room. So modifications had to be made and something had to be moved to another location. Almost all batteries need to be close to level for optimal efficiency and lifespan. Plus, what better place to protect a battery, than under the hood. (I didn't want the battery taking space up in the cab)
Second, I wanted to make the 2nd battery strictly for Starting and running critical applications(fuel pumps, winches, starter, ignition system).
Third, I was debating on whether or not to have the alt continuously charge the 2nd battery. Then decided to go ahead and use a battery Isolator to charge both the batteries simultaneously, but separate them when the vehicle is off.
Once all that was contemplated about, I needed to find out the usage of all my components and the stress it would put on my alternator. Hence, I've been trying to find some info on the amps of our factory alt. but have yet to find a reliable source, so I would assume its in the range of 100-130 amps.
Mathematically, this would mean; (this is running at full capacity)
note: anything over, and your alt. will be unable to run your components and effective charge your batteries. The alt. needs to be somewhat > than the power you are pulling. Alts. are rated mainly at max ouput and not at idle. So consider this when doing your install and choosing an alt.
Here are the specs I calculated;
Amps = Watts / Volts
For a 100 amp Alt, you could get approx.
1440.000000 watts
For a 130 amp Alt, you could get approx.
1872.000000
And a 180 aftermarket alt.
2592.000000
So I decided to go ahead and do the second battery and change to a 180 alt. I also wanted to upgrade the factory 4ga and 6ga wire to a better, thicker conductor. I went with 1ga mining cable, (it was a little bit of over kill) but being in a mining community I get it fairly cheap. ($1.50 per foot). Holds upwards around 500amps and 600 volts. 30ft of it weighed in about 35lbs. I also decided to upgrade all wiring that charges, starts, and runs the truck.
Now for wiring the starter with better wire.
DISCONNECT YOUR BATTERY FIRST****
You only need to upgrade the 12v supply and the ground. The other smaller red wire, is the ignition lead.
Note: power is always running to the starter, however, the starter solenoid only engages when the ignition is turned on. Due to the harsh winters here, I wanted to have amps running from both the batteries to starter. There are many ways to wire this up, but this is my method and how it benefited my application.
I used an extra starter relay, to only engage the second battery when the ignition is turned over. Thus it isolates the 12v supply from each respective battery when the ignition is not engaged(for starting). Once the truck is cranked, the batteries separate. This makes certain that my truck always has voltage and amps to crank reguarless of how much power is out of the primary battery.
You can see the second starter relay, with the wires unattached and mounted to firewall. Make sure you secure the relay using a grounded location, it requires this to work properly. I used the factory ground location and bolt to attach it.

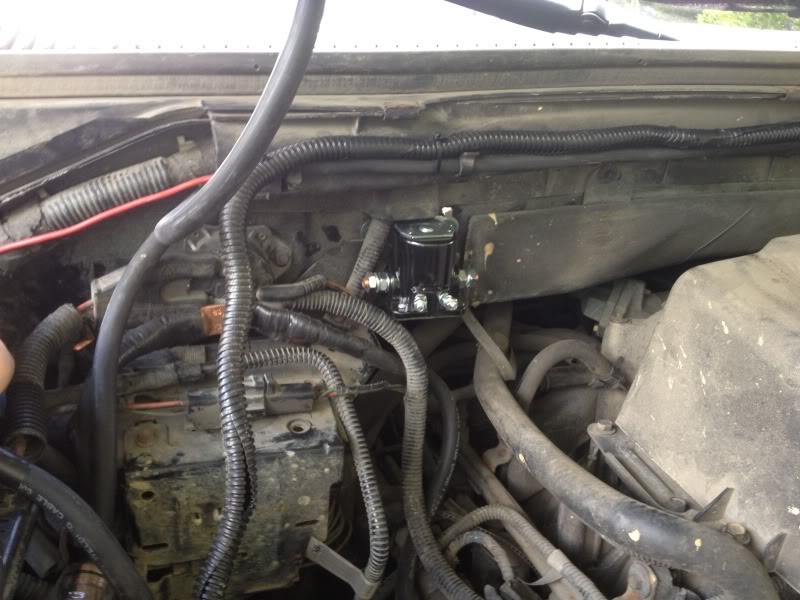
I will install an isolator to charge the two batteries in a later step. Just going over the basics now.
Once I installed the 2nd relay, it was time to run wires from the starter solenoid to the new relay. Again, you need to only replace/add better ga. wire to the ground and 12v supply location. I precut the wires and estimated around 7 ft from the starter location to the relay. So i left the wires around the relay and ran them to the starter for connecting them. Once I get them connected to the starter, I will come back and attach them to the appropriate spots on the relay.
Here is a shot of my ratchet on the ground bolt for the enginge and starter. Please not, this has two bolts. Make sure you only take off the first one and keep the one behind it secure.(you dont want to loosen it up and have to replace a gasket from the transfercase and transmission).
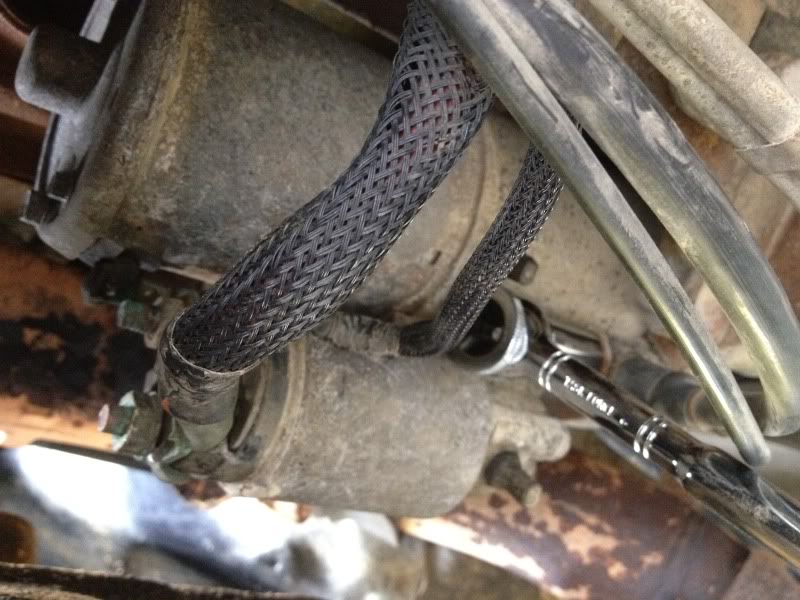

With the top nut off(holding the wire), and the 2nd nut still on, holding the starter to the mount.
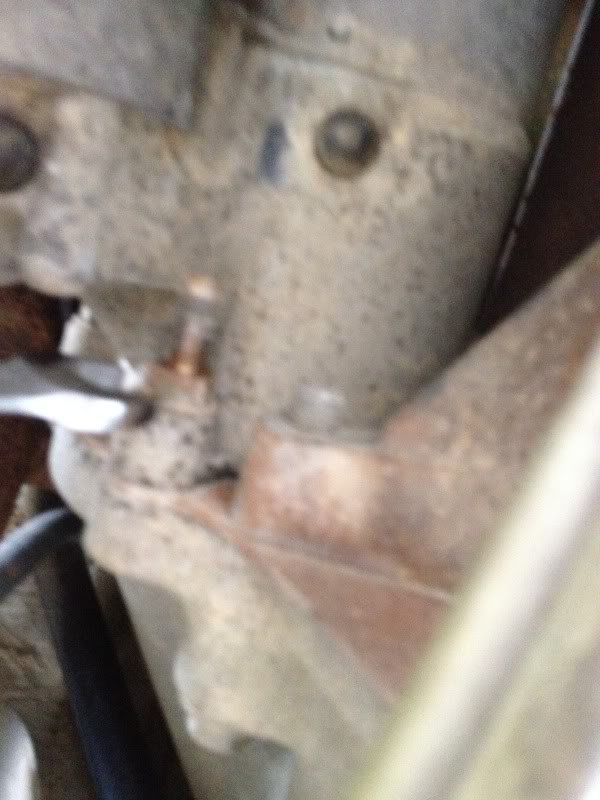
Once the nut is off, replace the factory wire and your new 1ga. wire on top of one another for a good connection, then tighten the bolt back on.
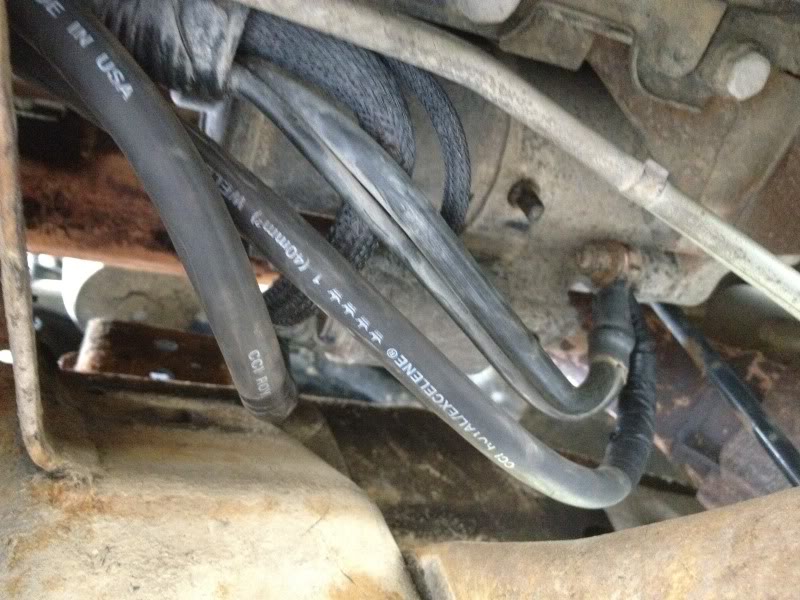
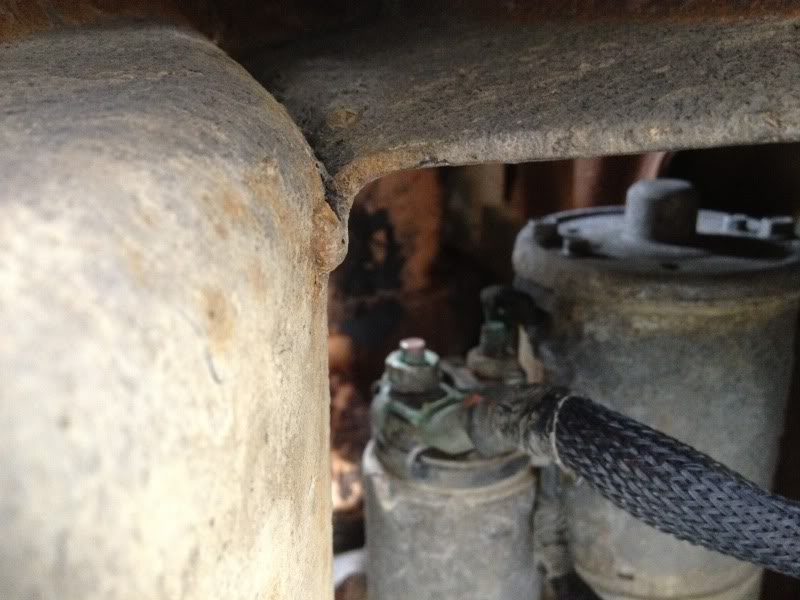
Now we need to do the same thing to the 12v supply.
The large wire, with the covering over it is the 12v supply to the starter.


Hence, I thought it could be very useful to find a place to install an extra battery for reserve power or to integrate into the factory system. This would require a few modifications;
First, under our hood there is little to now room. So modifications had to be made and something had to be moved to another location. Almost all batteries need to be close to level for optimal efficiency and lifespan. Plus, what better place to protect a battery, than under the hood. (I didn't want the battery taking space up in the cab)
Second, I wanted to make the 2nd battery strictly for Starting and running critical applications(fuel pumps, winches, starter, ignition system).
Third, I was debating on whether or not to have the alt continuously charge the 2nd battery. Then decided to go ahead and use a battery Isolator to charge both the batteries simultaneously, but separate them when the vehicle is off.
Once all that was contemplated about, I needed to find out the usage of all my components and the stress it would put on my alternator. Hence, I've been trying to find some info on the amps of our factory alt. but have yet to find a reliable source, so I would assume its in the range of 100-130 amps.
Mathematically, this would mean; (this is running at full capacity)
note: anything over, and your alt. will be unable to run your components and effective charge your batteries. The alt. needs to be somewhat > than the power you are pulling. Alts. are rated mainly at max ouput and not at idle. So consider this when doing your install and choosing an alt.
Here are the specs I calculated;
Amps = Watts / Volts
For a 100 amp Alt, you could get approx.
1440.000000 watts
For a 130 amp Alt, you could get approx.
1872.000000
And a 180 aftermarket alt.
2592.000000
So I decided to go ahead and do the second battery and change to a 180 alt. I also wanted to upgrade the factory 4ga and 6ga wire to a better, thicker conductor. I went with 1ga mining cable, (it was a little bit of over kill) but being in a mining community I get it fairly cheap. ($1.50 per foot). Holds upwards around 500amps and 600 volts. 30ft of it weighed in about 35lbs. I also decided to upgrade all wiring that charges, starts, and runs the truck.
Now for wiring the starter with better wire.
DISCONNECT YOUR BATTERY FIRST****
You only need to upgrade the 12v supply and the ground. The other smaller red wire, is the ignition lead.
Note: power is always running to the starter, however, the starter solenoid only engages when the ignition is turned on. Due to the harsh winters here, I wanted to have amps running from both the batteries to starter. There are many ways to wire this up, but this is my method and how it benefited my application.
I used an extra starter relay, to only engage the second battery when the ignition is turned over. Thus it isolates the 12v supply from each respective battery when the ignition is not engaged(for starting). Once the truck is cranked, the batteries separate. This makes certain that my truck always has voltage and amps to crank reguarless of how much power is out of the primary battery.
You can see the second starter relay, with the wires unattached and mounted to firewall. Make sure you secure the relay using a grounded location, it requires this to work properly. I used the factory ground location and bolt to attach it.
I will install an isolator to charge the two batteries in a later step. Just going over the basics now.
Once I installed the 2nd relay, it was time to run wires from the starter solenoid to the new relay. Again, you need to only replace/add better ga. wire to the ground and 12v supply location. I precut the wires and estimated around 7 ft from the starter location to the relay. So i left the wires around the relay and ran them to the starter for connecting them. Once I get them connected to the starter, I will come back and attach them to the appropriate spots on the relay.
Here is a shot of my ratchet on the ground bolt for the enginge and starter. Please not, this has two bolts. Make sure you only take off the first one and keep the one behind it secure.(you dont want to loosen it up and have to replace a gasket from the transfercase and transmission).
With the top nut off(holding the wire), and the 2nd nut still on, holding the starter to the mount.
Once the nut is off, replace the factory wire and your new 1ga. wire on top of one another for a good connection, then tighten the bolt back on.
Now we need to do the same thing to the 12v supply.
The large wire, with the covering over it is the 12v supply to the starter.
Thread Starter
|
Technical Article Contributor
Joined: Mar 2012
Posts: 154
Likes: 0
This is with all wires connected. (haha looks like a power plant)
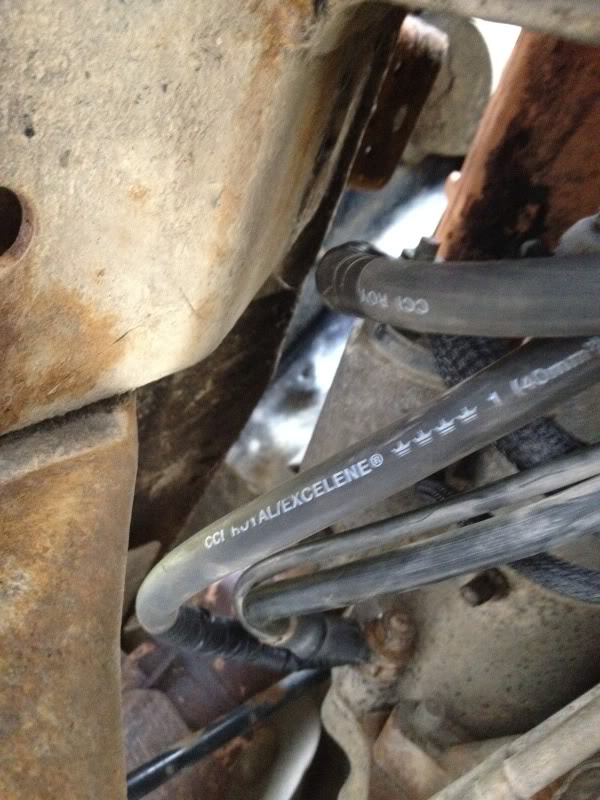
Now it was time to pick placement for the battery.
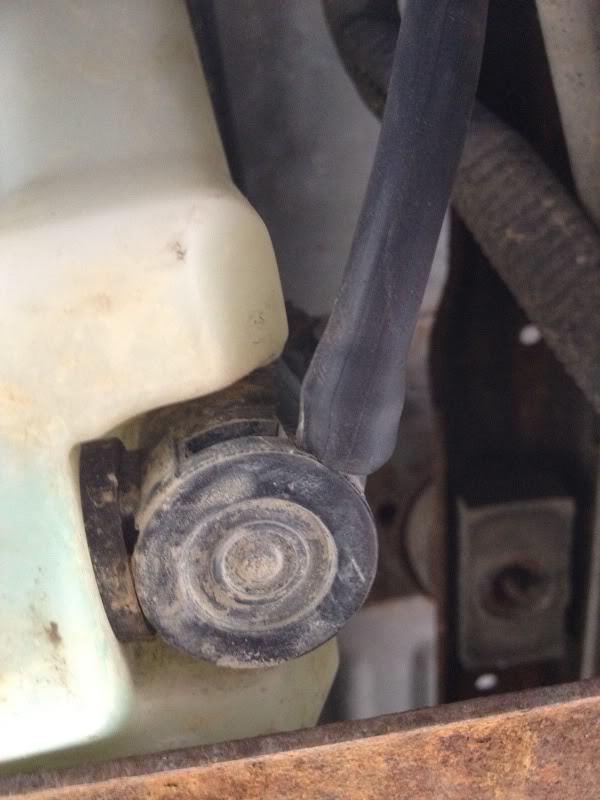
I took the only logical thing to relocate under the hood: the wiper fluid tank. The tank is held in by three bolts. The only attachments to it are, a 4mm vacuum hose for transfering the fluid to the wipers, and a terminal which supplies voltage to run the pump. (a 12v power wire and a ground). Here is the room left after removing the tank.
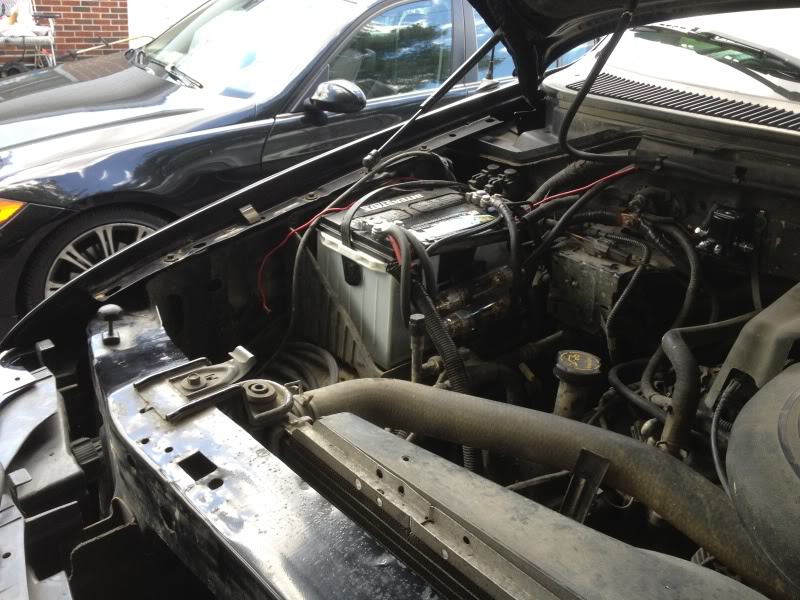

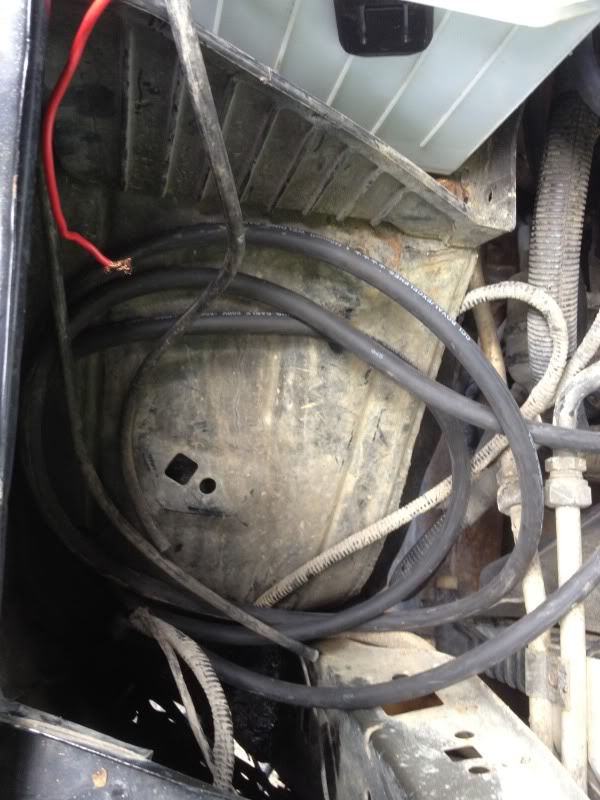
A bracket will be fabricated later to hold the extra battery. The location is also convenient for wiring, since the batteries are so close together and near the solenoid. Just measure to make sure your choice of battery fits. I am using two interestate megatrons 1000CA and 850 CCA. Each weights about 50lbs each. So make sure they are well built.
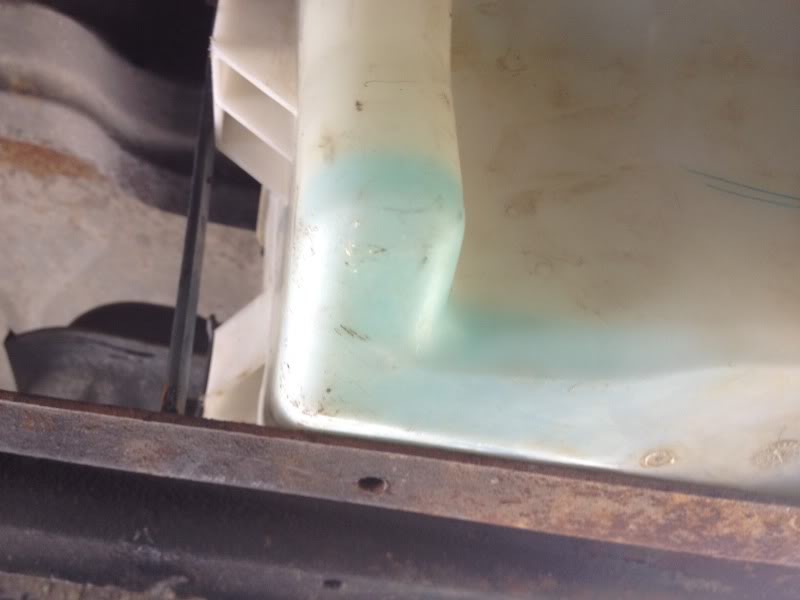
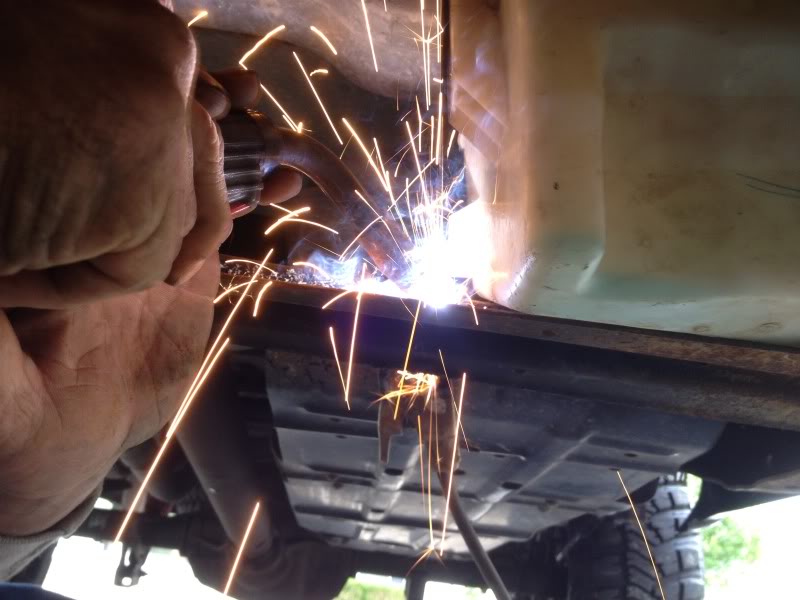
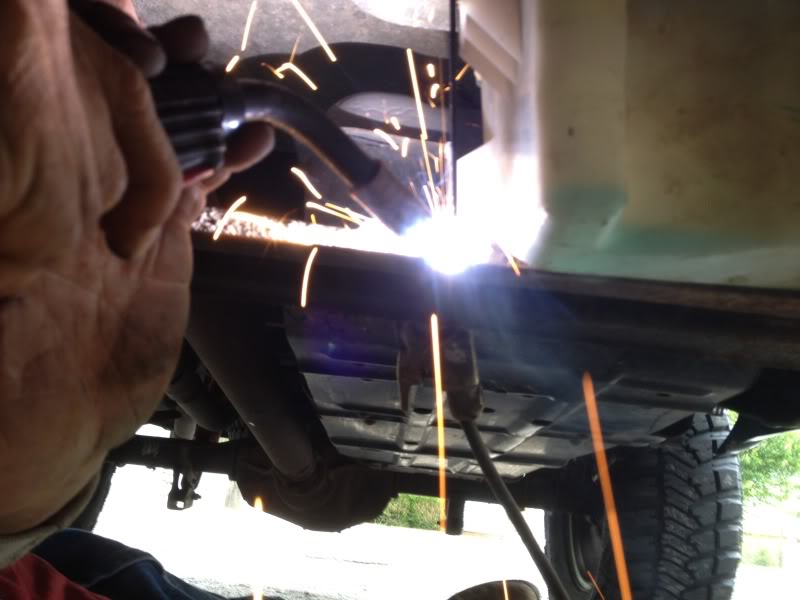
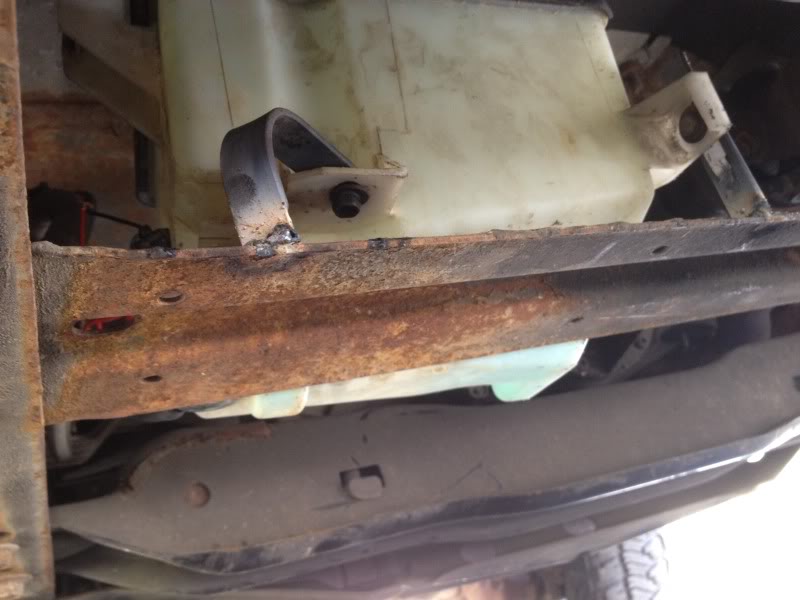
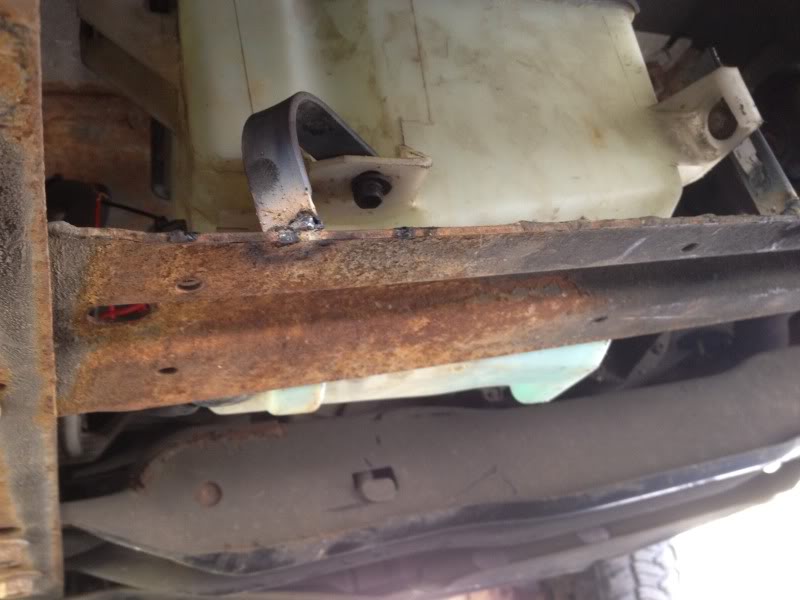
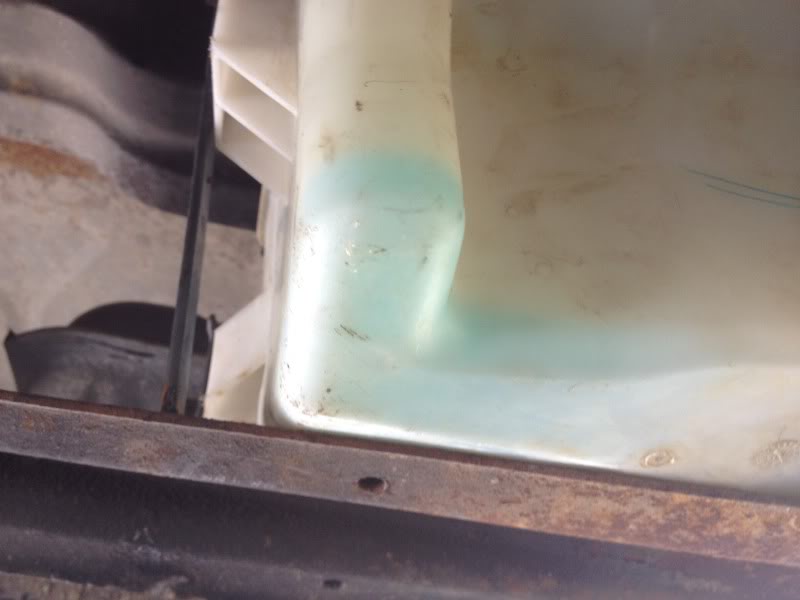
Now for relocating the wiper fluid. I chose under the cab, ontop of a crossmember. I Mounted the tank using the 3 factory bolt holes, my welding some brackets to the cross member under the cab. Remember to tilt the tank a tad bit, so the wiper fluid goes into the pump. The bolts can be taken out to put fluid in, or you can use a small pump from walmart for about 5 bucks to do this.
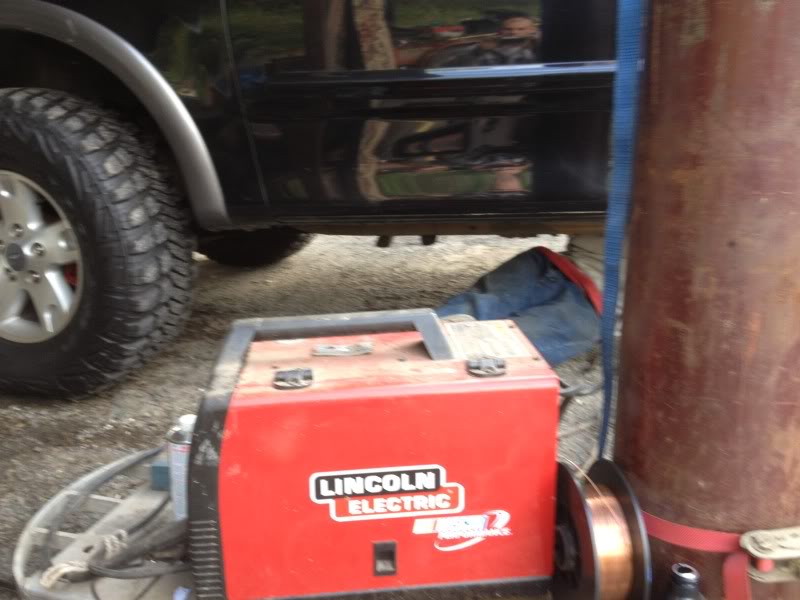
Pulled out the welder, and started fabricating.
Here is the location.
Now it was time to pick placement for the battery.
I took the only logical thing to relocate under the hood: the wiper fluid tank. The tank is held in by three bolts. The only attachments to it are, a 4mm vacuum hose for transfering the fluid to the wipers, and a terminal which supplies voltage to run the pump. (a 12v power wire and a ground). Here is the room left after removing the tank.
A bracket will be fabricated later to hold the extra battery. The location is also convenient for wiring, since the batteries are so close together and near the solenoid. Just measure to make sure your choice of battery fits. I am using two interestate megatrons 1000CA and 850 CCA. Each weights about 50lbs each. So make sure they are well built.
Now for relocating the wiper fluid. I chose under the cab, ontop of a crossmember. I Mounted the tank using the 3 factory bolt holes, my welding some brackets to the cross member under the cab. Remember to tilt the tank a tad bit, so the wiper fluid goes into the pump. The bolts can be taken out to put fluid in, or you can use a small pump from walmart for about 5 bucks to do this.
Pulled out the welder, and started fabricating.
Here is the location.



Thread Starter
|
Technical Article Contributor
Joined: Mar 2012
Posts: 154
Likes: 0
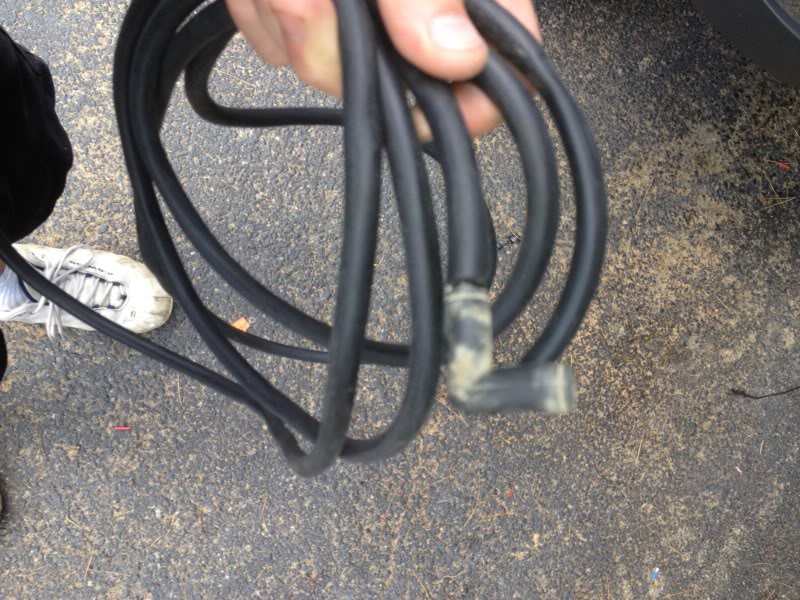
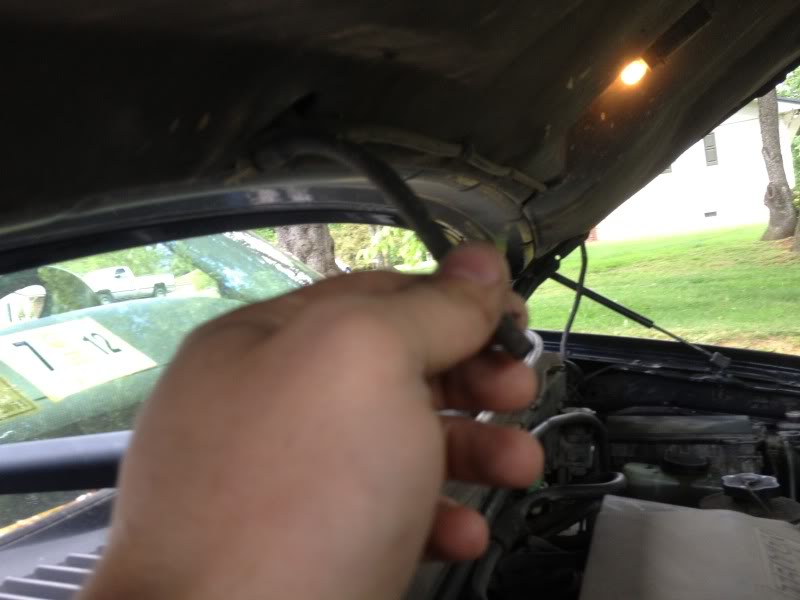
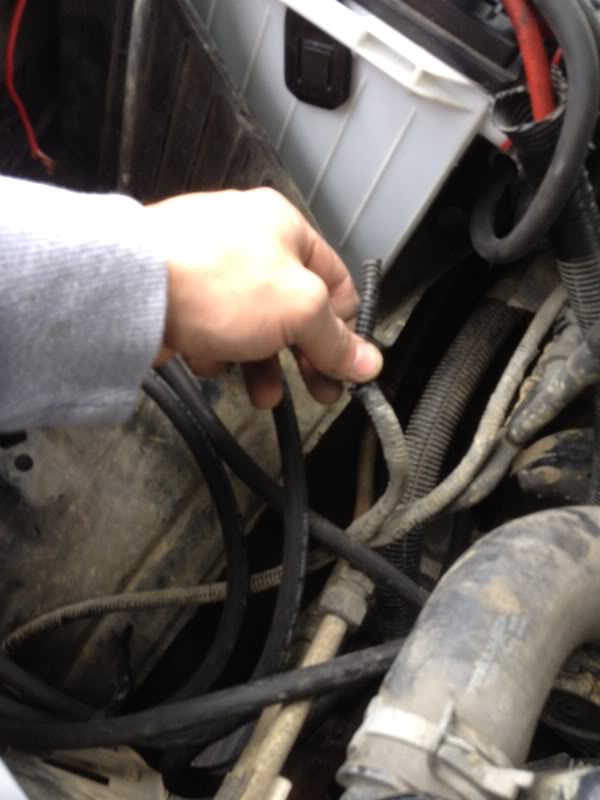
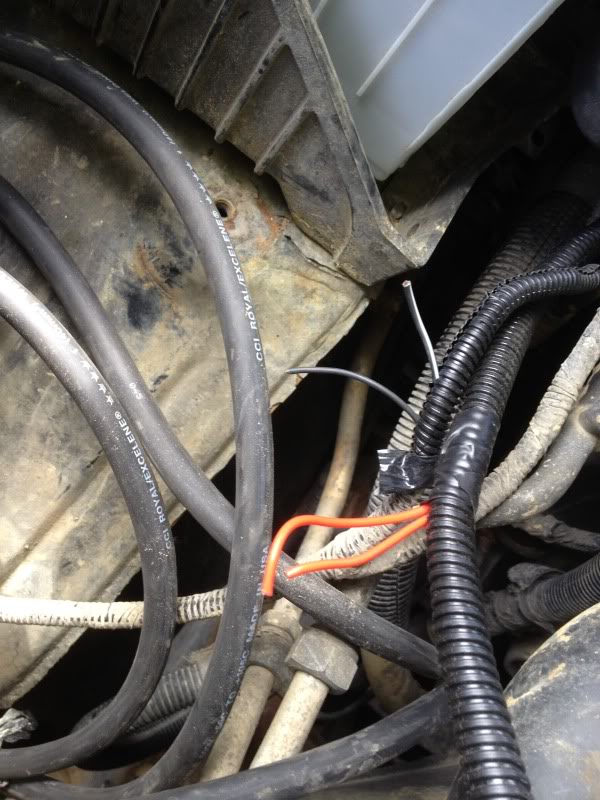
To power the pump, I jsut cut the factory terminal off, ran some extra wires to the new location, then sliced them together. Tip: run the power wires and vacuum hose together for a clean install. You can hide them in the "C" channel frame to keep them from being exposed.

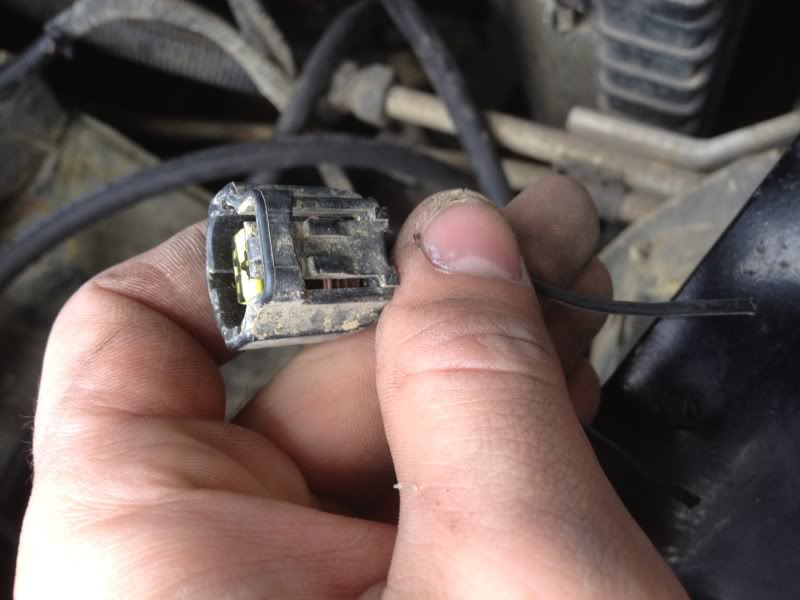
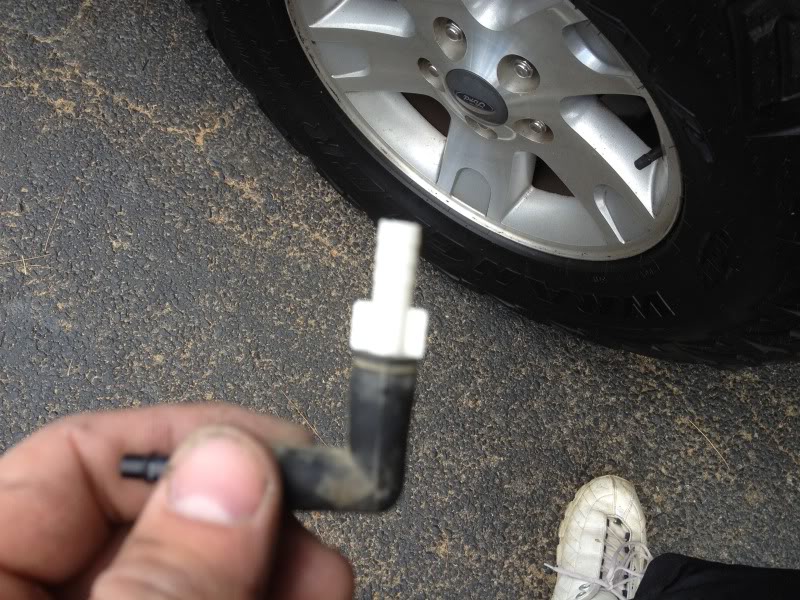
The connection to the wipers just consists of an elbow, fairly straight forward to put in.
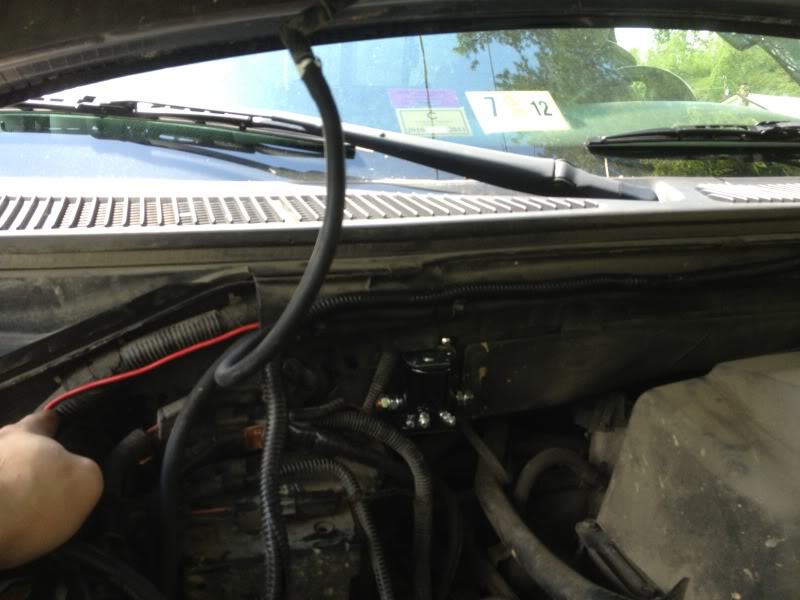
After you get the hoses ran, mount them off the engine on the firewall for saftery and a clean look. Also, keep your hoses and wires away from all pullies, run in under something then use cable ties and elecrtical tape.


The connection to the wipers just consists of an elbow, fairly straight forward to put in.
After you get the hoses ran, mount them off the engine on the firewall for saftery and a clean look. Also, keep your hoses and wires away from all pullies, run in under something then use cable ties and elecrtical tape.
Thread Starter
|
Technical Article Contributor
Joined: Mar 2012
Posts: 154
Likes: 0
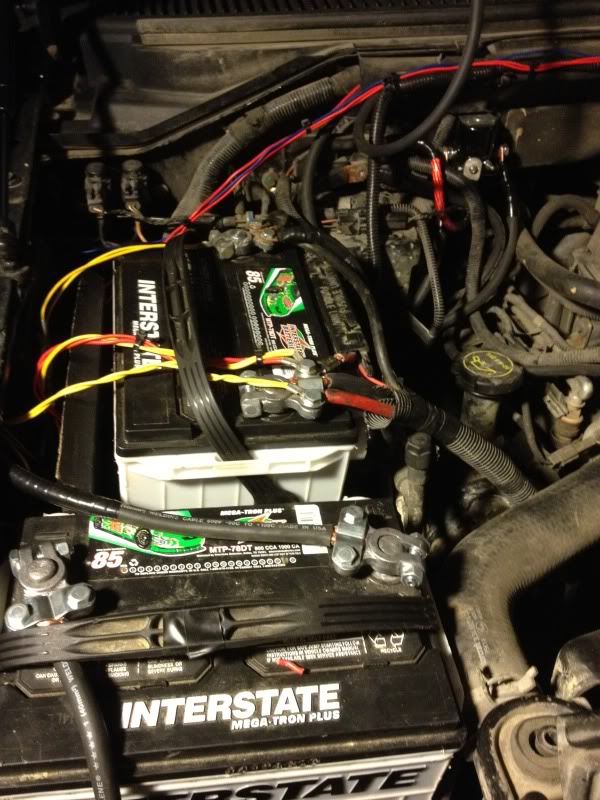
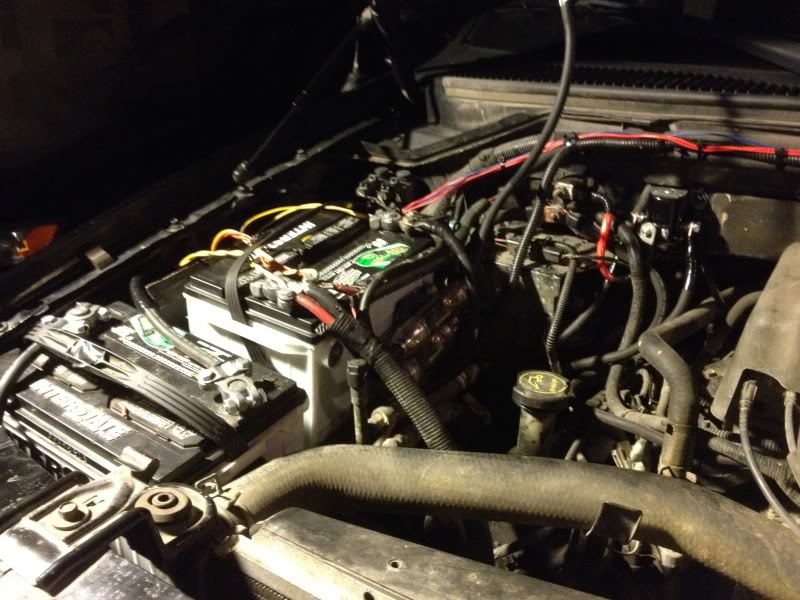
Dual 1000CA interestate's with extra starter relay (so I am never without cranking power). These are fairly large and heavy batteries (both together are over 100lbs) so it was a very very tight fit and took pretty heavy duty angle iron to weld them in place. (bolted the angle to the factory bolt locations)


Thread Starter
|
Technical Article Contributor
Joined: Mar 2012
Posts: 154
Likes: 0
I actually only use my 2nd battery for additional cranking power. As I have it wired now, the amps from the second battery only flow when the key is cranking the truck. After the truck is cranked, the battery is isolated on its own. This makes it easy for me to go camping or hunting and leave all the lights on (if needed) until one battery is dead. Then I will always have back up power to start the truck. I used a $20 relay from an auto parts store for the additional one on the firewall.
Trending Topics

Senior Member
Joined: Aug 2009
Posts: 1,014
Likes: 1
From: PA
Well I was just looking to have a dual battery setup and have this second battery power all the aftermarket things I have on the car. If I got an isolator would I need the power wire going to the isolator to come from the alternator or the pos terminal on the main battery? Also does this wear out the alternator faster?
Thread Starter
|
Technical Article Contributor
Joined: Mar 2012
Posts: 154
Likes: 0
Well I was just looking to have a dual battery setup and have this second battery power all the aftermarket things I have on the car. If I got an isolator would I need the power wire going to the isolator to come from the alternator or the pos terminal on the main battery? Also does this wear out the alternator faster?
If you arent draining your system constantly, it shouldn't have a huge effect of the life of your alt. Your alt is mainly for power your system once the truck is cranked. Only when the amps are all consumed by the system, then does your battery begin to fully charge your batteries from starting the truck and other miscellaneous things you use when the truck isnt on. In my big 3 post, i got into a little detail about this.

Thread Starter
|
Technical Article Contributor
Joined: Mar 2012
Posts: 154
Likes: 0
Any type of 3 dollar pump works. I use an electric one for filling kerosene heaters and it fills it up in about 30 seconds. Wasn't a big issue for me.

Member
Joined: Nov 2012
Posts: 95
Likes: 0
From: Southern Maryland
one more
Very nice writeup and pictures.

Thread Starter
|
Technical Article Contributor
Joined: Mar 2012
Posts: 154
Likes: 0
Thanks... Its really not that big of an issue for me, I usually just check it and fill it every oil change. For me, the extra battery serves more of a purpose under the hood than my washer fluid. If I run out, a quick run to the gas station fixes that.