 |
Airbox Mods... |
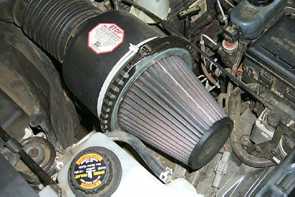
First of all the reason I did this was that I felt that the price for the K&N FIPK was over priced for the ammount of power it produced. Second I felt this was worth a try and if it didn't work then I could always buy the kit. And last I wanted to have the ability to go backwards if it didn't give the results I wanted. I feel that there was a performance diffence that could be felt and an increase in throttle response. I myself have the 4.6l and I assume it will work for all.
- Unclamp the filter housing and remove the old filter, move the part that connects to the throttle body to the side a bit to give you room to work.
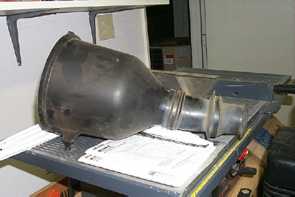
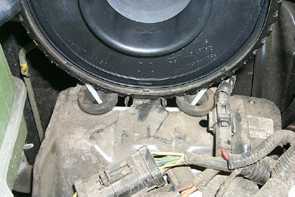
- Now remove the other side from the truck, on the bottom there are two post that plug into a rubber piece below the air intake housing, pull up they will come out. Then pull the intake out of the fender wall. (image 1)
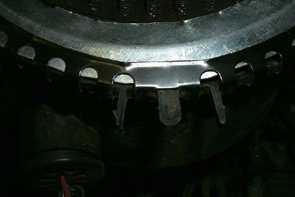
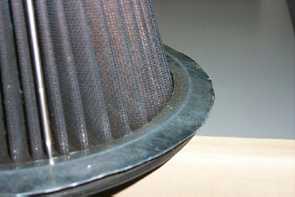
- Look at the bottom of the clamp that holds the filter housing together you will notice there is a straight piece that sticks down. (image 2)
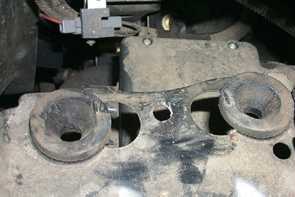
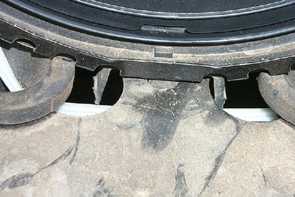
- Next drill a hole the same width into the metal piece that the housing post plug into the rubber, drill the hole between the rubber holes. This will hold the housing in place from moving side to side. (image 3)
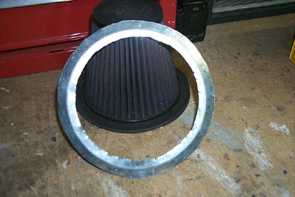
- Next using a pair of tin snips cut a piece of metal, I use an old metal oil pan, cut the outside diameter about 1/4" larger than the diameter of the filter. Then cut a hole inside this circle of metal roughly the diameter of the metal mesh part of the filter. The ring should slide over the filter withour hanging p.(my oil pan had small ridges on the bottom, not completely flat, they worked as a guide to cut).Notice that the ring is not totally flat but has a bit of a curve this was one of the ridges from the oil pan. (image 4, image 5, image 6)
- Now place the metal ring over the filter and install this into the filter housing still conected to the throttle body, make sure the ring fits completely into the clamp it may need abit of trimming to get it to fit well.
- Close the clamp, the thickness of the filter plus the ring should seal well. Place the filter assembly into place with the clamp post fitting into the drilled hole. (image 7, image 8)
- I myself had a very long zip tie (one of those plastic things that go in one way but won't come back out). Wrap the tie around the filter housing and then go thru the two rubber holes and assemble, this should hold it into the drilled hole and keep it from moving. (image 9) That is it. Good Luck!!
- Now remove the other side from the truck, on the bottom there are two post that plug into a rubber piece below the air intake housing, pull up they will come out. Then pull the intake out of the fender wall. (image 1)
You might notice that the filter make a bit more noise as the increased air goes in but you'll get use to it plus the increased power and throttle response should help one over look it.