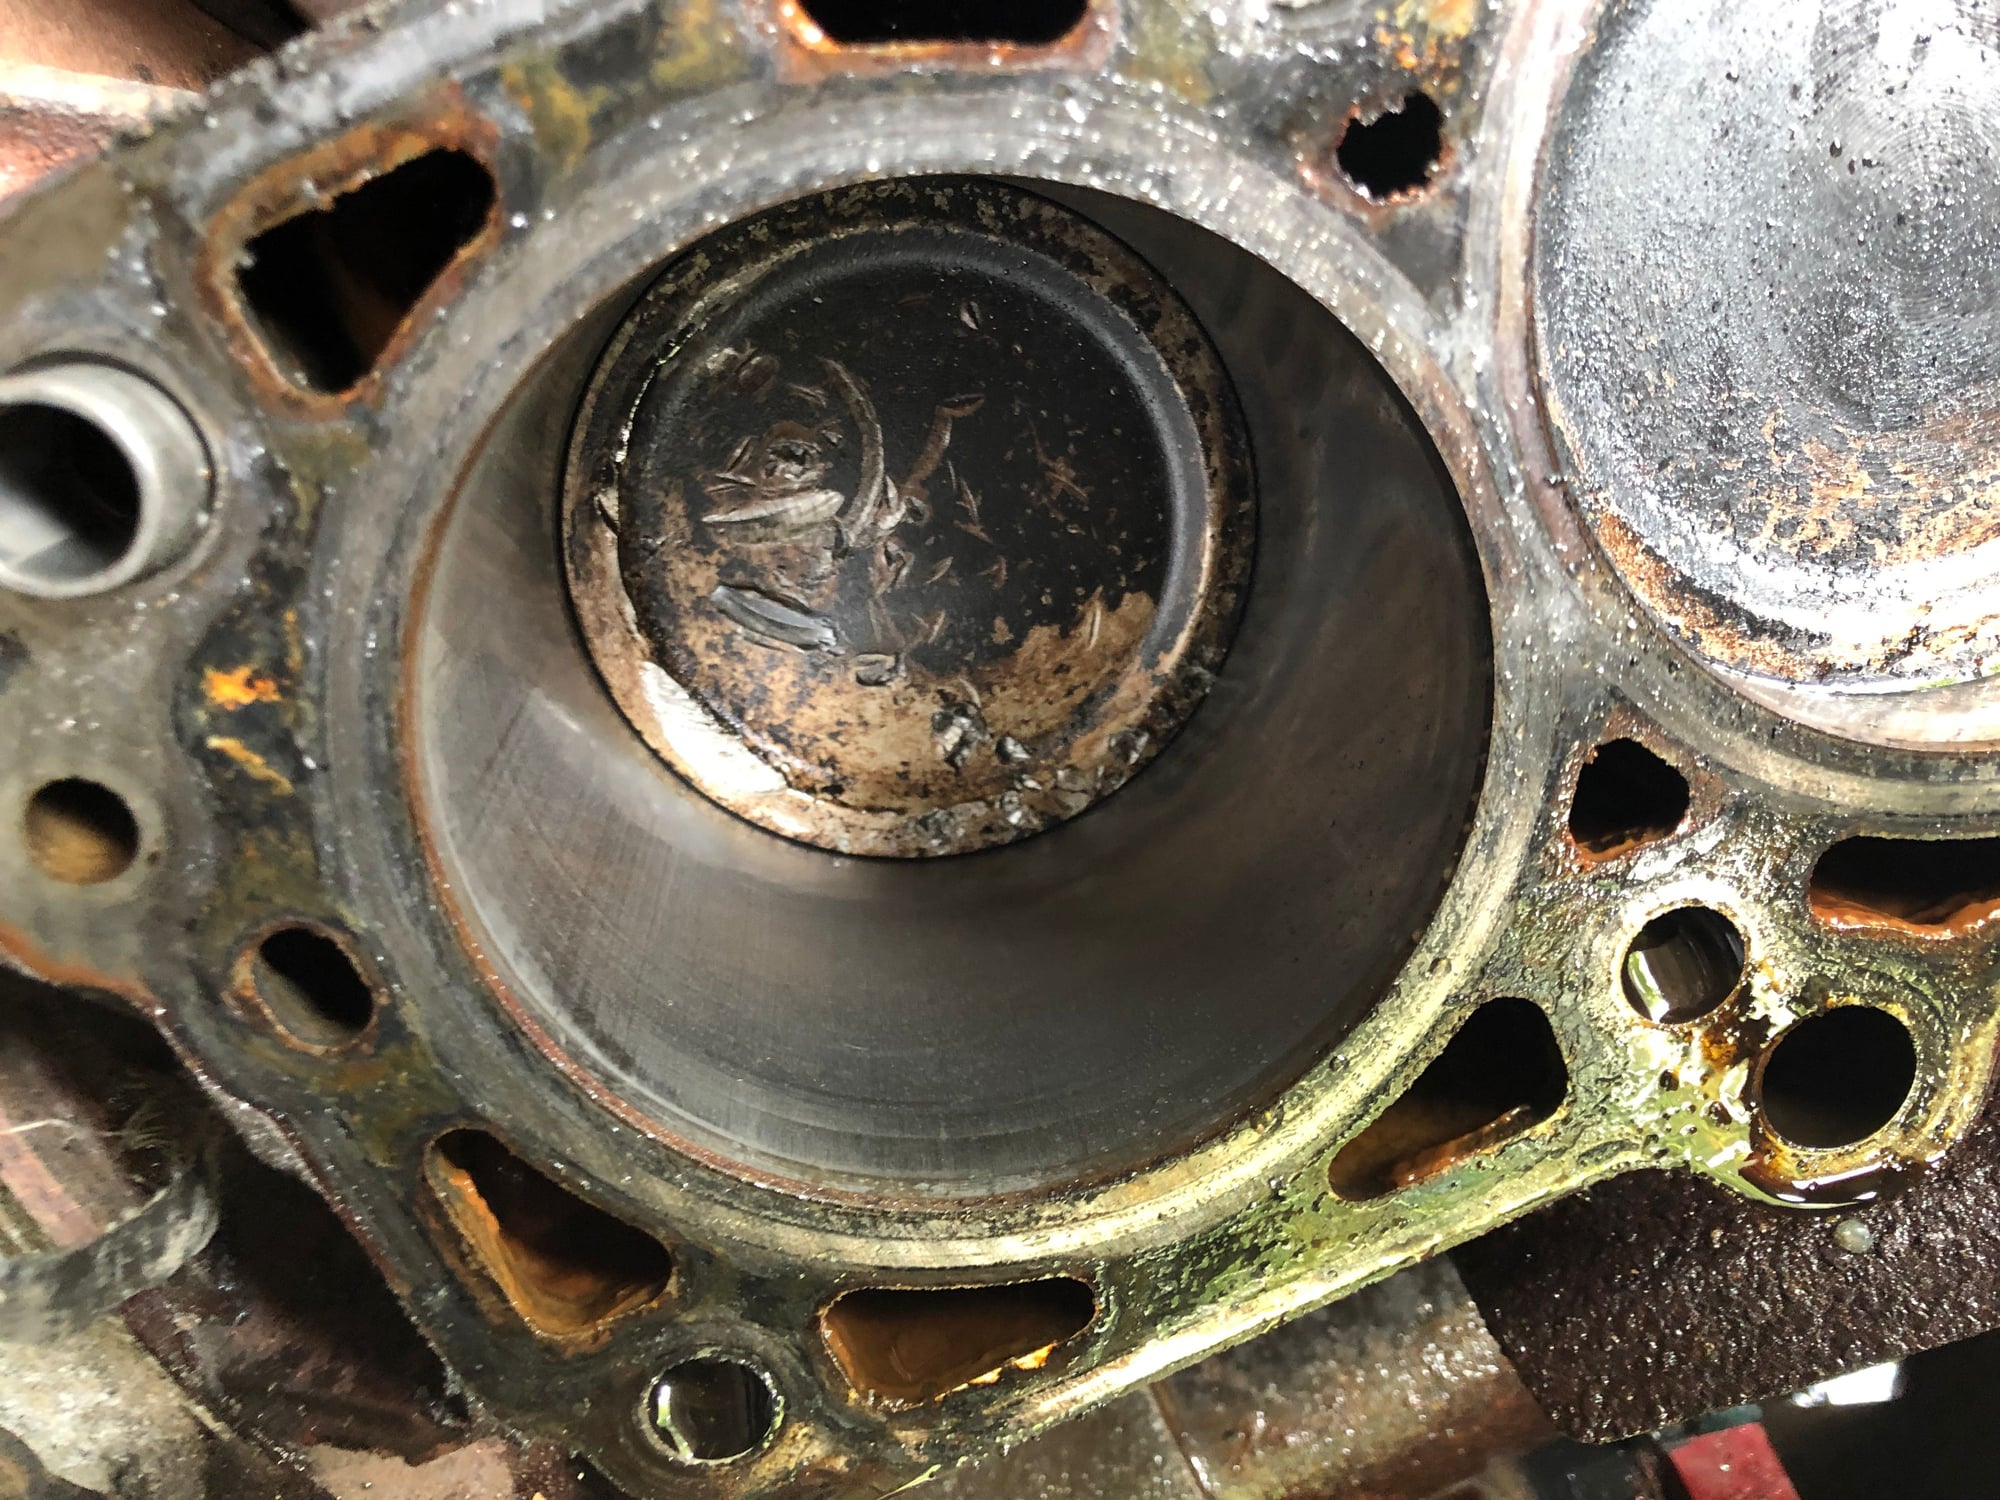
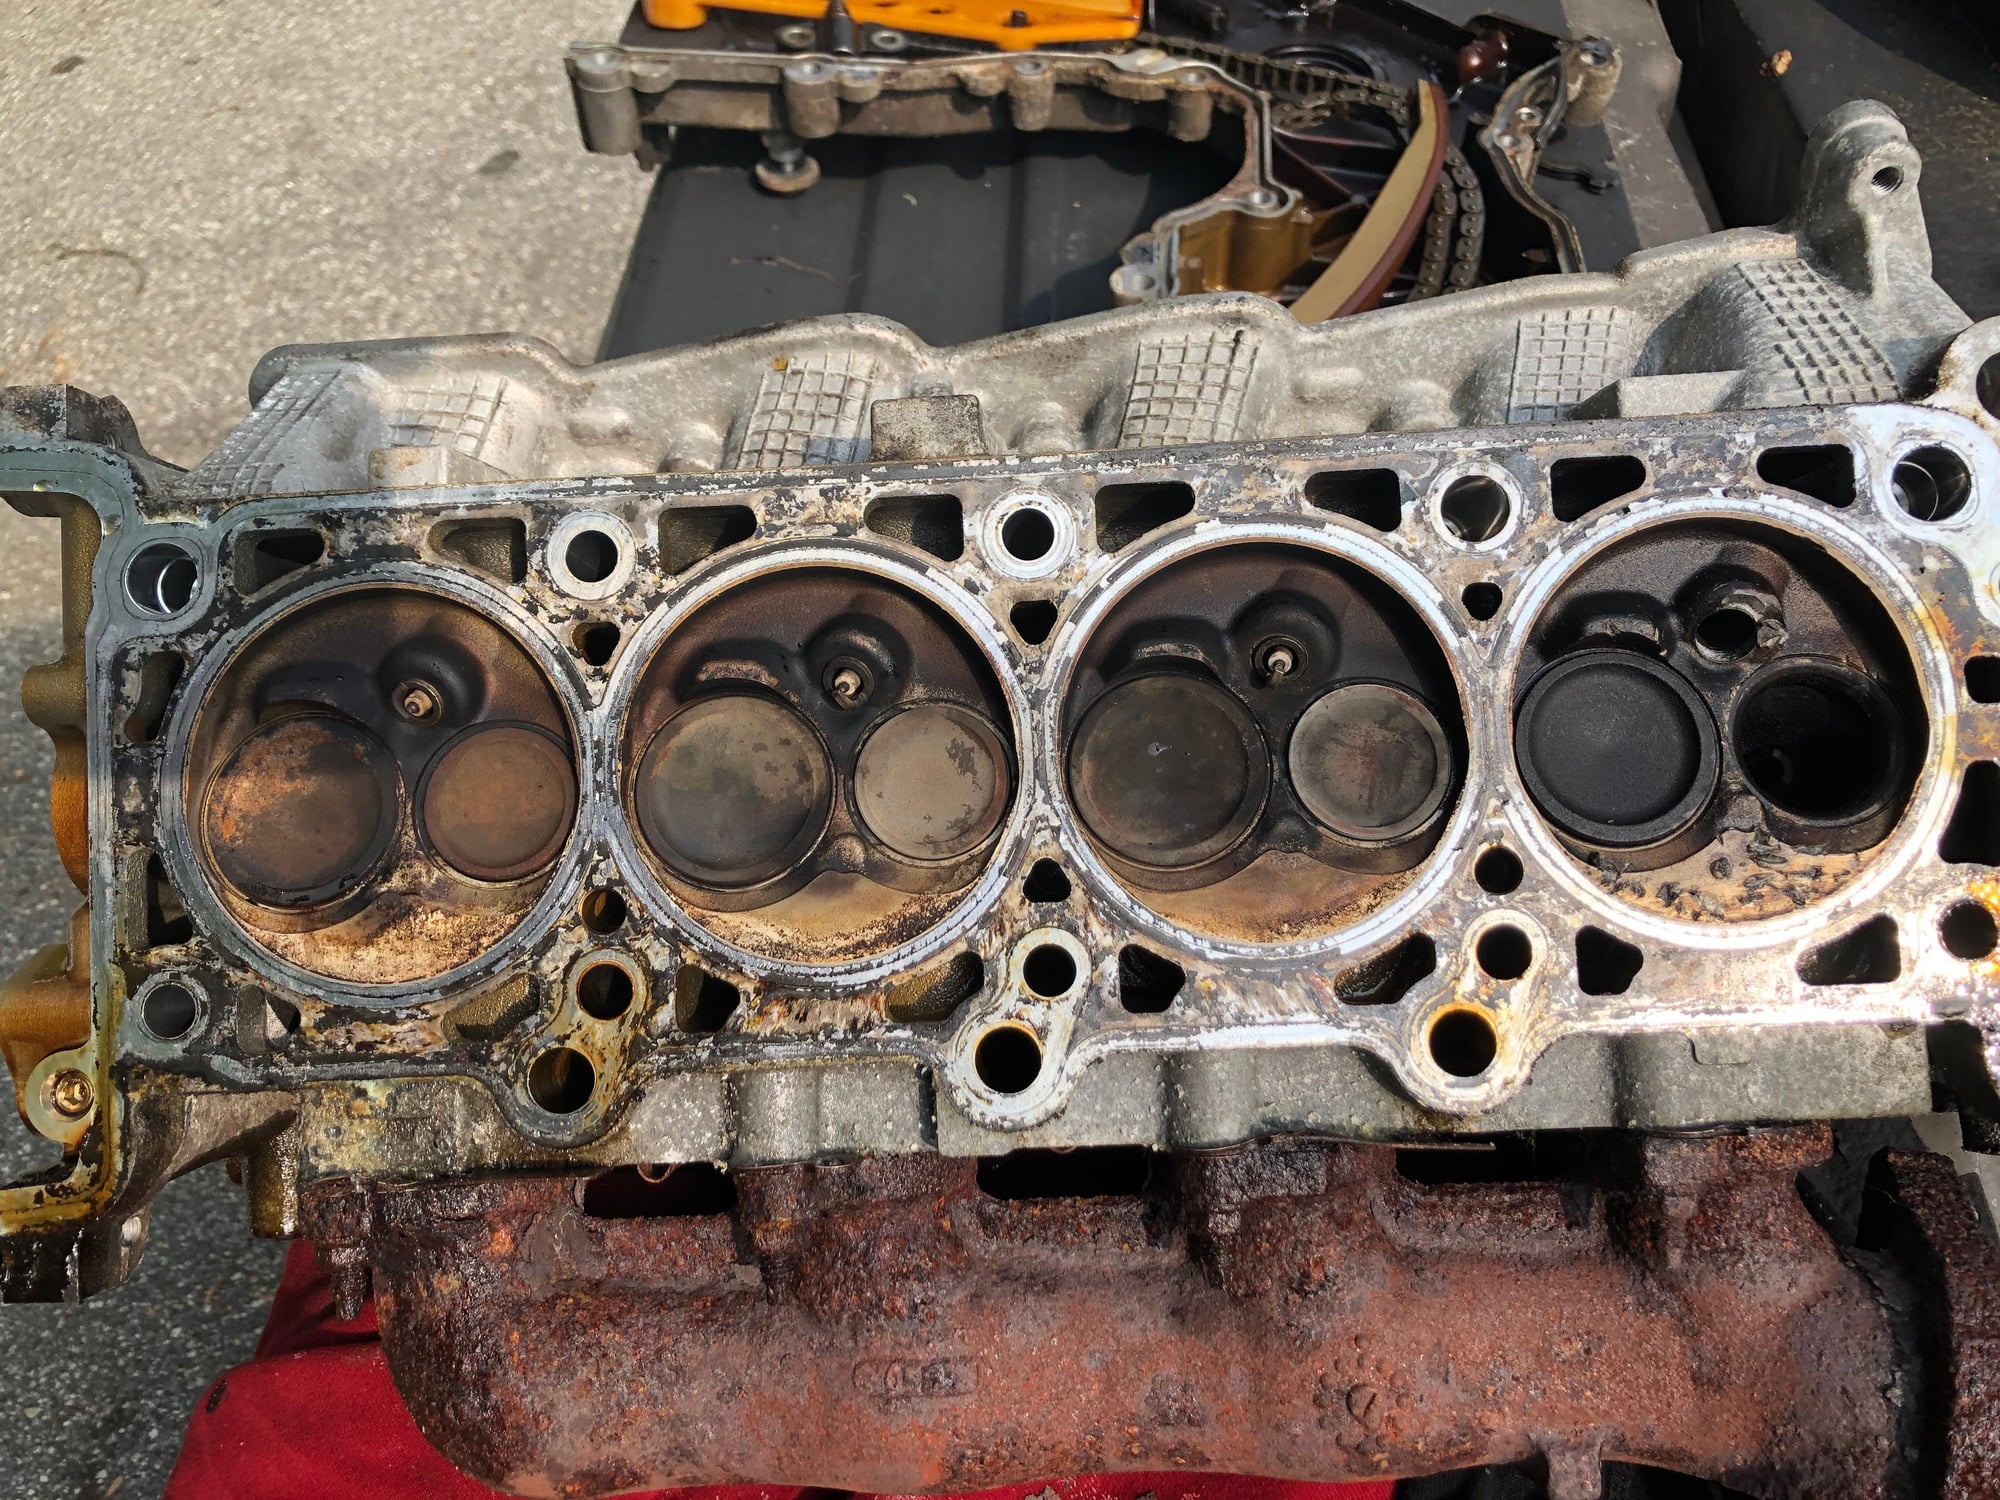
4.6 engine knock
#32
So Iím going to pull the head, while Iíve never done one, Iíve done a motor swap on my Corolla before. I was going to get the full fel-pro gasket kit basically because the price of buying individual gaskets for one side is about the price of the whole kit for both sides. And I was going to buy Mahle head bolts.
Any reason I should go for another brand? Anything else I should change while Iím in there?
ill wait to see what I need as far as buying the valves and rockers but I should be able to go to ford and buy them over the counter, right?
Any reason I should go for another brand? Anything else I should change while Iím in there?
ill wait to see what I need as far as buying the valves and rockers but I should be able to go to ford and buy them over the counter, right?
#33
Also I do have a small machine shop in my garage with precision measuring tools, where can I find tolerances for cams and whatever else I should check before I put it back together.
and will I be able to lift the head , passenger side, out without a hoist? It is aluminum right so it shouldnít be too bad
thanks again for the help
and will I be able to lift the head , passenger side, out without a hoist? It is aluminum right so it shouldnít be too bad
thanks again for the help
#34
I would pull the head BEFORE buying anything so you know what you are getting in to. If there's piston and/or cylinder damage you will be buying a lot more than a head gasket set and head bolts. Head should weigh about 50 pounds.
Rockauto.com should have everything you need, and it's going to be cheaper than buying locally. If it's a dealer-only item, check with tascaparts.com.
Rockauto.com should have everything you need, and it's going to be cheaper than buying locally. If it's a dealer-only item, check with tascaparts.com.
#35
#36
Also, remember it's an overhead cam engine, so the timing chain has to come off to pull the head. Read the following article:
https://www.f150online.com/forums/ar...r-engines.html
If you have to rotate the crank after the head is off to see all the way into the cylinder, rotate it TWICE till the key is back at 12 o'clock.
https://www.f150online.com/forums/ar...r-engines.html
If you have to rotate the crank after the head is off to see all the way into the cylinder, rotate it TWICE till the key is back at 12 o'clock.
Last edited by glc; 05-12-2019 at 04:14 PM.
#37
Ok thanks for the link, I ordered a paint marker and the Haynes manual , I can get access to alldata but I like having prints in the hand and a reference I can flip through.
Iíve read somewhere on this forum that you can pull the head while the exhaust manifold is still attached and just undoing the flange to the exhaust pipe, Iíll probably go that route and see how it goes
Iíve read somewhere on this forum that you can pull the head while the exhaust manifold is still attached and just undoing the flange to the exhaust pipe, Iíll probably go that route and see how it goes
#38
#39
Well I guess I jinxed myself, I only had the passenger side valve cover off so far and realized I have to take both off to get the front cover off, at least the first 2 bolts and of course one of the valve cover bolts disintegrated to dust and rust when I put a socket on it, I probably have one shot with welding on a nut before Iím drilling it out, at least itís up front
#40
Question after reading the link about the timing procedure, do I need to lock the cams if I have the crank at 12:00? From reading the thread I thought no because at 12:00 all the pistons are down a bit so there should be no interference issues. Just looking for a little clarity before I go buying tools I may not need.
Otherwise i just have exhaust left to take off and then I can take the heads off.
Thanks for for everyoneís help so far and enjoy your holiday
Otherwise i just have exhaust left to take off and then I can take the heads off.
Thanks for for everyoneís help so far and enjoy your holiday
#41
#42
Ok a little update, while this project has been a real PITA, I learned quite a bit about these motors. I should have just pulled it but didnít have a hoist, and I was hoping to replace just the bad piston but couldnít find one that was the same. I stripped it down leaving only the crank , replaced all pistons, rings and bearings. The crank measured surprisingly good and I didnít want to spend the extra money.
Got 2 reman heads and a timing kit. One problem I found in the old timing set was the passenger side chain guide had significantly more wear than the driver side. So i guess I had an oil starvation problem?
Other than that I cut aluminum flashing to cover the crank while honing and stuffed paper towels in the bottom of the cylinder on top of the flashing. It worked quite good to protect from what I can tell. I also used a thick tapping fluid to lube the cylinder so the debris just stuck to the cylinder and could be wiped out.
So now I am installing heads today hopefully and Iíll update when I finish and weíll see if she runs again.
The following users liked this post:
#44
The amount i have have learned so far is worth it.
heads went on today now I have to time it tomorrow so hopefully sheíll fire up in a few days
The following users liked this post:
#45


