Bagging my F150 project


Bagging my F150 project
So, I have had an account on here for quite a while, but I hardly ever post. A little back ground... This is actually my 5th F150. I have a "shop" called Tre5 Customs, but I actually work out of my 3 car garage. I haven't had the chance to build something for myself in a while and I finally have a small window to work on this truck.
On to the build up...
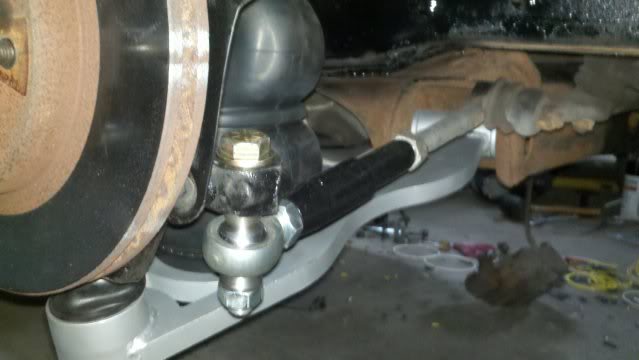
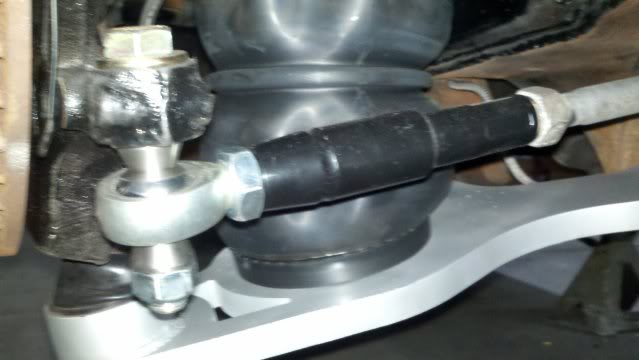
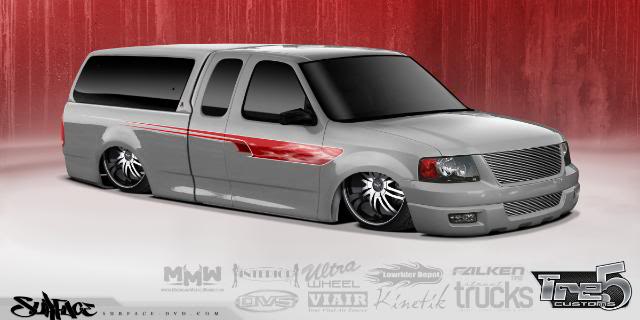
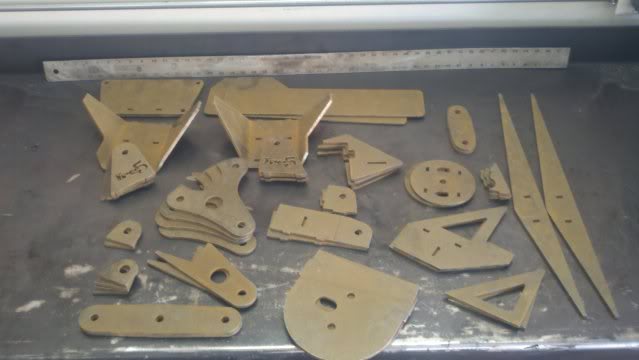
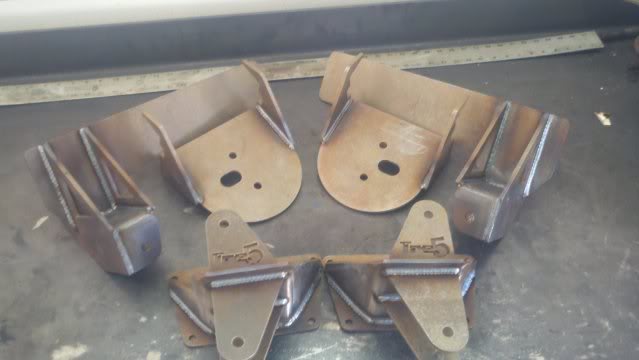
The front end is getting a set of Michigan Metal Works control arms along with the upper arm relocation brackets and bag mounts. I am running 2 Viar compressors through an Accuair manifold and Lowrider Depot 5 gallon aluminum tank. I am not running the complete Accuair setup, so I will be controlling the valves with an AVS switchbox and monitoring the pressure in the Slam Specialties SS7 bags with the AVS dual needle gauges. I will be throwing on some Ultra Platinum 22" wheels wrapped in Falken rubber. An you know I will be powering everything with a pair of Kinetik batteries. Huge thanks to everyone else involved with helping me get this truck done.
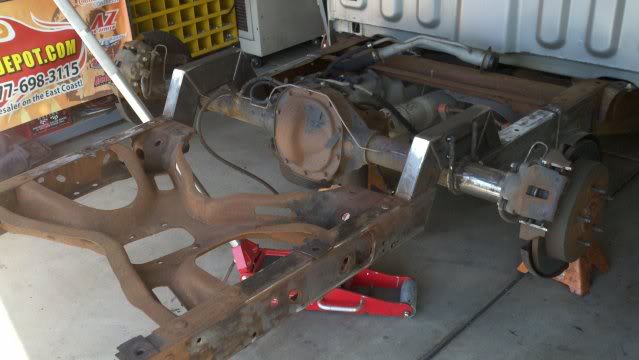
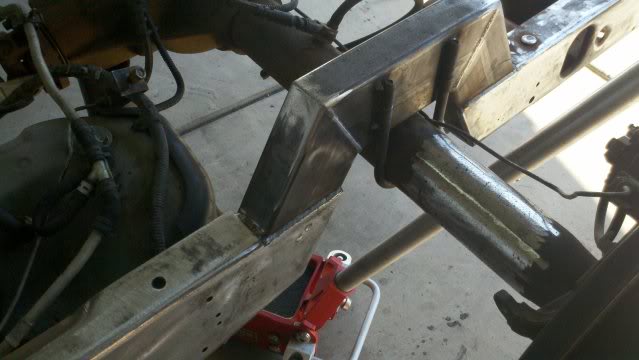
On to the build up...
The front end is getting a set of Michigan Metal Works control arms along with the upper arm relocation brackets and bag mounts. I am running 2 Viar compressors through an Accuair manifold and Lowrider Depot 5 gallon aluminum tank. I am not running the complete Accuair setup, so I will be controlling the valves with an AVS switchbox and monitoring the pressure in the Slam Specialties SS7 bags with the AVS dual needle gauges. I will be throwing on some Ultra Platinum 22" wheels wrapped in Falken rubber. An you know I will be powering everything with a pair of Kinetik batteries. Huge thanks to everyone else involved with helping me get this truck done.
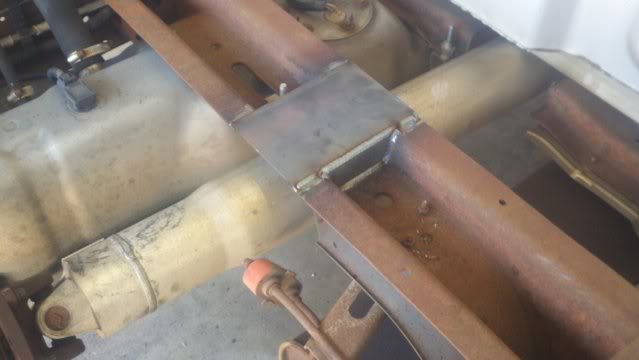
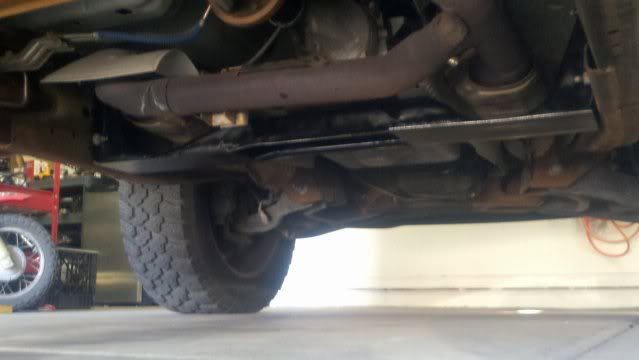

Senior Member
Joined: May 2008
Posts: 2,703
Likes: 1
From: Friendswood, Texas
Sweet build! I'll be needing to do these same things soon. How many companies do you know of tgat makes control arms for our trucks? Any links if you have them?
I've heard a lot about the accuair kit, post how you like it. I'm going to be using a ridetech kit.
I've heard a lot about the accuair kit, post how you like it. I'm going to be using a ridetech kit.
I am only using the accuair manifold, not the complete system. However, I have installed the accuair system before and I can tell you, IT IS AWESOME!!! Nothing beats it!
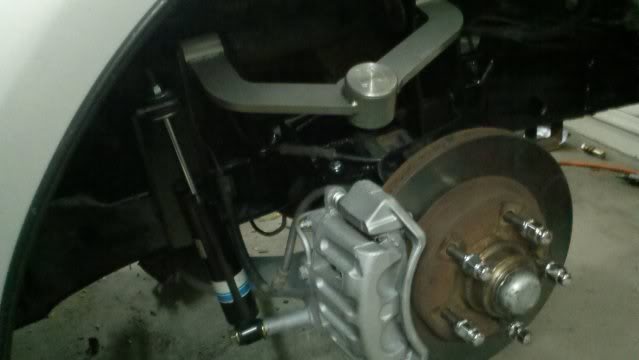
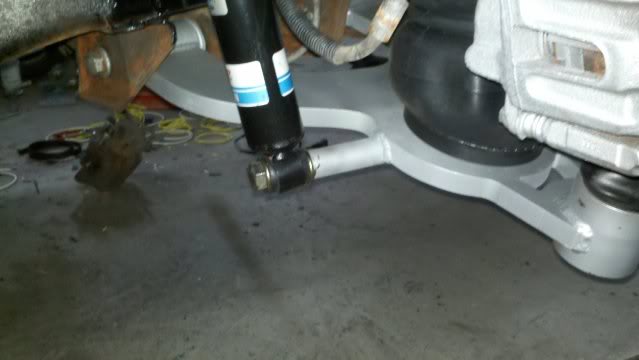
I am using MMW arms because he offers them with upper control arm relocation brackets and bag mounts with gussets. They also utilize a heim ball on the uppers that MMW makes their own spacers and caps for. They will get more travel than any typical ball joint. The only catch is that the lower ball joint taper needs to be reamed to accept the GM style press in ball joint. The new lower arm pivots underneath the spindle. I will post pictures when I get to that part.
I am holding back some pictures because the build up of the truck will be featured in Street Trucks magazine for a series of tech articles.
I am using MMW arms because he offers them with upper control arm relocation brackets and bag mounts with gussets. They also utilize a heim ball on the uppers that MMW makes their own spacers and caps for. They will get more travel than any typical ball joint. The only catch is that the lower ball joint taper needs to be reamed to accept the GM style press in ball joint. The new lower arm pivots underneath the spindle. I will post pictures when I get to that part.
I am holding back some pictures because the build up of the truck will be featured in Street Trucks magazine for a series of tech articles.

Trending Topics
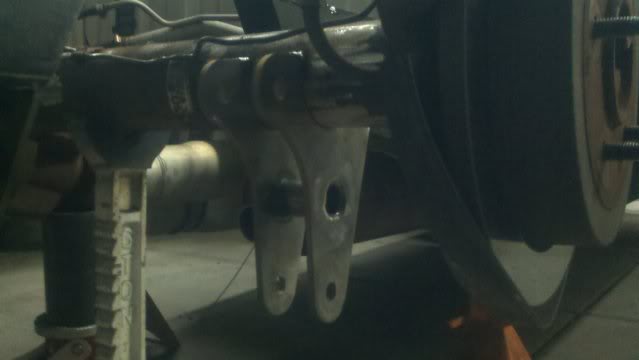

looks good man. Looking forward to following this build MMW is a good place for parts for sure. Also Extensive aint bad either at least they ship quick. I had a bag blowout in the boonies before and they over-nighted me a bag to get her up an running

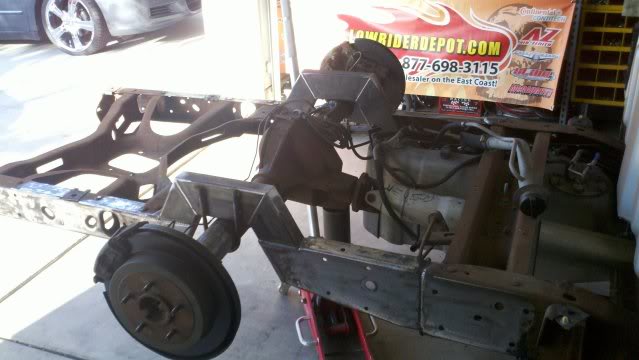
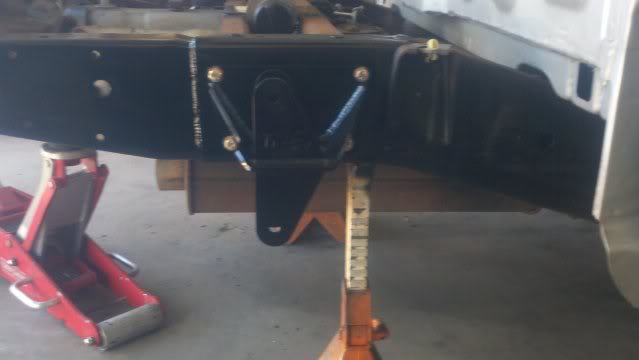
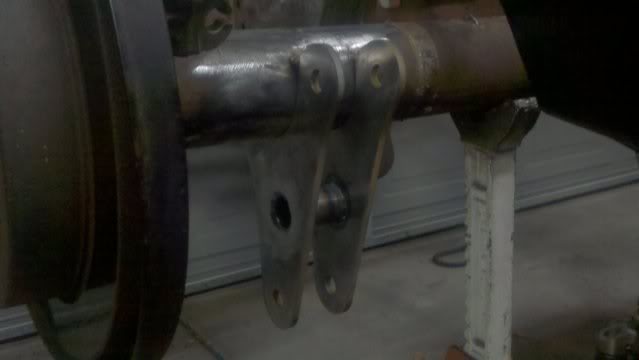
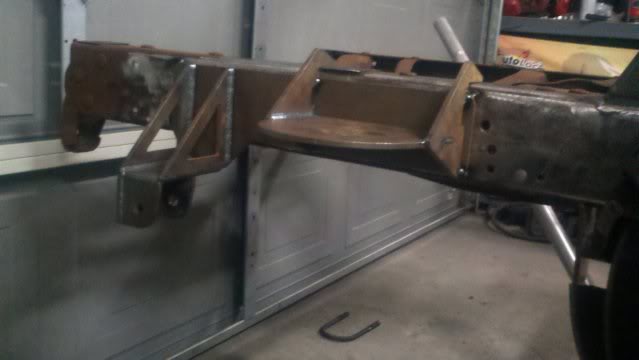
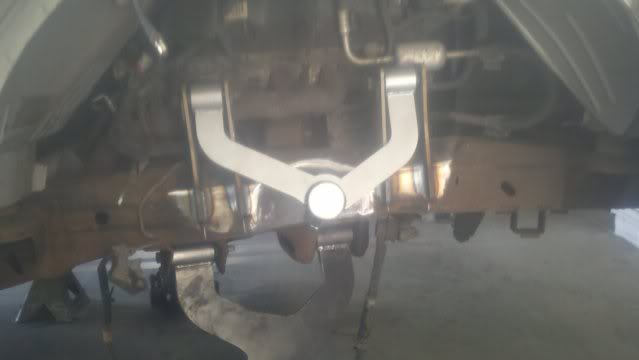
Got all the stock mounts off the front frame and then welded on the new raised upper mounts from Michigan Metal Works. Hopefully my reamer will get here tomorrow so I can get the spindles on and get the bag mounts welded on then figure out the shock mounts.
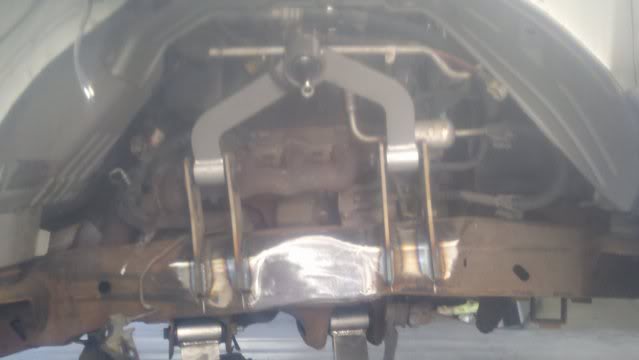
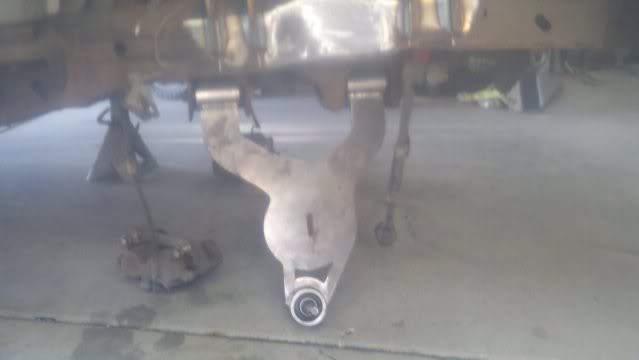

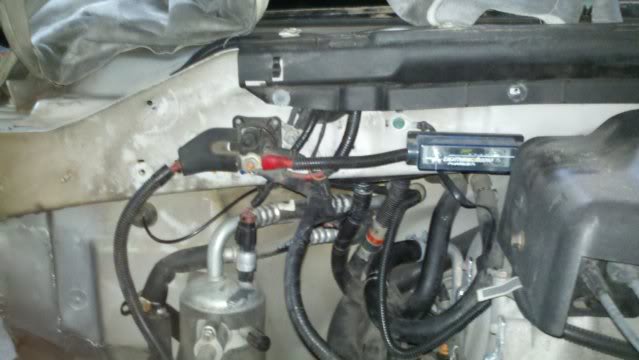
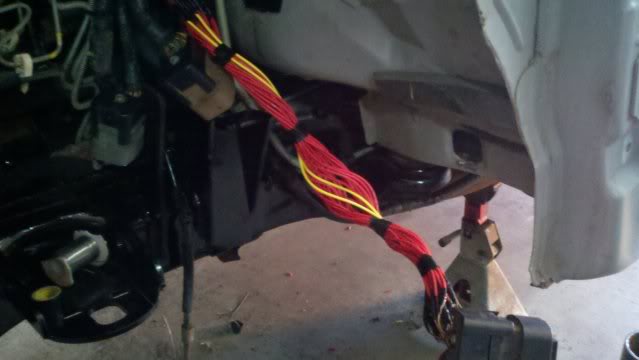
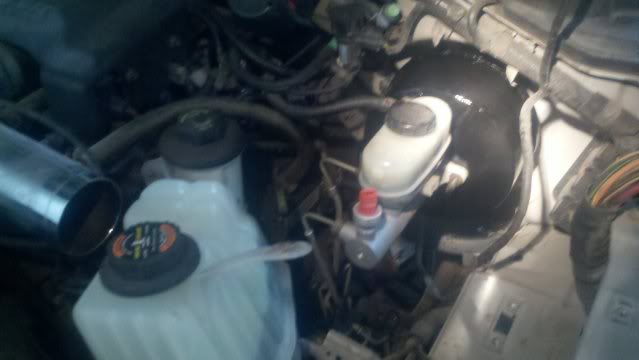
Worked on moving all the wires under the hood. I relocated the computer under the cowl, as well as the huge bundle of wires that is mounted to the firewall. Moved over to the drivers side and started extending 65 wires to relocate the 3 plugs on the drivers side firewall. Then got to finishing up the front suspension with shock mounts.