Scratches in headlight


Thread Starter
|
Senior Member
Joined: Aug 2006
Posts: 800
Likes: 0
From: St.Pete, FL
Scratches in headlight
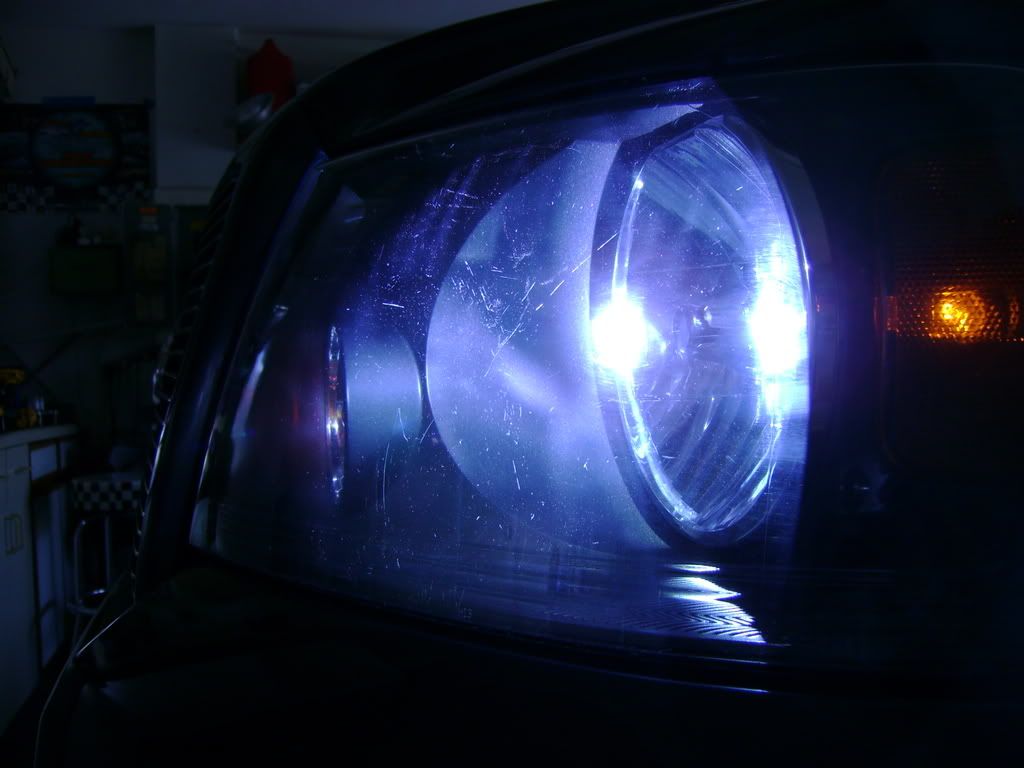
I used Meg's PlastX, but it didn't do it. I really cleaned up the surrounding areas, but not the bigger scratches. Is there anything better I can do to remove them or am I screwed?

Senior Member
Joined: Aug 2005
Posts: 4,813
Likes: 0
From: Aurora Texas
I think Rock is your man on this one, but I wouldn't mind seeing a photo of what are working with...it may not show up well on the forum but I am just curious what you are considering deep mark in a front corner.
Senior Member
Joined: Aug 2005
Posts: 4,813
Likes: 0
From: Aurora Texas
Ok, thanks, i was expecting MUCH worse. I think those look fine from that photo...do the scratches impede your driving vision? Doesn't appear too from that photo.
Just remember that your front corners will get some abuse and keeping looking like you have here is just fine....
Sorry that is probably not the response you were looking for but I think those look just fine....
JP
Senior Member


Joined: Dec 2006
Posts: 43,545
Likes: 819
From: Joplin MO
I have used the heavy duty kit from ADS and can highly recommend it, if you think it's necessary. It involves wetsanding with 1500 grit, followed by Megs #85 on a drill with wool cutting pad, then PlastX on a drill with a foam polishing pad. I don't think I'd go that far on those though.

Senior Member
Joined: Apr 2006
Posts: 2,396
Likes: 0
From: DFW
I have used the heavy duty kit from ADS and can highly recommend it, if you think it's necessary. It involves wetsanding with 1500 grit, followed by Megs #85 on a drill with wool cutting pad, then PlastX on a drill with a foam polishing pad. I don't think I'd go that far on those though.
RR makes a good point when he says that they look fine and that the corners will get some abuse-- there is a point at which you have to understand the limits to what you are going to do (for everyone it is different, though)...
I would like to offer the insight that if you are shooting with a digital camera, try to find the "Macro" setting, and shoot with that. Note that zoom may be fixed. Take an angled shot of the lights-- that should help the ambient lighting produce the proper shadows such that the scratches will become evident. If they still dont turn out, shoot a light perpendicular to or at an angle to the direction the scratch is going, then snap a shot-- that should also produce the shadowing.
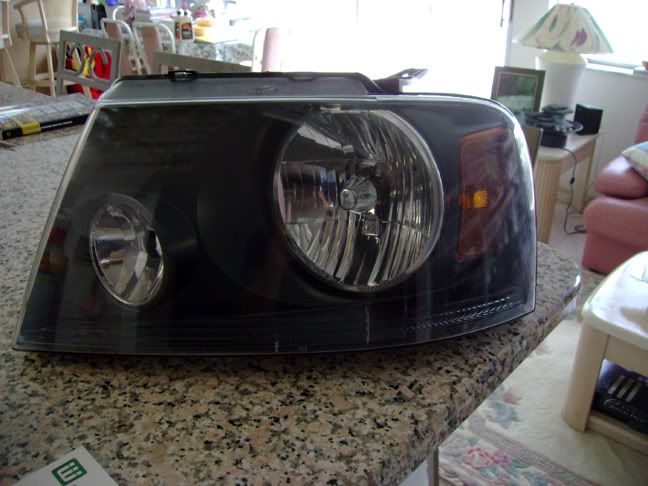
BTW-I love the detailing supplies on your kitchen table!!!
Trending Topics

 Now do you see why they call me OCD???


Suspended
Joined: Nov 2006
Posts: 1,610
Likes: 0
From: Germantown, TN
+2 on the Heavy duty kit, works great, but your lights dont need it imo. But if you want to save some money and can wait about a month, I will be down in tampa looking at usf and houses and will be happy to help get your lights looking new for you.