
protecting the engine bay


protecting the engine bay
Alright question:
Is there a way to protect debris i.e mud and sticks from getting into the engine area on a 2011 f150? The other day when I got stuck and was getting pulled out I noticed that alot of mud and debris was getting into my engine area. I have the stock wheel well protectors in there but it doesn't seem like enough. Is there something aftermarket I can get or do I have to fabricate something myself?
When I lifted my hood today to wash it it was caked in there. I had way to much mud under my hood. Pretty nasty just wondering so I can prevent it from messing anything up. thanks

I would have but A friend of mine decided to get his stuck while alone so I was the only available one to go retrieve it.. Note to self I'll wait till I get a lift and mud tires before next time!
Senior Member
Joined: Jun 2010
Posts: 501
Likes: 0
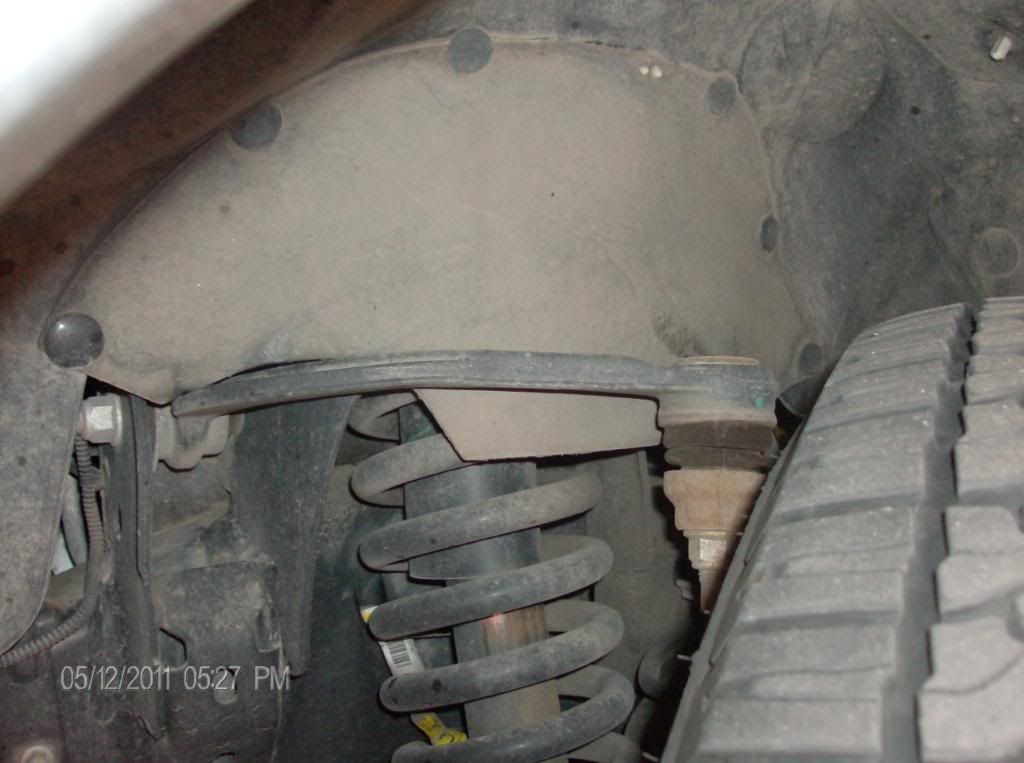
I installed premolded rubber skirt that is actually used for a '70 Chevelle. It closed off that opening between the upper control arm and the edge of the stock inner wheel well. Its all plastic in there so I just drilled some holes and used a few plastic fasteners (the same ones they use for securing trim) to hold it all in place. Its coming up to one year now and no issues with them falling off.
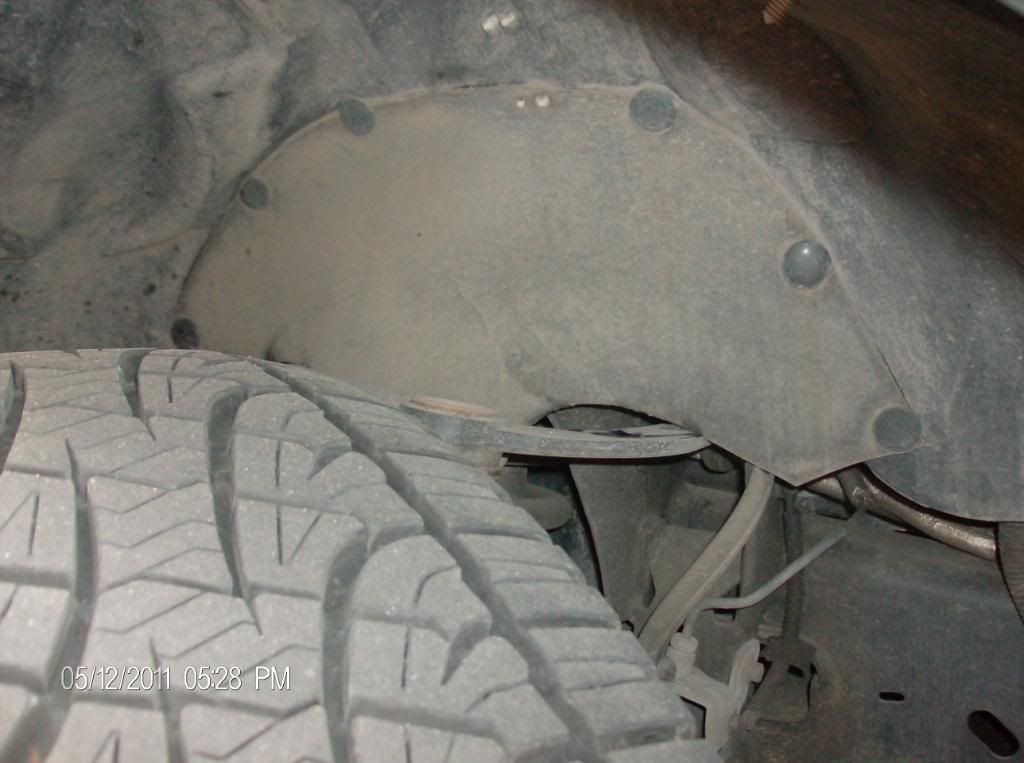
Also did something similar to the rear using a large rubber membrane but that involved more time because of the measuring, cutting and mocking up. I'm really glad I did the rear cause it is essentially all open under there without this skirt.
Also did something similar to the rear using a large rubber membrane but that involved more time because of the measuring, cutting and mocking up. I'm really glad I did the rear cause it is essentially all open under there without this skirt.

Member
Joined: Feb 2010
Posts: 27
Likes: 0
Just remember to not leave any place where mud and road grime can accumulate behind or in a seam its very corrosive and one of the reasons its left open is its easy to wash out ,if you close it all in it could lead to corrosion problems down the road.
Trending Topics

Member
Joined: Apr 2011
Posts: 93
Likes: 0
From: Chicago
I installed premolded rubber skirt that is actually used for a '70 Chevelle. It closed off that opening between the upper control arm and the edge of the stock inner wheel well. Its all plastic in there so I just drilled some holes and used a few plastic fasteners (the same ones they use for securing trim) to hold it all in place. Its coming up to one year now and no issues with them falling off.
Also did something similar to the rear using a large rubber membrane but that involved more time because of the measuring, cutting and mocking up. I'm really glad I did the rear cause it is essentially all open under there without this skirt.
Also did something similar to the rear using a large rubber membrane but that involved more time because of the measuring, cutting and mocking up. I'm really glad I did the rear cause it is essentially all open under there without this skirt.
lets see some pics man.

Senior Member
Joined: Sep 2005
Posts: 318
Likes: 0

Senior Member
Joined: Jun 2010
Posts: 501
Likes: 0
Here are some pics (not sure if this is gonna work though):
http://i998.photobucket.com/albums/a...eelfullpic.jpg
http://i998.photobucket.com/albums/a...eelfullpic.jpg
Last edited by Formula jg; May 13, 2011 at 11:37 AM.