



My 2007 Screw Ranch Hand Install


Thread Starter
|
Member
Joined: May 2012
Posts: 14
Likes: 0
My 2007 Screw Ranch Hand Install
Thought I'd post up some pics and how-to on the install I did today of my Ranch Hand Legend Grill Guard.
My truck is a two wheel drive without tow-hook cutouts so it added one extra level of difficulty.
To make matters worse, I bought the model that was made years ago, that was only designed for 2004-2006 model.
Here's how I managed everything and the end result...
The Ranch Hand Grill Guard, here-forth abbreviated RHGG, uses 4 mounting locations which tie into the existing frame of the truck.
The lower mounting locations bolt to a plate, that attaches to the frame, and the upper mount uses a piece of angled steel to make its way from the mid section of the RHGG to tie into the bumper support itself.
Here are some pics of the guard itself, and the mounting components.

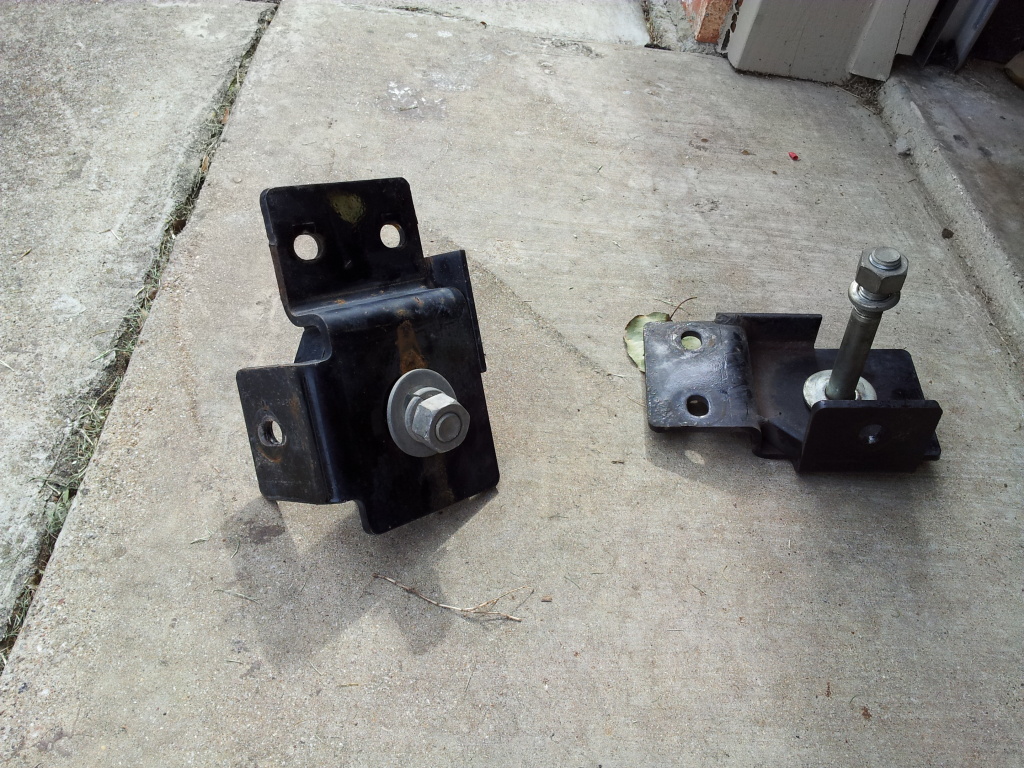
Unfortunately I forgot to take pics of the upper support brackets, but here is a pic of them mounted.
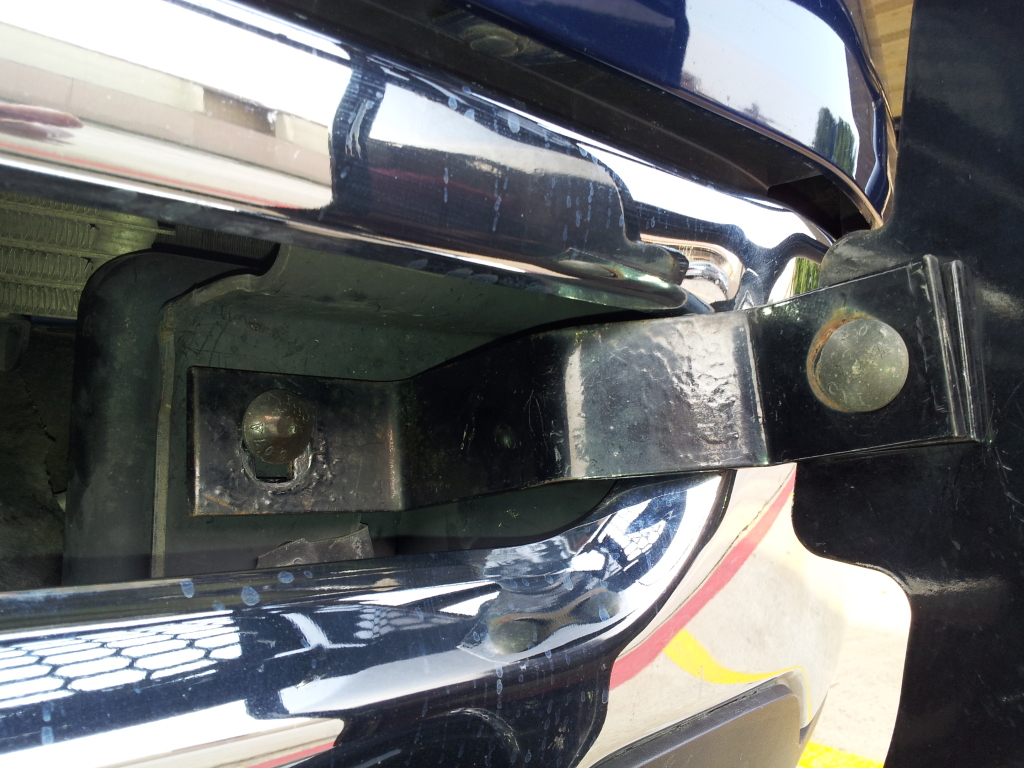
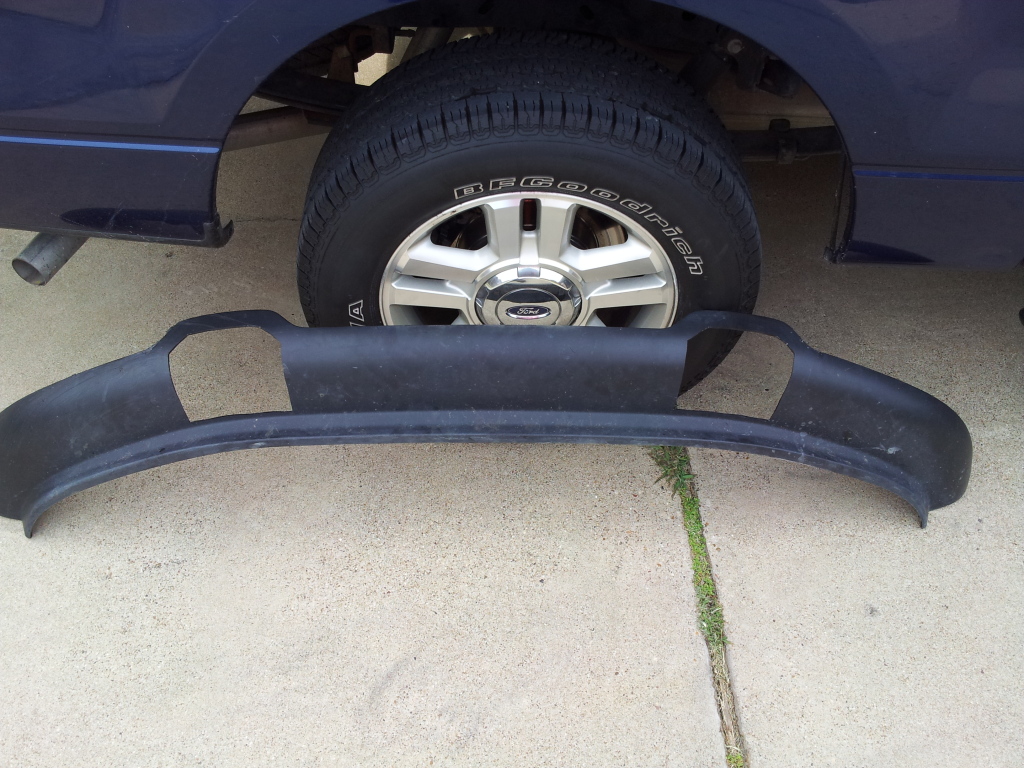
The first order of business was to remove the lower bumper air dam to cut out holes for the lower portion of the guard to pass through.
If you have tow hooks you would skip this step as you already have the holes in your air dam that I needed to add.
To remove the dam just crawl underneath the bumper and remove these 8mm fasteners, there was like 12 of them.
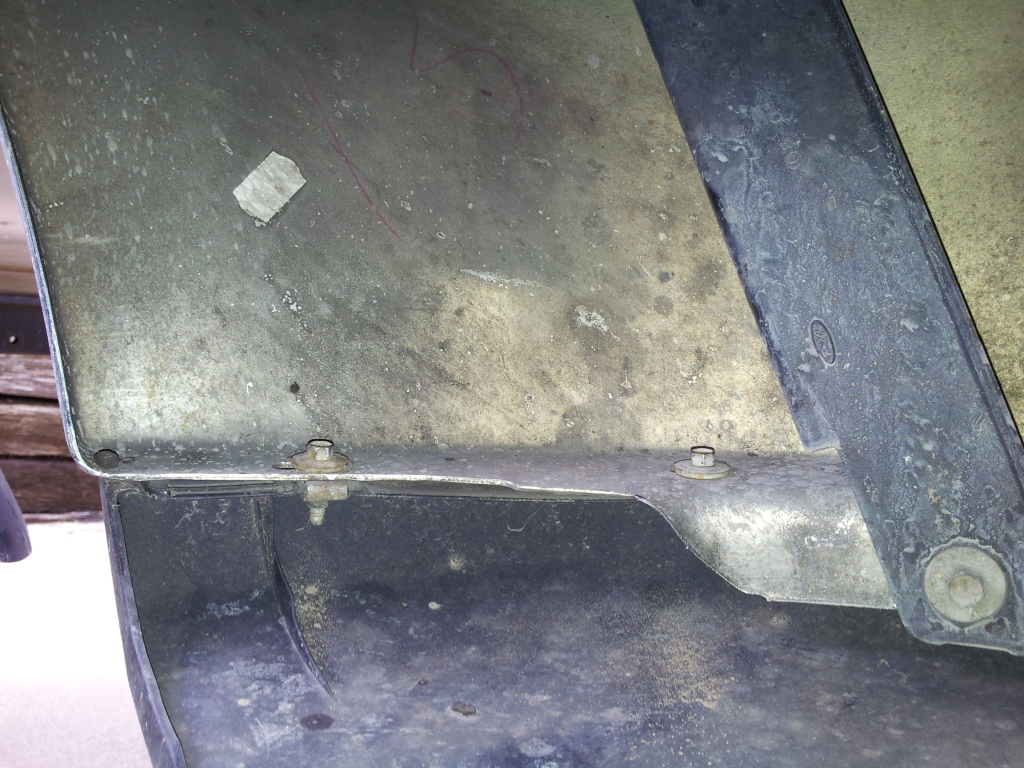
Once those are removed the dam will be held on by two clips near the center, just push and wiggle it around and it should pop right off.
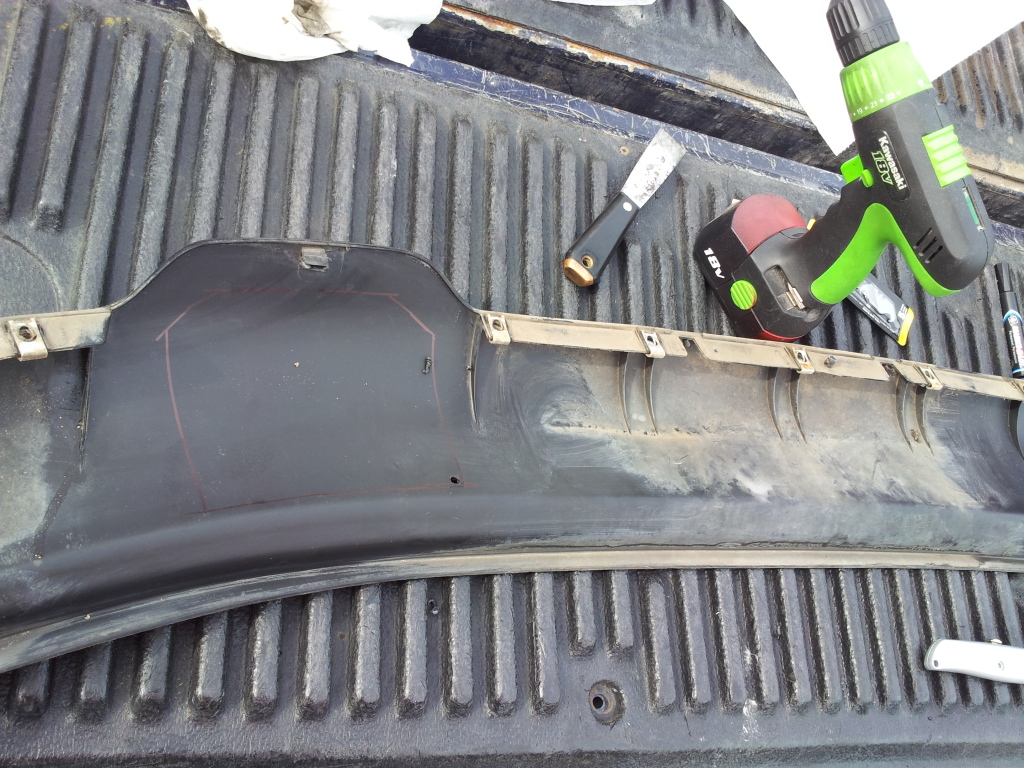
With the dam off I started by cleaning it up and marking off the material I wanted to remove.
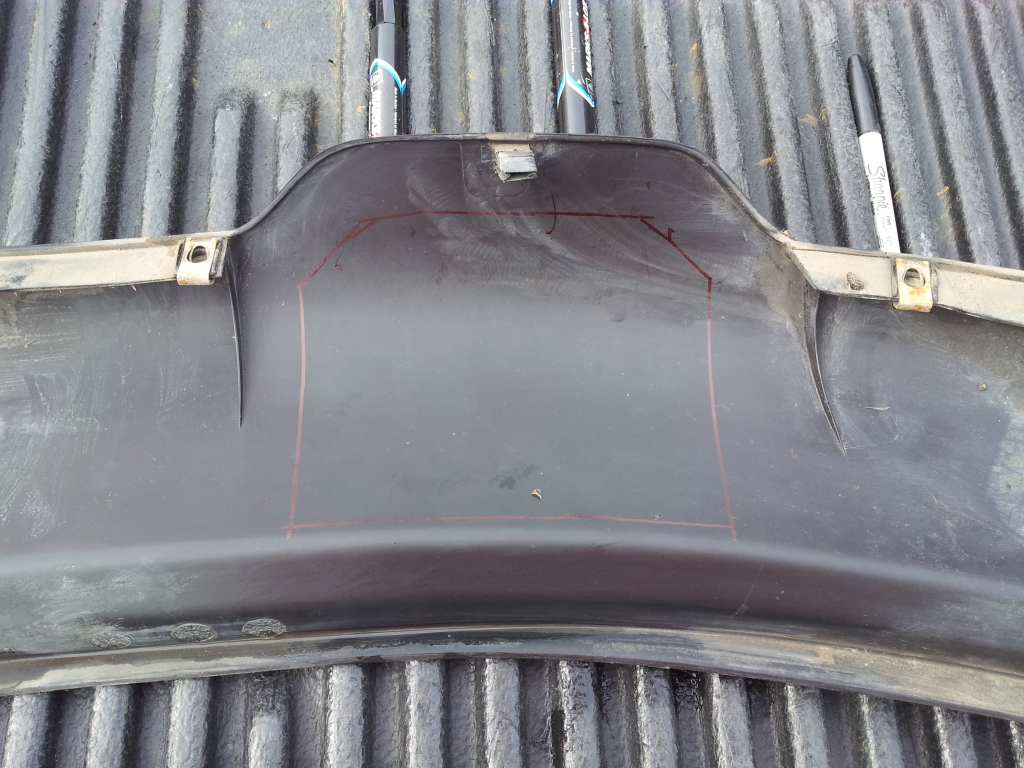
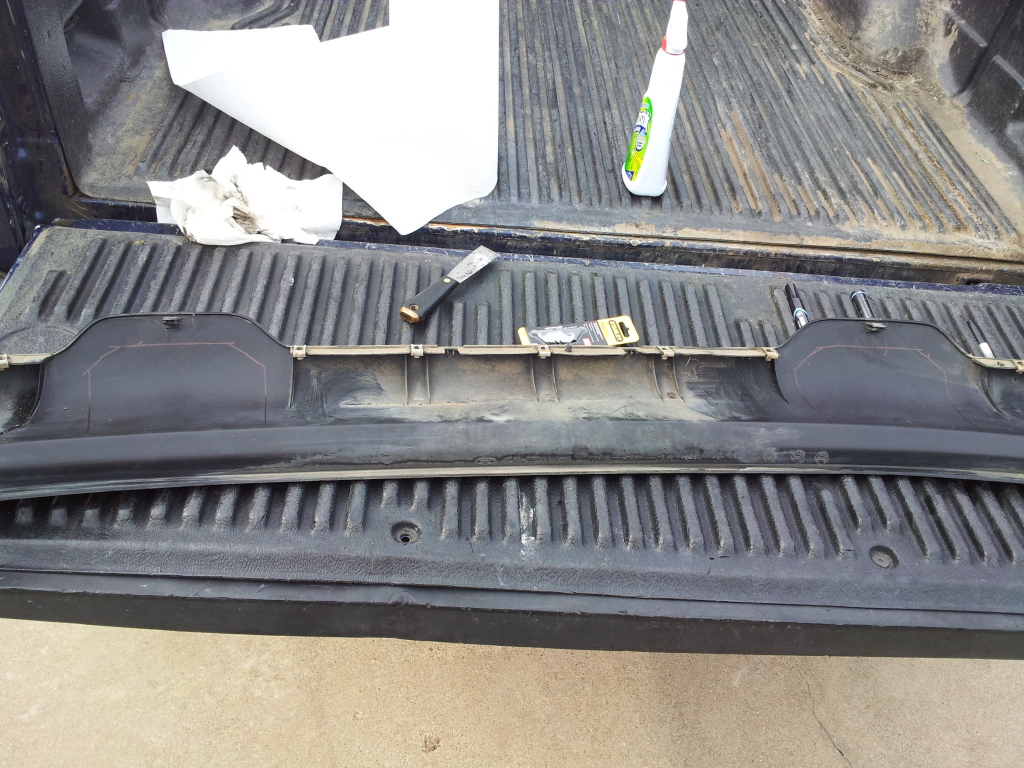
Ranch Hand is supposed to have a template specific for this purpose, however being the weekend I couldn't contact them and did a great job by simply eyeballing it.
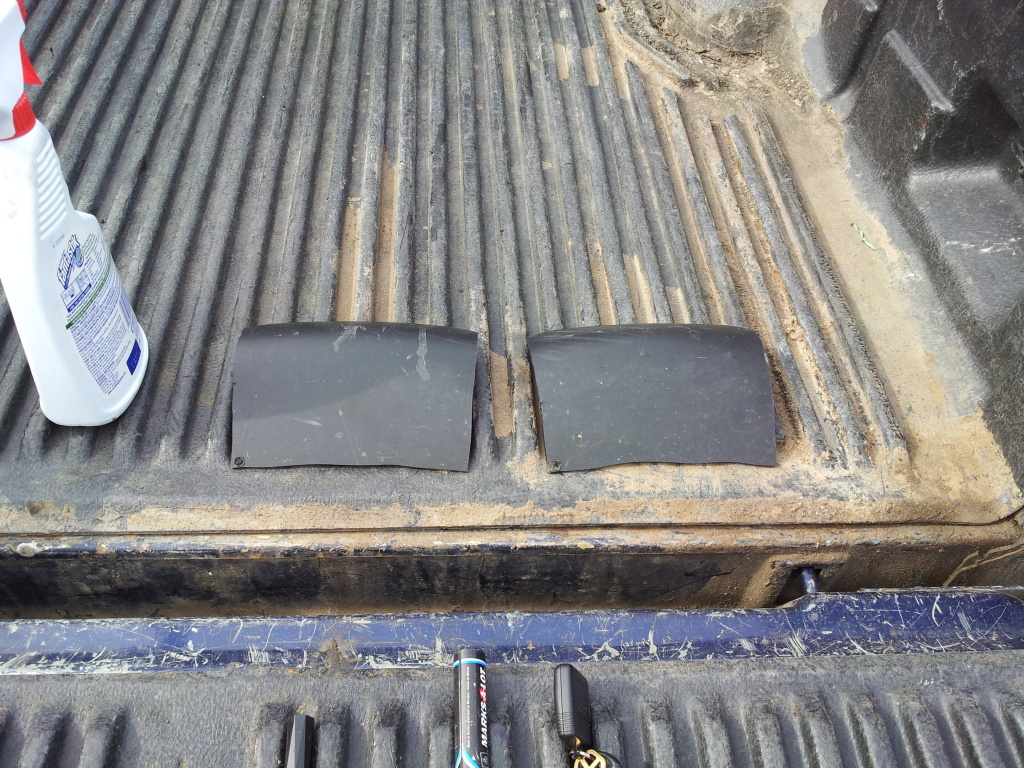
Additionally I simply used a box knife with some sharp blades as it had no trouble cutting through the material with ease.
Here are the tools used and the results.
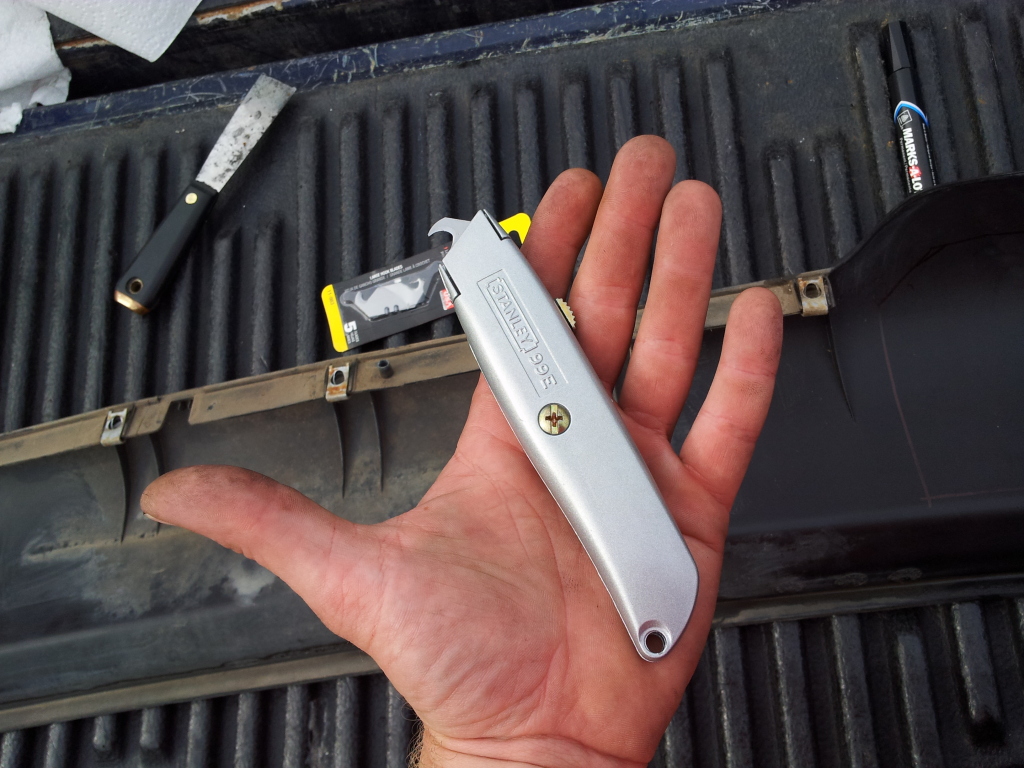
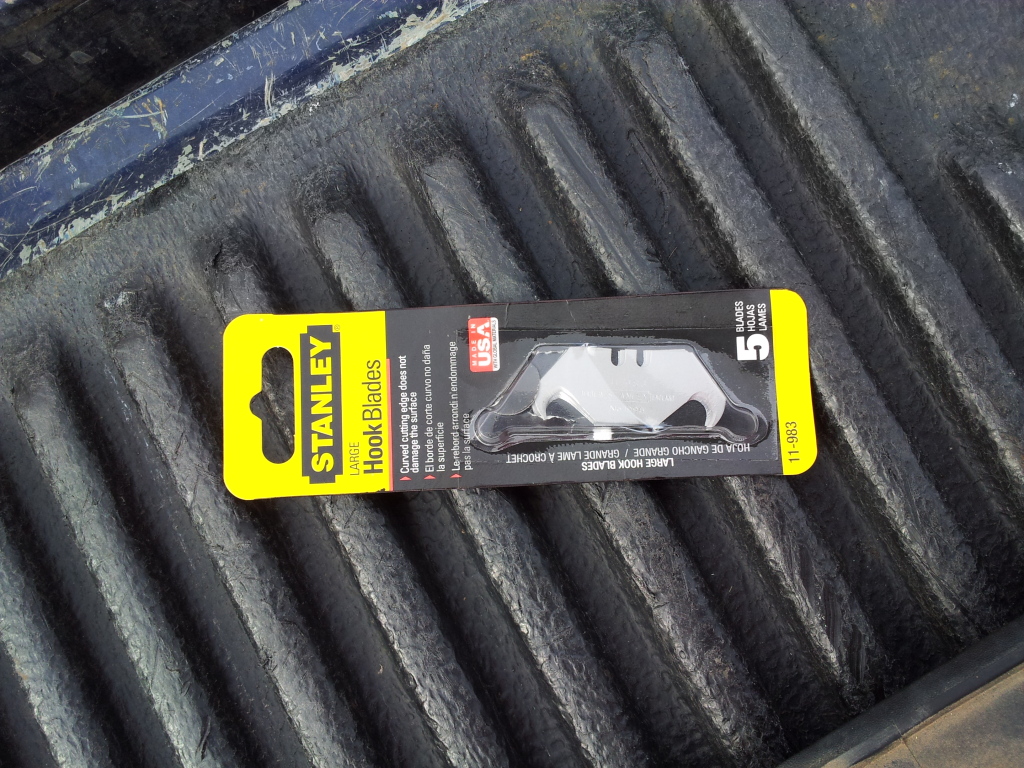
I drilled a hole in the corners of the cut-out area to make for an easier start.
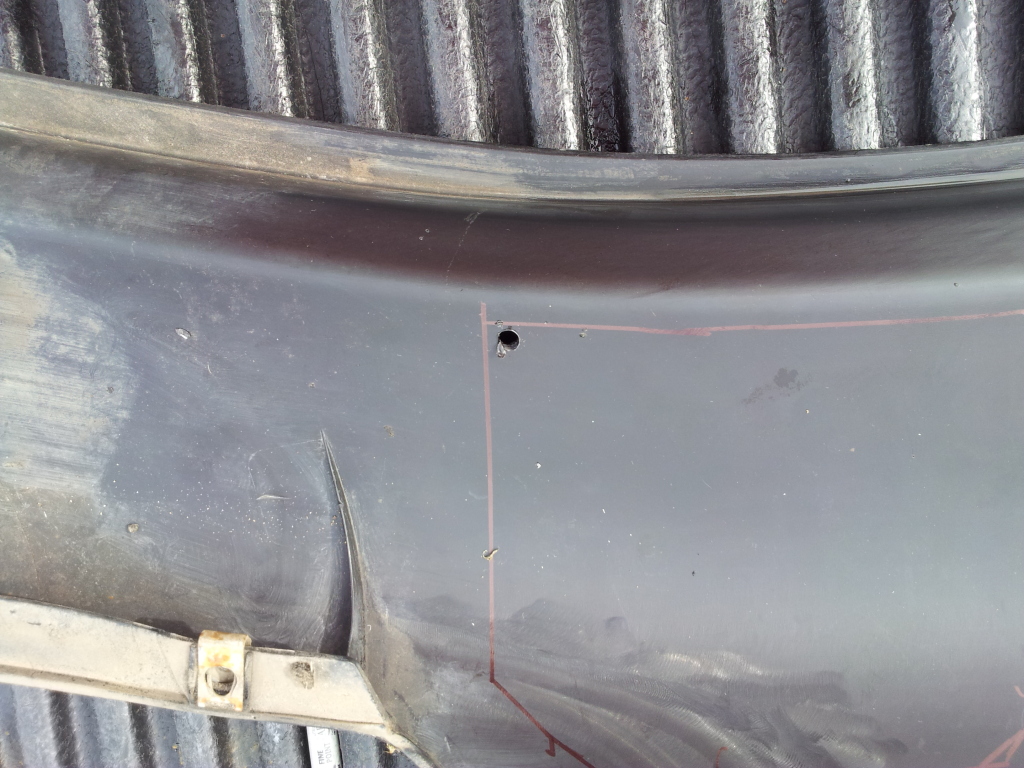
With that all done its to time mount the lower brackets.
These are the two metal mounts that bolt to the frame, which the guard then bolts to.
Here are the before and after shots.
Without bracket.
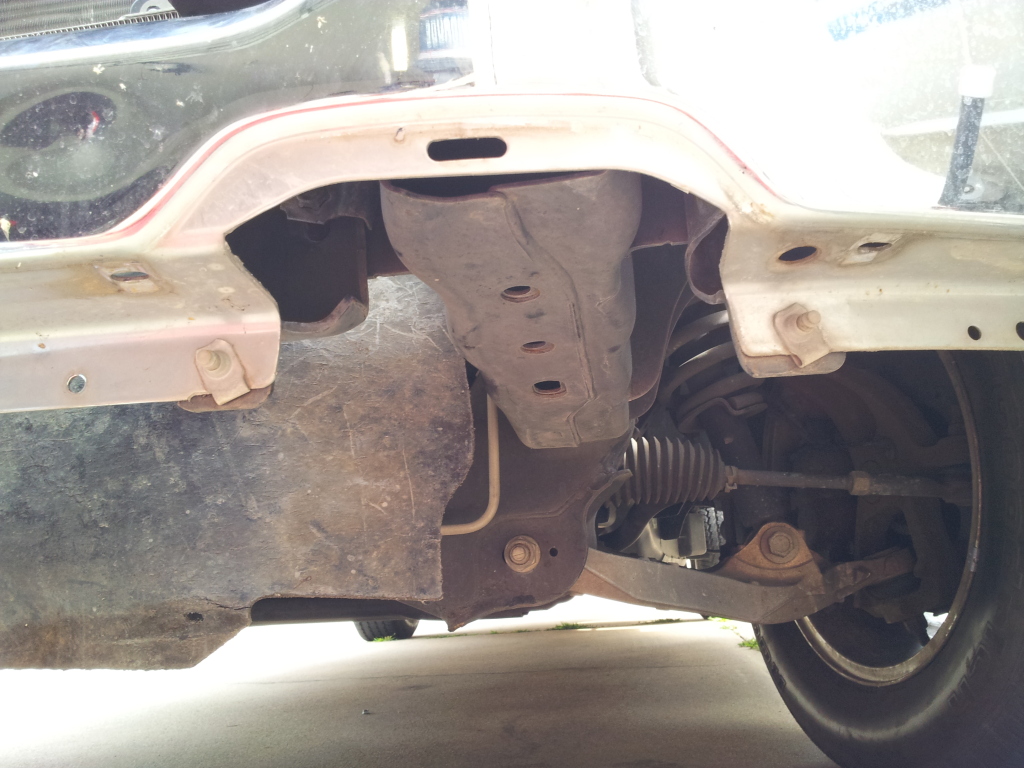
Ready for grill guard.
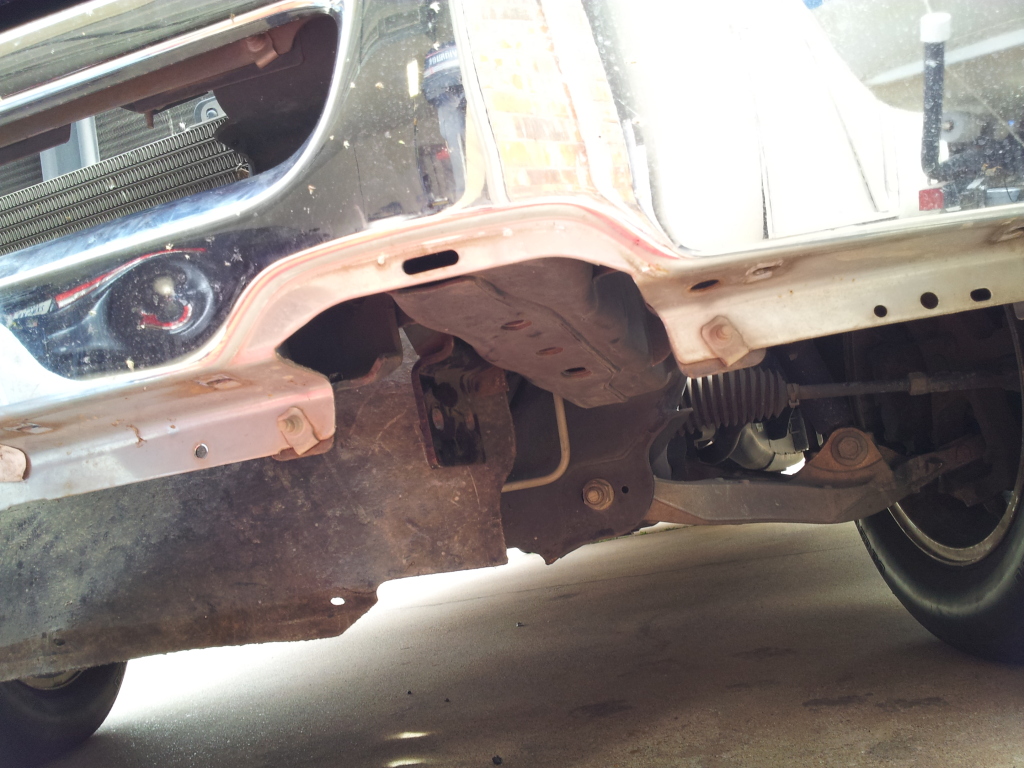
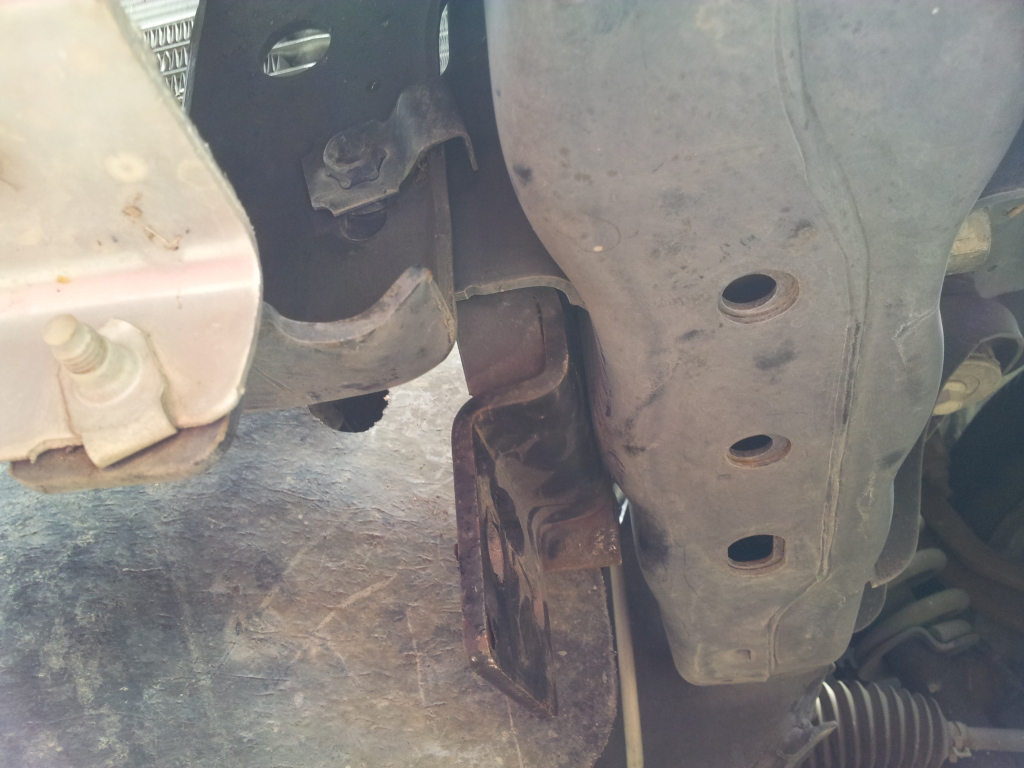
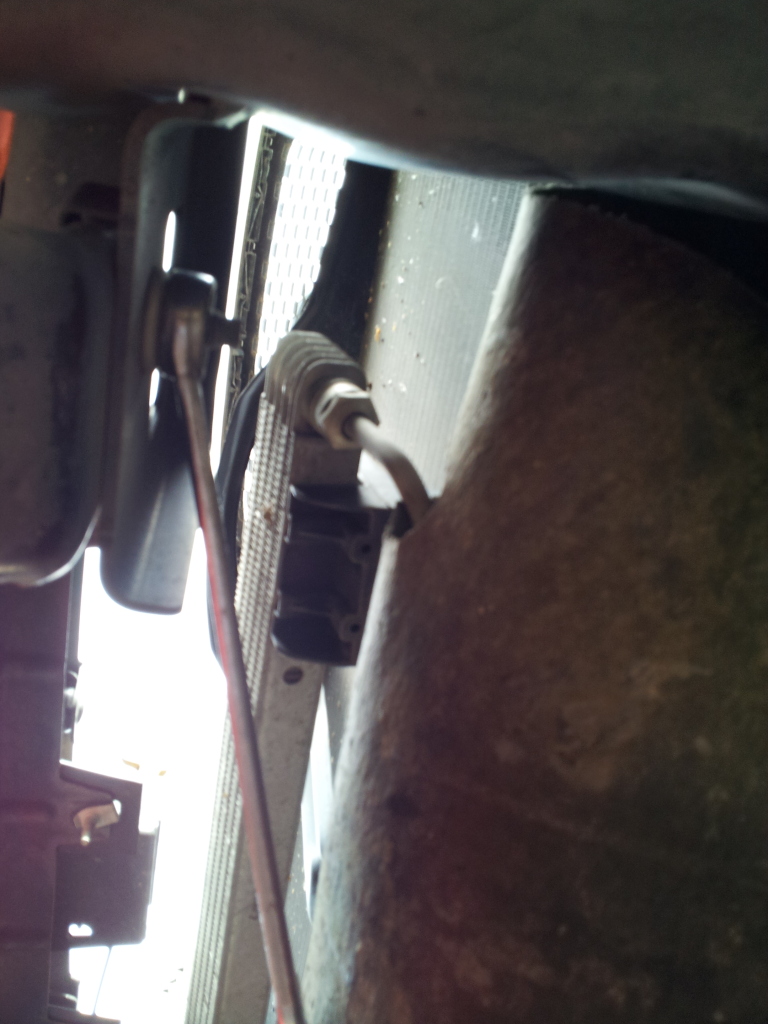
This mount ties in with a large 5" through frame bolt and into the bumper support, you will need to loosen the bolt in the next pic that is on the truck from the factory to install it.
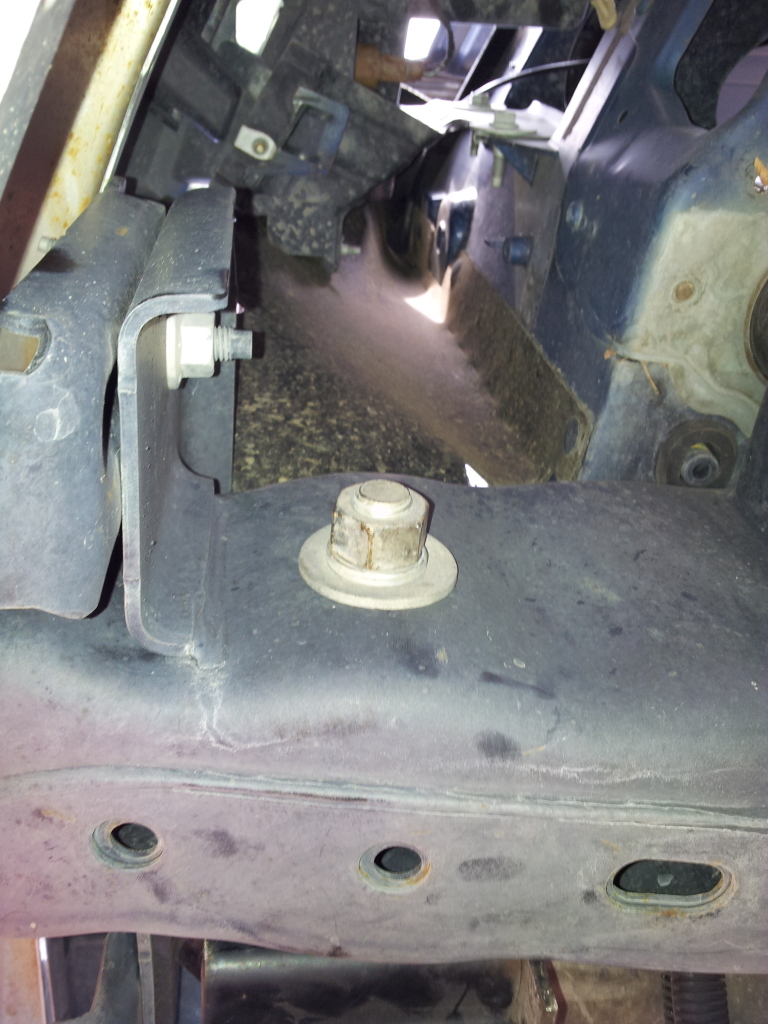
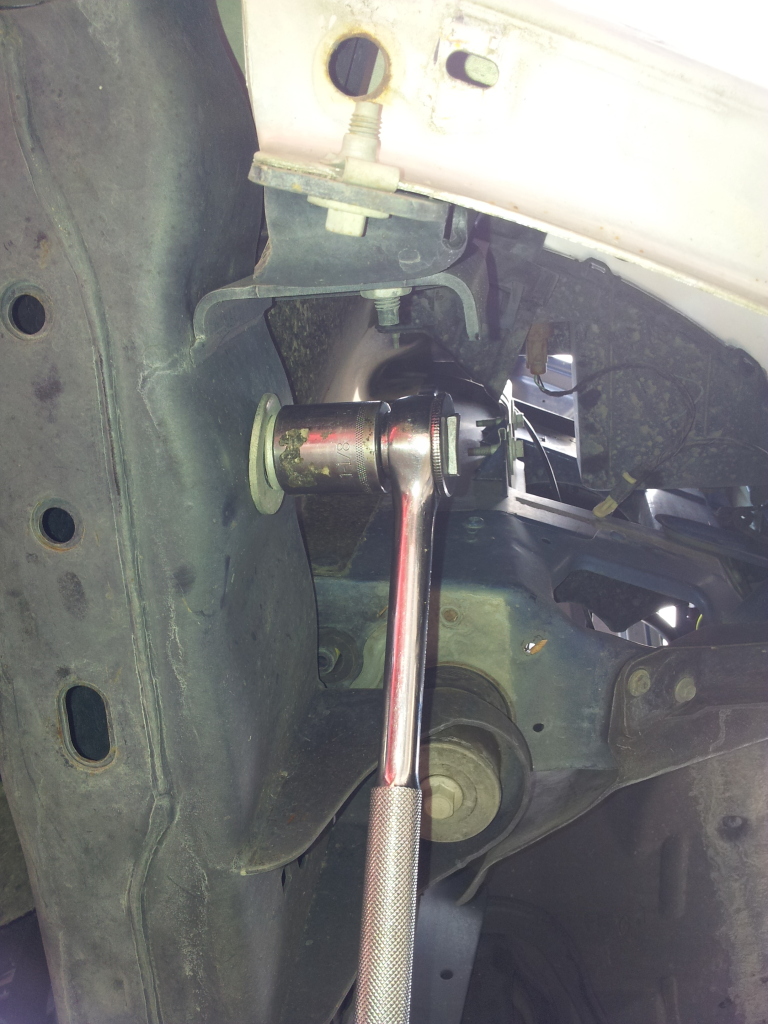
Here is the 5" through bolt installed and tightened down, the fastener itself takes a 1 1/8th socket.


I'll finish this up later, I seem to have reached the single post attachment limit.
My truck is a two wheel drive without tow-hook cutouts so it added one extra level of difficulty.
To make matters worse, I bought the model that was made years ago, that was only designed for 2004-2006 model.
Here's how I managed everything and the end result...
The Ranch Hand Grill Guard, here-forth abbreviated RHGG, uses 4 mounting locations which tie into the existing frame of the truck.
The lower mounting locations bolt to a plate, that attaches to the frame, and the upper mount uses a piece of angled steel to make its way from the mid section of the RHGG to tie into the bumper support itself.
Here are some pics of the guard itself, and the mounting components.
Unfortunately I forgot to take pics of the upper support brackets, but here is a pic of them mounted.
The first order of business was to remove the lower bumper air dam to cut out holes for the lower portion of the guard to pass through.
If you have tow hooks you would skip this step as you already have the holes in your air dam that I needed to add.
To remove the dam just crawl underneath the bumper and remove these 8mm fasteners, there was like 12 of them.
Once those are removed the dam will be held on by two clips near the center, just push and wiggle it around and it should pop right off.
With the dam off I started by cleaning it up and marking off the material I wanted to remove.
Ranch Hand is supposed to have a template specific for this purpose, however being the weekend I couldn't contact them and did a great job by simply eyeballing it.
Additionally I simply used a box knife with some sharp blades as it had no trouble cutting through the material with ease.
Here are the tools used and the results.
I drilled a hole in the corners of the cut-out area to make for an easier start.
With that all done its to time mount the lower brackets.
These are the two metal mounts that bolt to the frame, which the guard then bolts to.
Here are the before and after shots.
Without bracket.
Ready for grill guard.
This mount ties in with a large 5" through frame bolt and into the bumper support, you will need to loosen the bolt in the next pic that is on the truck from the factory to install it.
Here is the 5" through bolt installed and tightened down, the fastener itself takes a 1 1/8th socket.
I'll finish this up later, I seem to have reached the single post attachment limit.

