


Pics of my rig


Thread Starter
|
Senior Member
Joined: Dec 2012
Posts: 148
Likes: 0
Well honestly nothing about the project of installing was quick. If you have opened the box and saw them you know that the "rivets" for the bolt-on look are not attached to the flares. Which is great if you plan on painting. It took me roughly 45 minutes to get all the little tiny screws bolted on to the flare itself. It takes an allen wrench to put them on cause they dont tell you that. Then it took about 40 minutes to put the rubber weather stripping on to the flares. Then about 45 minutes to remove the old flares and that is yanking, cutting and ripping, not taking my time to save the retainer clips. Then about 30 minutes to actually install the new flares. Now I honestly took one off and put one on then moved to the next one but I would say it was about an hour and 15 to an hour and a half removing old/installing new. So all in all about 3 hours total to build new ones up, remove old one and install the new ones. Much longer than I anticipated. I am also very mechanically inclined not some one who has never touched a hand tool. I figured 1.5 hours tops but I was not even close.

Senior Member
Joined: Jul 2002
Posts: 2,934
Likes: 1
From: Osage Beach, Missouri
Well honestly nothing about the project of installing was quick. If you have opened the box and saw them you know that the "rivets" for the bolt-on look are not attached to the flares. Which is great if you plan on painting. It took me roughly 45 minutes to get all the little tiny screws bolted on to the flare itself. It takes an allen wrench to put them on cause they dont tell you that. Then it took about 40 minutes to put the rubber weather stripping on to the flares. Then about 45 minutes to remove the old flares and that is yanking, cutting and ripping, not taking my time to save the retainer clips. Then about 30 minutes to actually install the new flares. Now I honestly took one off and put one on then moved to the next one but I would say it was about an hour and 15 to an hour and a half removing old/installing new. So all in all about 3 hours total to build new ones up, remove old one and install the new ones. Much longer than I anticipated. I am also very mechanically inclined not some one who has never touched a hand tool. I figured 1.5 hours tops but I was not even close.
Thread Starter
|
Senior Member
Joined: Dec 2012
Posts: 148
Likes: 0
Well it finally got a little warmer out so I decided to go a head and clean the truck up a little. Quick wash and wax. Not too bad for original paint and 12 winters up north if you ask me.
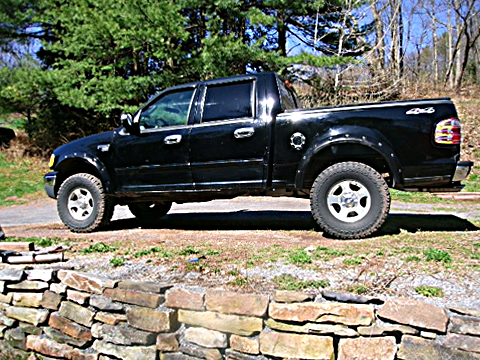
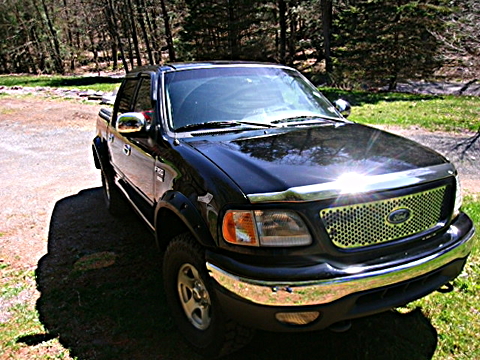
This one took some finesse to get back into the truck once I got out. Not common for me being 6'5" lol
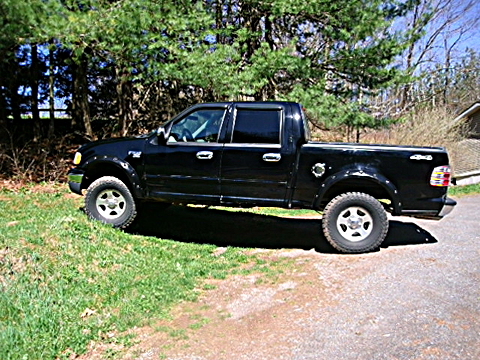
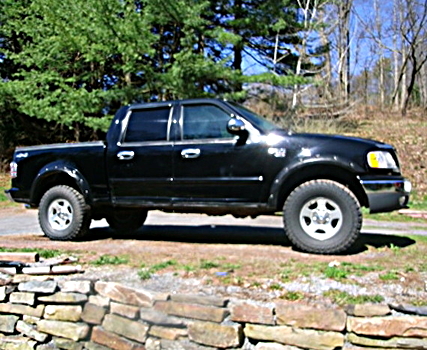
Admitting this is not my best work but atleast you can see what it looks like all shined up. Hope Y'all enjoy


This one took some finesse to get back into the truck once I got out. Not common for me being 6'5" lol


Admitting this is not my best work but atleast you can see what it looks like all shined up. Hope Y'all enjoy

Technical Article Contributor
Joined: Oct 2005
Posts: 25,641
Likes: 19
From: MI
Nice truck, you just have to learn how to take better pictures lol. Flattering pics. Maybe it's the camera ?
Thread Starter
|
Senior Member
Joined: Dec 2012
Posts: 148
Likes: 0
Yeah I am not the photographer that some other guys are lol. It is also a cheaper camera. I am sure if I was using my wifes $700 Cannon instead of a Wal-Mart special it would make a big diference. Thanks JBrew.
Senior Member
Joined: Jul 2002
Posts: 2,934
Likes: 1
From: Osage Beach, Missouri
Well it finally got a little warmer out so I decided to go a head and clean the truck up a little. Quick wash and wax. Not too bad for original paint and 12 winters up north if you ask me.


This one took some finesse to get back into the truck once I got out. Not common for me being 6'5" lol


Admitting this is not my best work but atleast you can see what it looks like all shined up. Hope Y'all enjoy
This one took some finesse to get back into the truck once I got out. Not common for me being 6'5" lol
Admitting this is not my best work but atleast you can see what it looks like all shined up. Hope Y'all enjoy
Thread Starter
|
Senior Member
Joined: Dec 2012
Posts: 148
Likes: 0
Did you finally get them all together and put on yet ? I had been wondering how you made out with them.
 [/URL]