When you click on links to various merchants on this site and make a purchase, this can result in this site earning a commission. Affiliate programs and affiliations include, but are not limited to, the eBay Partner Network.
They are very heavy and very awkward. Do not try to bench press it. You can use a regular floor jack with some scrap wood across the pan to help distribute the weight. Also draining it will help a bunch.
I am about to remove my 4R75E transmission in my 06 F150 4x4 and do not find any videos on this, anyone out there have any input on this before I get started? I have a thought to pull tranny and transfer case down at the same time to ease the removal and install? any thoughts?
Originally Posted by LarrytheLariat
Thanks for the write-up, it helped give me the courage to rebuild my 4R75E. It's been about 2 weeks and I've driven hundreds of miles and it works perfectly. Minus tools that I had to buy, like a floor jack, transmission jack, jack stands, etc, this job cost me $785. That includes an internal "hard part" that you didn't replace called a forward clutch cylinder for $100. That was the cause of my failure, it cracked, which is a common problem with these transmissions.
Again, thanks! This was a fun project with a huge sense of accomplishment at the end.
I am about to remove my 4R75E transmission in my 06 F150 4x4 and do not find any videos on this, anyone out there have any input on this before I get started? I have a thought to pull tranny and transfer case down at the same time to ease the removal and install? any thoughts?
I have rebuilt several transmissions in 2005-2006 F-150s 4wd in the passed several months, I am currently doing a rebuild on a 2006 lincoln mark LT 4wd.
I get the truck as high up as I can on jack stands, remove the RF wheel and inner plastic fender. This gives you access to the dip stick tube bolt in the right cylinder, I also remove the passenger side heat shield for the exhaust to get more room to access the trans cooler lines. The top bolt for the heat shield is on top of the frame right where the body and frame meet. you will need to remove the downstream passenger side O2 sensor to snake the heat shield off. I leave the exhaust in place and just separate the pipe at the slip flange behind the Y-pipe, then remove the T/case then remove the trans cross member and let everything hang. This gives you access to all the bell housing bolts and I find it gives a little more room for that pesky top starter bolt.
you also MUST remove the front sway bar from the truck to remove the front drive shaft and get the transmission out. once you get the truck high enough, do that first.
Don't try to remove the transmission and transfer case, together. That's a bad idea for many reasons, most importantly you could end up putting too much stress on the transmission bell housing during removal and/or installation. My suggestion is to get yourself a Hayes manual for the truck and follow the steps for transmission removal, exactly. They are easy to follow steps and they work. Mitymerc gave good advice except I have no idea why the sway bar would need to be removed to remove the front drive shaft. I didn't need to do that. I did, however, need to remove my exhaust from the headers to access everything but I have custom exhaust so maybe that's not always the case. Also, when you remove the right front tire, you don't need to completely remove the inner fender well, you can just lift the bottom and access the dip stick tube bolt. Good luck!
Don't try to remove the transmission and transfer case, together. That's a bad idea for many reasons, most importantly you could end up putting too much stress on the transmission bell housing during removal and/or installation. My suggestion is to get yourself a Hayes manual for the truck and follow the steps for transmission removal, exactly. They are easy to follow steps and they work. Mitymerc gave good advice except I have no idea why the sway bar would need to be removed to remove the front drive shaft. I didn't need to do that. I did, however, need to remove my exhaust from the headers to access everything but I have custom exhaust so maybe that's not always the case. Also, when you remove the right front tire, you don't need to completely remove the inner fender well, you can just lift the bottom and access the dip stick tube bolt. Good luck!
is your truck 4wd? If you removed the exhaust, then there should be plenty of room to get the front drive shaft out with out removing the front sway bar. If you have the stock exhaust and leave it bolted in, then you must remove the front sway bar and right exhaust heat shield to do anything.
I have done 3 transmissions this way in the passed 3 months, this is what works best for me, if you find a better way that works for you, then do it.
My ultimate point is if you leave the factory style exhaust bolted up, you can NOT remove the transmission and Tcase as one unit since the exhaust cross over is in the way.
Yes, it's 4wd. That's awesome that you're able to remove the transmission with the exhaust still bolted up. Messing with the exhaust was one of the biggest challenges in the whole job! I wish I could have done that. I would say maybe next time but I hope there isn't a next time. At least with this truck! I checked out your Facebook page, BTW, cool stuff.
There are a lot of improved parts you can replace when doing the overhaul. Check out the above site, he mentions almost everything.
When you are rebuilding your clutch packs, clearances are important. You can either use selective sized steels, or selective sized snap rings to obtain the correct clearances. A little on the loose side is MUCH better than being a little on the tight side (within the spec'd tolerance spectrum). Soaking the new frictions in trans fluid for a day is recommended as well!
Couple tips I found that might help:
-The "v" shaped anti-clunk spring is the new design. The old design was a steel spring that would gradually start cutting into the transmission housing. If you have the old steel spring, you should replace it!
-Check the reverse shell and sun gear.. I found a lot of wear in mine. I had someone weld stainless steel to fill in the wear, and then filed everything down to give it a precision fit.
-Use electrical tape when installing pistons or seals to prevent damaging the new seals when seating them- specifically when there is sharp edged groove for a snap ring.
Let's start with the rebuilt torque converters. (Left = old, Right - Rebuilt).
Disclosure: It took about 12 hours worth of work due to lack of organization (going by memory from removal) as well as a lack of experience. This is the first time I've ever been involved in any transmission related work. (Didn't even have the transmission repair manual at the acreage which I paid $40 for). Disassembly took 4 hours. If I were to do it again, it would take roughly 2-3 hours for disassembly and reassembly. The 12 hours include the disassembly and reassembly roughly 2-3 times (not all the way through) due to forgetting to put a bearing in, reverse band, etc).
The transmission is a newer one. Here's the build date sticker. Came from an '07 F150 (roll-over) no damage to the transmission. 120,000km and all highway KM from Calgary to Edmonton. I was extremely lucky to pick up the transmission for a measly $300.00. All the components look brand new.
Transmission on workbench
Transmission pump removed:
Laid out seals for easy access. As well as pictures of clutch packs and steel plates.
Pan removed
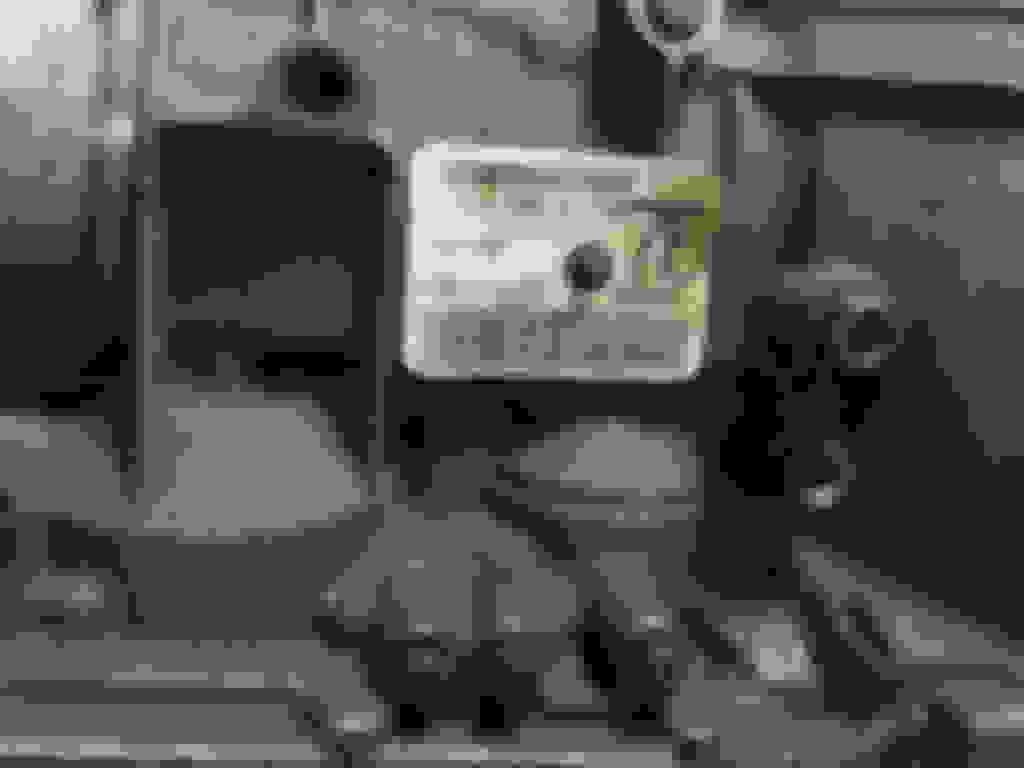
This is why the rebuild is only 99% finished. This component came damaged. At first, it looked like it might have been a 1-piece unit including the control module it connects to (I'm guessing minimum $1000 replacement part). Luckily, it's not and I will be replacing it with the module in my current transmission on the truck.
Plate removed
Small filter inside the transmission. Again this looks almost brand new.
Also (picture from Youtube as I forgot to take a picture), this transmission had the additional internal 1-2 accumulator bottom spring. Earlier models (the current transmission in my truck where it does not reverse) did not have the internal spring. On earlier models, the 1-2 accumulator outer spring had the tendency to break which would cause the transmission to jump from 2nd to 3rd gear as well as cause the 2nd gear to slip frequently.
I believe this is the output shaft.
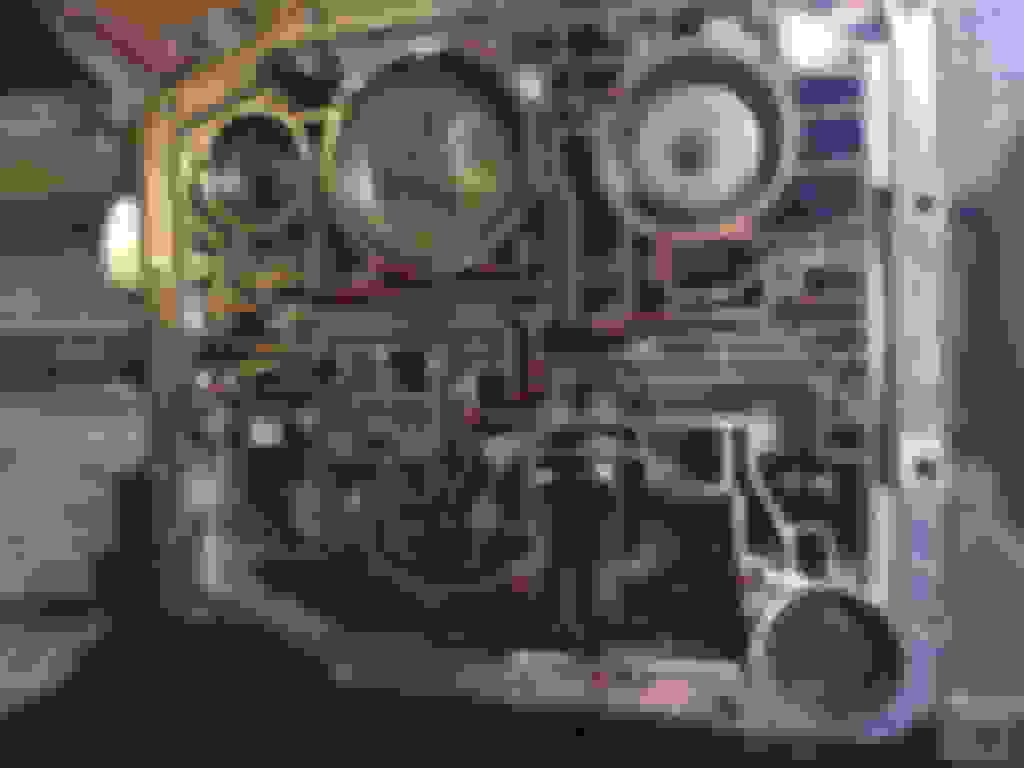
It houses the intermediate clutches and plates as well as the overdrive band.
Reverse input drum housing. It houses the reverse input clutches and plates.
Sungear and sungear shell. These are quite problematic on F150s. Typically, these are stripped when there is no reverse on the truck (from what I've read).
Another Youtube picture. This is what normal wear and tear looks like. As you can see from previous pictures, the sungear shell on my transmission is in perfect condition.
Awesome write up! I just did my first 4r70w rebuild and used some of your info along the way thank you.
I got a Global Transmission Parts master rebuild kit. It was a little more expensive then some others but came with a complete and I mean complete bushing and thrust washer kit. I didn't end up replacing all the bushings so I guess I could have went down to a lesser kit but I liked having the option. Most of the time just the pump and extension housing bushing needs changed anyway. It had Raybestos frictions, steels and bands.
The trans in my 04 will probably need rebuilt and I'm planning on that being my summer project. I'd like to go a little bit more high performance in it and have been looking at their super master rebuild kit. It has Stage-1 frictions and kolene steels which are suppose to resist heat better.
What are your thoughts on this kit? It's a little more expensive but I'd rather pay for quality then put junk into her. Are there any other upgrades I can get?
Thanks to all who contributed to this thread. I’m 90% convinced to take this on myself. My 2006 F150 4x4 started slipping last week and luckily I have another vehicle. My biggest hesitation comes from anticipating how much fun this will be to remove and reinstall this.
For the 4R75E it seems like the Sonnax Sure Cure and the master overhaul kit is the way to go.
I have literally built hundreds upon hundreds of these and have a reputation for making them work in applications or conditions where others have failed.
Not once ever, nor will I ever use a sure cure kit. That's for the others who are not concerned about maintaining a reputation in the industry or those who have been led to think it's the thing to do and don't know better.
Fix what's wrong. Don't band-aid it.
The funniest thing I have seen is when someone linked to a writeup on wishing to have been a fly on the wall when Ford decided to get rid of the 3rd accumulator stiffener plate. I would love to have been a fly on the wall as that story was conceived and written. What a load. LOL
It's not magic or rocket science on how to re-build these. Use the blueprint that Ford laid out because they didn't design these things for failure and they have more than fixed the weak links over the years. Make sure the kit you get has the same materials in it that Ford built it with. Then take it all apart, examine each and every piece and replace what needs to be replaced. No snake oil or gimmick parts. KISS

 04-13-2015, 02:24 PM