Lowering kits for Flareside
#1
Lowering kits for Flareside
Going for a 2”/4” drop on a 99 F150 regular cab flareside, 2WD
Looks like the 2 good brands I see are the DJM and AmericanTruck kits. Both kits have
1. front spring
2. rear hanger/shackles
3. Shorter front and rear shocks
The only difference is DJM includes a shim kit if incase I need to change the pinion angle. The DJM kit is over $600 while the AmericanTruck is only $458 delivered.
Has anyone tried these kits and any feedback? Id like to support DJM bec they took the time to even have a DIY but $150 is too big to pass up
Apologies to the moderators for doble posting. There doesnt seem to be much activity on the suspension thread so I thought Id get a faster response here.
Thanks
#2
z168,
I looked at all the name brand lowering kits and went with a Chassis Tech FBSS-6284 kit. They are on eBay for $144 incl//ship. You will have to throw away the bolts though and go to Fastenal and get you some good Grade #8 7/16" hardware with bolts long enough to have a decent unthreaded shank to go thru frame and hangers. You won't have to worry with pinion angle if you drop the shackles to the longest position.
The other thing I would recommend is to get 2" front and 4" rear drop shocks. I got KYB monomax 565004 and 565010 respectively. I tried everywhere and $50/each is the best I could do at RockAuto.
Mine is a 5.4L and I cut one FULL coil off the top of the front springs and used the isolators. You will also need to cut the lower snubber between the frame and lower control arms. Lastly on the front you will need adjustable cams for the upper control arms. I used MOOG K8740. About $15.
While you are into it you may as well put new ball joints and upper control arms on it and get it lined up.
When you are done it will look cooler than hell, ride good, handle better and believe it or not get better MPG out on the highway getting it out of the air.
Good luck,
SHW
.
#4
z168,
I looked at all the name brand lowering kits and went with a Chassis Tech FBSS-6284 kit. They are on eBay for $144 incl//ship. You will have to throw away the bolts though and go to Fastenal and get you some good Grade #8 7/16" hardware with bolts long enough to have a decent unthreaded shank to go thru frame and hangers. You won't have to worry with pinion angle if you drop the shackles to the longest position.
The other thing I would recommend is to get 2" front and 4" rear drop shocks. I got KYB monomax 565004 and 565010 respectively. I tried everywhere and $50/each is the best I could do at RockAuto.
Mine is a 5.4L and I cut one FULL coil off the top of the front springs and used the isolators. You will also need to cut the lower snubber between the frame and lower control arms. Lastly on the front you will need adjustable cams for the upper control arms. I used MOOG K8740. About $15.
While you are into it you may as well put new ball joints and upper control arms on it and get it lined up.
When you are done it will look cooler than hell, ride good, handle better and believe it or not get better MPG out on the highway getting it out of the air.
Good luck,
SHW
.
I looked at all the name brand lowering kits and went with a Chassis Tech FBSS-6284 kit. They are on eBay for $144 incl//ship. You will have to throw away the bolts though and go to Fastenal and get you some good Grade #8 7/16" hardware with bolts long enough to have a decent unthreaded shank to go thru frame and hangers. You won't have to worry with pinion angle if you drop the shackles to the longest position.
The other thing I would recommend is to get 2" front and 4" rear drop shocks. I got KYB monomax 565004 and 565010 respectively. I tried everywhere and $50/each is the best I could do at RockAuto.
Mine is a 5.4L and I cut one FULL coil off the top of the front springs and used the isolators. You will also need to cut the lower snubber between the frame and lower control arms. Lastly on the front you will need adjustable cams for the upper control arms. I used MOOG K8740. About $15.
While you are into it you may as well put new ball joints and upper control arms on it and get it lined up.
When you are done it will look cooler than hell, ride good, handle better and believe it or not get better MPG out on the highway getting it out of the air.
Good luck,
SHW
.
im now compiling my parts purchase thanks to you input
#5
Not to hijack the thread, but I have a similar question and relevant to the OP's post. Was looking to do a drop shackle to level my 97 2WD but am worried about pinion angle/vibration and the axle not being aligned properly if i have to add shims with unbolting the U-bolts to get them in. Seen many vehicles "dog walking" down the road, don't want to be one of them. So, my question is. Will I need to add shims with a 2" drop shackle drop or should I be fine just slapping on shackles and not touching anything else? Not sure what kind of tolerance we have to work with before pinion shims are needed.
#6
On my '98 Flareside I went with the 2”/4” DJM drop kit, shocks, camber bolts, etc., (but not the lowered springs) just because of the lowered A-arms and every thing is grease able. All plug and play. I did not get the lowered front springs as It's my daily driver and didn’t want to keep having to crawl over every little bump and I wanted to see how low it was going to get first. I have one more notch in the rear hanger to lower it another inch but I kinda like the rake the way it is now. Maybe when I get more time one of these months I'll drop it just to see.
The rivets for the old rear hangers are going to be your biggest problem. They are a PAIN. I wish I had my plasma cutter then. (watch out for the fuel tank, wires, etc.) What worked for me was to keep drilling larger holes in the rivets until you get the hole big enough for the rivet to release it’s tension and not round out the rivet hole. Grind down the head and use a big hammer and punch. Well, maybe remounting the rear springs was kind of a hassle too. Might want to keep a friend for that.
I only had to contact them once about which way the new spring hangers went as the holes for the springs were off-set. There was no written information on that part.
Some things I was kinda unhappy about were, the new spring hanger bolts weren’t as large as the rivets were so I opted to buy some larger grade 8 bolts. I did lose some turning radius, not much but then I haven’t really looked into it real hard either. The lowered shocks that DJM suggested seem to be a bit harsh. You might want to keep your rubber bushings from your old shocks, I ended up having to reuse mine on the upper mounts on the new front shocks, mine ended up destroying them selves for some reason. Maybe I tightened them up too much (probably) or bad batch of bushings?
I've had it on a year now and I'm used to the steering but I still hate the rough ride but over all I'm happy with it.
@RustyBeater
According to DJM anyway, you may not need the shims. I thought I felt some vibration on the interstate so I put them on to see one way or the other and I think it helped. There was no day or night feeling to it. They give you the shims in the kit for free depending on your vehicle. Some people needed it and some didn't I guess.
As far as the "Dog Walk", that is rare before the kit and the kit won't make it worse or better. If it didn't crab before it won't after the kit. The only time you will get the crab walk is when you've hit something like a very large pot hole, curb, run over a downed tree, had some damage done to the rear suspension, etc,. The shims correct the nose of the axle up or down not side to side so you should be fine.
#7
z168,
Sorry for the delayed response back to your Q's but here are the answers:
1. Yes, I did use the stock front coils that came off the truck
2. The "isolator" is the rubber cushion on top of the spring. You will see it when you pull the springs out.
3. Also, you will be cutting the top coil off NOT THE BOTTOM!!! Make sure the isolator is fully seated in the frame and twist the coil around to fully engage the isolator.
4. Finally, I noticed a couple new threads and Jaygyver is right about the rivets. I removed the bed and fuel tank and went at it with the "blue flame wrench" and sacrificed the old hangers in the process keeping off the frame.
Have fun and let me know how it turns out,
SHW
Trending Topics
#8
z168,
Sorry for the delayed response back to your Q's but here are the answers:
1. Yes, I did use the stock front coils that came off the truck
2. The "isolator" is the rubber cushion on top of the spring. You will see it when you pull the springs out.
3. Also, you will be cutting the top coil off NOT THE BOTTOM!!! Make sure the isolator is fully seated in the frame and twist the coil around to fully engage the isolator.
4. Finally, I noticed a couple new threads and Jaygyver is right about the rivets. I removed the bed and fuel tank and went at it with the "blue flame wrench" and sacrificed the old hangers in the process keeping off the frame.
Have fun and let me know how it turns out,
SHW
Sorry for the delayed response back to your Q's but here are the answers:
1. Yes, I did use the stock front coils that came off the truck
2. The "isolator" is the rubber cushion on top of the spring. You will see it when you pull the springs out.
3. Also, you will be cutting the top coil off NOT THE BOTTOM!!! Make sure the isolator is fully seated in the frame and twist the coil around to fully engage the isolator.
4. Finally, I noticed a couple new threads and Jaygyver is right about the rivets. I removed the bed and fuel tank and went at it with the "blue flame wrench" and sacrificed the old hangers in the process keeping off the frame.
Have fun and let me know how it turns out,
SHW
#10
So after more than a year of wanting, finally got it done. Bought one of the complete kits in ebay (springs, shackles, mounts, shocks) for $300ish. Then on Winstead’s advice, got camber bolts. And boy did I need it.
Thanks again Winstead - if you happen to see this post, shoot me a PM of your paypal and Ill buy you a beer
Thanks again Winstead - if you happen to see this post, shoot me a PM of your paypal and Ill buy you a beer
#11
The following users liked this post:


 Sounds like you got a helluva deal on your lowering kit at ~$300. How does it look and ride? No need for the beer - but I do appreciate the offer
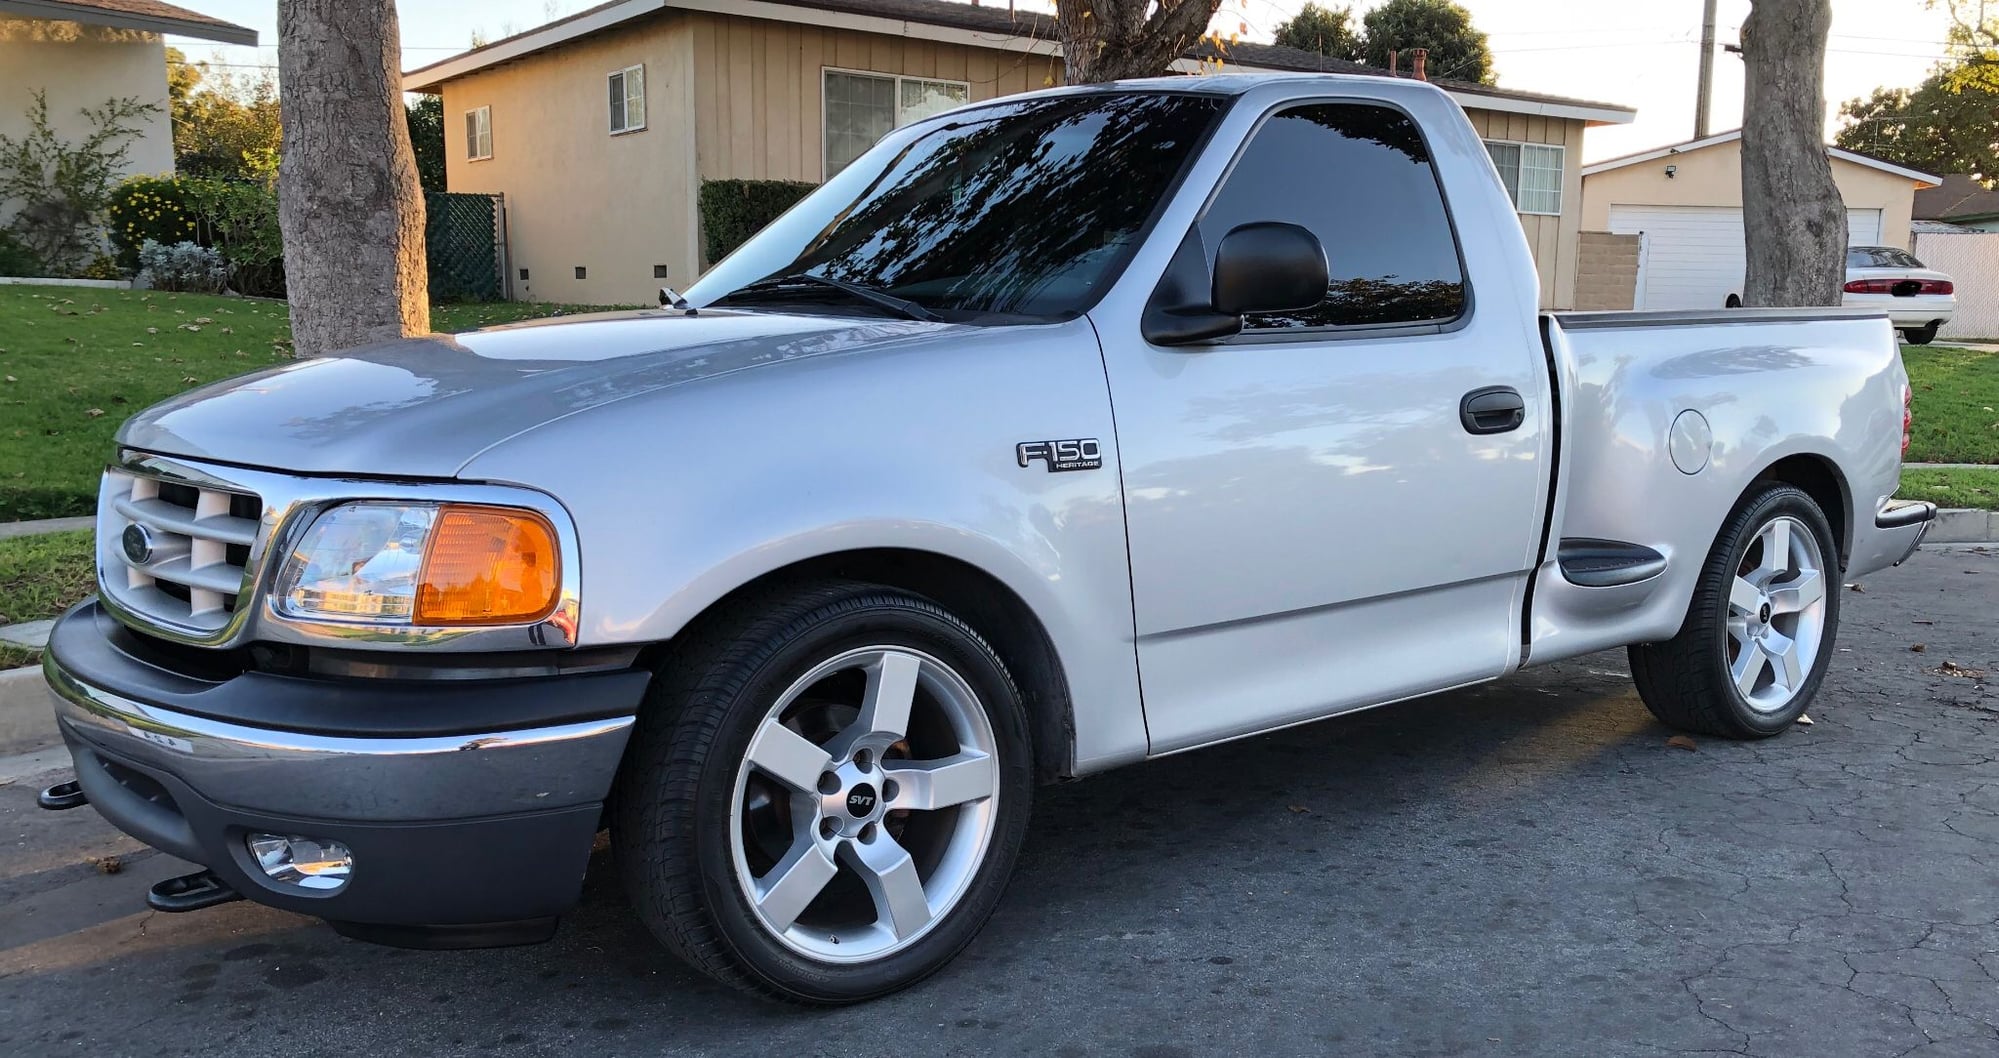
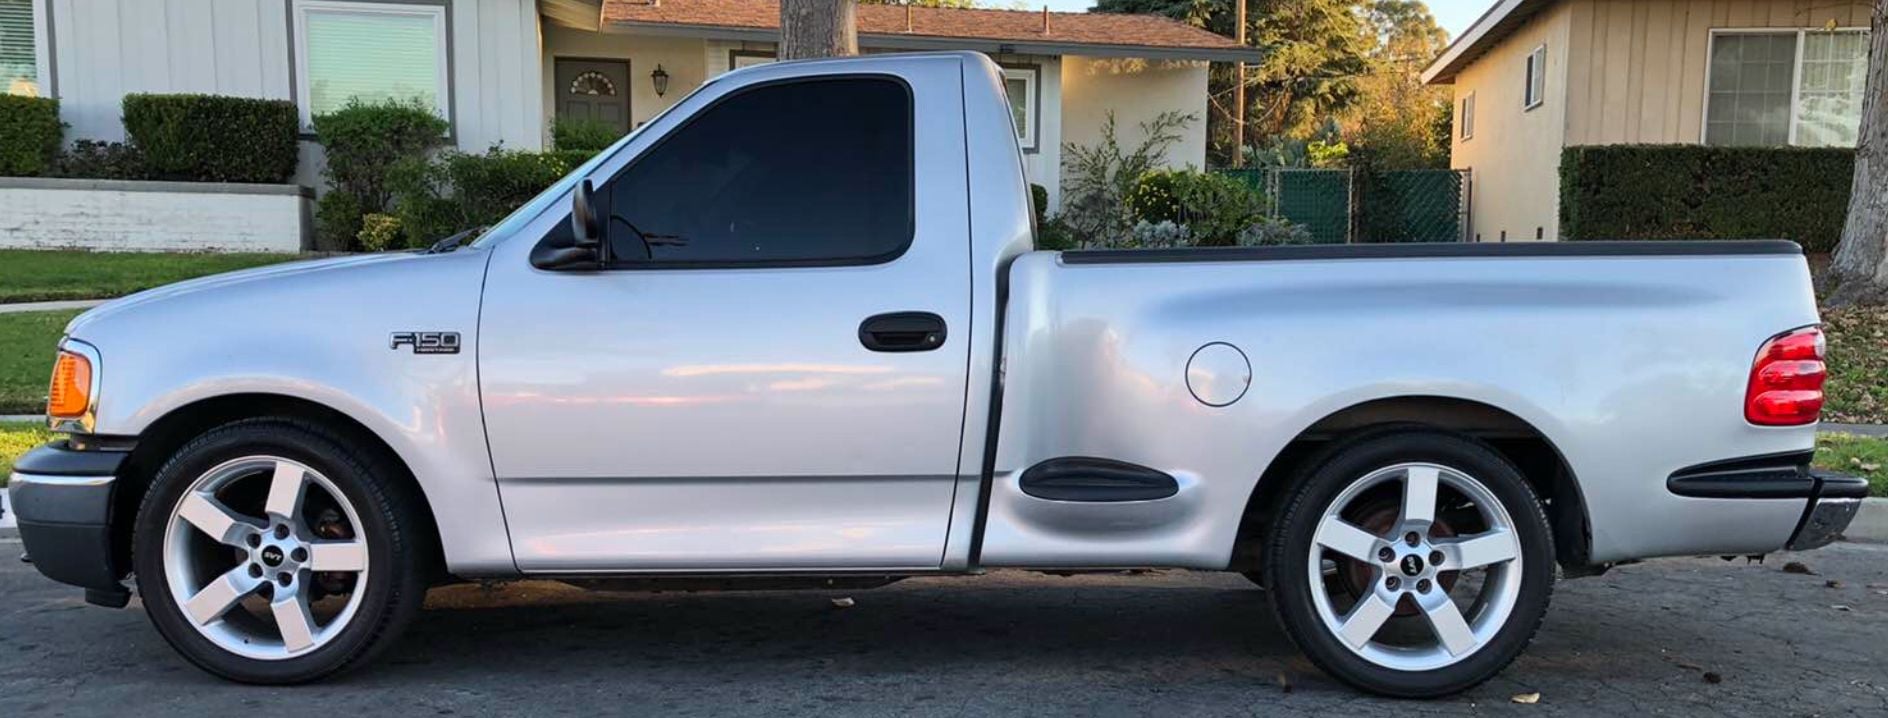
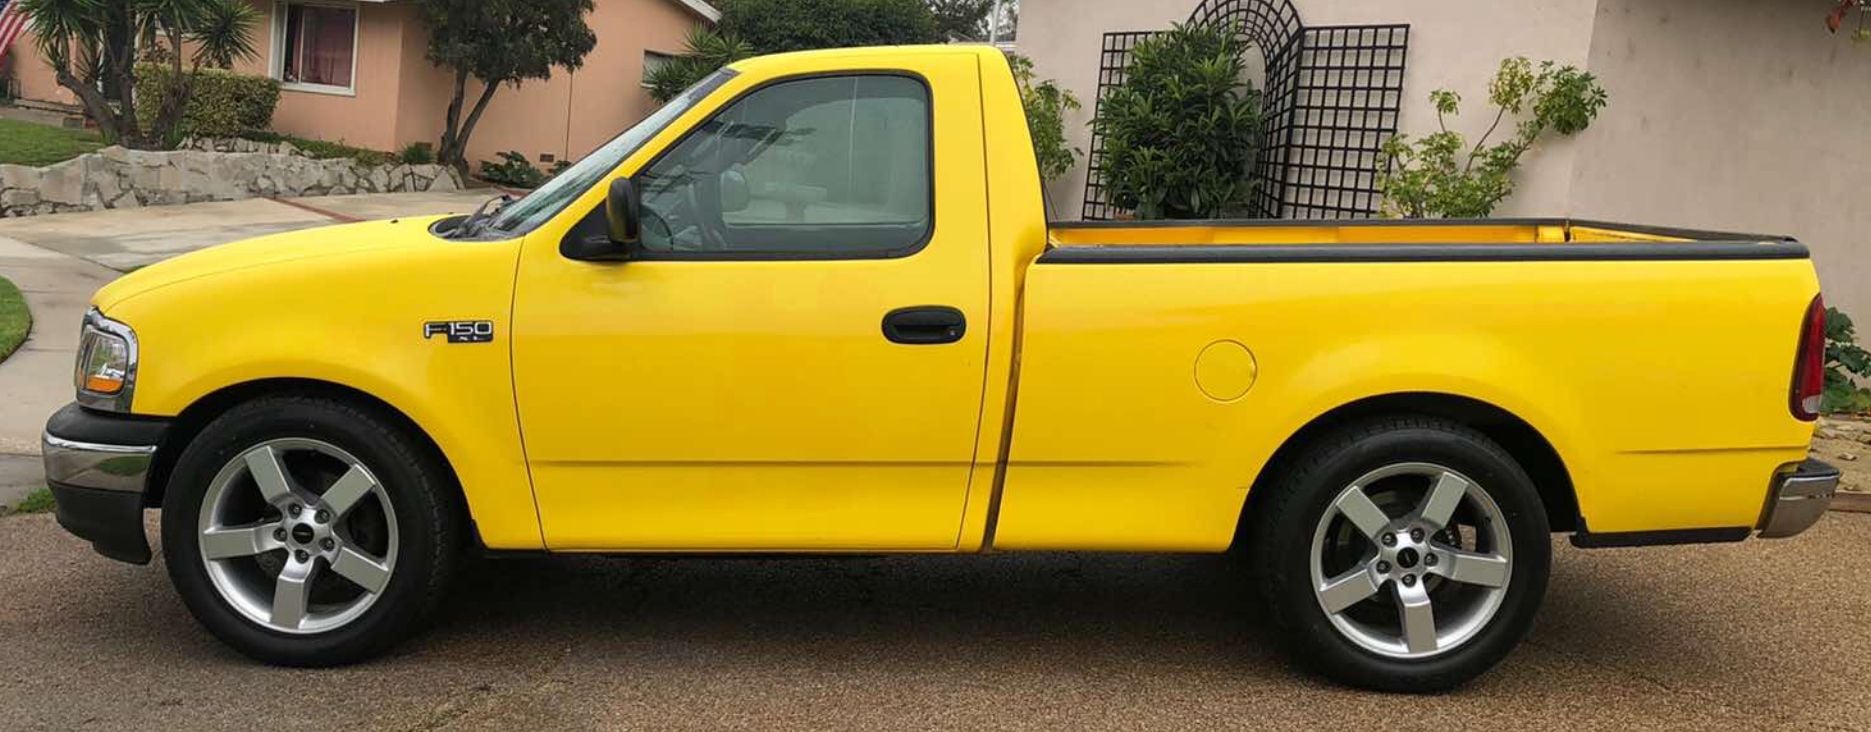
  Just post a pic of what it looks like now. Here's how mine turned out


