Raptor's LED Taillight Retrofit
#61
 05-02-2011, 10:42 AM


#62
05-02-2011, 10:44 AM


Join Date: Sep 2009
Location: Bluffton, SC
Posts: 2,178
Likes: 0
Received 0 Likes
on
0 Posts
#63
05-02-2011, 11:00 AM


#64
05-02-2011, 04:54 PM

Senior Member
#65
05-02-2011, 08:10 PM
pizza man, yes that problem can easily be rectified with a Tridon EP27 flasher
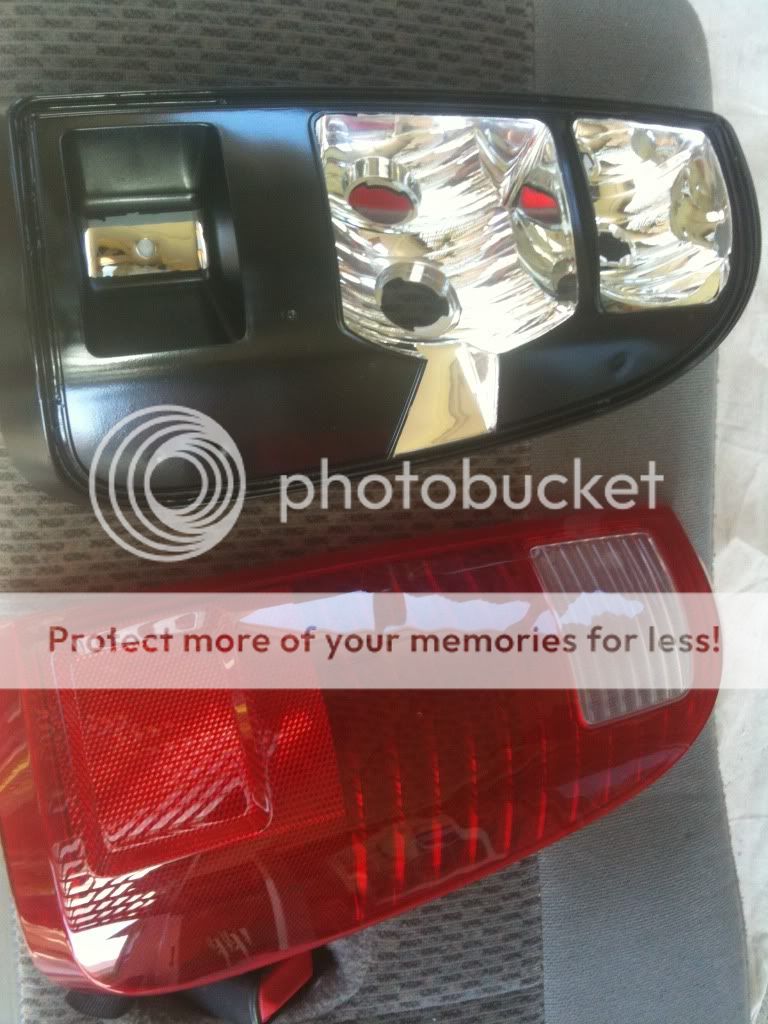
I decided to go a different route over the four vertical columns. The last column follows the curvature of the housing. And I'm damned glad I did so. I also ditched my plans for a dual-function taillight and reverted to a single-function for ease of manufacture.
Here are the two marker lights to keep them DOT-compliant:


And I doubt you can see them very well through the reflector:


Here is the array I chose:

Temporarily in its housing:


Through the reflector:


And powered from my base station at a full 2A output. Bear with me as I was adjusting photo setting inbetween shots.


These last two are receiving power through the potentiometer. The first one is running light dim, and the last is brake light full.


More later on
I decided to go a different route over the four vertical columns. The last column follows the curvature of the housing. And I'm damned glad I did so. I also ditched my plans for a dual-function taillight and reverted to a single-function for ease of manufacture.
Here are the two marker lights to keep them DOT-compliant:
And I doubt you can see them very well through the reflector:
Here is the array I chose:
Temporarily in its housing:
Through the reflector:
And powered from my base station at a full 2A output. Bear with me as I was adjusting photo setting inbetween shots.
These last two are receiving power through the potentiometer. The first one is running light dim, and the last is brake light full.
More later on
#66
05-02-2011, 08:17 PM
Join Date: Sep 2009
Location: Bluffton, SC
Posts: 2,178
Likes: 0
Received 0 Likes
on
0 Posts

#67
05-02-2011, 09:20 PM
Here is some nighttime shots of the completed passenger side. Final mount:


I am also upping a video of them in action. I am VERY impressed with the output of them. 10x better than the pieces of crap I paid $150 for.

eBay specials on the left, mine on the right. Running lights:

Brake lights:


I am also upping a video of them in action. I am VERY impressed with the output of them. 10x better than the pieces of crap I paid $150 for.
eBay specials on the left, mine on the right. Running lights:
Brake lights:
#68
05-02-2011, 09:25 PM
Join Date: Sep 2009
Location: Bluffton, SC
Posts: 2,178
Likes: 0
Received 0 Likes
on
0 Posts

#70
05-02-2011, 09:55 PM
 Nah its pretty easy. 12vDC in a parallel circuit. Its easy and fun for me but time consuming.
#71
05-02-2011, 10:02 PM

Join Date: Feb 2008
Location: Rosenberg/Baytown TX
Posts: 8,673
Likes: 0
Received 0 Likes
on
0 Posts
#72
05-02-2011, 10:11 PM
But i was referring to did you just use factory style plugs to hook back into the trucks wiring. Havent had my tails out so dont really know whats goin on back there
#73
05-02-2011, 10:18 PM
Glanced through this at work mostly so dont really remember much of what i've seen haha. i'll re read through later.
But i was referring to did you just use factory style plugs to hook back into the trucks wiring. Havent had my tails out so dont really know whats goin on back there
But i was referring to did you just use factory style plugs to hook back into the trucks wiring. Havent had my tails out so dont really know whats goin on back there
Jake, I'm not sure how close the SD internals are to standard housings, so I would need one to make a template. Mine took between 8-10 man hours and in a sense, were a bit rushed. For anyone interested in buying a set, a guesstimate would be $150 to your door for custom PnP LEDs. ~$75 for parts, $75 for labor. The quality would be better than mine since I'm busy the rest of the week and wanted them on ASAP. And if anything happens to mine (gasp) I can fix it in no time. If I had the time, I would've potted the back of the PCB, used better wires for wiring the LEDs together, and wired them separately for Caddy-style tails.
Last edited by Raptor05121; 05-02-2011 at 10:27 PM.
#74
05-02-2011, 10:25 PM
Join Date: Feb 2008
Location: Rosenberg/Baytown TX
Posts: 8,673
Likes: 0
Received 0 Likes
on
0 Posts
 too bad my tails are different then yours are, would be a bit more work to do for a SCrew/Stepside. I'm waiting to see some form of an led corners build now