
Ported intake manifold install

Thread Starter
|
Global Moderator &
Senior Member
Senior Member

Joined: Aug 2005
Posts: 21,337
Likes: 159
From: DFW
Ported intake manifold install
Well big thanks to paul for all the expertise along the way. here's the skinny on what we did this weekend
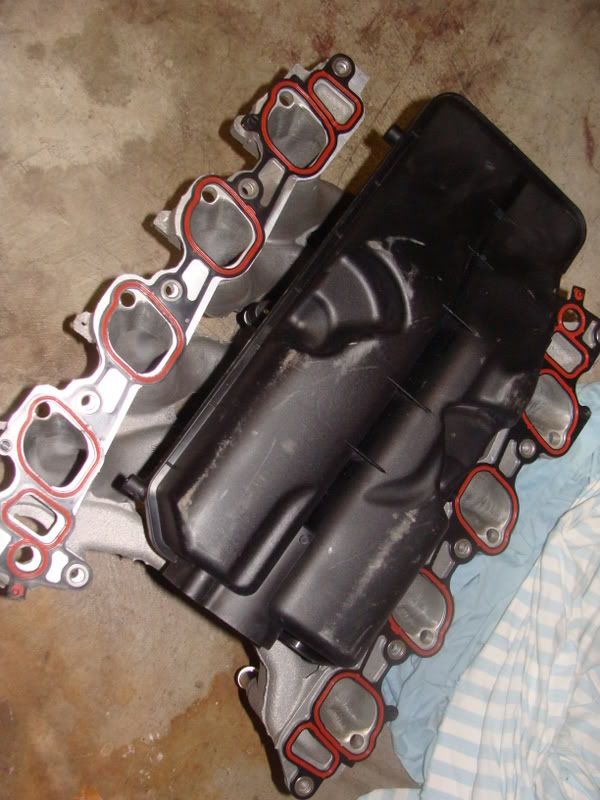
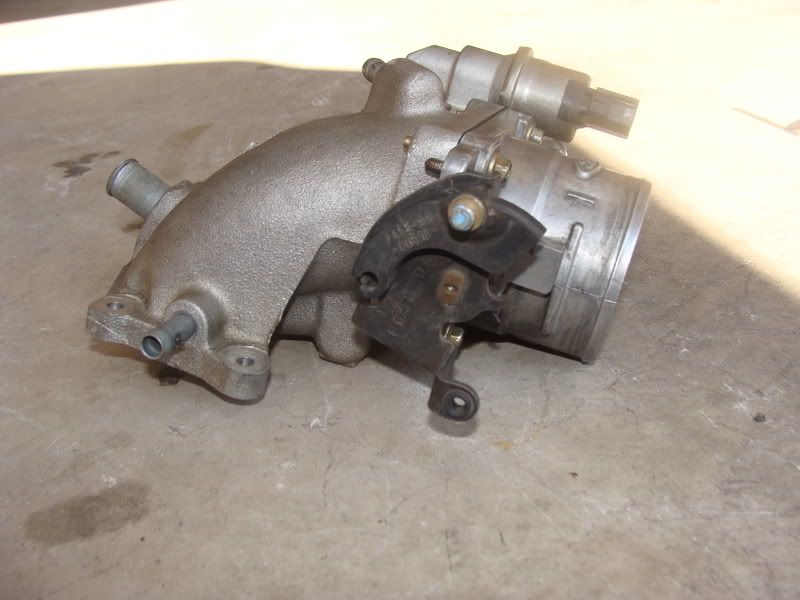
Ported intake manifold from 2006 F150
Swapped my stock IMRC plenum back onto the new one
New motorcraft spark plugs gapped to .050"
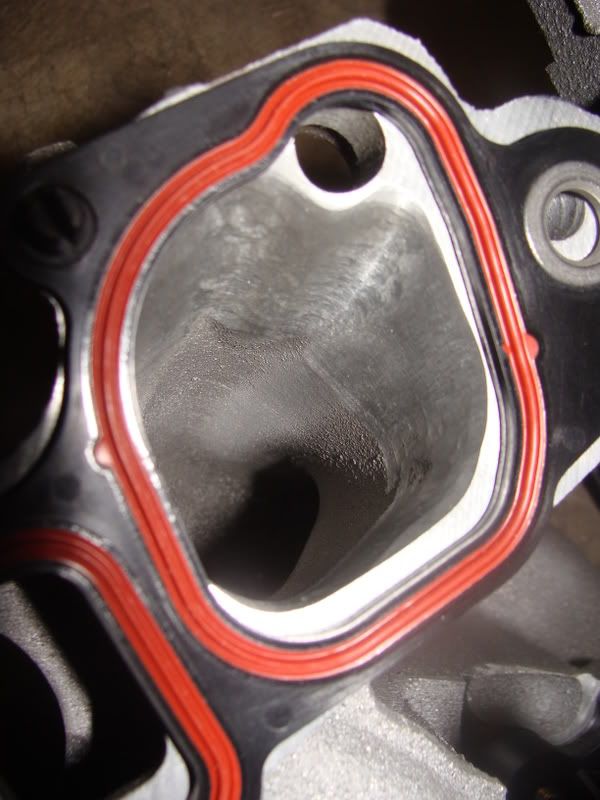
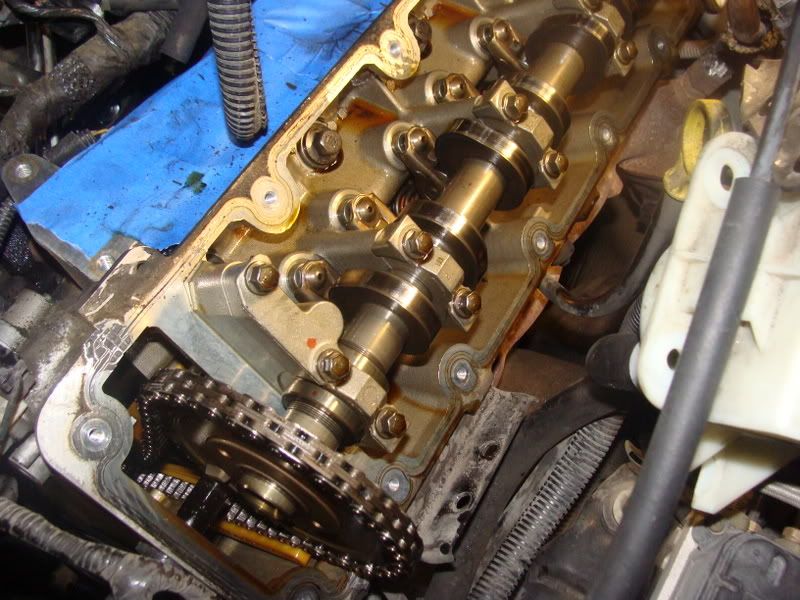
New valve cover gaskets (they used to seep a little)
Cleaned valve covers
Cleaned the stock COPs and filled with dielectric grease
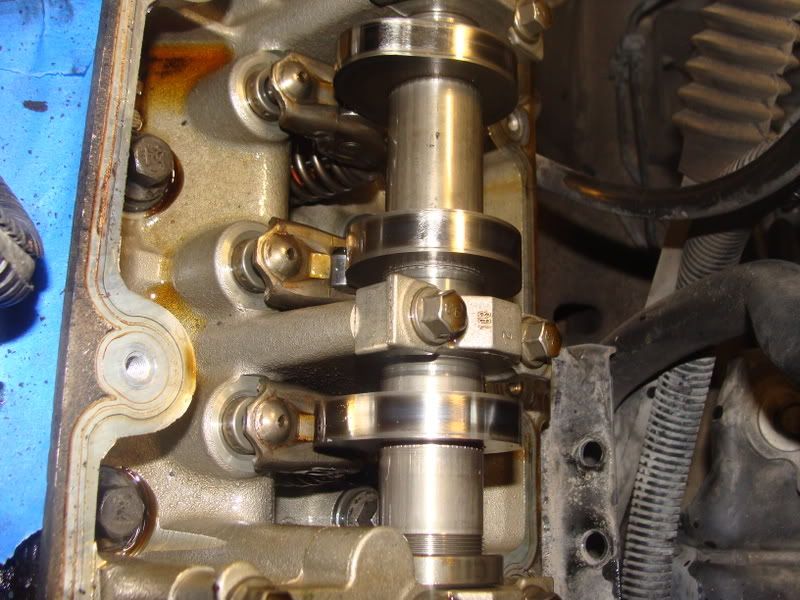
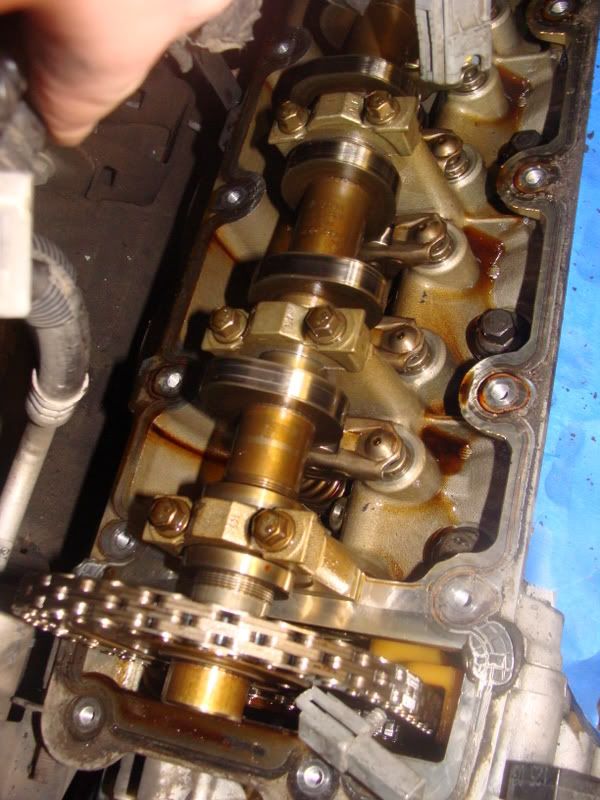
Cleaned intake ports on the heads
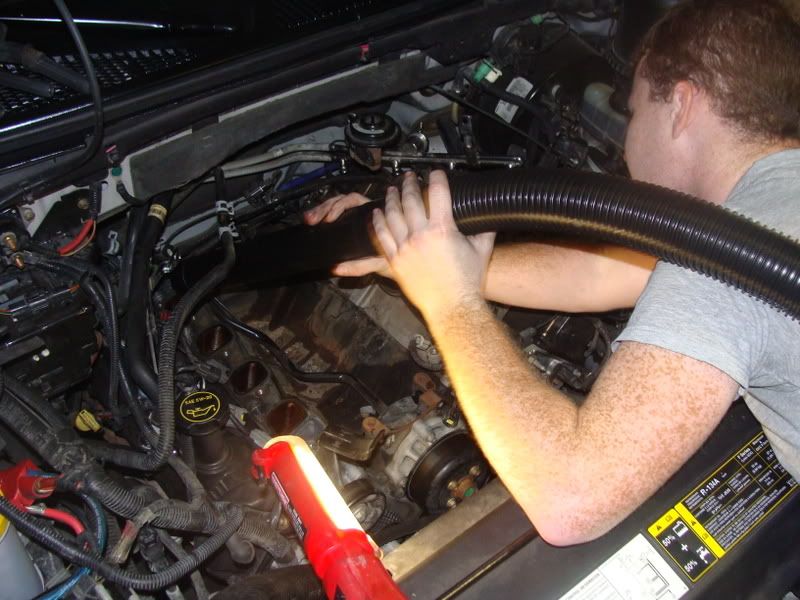
Cleaned MAF sensor
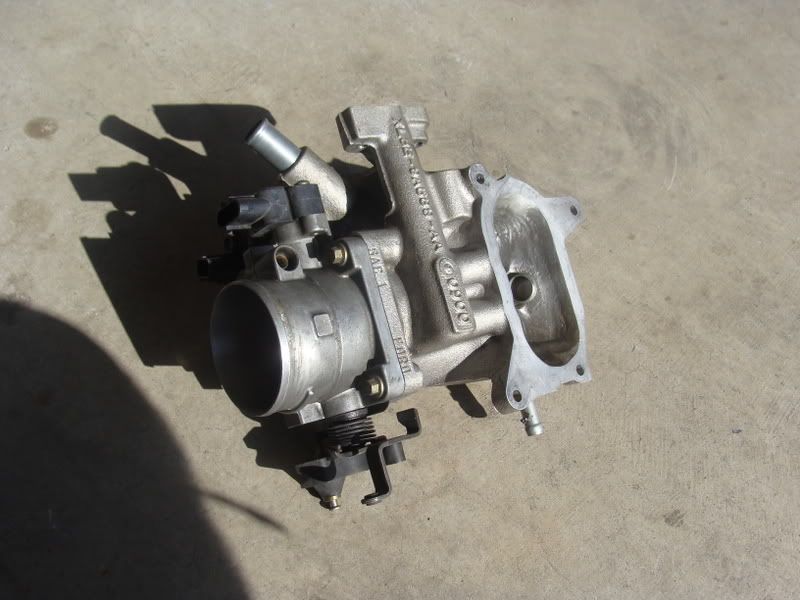
Cleaned Throttle body and Plenum
"Sniper" tuned for 93 octane
Replaced my coolant bypass line from old TB heater
Replaced charcoal purge valve vacuum line
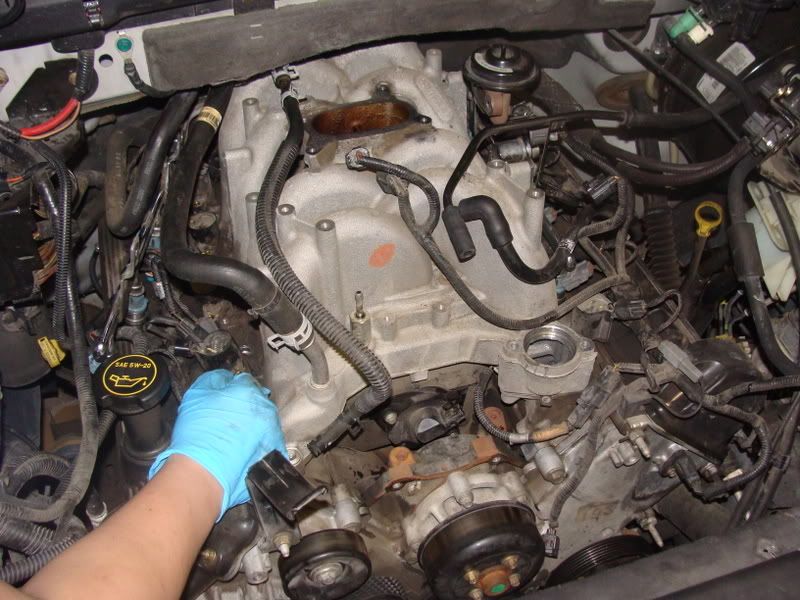
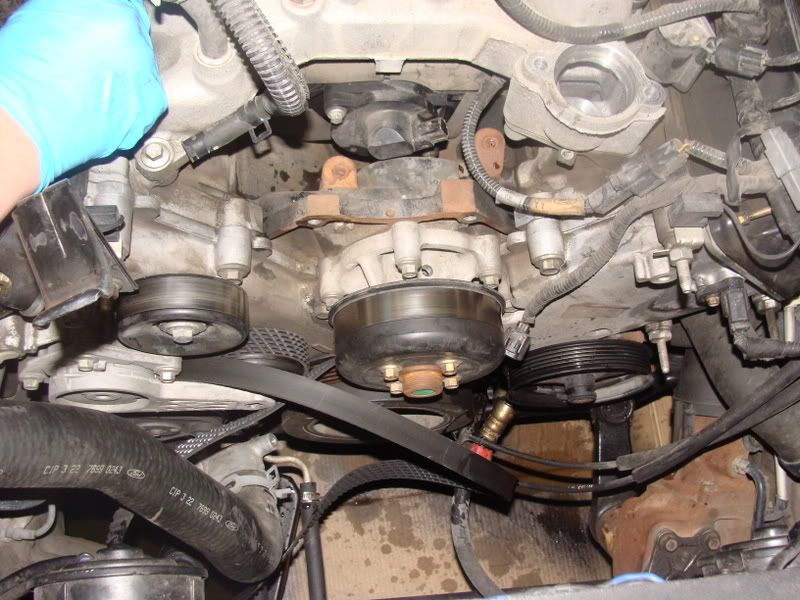
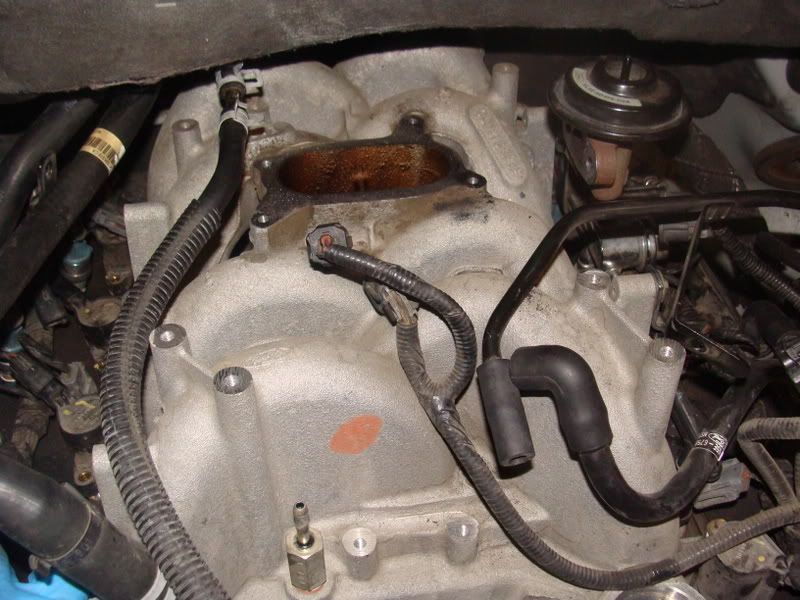
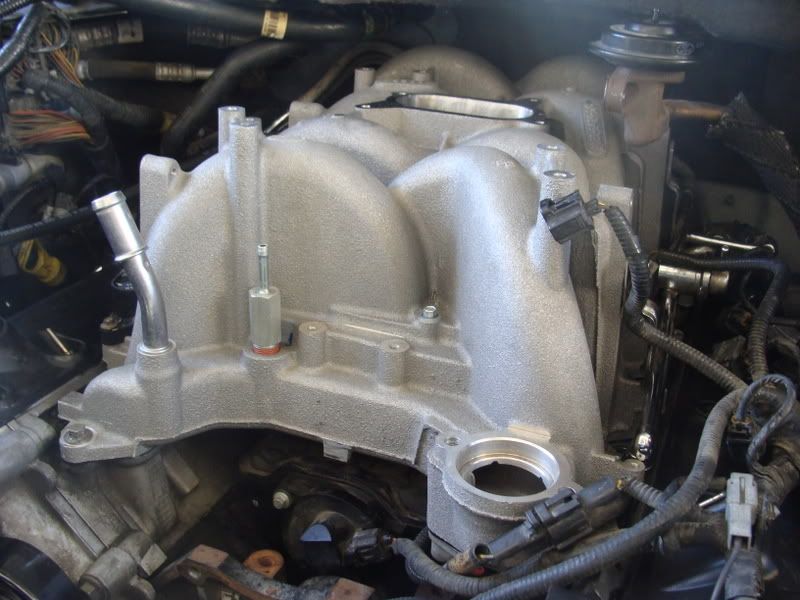
Now onto the pics. I dont have pics of everything it would take forever to post all that. here is the important stuff.
Started the tear down
Intake manifold comparisons
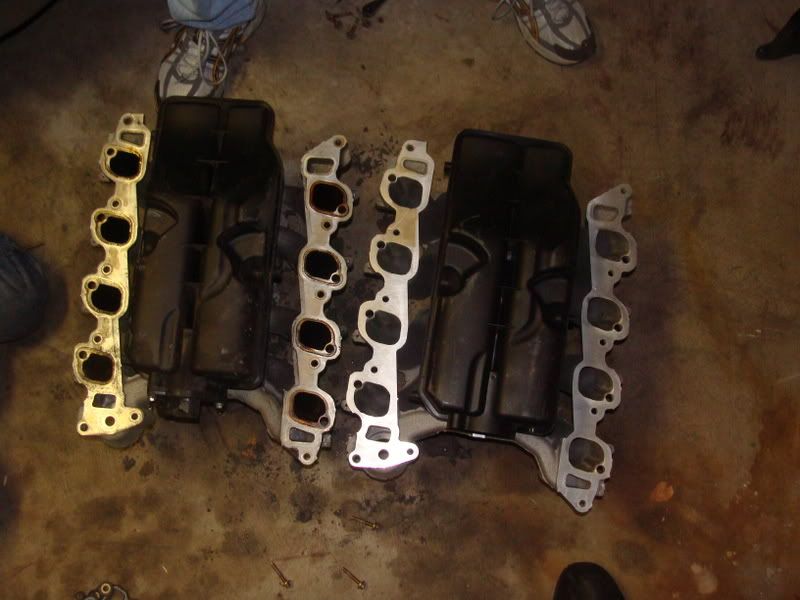
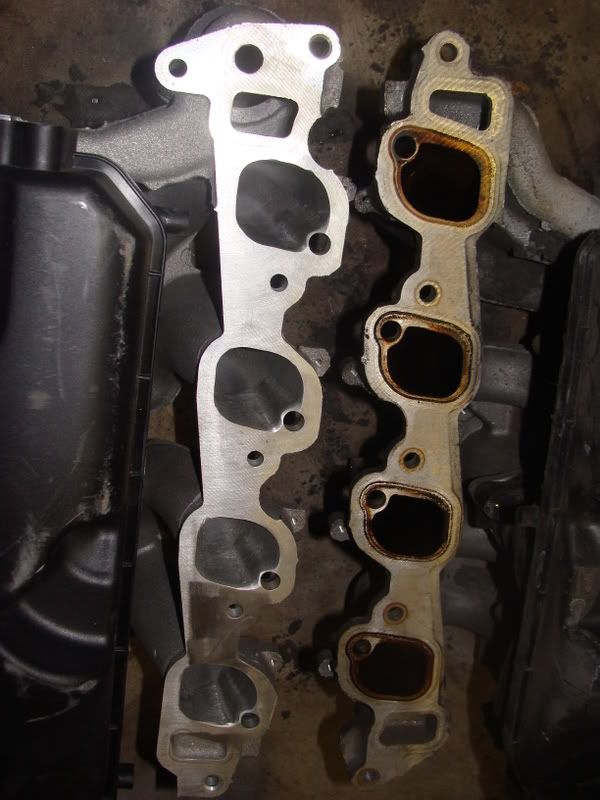
Ported intake manifold from 2006 F150
Swapped my stock IMRC plenum back onto the new one
New motorcraft spark plugs gapped to .050"
New valve cover gaskets (they used to seep a little)
Cleaned valve covers
Cleaned the stock COPs and filled with dielectric grease
Cleaned intake ports on the heads
Cleaned MAF sensor
Cleaned Throttle body and Plenum
"Sniper" tuned for 93 octane
Replaced my coolant bypass line from old TB heater
Replaced charcoal purge valve vacuum line
Now onto the pics. I dont have pics of everything it would take forever to post all that. here is the important stuff.
Started the tear down
Intake manifold comparisons


Thread Starter
|
Global Moderator &
Senior Member
Senior Member
Joined: Aug 2005
Posts: 21,337
Likes: 159
From: DFW
Not yet, still got a couple things left to do before it hits the dyno 
Here's the three videos:
after swap, still on 87 getting some base runs in to monitor A/F and timing (2 passengers)
http://www.youtube.com/watch?v=p7ol8eEr8FU
Base 93 tune, 2 passengers uphill run
http://www.youtube.com/watch?v=8W6IidF-zTU
Final 93 tune for now, might bump timing more for a track run. (1 passenger)
http://www.youtube.com/watch?v=EksGvMjGtjY
Global Moderator &
Senior Member
Senior Member
Joined: Mar 2005
Posts: 26,083
Likes: 85
From: Burleson/Athens/Brownsboro, TX

Trending Topics

Technical Article Contributor
Joined: Dec 2006
Posts: 1,584
Likes: 0
From: Sask. Canada
did you actually get those crappy gaskets to seal in the back? I had to do mine 4 times because antifreeze kept leaking out the back port on the passenger side, it was leaking down the around the bell housing. I ended up using the stock original gaskets that had 60,000 miles on them because it was a Sunday afternoon and i couldn't find any in the city. I can now replace the gaskets in less in an hour start to finish.


Senior Member
Joined: Jan 1999
Posts: 7,030
Likes: 3
From: WINDSOR, ONTARIO, CANADA
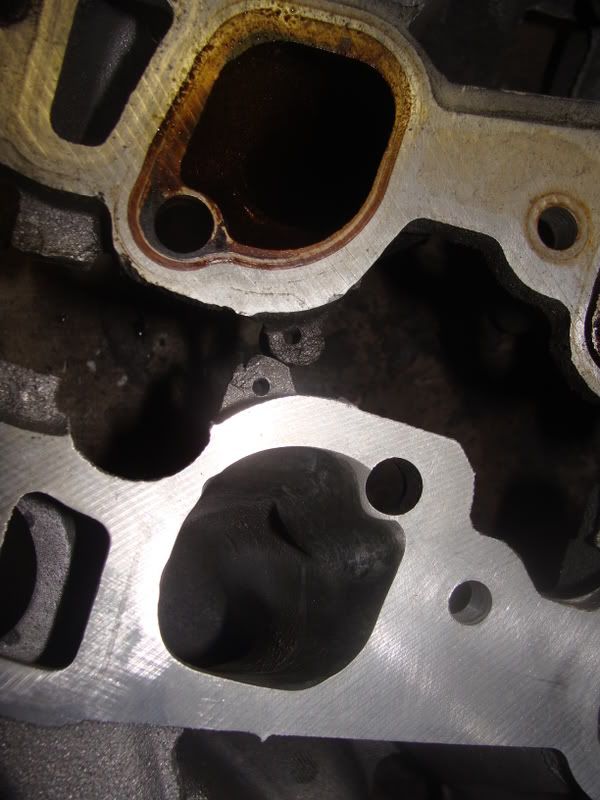
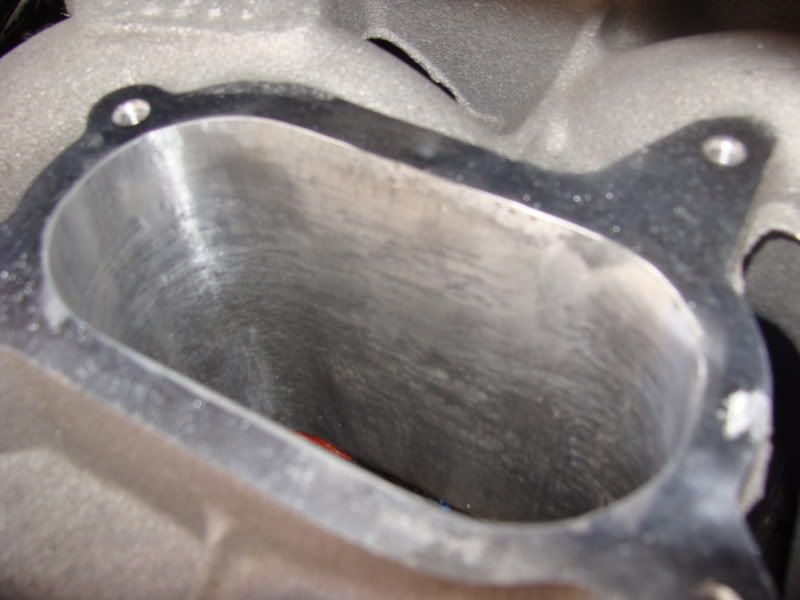
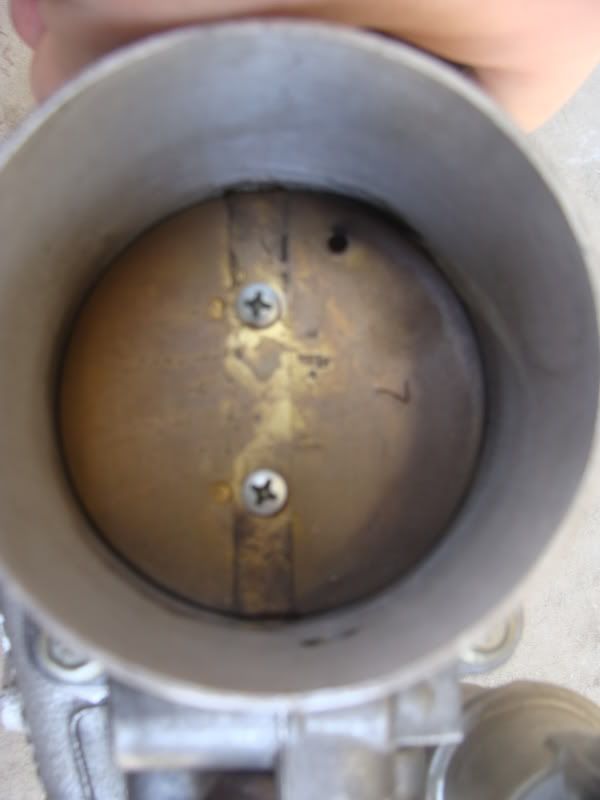
HI!... Yay, if you don't port match the intake to the heads, you really didn't accomplish anything. You most likely lost flow due to the incoming air into the heads from the intake manifold is now hitting a huge lip, and causing turbulence. You don't have to port the heads intake ports much. Just enough to smooth out the transition from the intake manifold to the heads.
Like this :

Like this :
Thread Starter
|
Global Moderator &
Senior Member
Senior Member
Joined: Aug 2005
Posts: 21,337
Likes: 159
From: DFW
I didnt see huge gains, but i saw most gain from 70-90
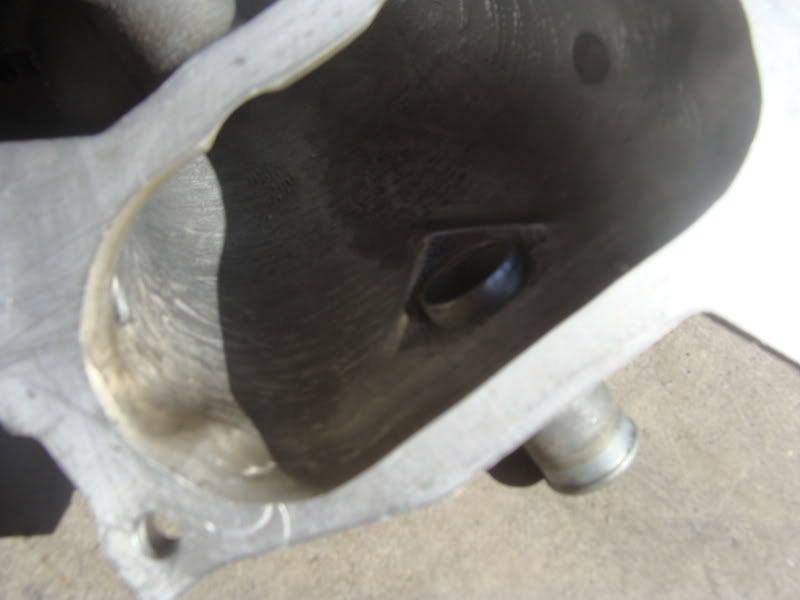
crossover? That little 1/4" port in center of intake up front, goes up to original TB warmer, and then back to a coolant T pipe just behind the intake.
we didnt touch the heads other then clean what we could really well.
so far no leaking gaskets, with almost 100 miles of very hard driving
crossover? That little 1/4" port in center of intake up front, goes up to original TB warmer, and then back to a coolant T pipe just behind the intake.
we didnt touch the heads other then clean what we could really well.
so far no leaking gaskets, with almost 100 miles of very hard driving
