How to fix a broken door wire.
#1
 07-01-2008, 09:34 AM


How to fix a broken door wire.
This thread is how to fix a broken wire in your door.
One morning I woke up went to leave for work and my windows would not roll down using my master switch. Then I proceed to try my other 3 door switches and nothing. So I spent a lot of time reading about problems others were having with there power windows. Well after reading for awhile I came to the conclusion that it was my master window switch. Well after $60 from the dealership I was ready to tear into my door. Well I took it all apart and placed the new switch in place, and still nothing happened. So at this point I know that I have an issue with something else. I checked the 401 30 amp breaker and that was working fine(still had power to sun roof). So I decided I would take a look at the wires leading into the door, just incase a wire broke. To my surprise there was a wire broken in two, looks as though it has been this way for some time. So here is how I went about fixing it.
Tools needed:
A pair of wire strippers
Heat shrink tubing
Extra wire (8ga)
Soldering iron
Knife
Electrical tape
Lighter (not shown)
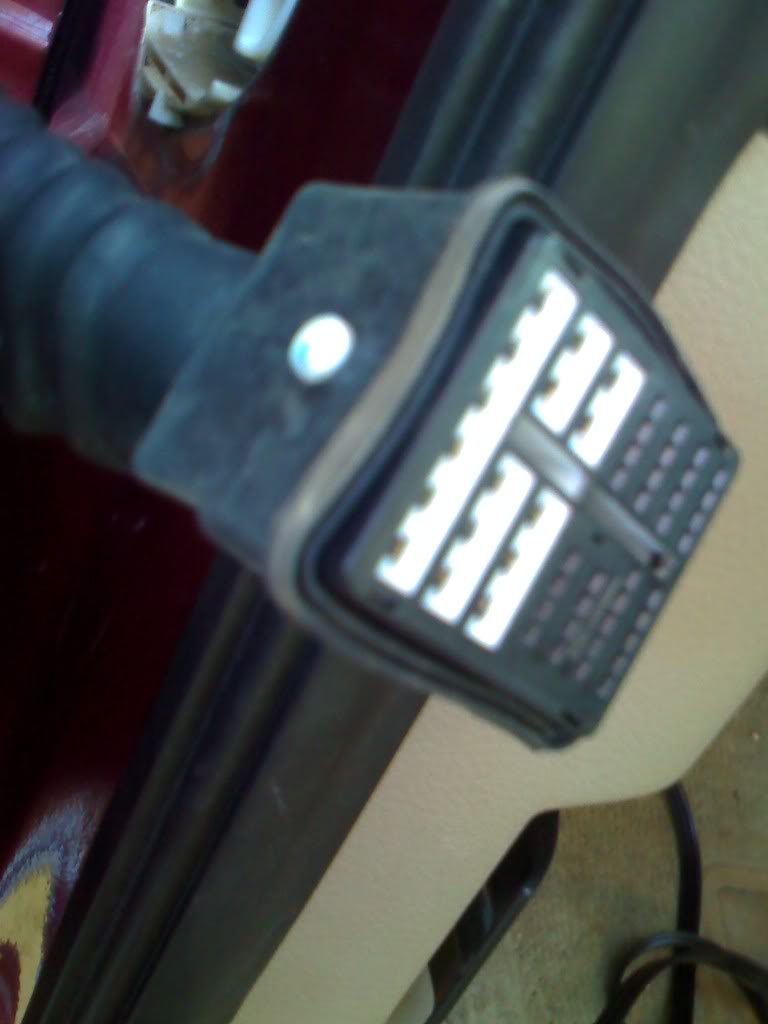
Step one:
Start out by opening your door and locating this connector. It will be by the hinges in the door, this is where the wires pass from the trucks body to the door.
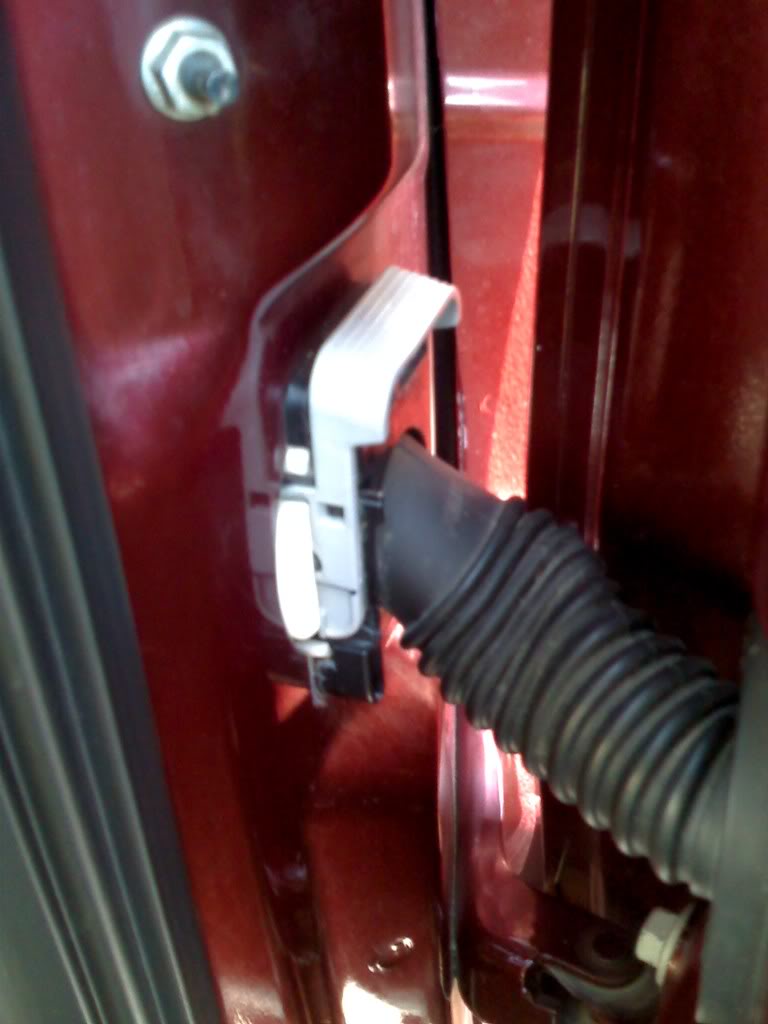
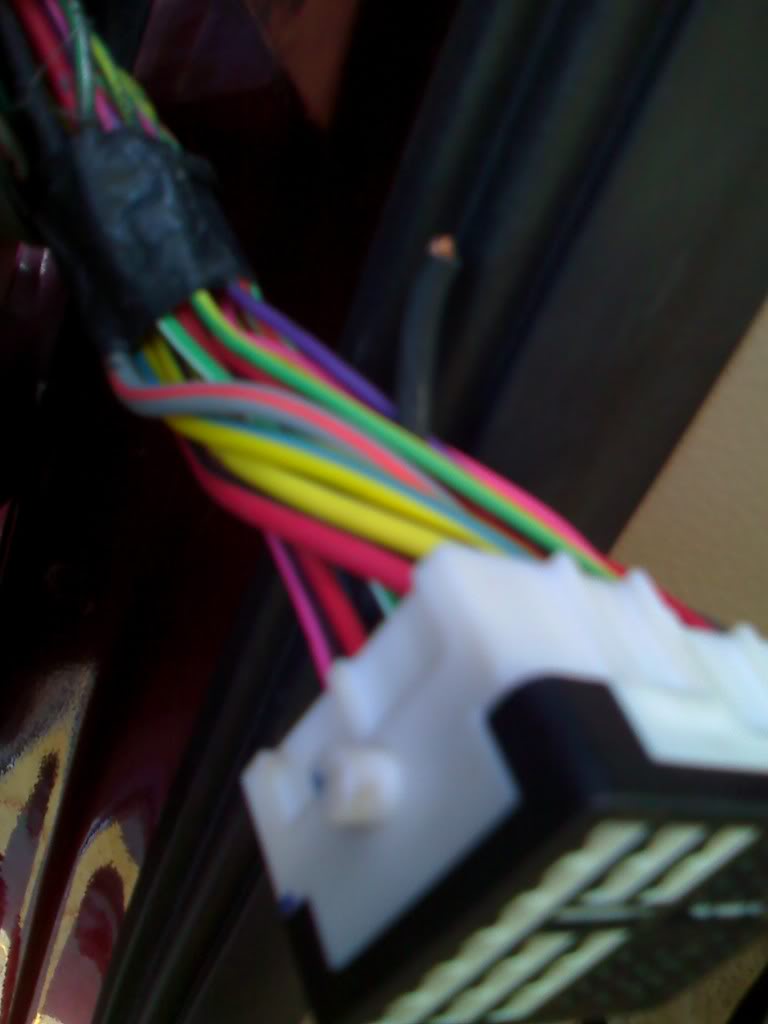
Step two:
The white lever will flip down allowing you to pull the connector from the base.
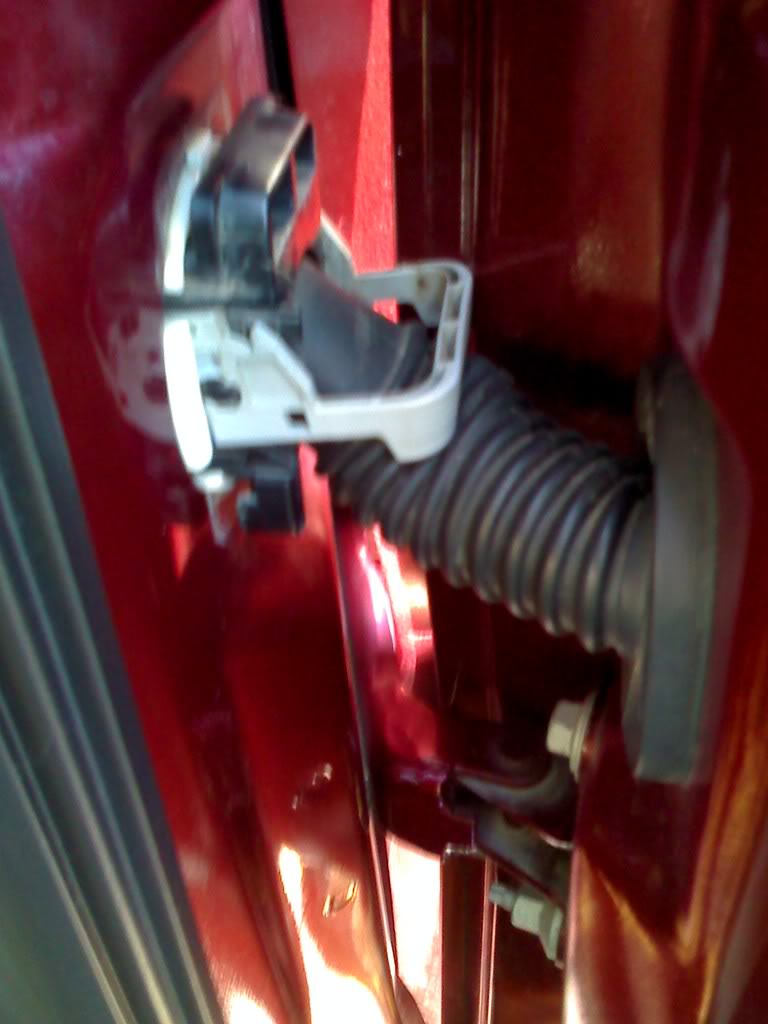
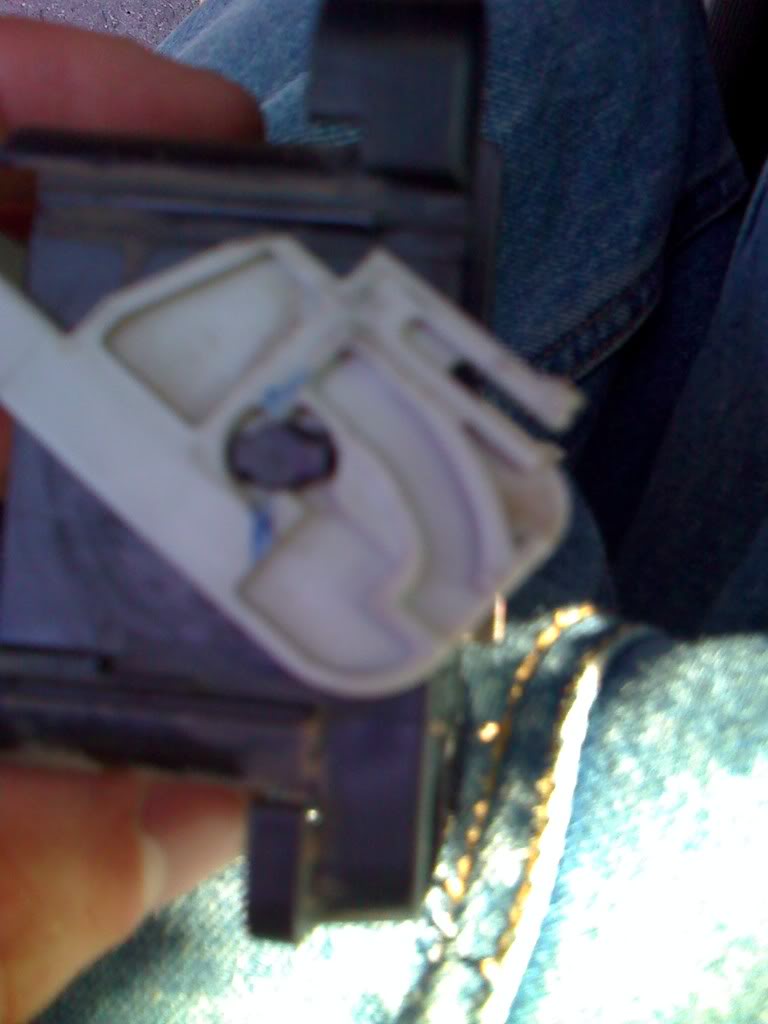
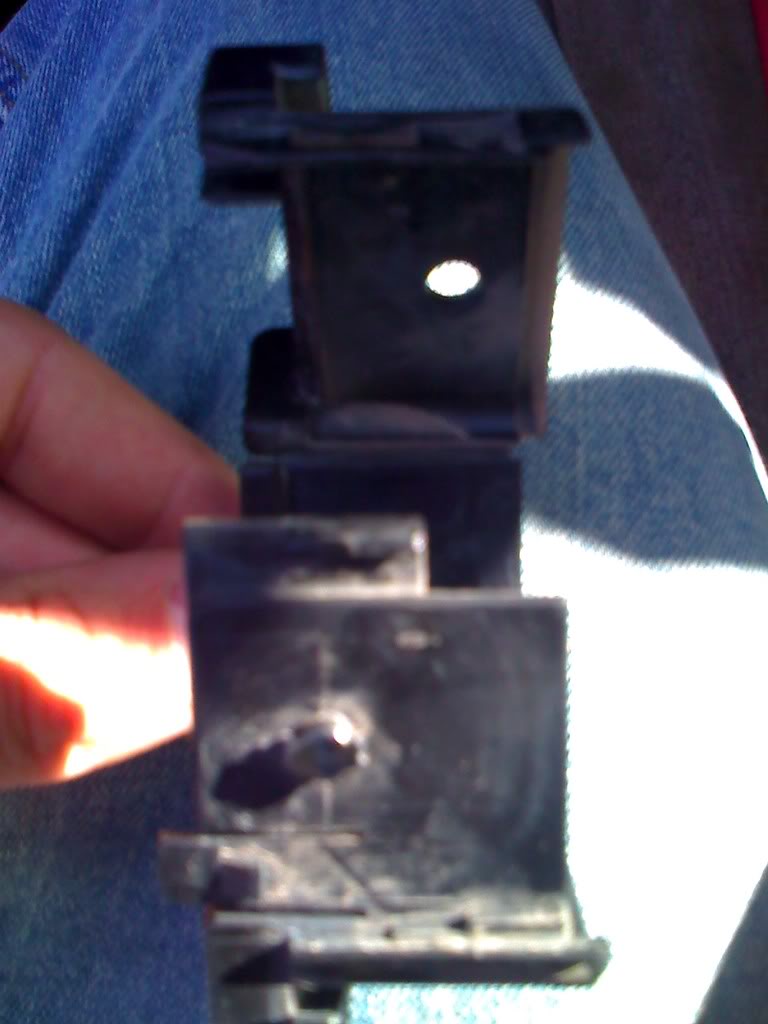
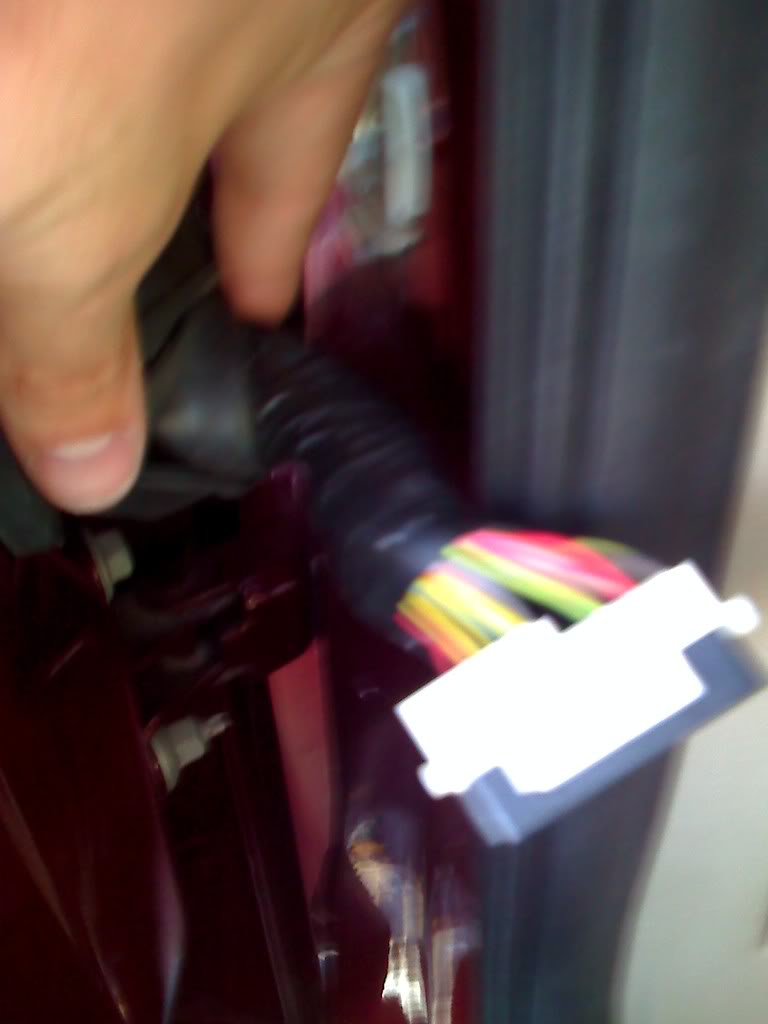
Step three:
The white handle will come off of the connector to allow for the hard plastic shell to be removed. You must line the cut out up with the boss that is protruding from the plug itself.
One morning I woke up went to leave for work and my windows would not roll down using my master switch. Then I proceed to try my other 3 door switches and nothing. So I spent a lot of time reading about problems others were having with there power windows. Well after reading for awhile I came to the conclusion that it was my master window switch. Well after $60 from the dealership I was ready to tear into my door. Well I took it all apart and placed the new switch in place, and still nothing happened. So at this point I know that I have an issue with something else. I checked the 401 30 amp breaker and that was working fine(still had power to sun roof). So I decided I would take a look at the wires leading into the door, just incase a wire broke. To my surprise there was a wire broken in two, looks as though it has been this way for some time. So here is how I went about fixing it.
Tools needed:
A pair of wire strippers
Heat shrink tubing
Extra wire (8ga)
Soldering iron
Knife
Electrical tape
Lighter (not shown)
Step one:
Start out by opening your door and locating this connector. It will be by the hinges in the door, this is where the wires pass from the trucks body to the door.
Step two:
The white lever will flip down allowing you to pull the connector from the base.
Step three:
The white handle will come off of the connector to allow for the hard plastic shell to be removed. You must line the cut out up with the boss that is protruding from the plug itself.
The following users liked this post:
#2
07-01-2008, 09:35 AM
#3
07-01-2008, 09:36 AM
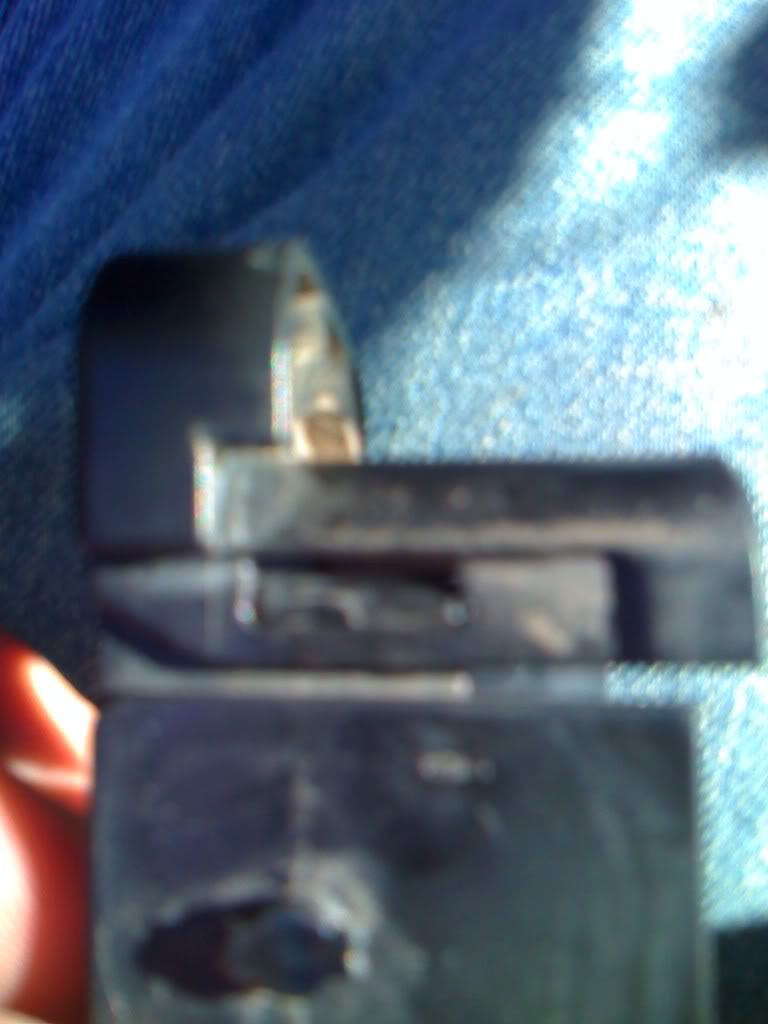
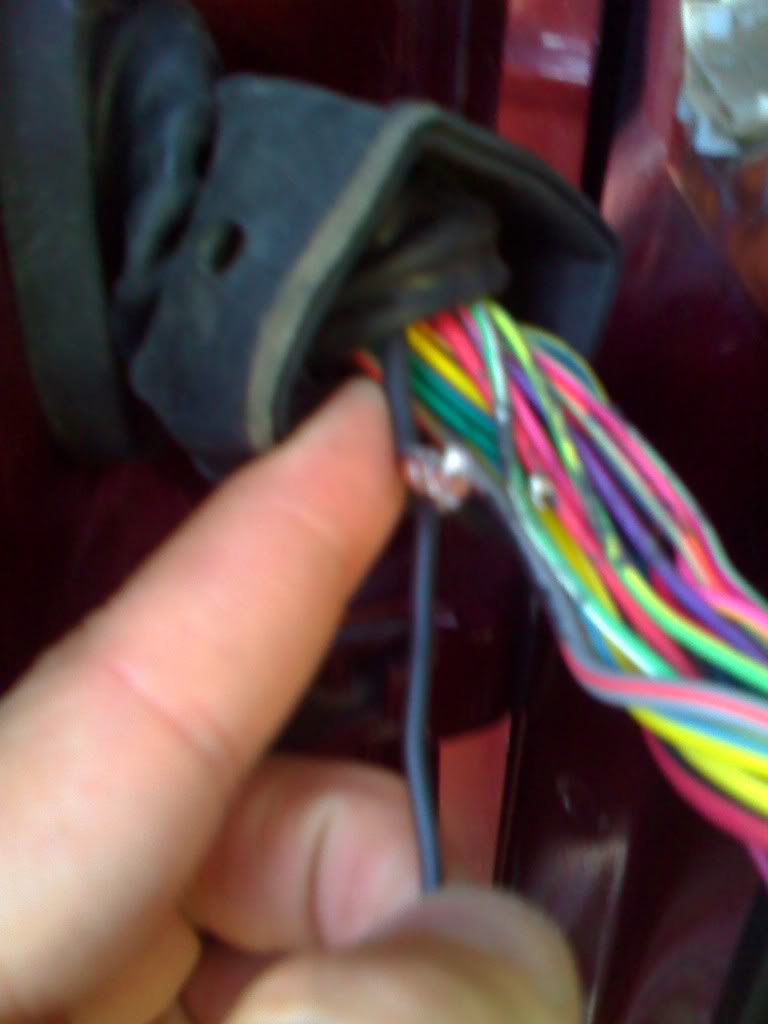
Step six:
Slide the rubber gromet off of the plug back towards the door. Now search around a locate the wire that is broken. You will have to cut some tape off the wires to see them better.
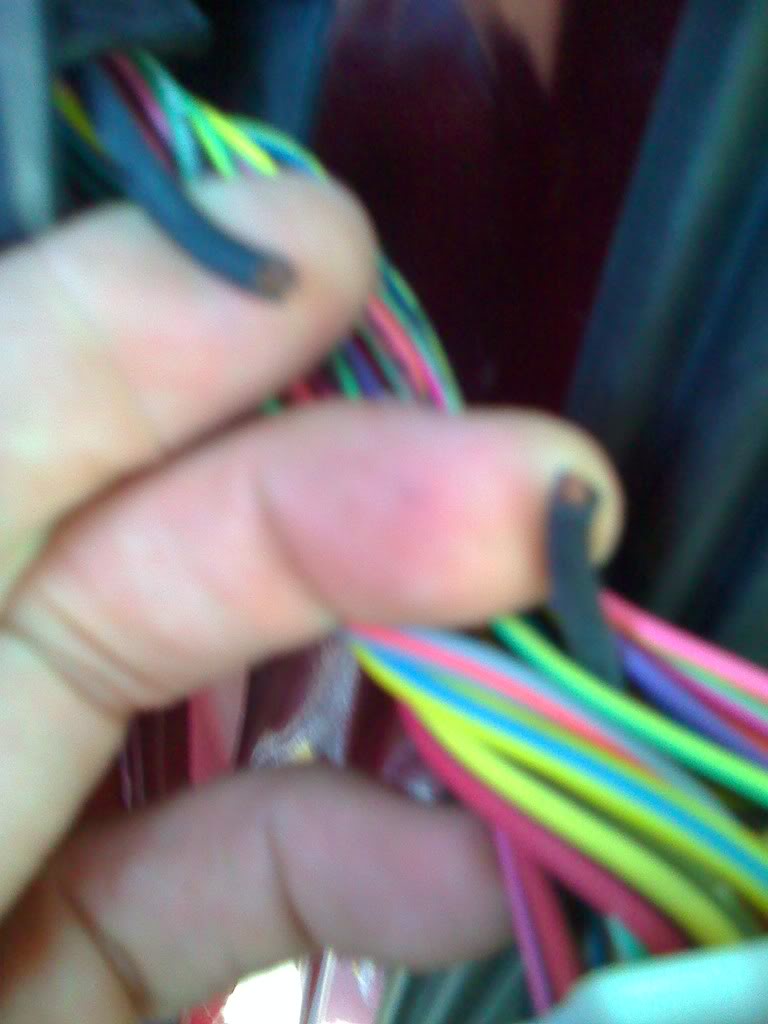
Step seven:
Strip both ends of the broken wire and the piece of wire to be spliced in. Then I split the ends of a broken wire into two sections along with the end of the extra piece of wire. Then I interlocked them, and twisted them together.
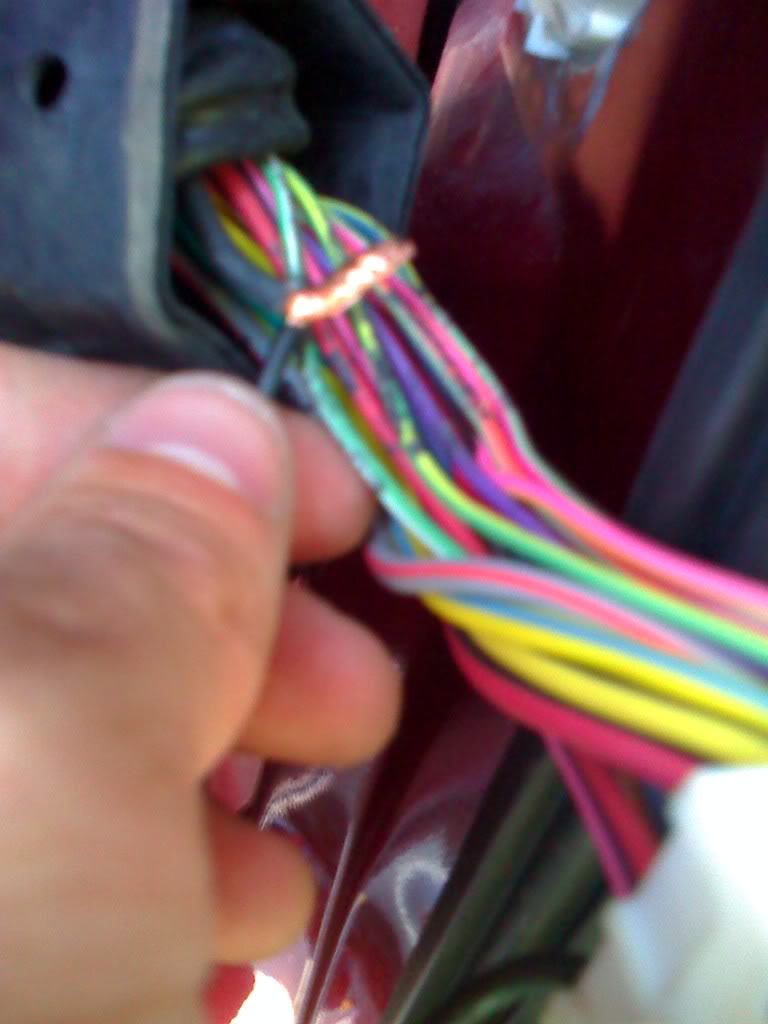
Step eight:
I then made my connections permanent by soldering them together.
Slide the rubber gromet off of the plug back towards the door. Now search around a locate the wire that is broken. You will have to cut some tape off the wires to see them better.
Step seven:
Strip both ends of the broken wire and the piece of wire to be spliced in. Then I split the ends of a broken wire into two sections along with the end of the extra piece of wire. Then I interlocked them, and twisted them together.
Step eight:
I then made my connections permanent by soldering them together.
#4
07-01-2008, 09:38 AM
Step nine:
Wrap the connection with electrical tape. Start about a half inch past the splice and work your way a half inch past the other side of the splice.
(sorry guys I forgot to take pictures of this I will try to get some pics of it later this evening. )
Step ten:
Now slide the heat shrink tubing over this end of wire. You will have to scrunch it up so that you have plenty extra to cover the entire spliced length of wire plus a half inch past on both sides of the broken wire. You MUST do this before making the second connection or you will not be able to use the tubing. And the connection will not be as strong.
(sorry guys I forgot to take pictures of this I will try to get some pics of it later this evening. )
Step eleven:
Repeat steps 7-9 for the second half of the splice.
Step twelve:
Now use a lighter or blow dryer to shrink the tubing down on the connection.
(sorry guys I forgot to take pictures of this I will try to get some pics of it later this evening. )
Step thirteen:
Wrap the wires back together using electrical tape to help give extra strength to the wires and help to reduce the chance of another broken wire.
Step fourteen:
Reverse the order of disassembling the plug (steps 1-6) to put it back together and you are done. (sorry it started to rain and did not have the desire to get camera, or my truck wet to take the pictures of reassembly. It is very straight forward and can only be put back together one way so you can not mess it up)
That is all it took for me to fix my window problem. Windows are all rolling up and down just fine, good as new. So I am out $63 dollars for a new master switch, 30 min of my time, and some wire. Were as the dealer told me they wouldn't even get it in the door and I would owe them $75 to inspect it. So I hope this helps some of you, who are having similar issues. Its not complicated to don't be afraid to try it.
The following users liked this post:

#6
07-01-2008, 05:31 PM
Thanks. There was hardly any info on this and I know I have herd of others having this happen to them so I took a little extra time and figured I could help others out. Besides I hated having to trouble shoot the truck for 3 days to figure out it was a broken wire at least if someone else is having roughly the same issue then they have another option to consider.

#7
12-10-2008, 11:18 AM

Senior Member
Join Date: Mar 2007
Location: N.E. Ohio
Posts: 2,869
Likes: 0
Received 0 Likes
on
0 Posts

Trending Topics
#8
03-31-2009, 04:00 AM

Senior Member
Join Date: Jul 2005
Location: Anchorage, AK
Posts: 319
Likes: 0
Received 0 Likes
on
0 Posts
#9
04-08-2009, 05:19 PM
#10
09-17-2017, 12:26 PM

I have a 2010 Ford F150 which has things I'm not happy about; no tranny dip stick, no cabin air filter to replace, and of course two malfunctioning door wire harnesses since that part is such a poor design for the wire harness i was thinking of McGyvering my own version of that, and i thought i would use the door wire connectors you see on alot of the minivan doors that connect a certian amount of connections has anyone tried any other better ideas?
#11
05-14-2019, 05:09 AM

#12
12-09-2020, 06:43 PM

Step nine:
Wrap the connection with electrical tape. Start about a half inch past the splice and work your way a half inch past the other side of the splice.
(sorry guys I forgot to take pictures of this I will try to get some pics of it later this evening. )
Step ten:
Now slide the heat shrink tubing over this end of wire. You will have to scrunch it up so that you have plenty extra to cover the entire spliced length of wire plus a half inch past on both sides of the broken wire. You MUST do this before making the second connection or you will not be able to use the tubing. And the connection will not be as strong.
(sorry guys I forgot to take pictures of this I will try to get some pics of it later this evening. )
Step eleven:
Repeat steps 7-9 for the second half of the splice.
Step twelve:
Now use a lighter or blow dryer to shrink the tubing down on the connection.
(sorry guys I forgot to take pictures of this I will try to get some pics of it later this evening. )
Step thirteen:
Wrap the wires back together using electrical tape to help give extra strength to the wires and help to reduce the chance of another broken wire.
Attachment 31154
Step fourteen:
Reverse the order of disassembling the plug (steps 1-6) to put it back together and you are done. (sorry it started to rain and did not have the desire to get camera, or my truck wet to take the pictures of reassembly. It is very straight forward and can only be put back together one way so you can not mess it up)
That is all it took for me to fix my window problem. Windows are all rolling up and down just fine, good as new. So I am out $63 dollars for a new master switch, 30 min of my time, and some wire. Were as the dealer told me they wouldn't even get it in the door and I would owe them $75 to inspect it. So I hope this helps some of you, who are having similar issues. Its not complicated to don't be afraid to try it.
Ok so... My issue I believe is the same but I can't get to the plug. To open the door, it causes access issues. Did you take your door off?

Super cramped space. Do I need to take the door off to get it out? My hands won't fit in there.
#13
01-18-2022, 02:45 PM

No room
I am wondering this too. No room to close the clamp and pull out the connector