When you click on links to various merchants on this site and make a purchase, this can result in this site earning a commission. Affiliate programs and affiliations include, but are not limited to, the eBay Partner Network.
Alright guys & gals... I wanted a back up camera for my new truck. Also needed to update my GPS as, it was getting old.... Since I was going to have to pay for the update anyway, and buy a camera w/ a separate screen, I decided to see if I could find a combined unit. I did. The Garmin 2798.
Now, the pros:
*Wireless system. You don't have to run wires all the way up to the front of the cab and tap them into a screen and hide them.
*Installation was pretty easy.
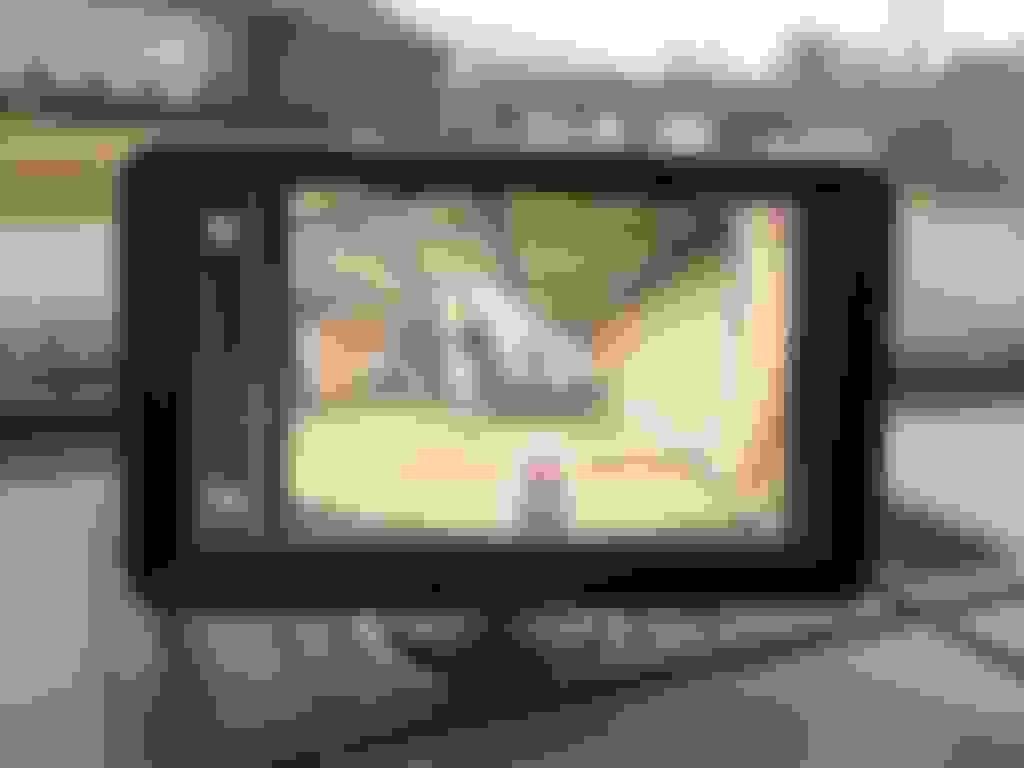
*Works great, the screen is nice and big and clear.
*The camera is small, and really not that noticeable.
Cons:
*The cable coming from the camera is short. Very short. And you really need to purchase the extension cable to go with it. Which, is another $20-$30, and only comes in a 50ft length.......
*The Camera, will only activate if the GPS is plugged into a power source. So if you want to use it, you have to plug it up... The GPS has a wireless module that plugs into the back of it, which receives the signal from the output module. And it apparently doesn't draw power from the battery of the GPS, so you have to plug it up, for it to be powered on. I'm going to research and see if this is a setting that I can change.
*The screen is a little big. 7".
So, here's the process. I don't have pics of the wireless output module install where I tied it into the reverse light but, it's pretty self explanatory. I decided to mount the module inside the cab, on the back window. The directions said the closer you could get it to the receiver, w/ less obstruction the better. Since it came with enough power cable to run form the cab to the tail light, I decided to put it inside. (though, remember I mentioned the cable for the camera, was only a few feet long. so you need the extension.)
I attached (comes with 3M tape on the back) the sending module like so:
Then I ran the wires down behind the seat, up under the foam backing, and through the cab vent. I left the other 40' of slack from the camera extension cable rolled up, and in the little box under the seat.
Then I ran them along/inside the frame. (In this first picture, the cable for the camera is hanging down.... I obviously did not leave it like that. It's ziptied along with the other up to the cab.)
Here you see them coming out of the frame, the camera cable wraps up over the frame, along the frame back to the bumper... the power wire goes towards the driver side tail light.
I've got to go back and get some cable wrap and put around them to protect them a little more.
Then I tied the power wires into the reverse light plug. Don't have a picture of this but again, it's pretty self explanatory if you're familiar with this sort of thing.
Now, gotta mount the camera. I clipped the little clip down on top of the tag (the tag will still come off if I need it to, w/o removing the camera clip.) And used the two screws to attach it to the plastic. They are self tapping screws, but I drilled two tiny pilot holes first. The camera is small, and looks very clean. Unless you're looking right at it, you'll probably never notice it.
I plugged it into the extension cable, and used heat shrink to protect the connectors and help keep them dry.
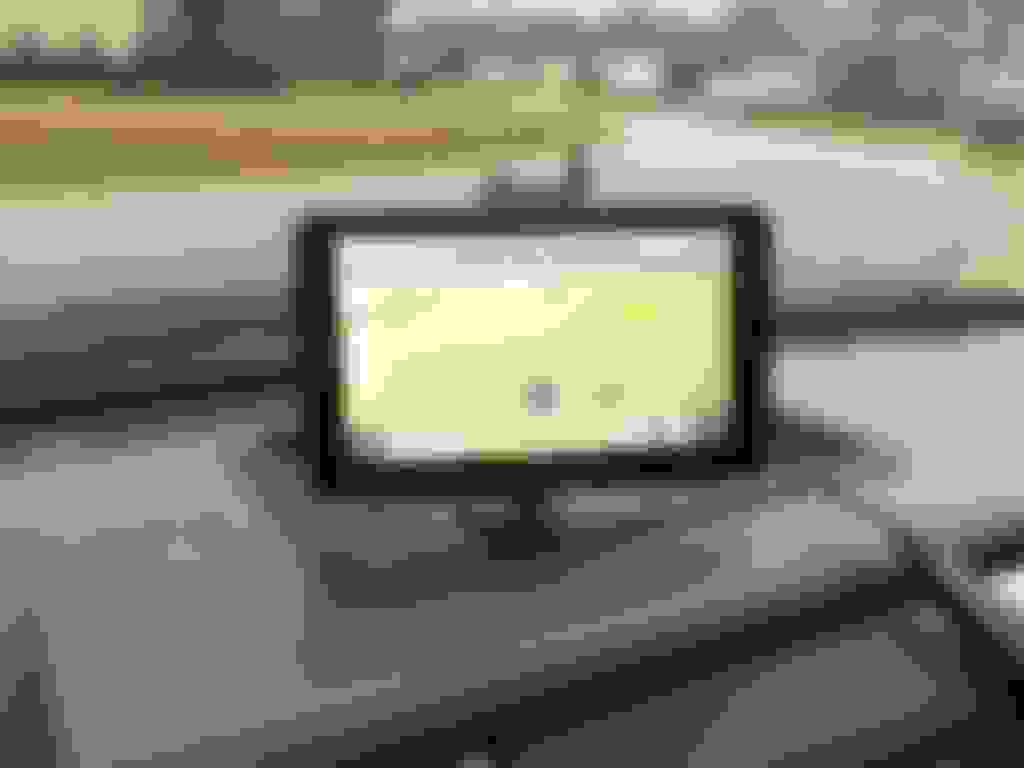
Now, where oh where, to mount a 7" screen in this truck!!
I decided to get a little disk, and use that. If it's attached to the windshield you can't reach it. And I've never had much luck w/ them staying up there even w/ the small 4" versions that don't weigh as much as this monster... So, where to put the disk..... I decided to use the dash tray. It wouldn't stick directly to the rubber mat... SO I traced the disk, and cut a hole in the rubber mat..... Stuck it to the plastic underneath. And put the mat back in.... They are actually about the same thickness. So, it really doesn't look that bad if you ask me. And I'm sure I can find another mat somewhere if I ever sell the truck.
Here's a quick video of dropping it into reverse, and back into park....
Thanks guys. I need to adjust the lines some more I think. Or maybe just turn them off. Need to get it fixed where I know what the line correlates to in respect to distance from an object.
Originally Posted by Peddler
Look good! I noticed the Alabama tag. Where are you from? I'm in bama myself.
I have the 7" nuvi 2797 and use the suction cup all day long on my windshield....it never comes loose. Actually, it's kinda hard to pry off when I do try to take it off. All you have to do is spread a drop or two of water on the cup with your finger...and it will grip down tight.
I think you'll like the 7" screen though. It is big for sure....but nice when you get used to it.
Last edited by Green_Bean; 01-04-2015 at 01:42 AM.
I have the 7" nuvi 2797 and use the suction cup all day long on my windshield....it never comes loose. Actually, it's kinda hard to pry off when I do try to take it off. All you have to do is spread a drop or two of water on the cup with your finger...and it will grip down tight.
I think you'll like the 7" screen though. It is big for sure....but nice when you get used to it.
Good to know. I had trouble with the smaller one falling off while driving down the road. Will scare the crap out of you lol. Though, the windshield was pretty dirty inside when it happened so... Guess that could have been the cause.
I know what you mean about scaring the crap out of you. Had that happen a few times myself....with the 7" unit...! Will about make you jump out of your skin. That was before I found out about the drop of water trick...works great.
PS...if you don't have any water....you can lick the tip of your finger and it will work just as well . Moisture is moisture.....lol.
The GPS is leaps and bounds better than my old one. Lifetime free updates, it zooms in and out automatically with speed Changes. Updates you with traffic info. Seems to load a lot faster too. The screen icons are interactive, and even match what they are sometimes. Meaning if you're coming up on an intersection it shows an icon for a chevron if there's one there. And places like Wendy's show up as the wendys sign. And you can click the icon on the screen & hit GO. Others just show up as $ (bank) or fork & spoon (restaurants) and some gas stations just show a gas can. But so far chevrons & kangaroos & a few others show their logo on the screen as an icon as you pass by.
Got one of these cams for Christmas, just got around to putting it in. (Weather has sucked in No. Ky.) Followed your process and it worked like a charm. I was pleasantly surprised to find that the power cord for the transmitter did indeed reach all the way to the tail-light. (Barely) Now I have 40 feet of cable coiled up behind my back seat. Could be worse....

 01-03-2015, 11:21 AM


 . Moisture is moisture.....lol.


