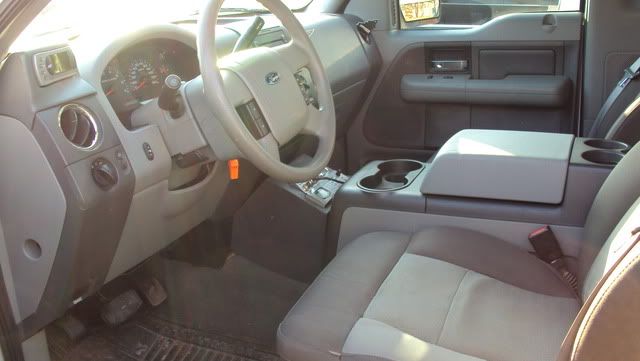
Interior pics
#1
 01-20-2010, 07:57 PM


Join Date: Aug 2007
Location: Texas Panhandle
Posts: 138
Likes: 0
Received 0 Likes
on
0 Posts


#7
01-20-2010, 09:40 PM

Join Date: Apr 2009
Posts: 608
Likes: 0
Received 0 Likes
on
0 Posts
Trending Topics
#8
01-21-2010, 11:47 PM

Senior Member
Join Date: Jun 2009
Location: Polk City, Florida
Posts: 1,747
Likes: 0
Received 0 Likes
on
0 Posts


#11
01-22-2010, 08:38 PM
Join Date: Aug 2007
Location: Texas Panhandle
Posts: 138
Likes: 0
Received 0 Likes
on
0 Posts
If you have basic wood working skills it wouldn't be too difficult to do with some time, and would be really cool. Wish I had some pics, but I only ran one + and one - wires to the box then used a bolt to mount all the -'s to and a buss fuse panel for + power. I used 10 guage wire so I could have true 30 amp power outlets (one on the passenger side of the box, and the one on the back of the console).
#12
01-22-2010, 09:39 PM
Senior Member
Join Date: Jun 2009
Location: Polk City, Florida
Posts: 1,747
Likes: 0
Received 0 Likes
on
0 Posts
Neat. i am going to start mine tomorrow. i will make a big thread about it. a walk through. Im going to start with cardboard and make the two sides. im gonna try to get it very flush with the dash. and then i will leave the dash side of the box open, or cut a hole in it to run the wires through. you wont see the hole do to the tight fit. as far as the edge, idk...
how did you secure yours?
how did you secure yours?
#13
01-22-2010, 11:56 PM
Join Date: Aug 2007
Location: Texas Panhandle
Posts: 138
Likes: 0
Received 0 Likes
on
0 Posts
yeah matching the contours of the dash, floor, and seats was the hardest part. It used to just sit there. Always had plans to use plastic straps (like the ones you use to hand HVAC units) under the bolts of the jumpseat to secure it. But, now its just wedged in, cant take it out with out removing the console. It was so heavy it wouldnt move, but i was always scared that if i got in a wreck it would be bad.
keep us updated!!!
keep us updated!!!