When you click on links to various merchants on this site and make a purchase, this can result in this site earning a commission. Affiliate programs and affiliations include, but are not limited to, the eBay Partner Network.
I know when my factory aluminum driveline exceeded speed rating I went with a 3 inch steel driveline specialties 2 piece. They can make whatever you need if
they are still around. They were out of Texas. I wish I had your skills Pat, Very nice work.
still pending a driveshaft and crossmember, but still have so much to do for other mini projects. I began by mocking up the shifter height and checking for clearances available under the console deck
Fabricated a quick bracket setup to gain approximately 4" of height
Welded in between several rounds of test fitments
Ground down, drilled some "speed holes" to reduce weight, then I primed, painted it
Installed under the console
Installed in the console, looking down through the top side
Shifter bolted in using resused 2003 front end hardware (I'm a pack rat and don't throw stuff away)
Console deck installed for some teaser pics
I clearly still have more to do here, I'll need to build or buy a trim ring for the shifter boot to click into, and then I'll do some hand laid fiberglass to fill in the bottom of the console deck
I'll work on getting a video together of some of the fabrication work soon
Patrick started the truck for me Sunday. It really sounds good with no mufflers. Under the hood, the 5.0 looks factory, really a clean installation. He is quite the craftsman.
Great updates! Now will you be able to use the select a shift function? I imagine you would since you have everything talking together.
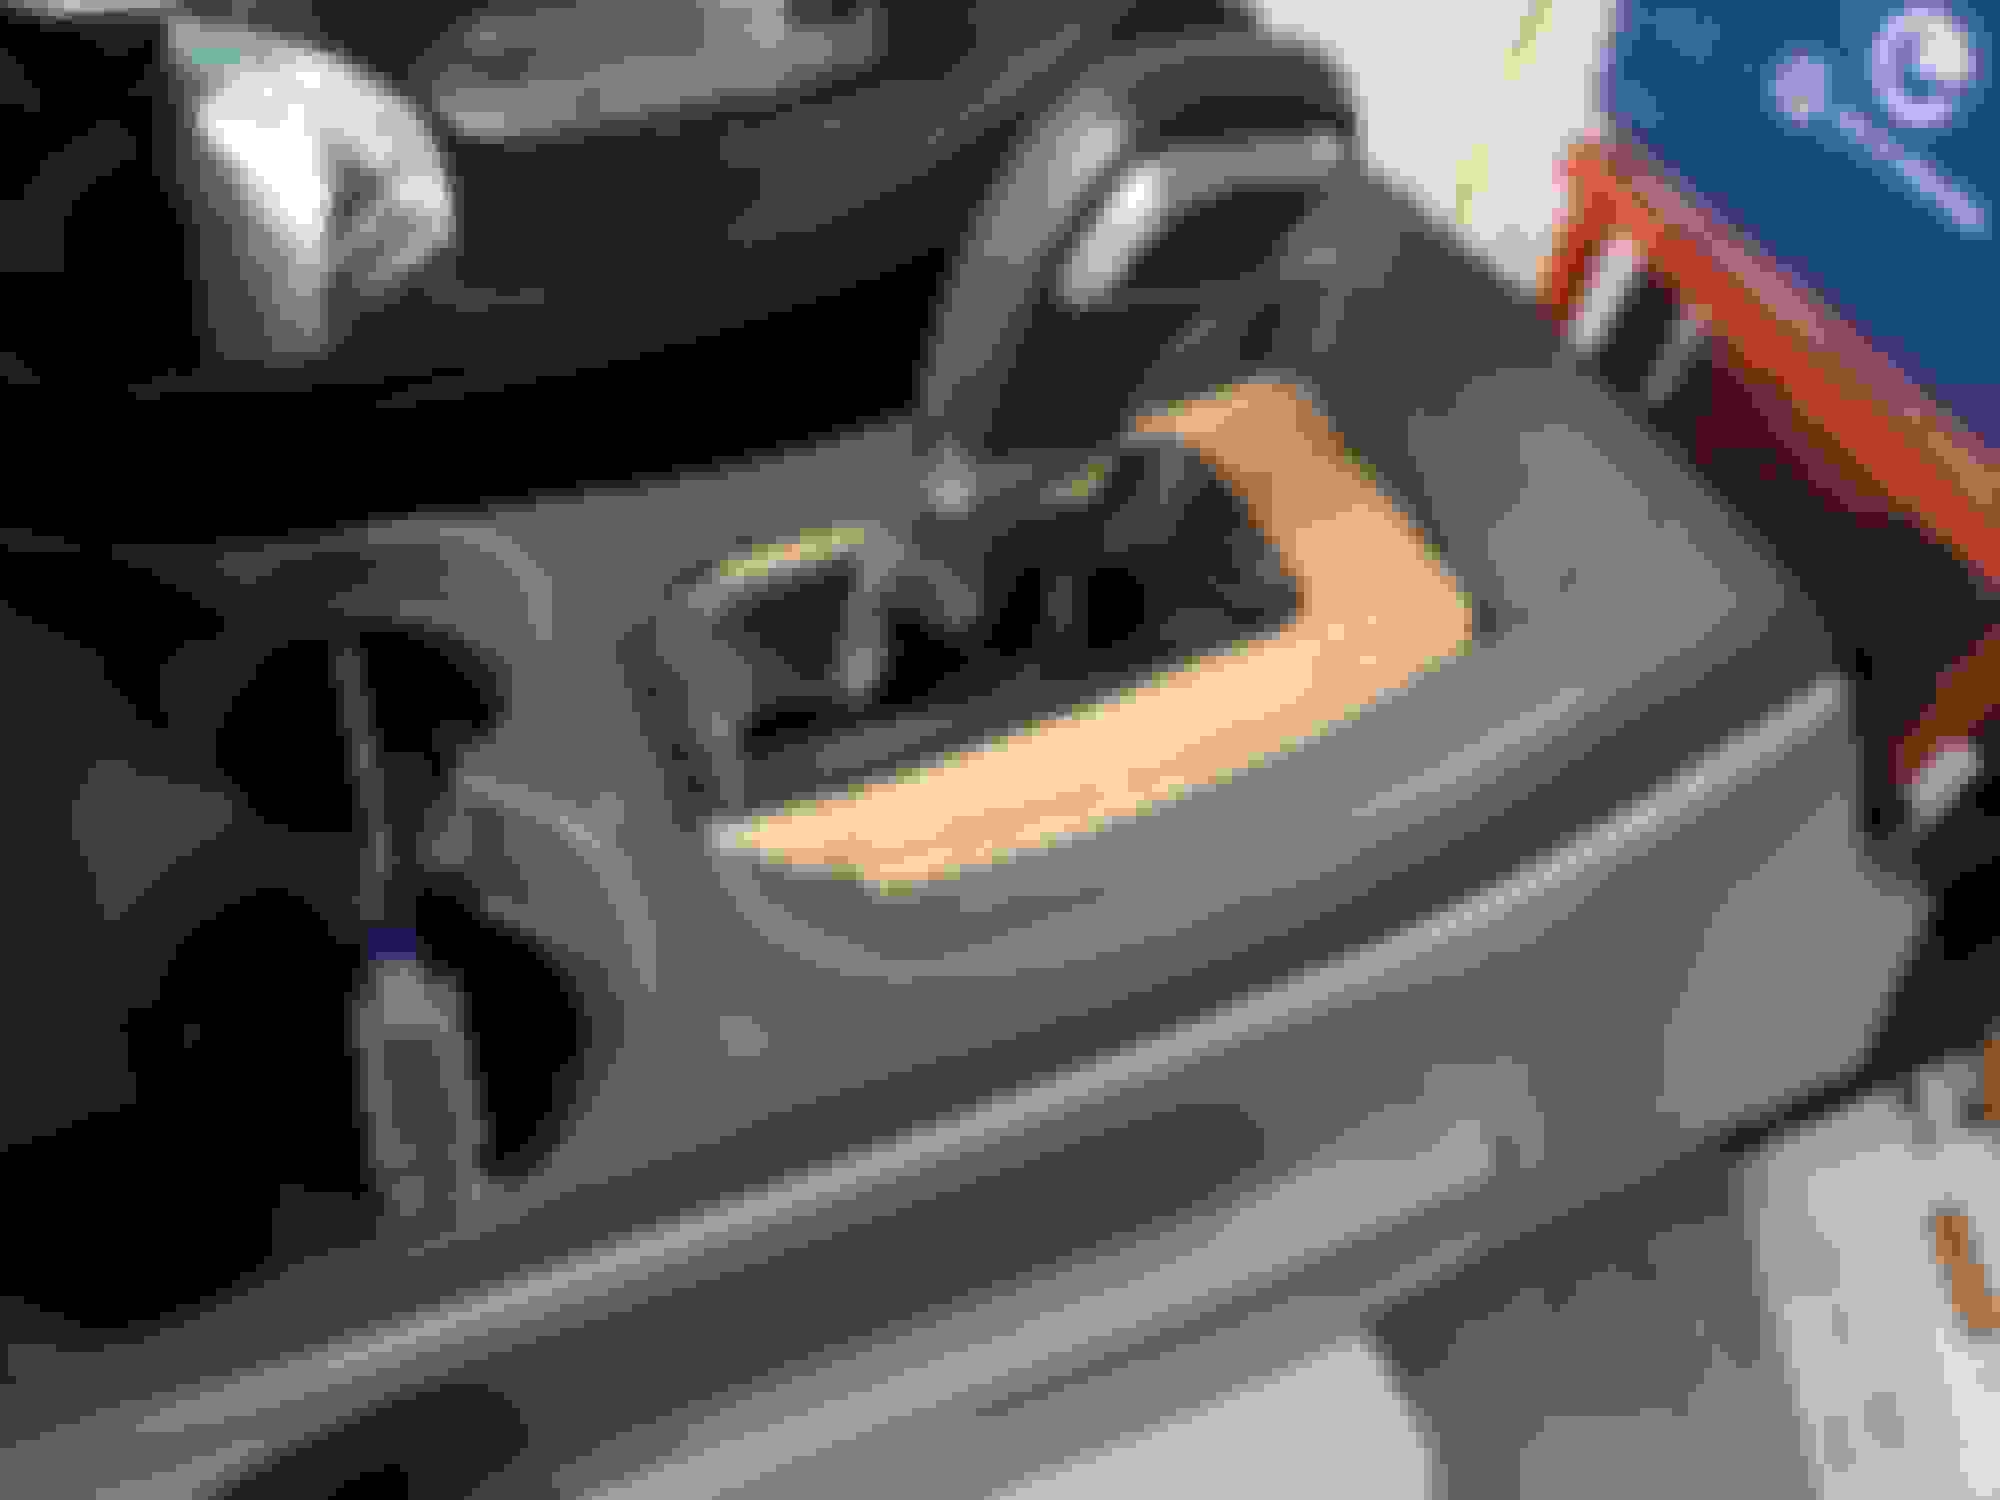
Select shift will work, already tested that function, just forgot to get it in the video
I'm gonna lock out 2 and 1 gates on the shifter for clearance reasons
So shifter pattern will be P R N D M
Originally Posted by Bluejay
Patrick started the truck for me Sunday. It really sounds good with no mufflers. Under the hood, the 5.0 looks factory, really a clean installation. He is quite the craftsman.
It's much too hot today to be out in the garage after work. Spent some time shopping around looking for a driveshaft crossmember. Hopefully something turns up. I'd much prefer to use a factory one when/where its possible
Found a donor crossmember, and began to fabricate a new one. Gonna have to end up modifying the factory donor to get it all to work right. Standby for more pics very soon
Donor chunk out of a 1997 2wd Scab 8' bed out at the local junk yard
Measuring driveline angle, so I can plan out the driveshaft angles. Once I figured out the angles, I can figure out how tall I want my carrier bearing crossemember to be
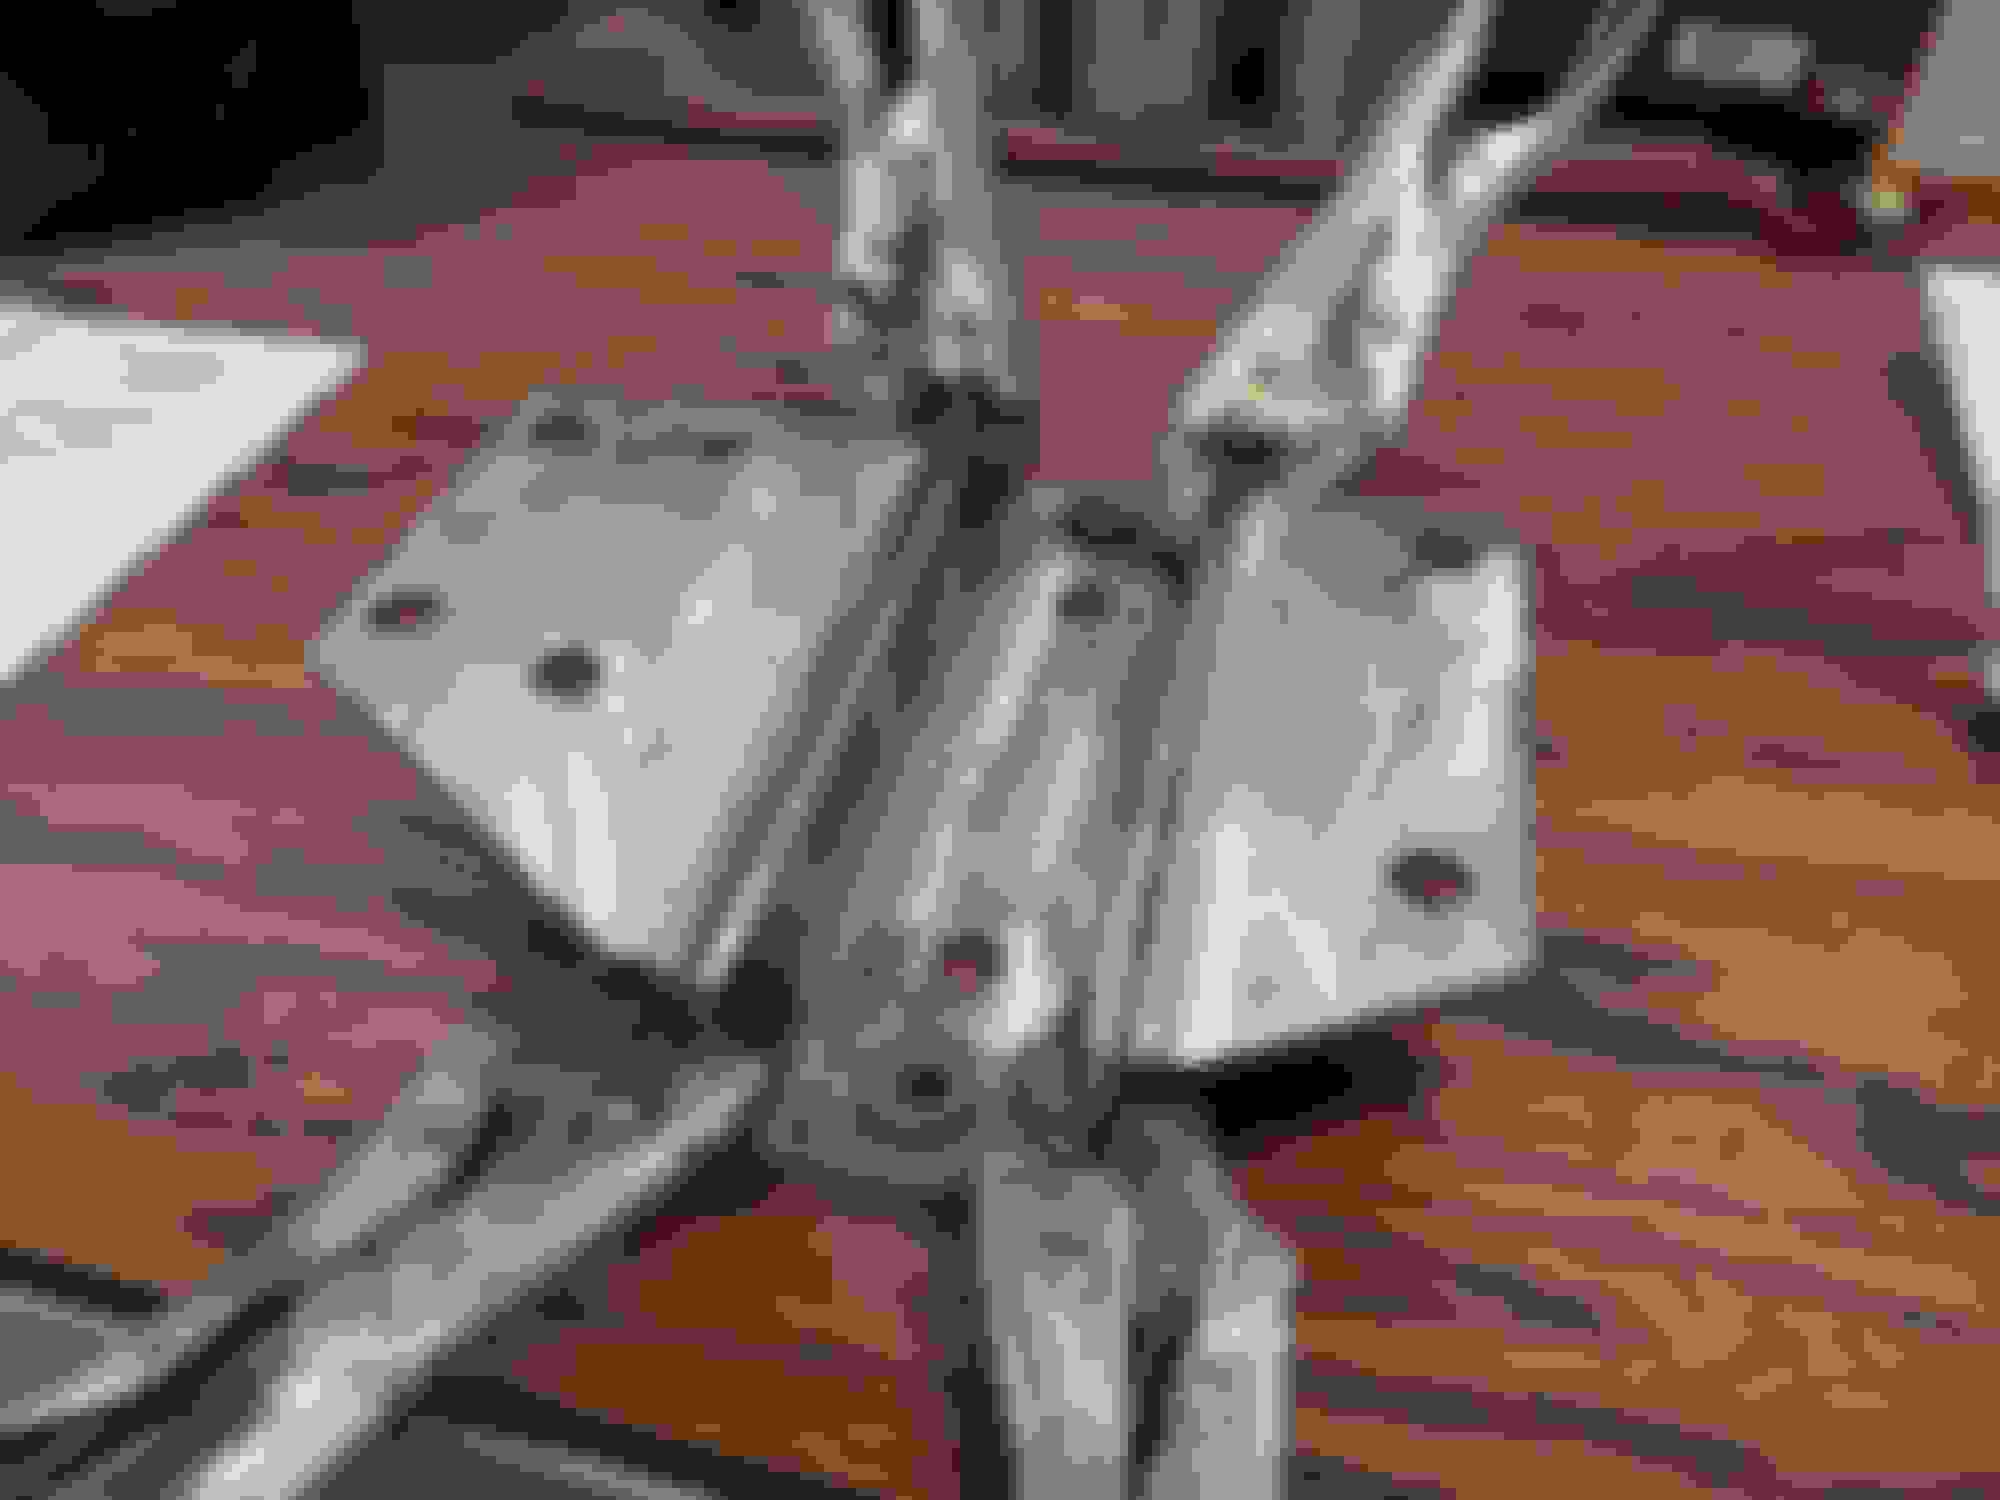
Cleaned and cut up the 1997 Carrier bearing bracket. Cut and will overlap welding to remove about 1.5" out of the height of the bracket
Mocked up and measured lots of times the final assembled height of my new bracket
Fully welded (by my coworker)
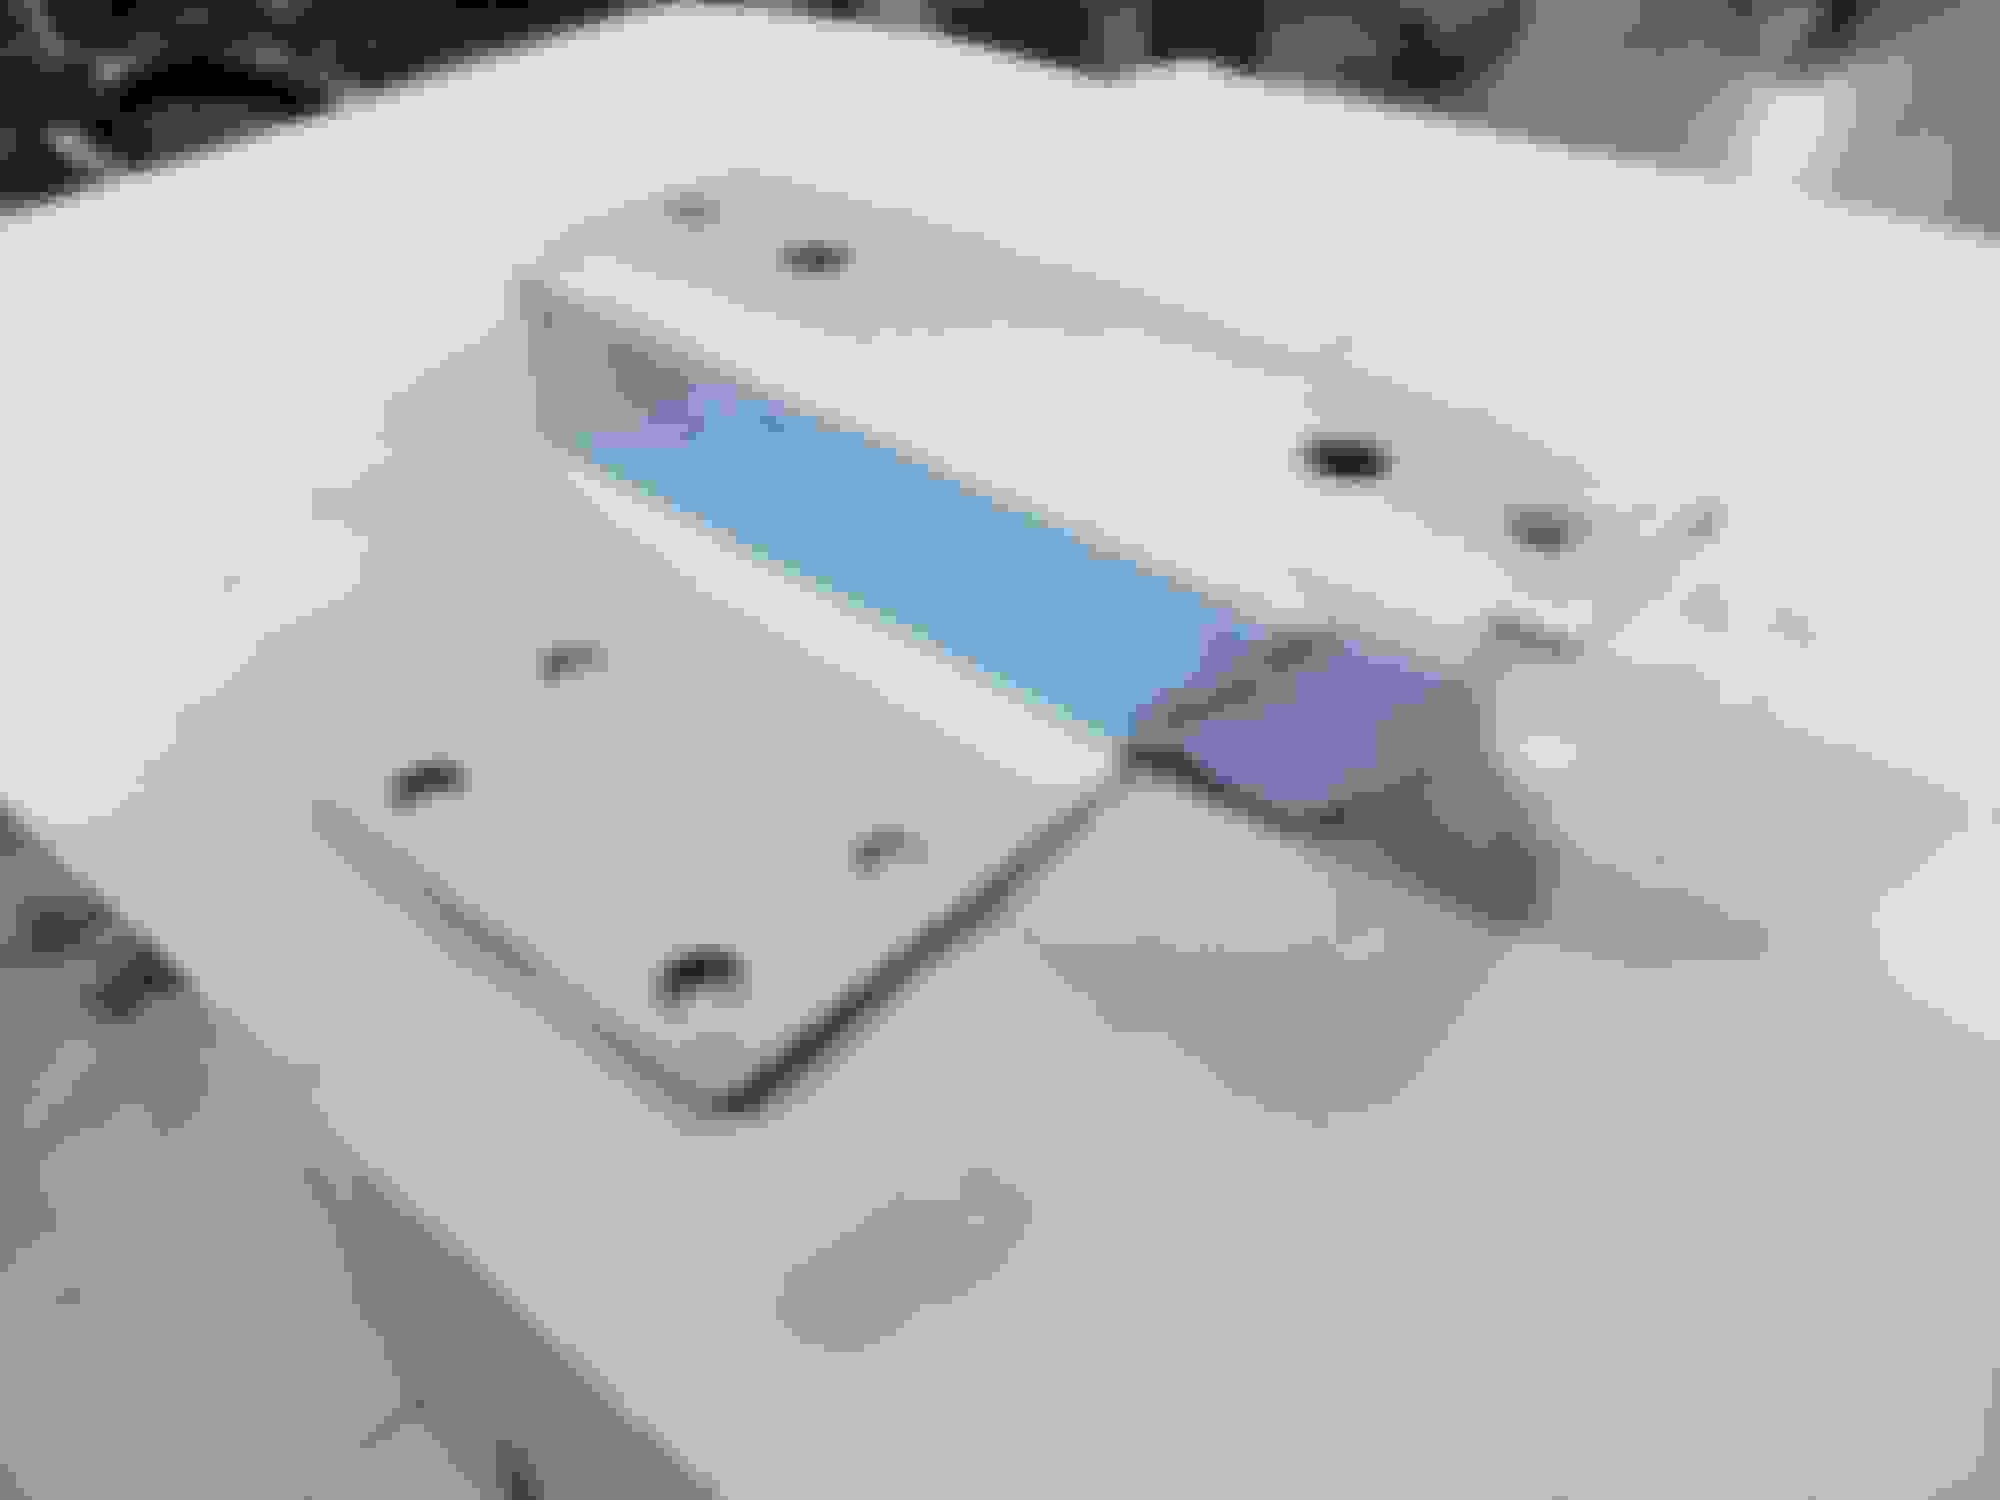
Primer
Black paint, ready to go home and get installed this weekend.
I'll still need to finish mocking up the crossmember and get everything drilled and bolted in place. Once this task is completed, I can take some final measurements of my driveshaft and send it out to be lengthened and have the correct flange installed
I also will try and get some time this weekend to start fiberglassing the console deck. I made a super-cardboard template/ bottom plate. I call it super-cardboard because has a metal grid layer between the layers of the cardboard. Its a box from work, Porsche seatbelt box.....
Template installed around the shifter
A little side by side action to get me motivated to get going on this free form fiberglass. (not my favorite part of this build)

 07-20-2019, 09:57 AM