
Emblem re-paint
#1
 09-18-2016, 11:19 PM


Join Date: Oct 2007
Location: Vancouver
Posts: 1,101
Likes: 0
Received 0 Likes
on
0 Posts
Emblem re-paint
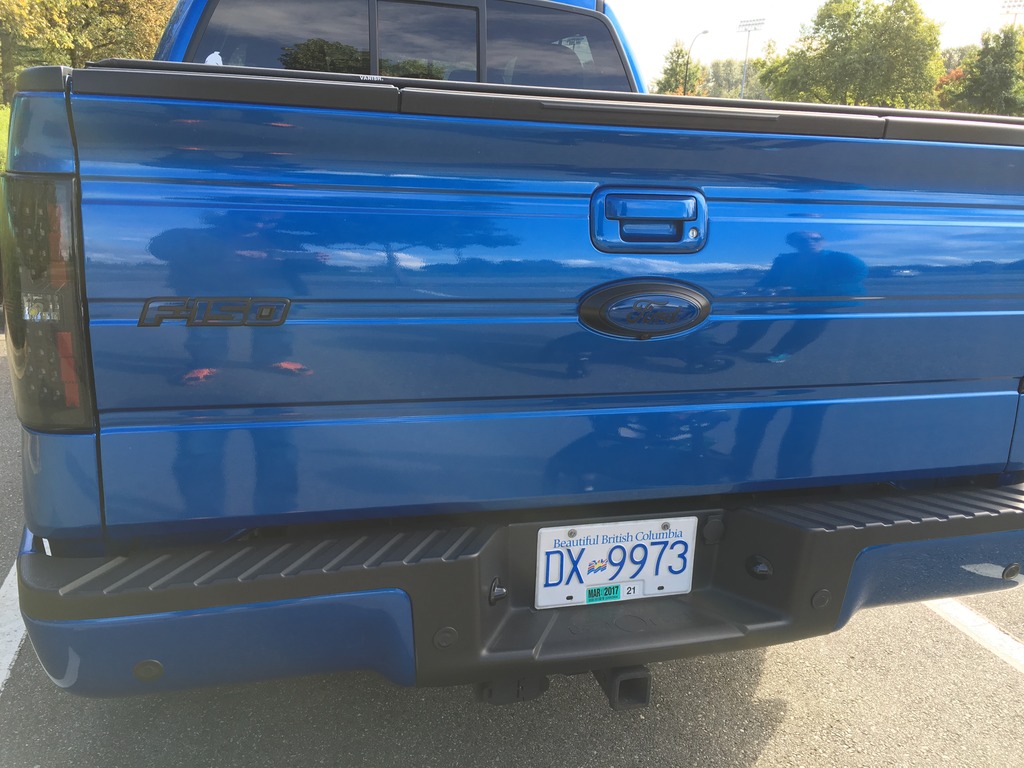
Knocked out the Badges today. I had Plastic-Dipped the F-150 emblems, so I wanted to re-do them with actual paint. Man, what a pain to sand down really well! They came out OK, but I wish I hadn't sanded down the inset what I did them originally. I'll likely buy a new set of Limited badges like Patman's when I can put some money aside for them.
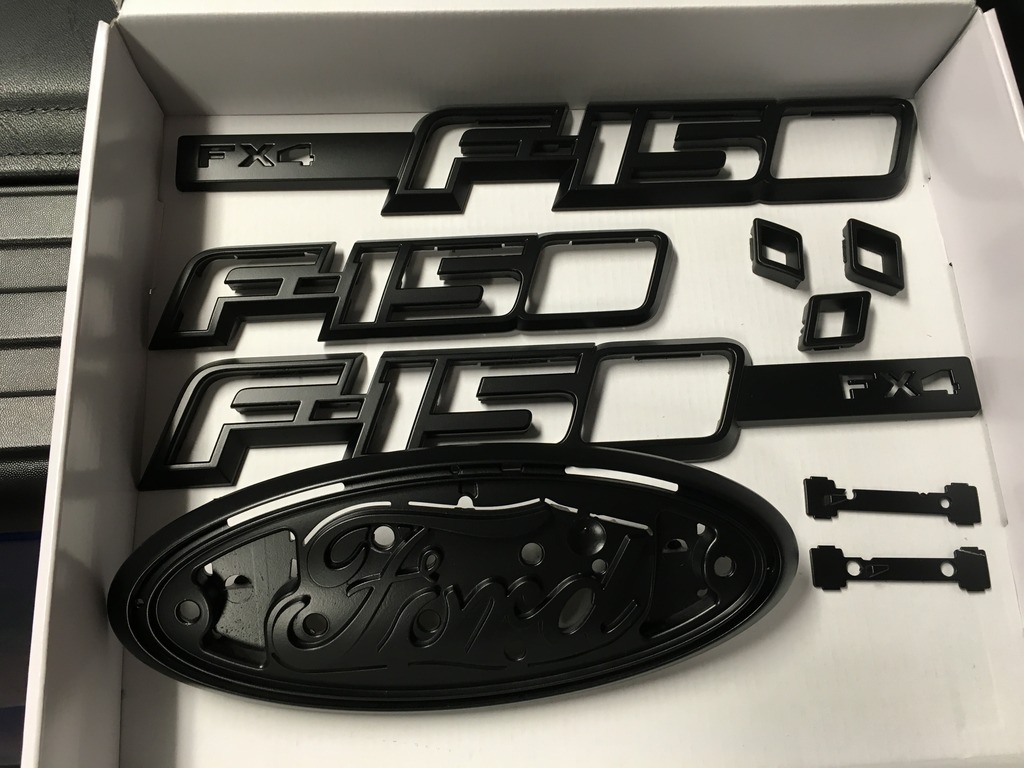
Before and after Plasti-Dip removal
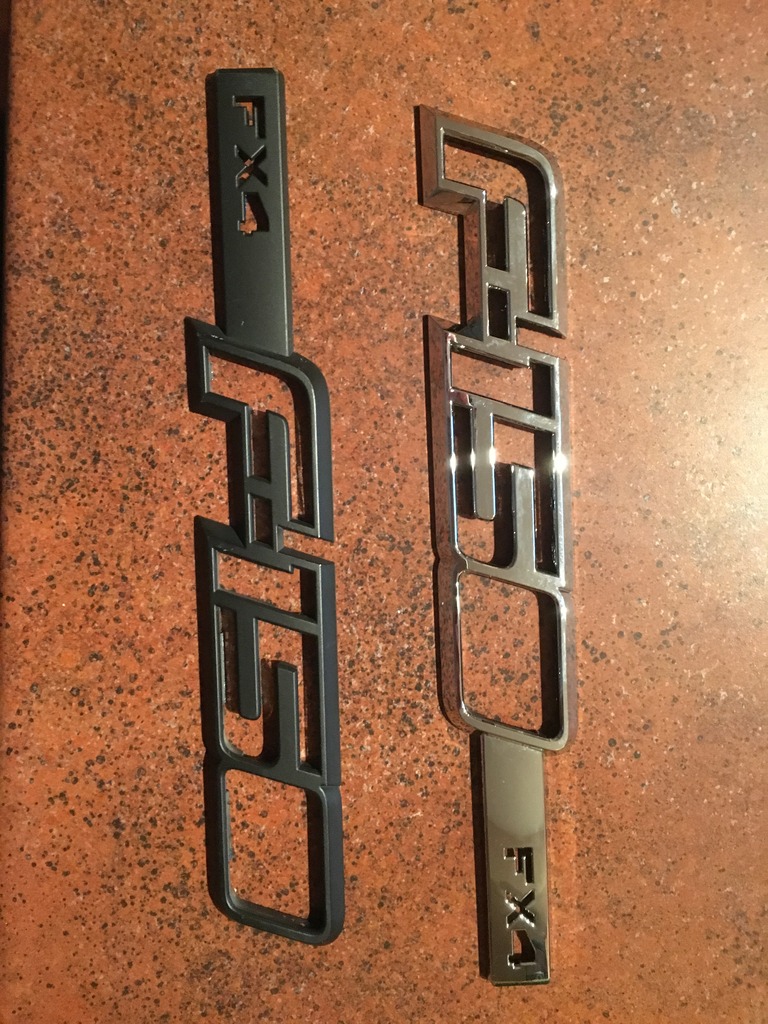
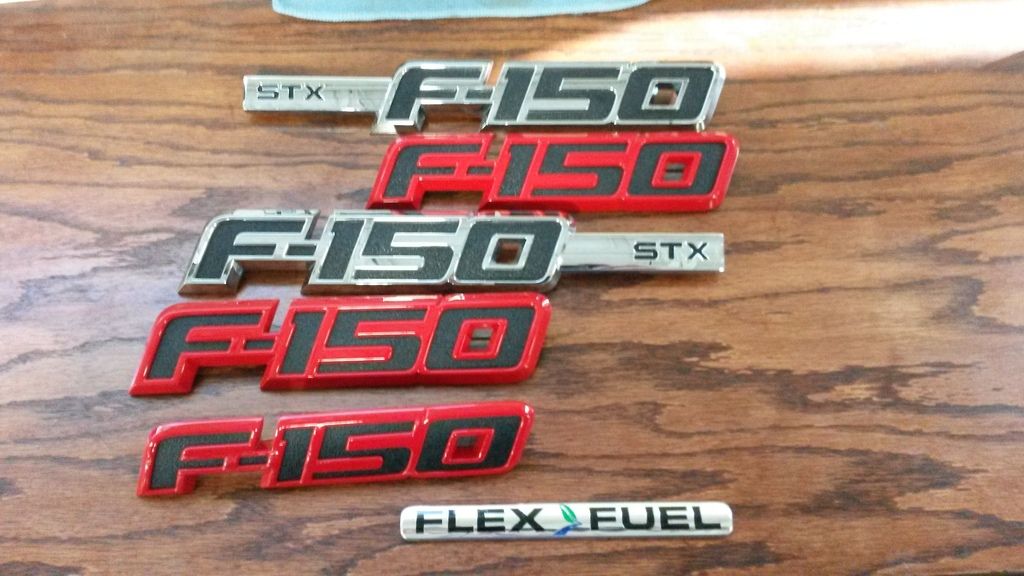
Chrome pieces after matt Black paint
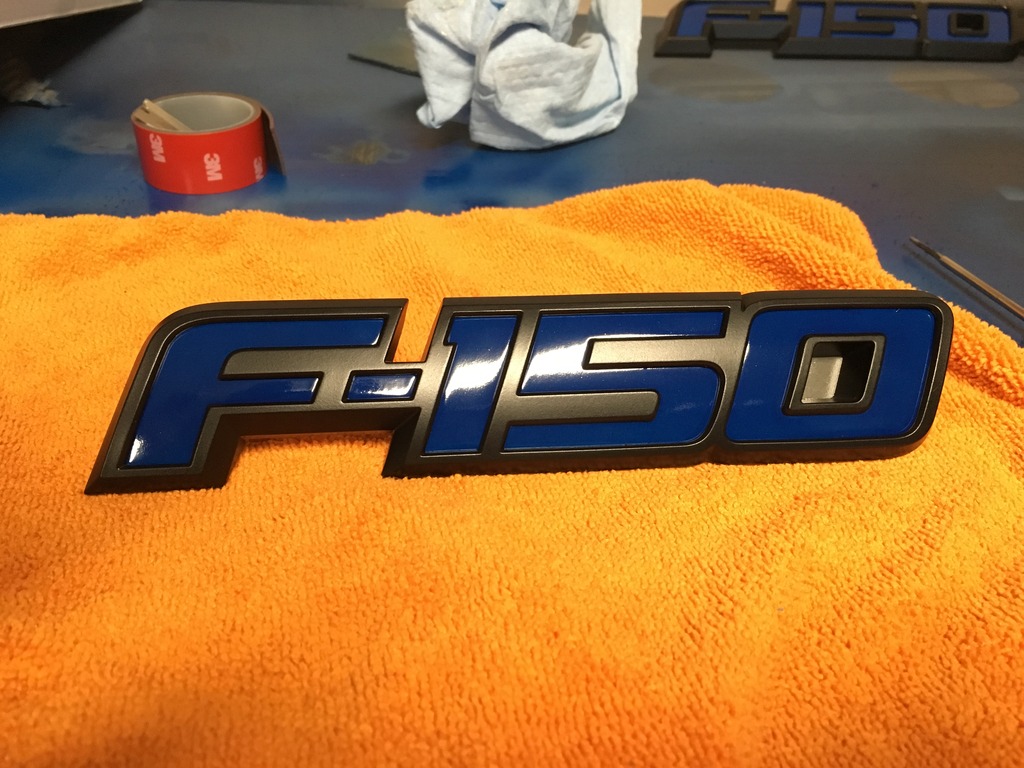
Insets painted blue

Rear badge after assembly
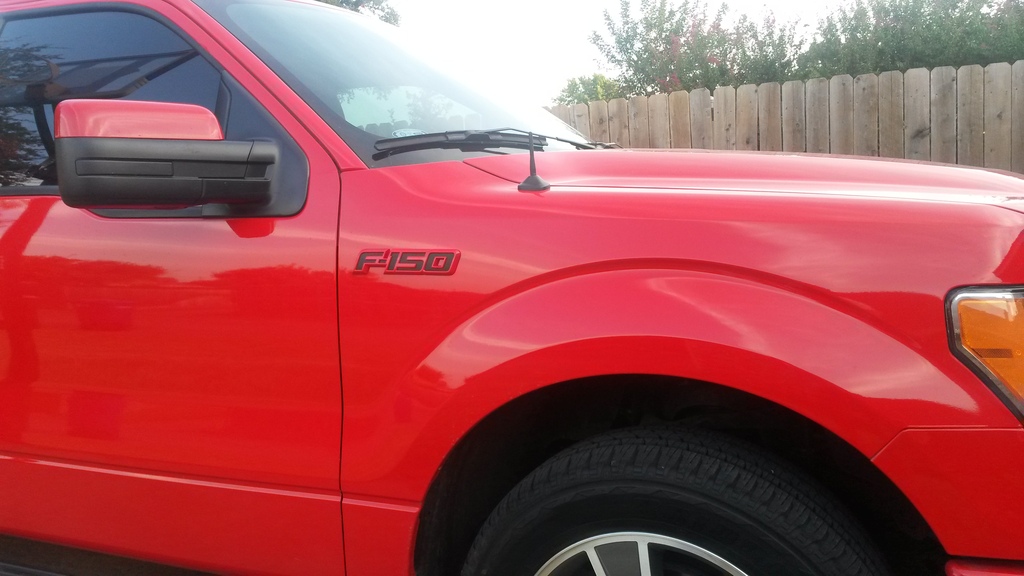
Installed
Before and after Plasti-Dip removal

Chrome pieces after matt Black paint


Insets painted blue

Rear badge after assembly

Installed


#2
09-19-2016, 10:06 AM

Senior Member
#3
09-19-2016, 10:16 AM

Nice job! I love the way you made the blue gloss and the outside matte, nice touch.
How hard is to it take apart the front oval emblem? Do you think if I primed it, adhesion promoter, couple coats of base and clear would effect how it all snaps back together? Did you clear the blue sections, any probs?
How hard is to it take apart the front oval emblem? Do you think if I primed it, adhesion promoter, couple coats of base and clear would effect how it all snaps back together? Did you clear the blue sections, any probs?
#4
09-19-2016, 12:37 PM
Join Date: Oct 2007
Location: Vancouver
Posts: 1,101
Likes: 0
Received 0 Likes
on
0 Posts
Thanks Guys!
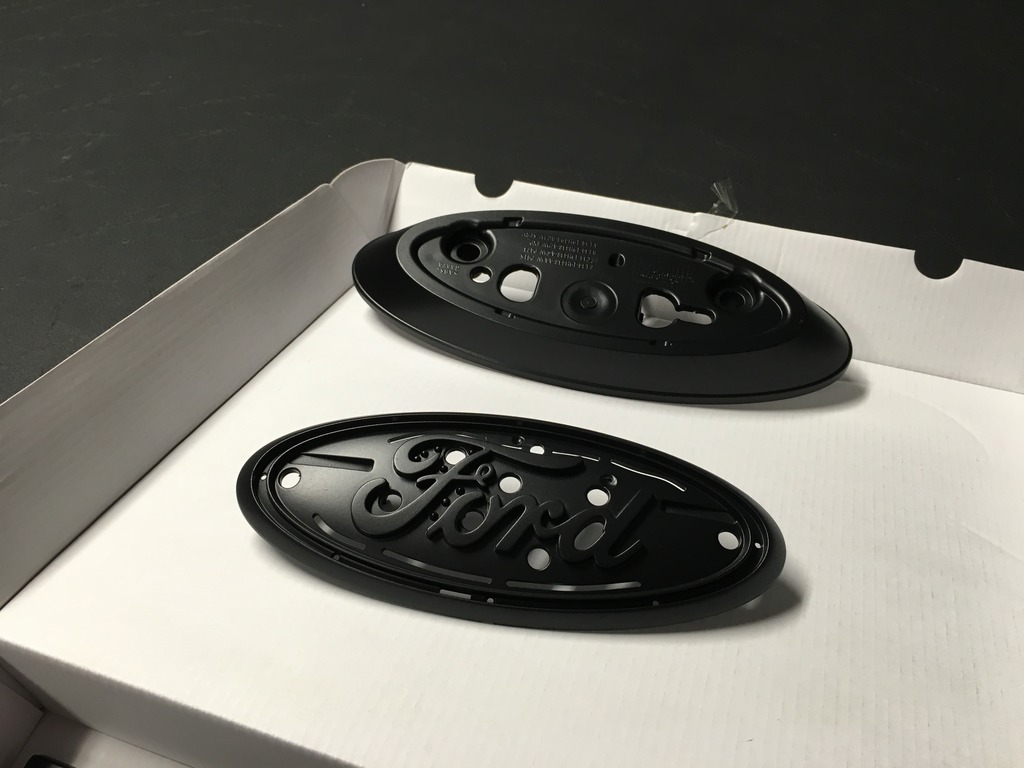
The emblems come apart pretty easily. They are held together by melting plastic pins. The plastic is pretty brittle, so you just need to drill out the melted pins level with the chrome backing (all from the backside). They just come apart after that. There is an insert for the center of the "o" and the loop in the "F", you need to make sure you are careful when drilling to not damage the small insert in the "F" loop. I broke off a piece for the rear emblem and had to Krazy glue it back together.
Once all the pieces were painted and cured (I baked them for 15 minutes, then let sit overnight), I used plastic 15 minute epoxy on the pins to re-assemble.
For both the black and blue:
- Sanded down with 400 Grit
- 2 light coats Adhesion Promoter
- 2 light coats Primer
- 3 coats paint
- 3 coats clear (matte clear on the black pieces.
There was plenty of clearance when I put them back together.
#5
09-25-2016, 08:36 AM
Thanks Guys!
The emblems come apart pretty easily. They are held together by melting plastic pins. The plastic is pretty brittle, so you just need to drill out the melted pins level with the chrome backing (all from the backside). They just come apart after that. There is an insert for the center of the "o" and the loop in the "F", you need to make sure you are careful when drilling to not damage the small insert in the "F" loop. I broke off a piece for the rear emblem and had to Krazy glue it back together.
Once all the pieces were painted and cured (I baked them for 15 minutes, then let sit overnight), I used plastic 15 minute epoxy on the pins to re-assemble.
For both the black and blue:
- Sanded down with 400 Grit
- 2 light coats Adhesion Promoter
- 2 light coats Primer
- 3 coats paint
- 3 coats clear (matte clear on the black pieces.
There was plenty of clearance when I put them back together.
#6
09-26-2016, 10:33 PM
Join Date: Oct 2007
Location: Vancouver
Posts: 1,101
Likes: 0
Received 0 Likes
on
0 Posts
#7
10-02-2016, 04:38 PM


I dig the final product, I've thought about doing my ovals too, but afraid it might be "too much red"
Here's mine for those of you who are interested
https://www.f150online.com/forums/20...2-emblems.html
Here's mine for those of you who are interested
https://www.f150online.com/forums/20...2-emblems.html
Trending Topics
#8
10-03-2016, 03:17 PM
Join Date: Oct 2007
Location: Vancouver
Posts: 1,101
Likes: 0
Received 0 Likes
on
0 Posts
Thanks Patman, I really wanted to ditch all the chrome. I now only have the lug nuts left and I'll swap them when I put my Raptor wheels and winters on shortly. I already have the Black lugs in my tool box.
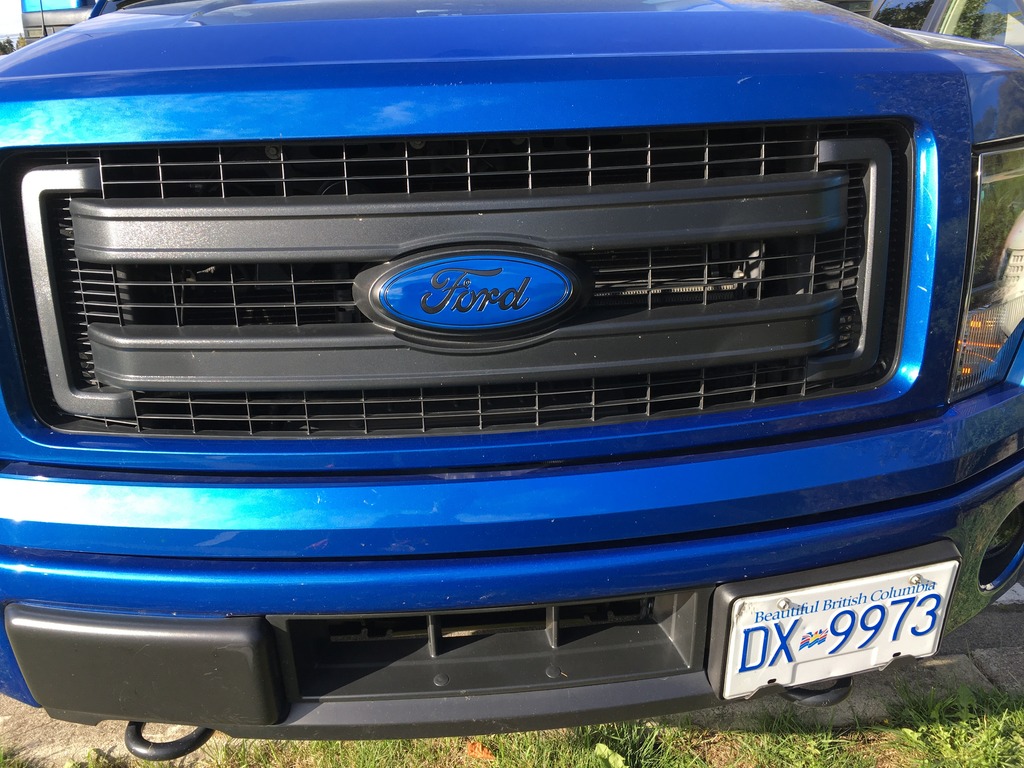
I will likely be swapping out the grill for a Raptoid one anyway, so hopefully, that will balance out all the black and blue a little bit. I can't stand the "C clamp" grill and would have changed it out by now if the Raptoid grills weren't on back order.
I really like your limited badges with the red surround, don't see many going with that arrangement.
#9
10-03-2016, 05:06 PM

#11
10-25-2016, 12:33 AM
Join Date: Oct 2007
Location: Vancouver
Posts: 1,101
Likes: 0
Received 0 Likes
on
0 Posts
#12
10-25-2016, 10:56 PM
 true! I need to get photoshop on my good newer PC. I miss that program!
#13
11-03-2016, 11:56 AM

Senior Member
Join Date: Nov 2011
Location: North Carolina
Posts: 427
Likes: 0
Received 0 Likes
on
0 Posts
#14
11-09-2016, 04:41 PM


#15
11-09-2016, 11:51 PM
Join Date: Oct 2007
Location: Vancouver
Posts: 1,101
Likes: 0
Received 0 Likes
on
0 Posts
