How-to: 04 Headlight switch replace/swap
#1
 06-12-2015, 05:09 PM

How-to: 04 Headlight switch replace/swap
I am in the process of adding some auxiliary off road/fog lights to my 2004 F150. My truck did not come from the factory with fog lights and when adding my LED cube lights I wanted a clean looking switch to operate them with. After doing some research I found out I could swap my factory headlight switch with no fog option for a switch that had the fog light function. Trying to find that specific switch with my interior color panel was nearly impossible, so I just moved the new switch over to my panel. Here is how I did it.
My truck is equipped with the auto headlight function so the new switch needed to have auto, off, parking, headlight, and fog positions. I found a switch on eBay for $29.50 and it was installed on a gray interior panel. I had to remove the switch from the gray panel and swap it to my tan panel.
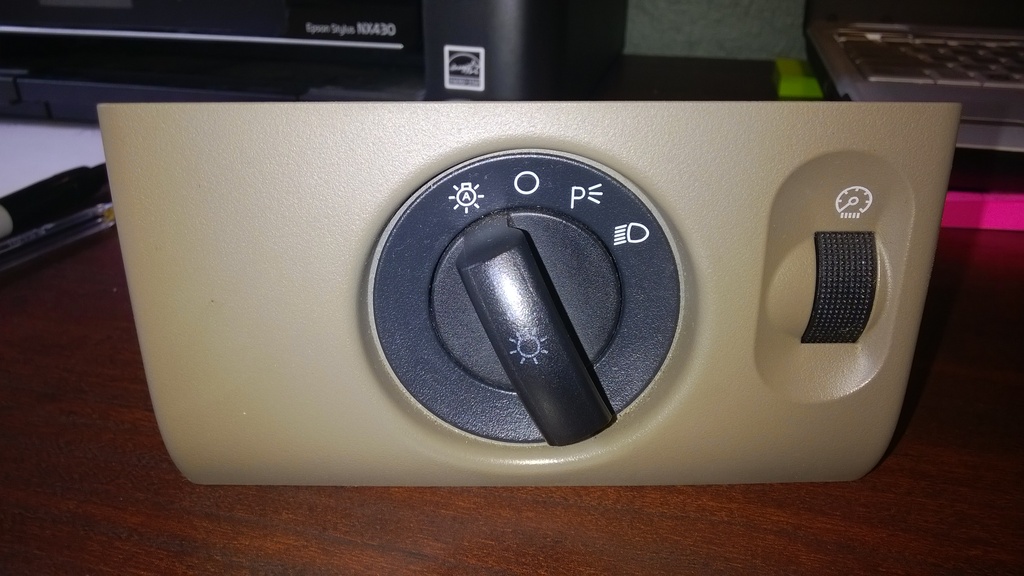
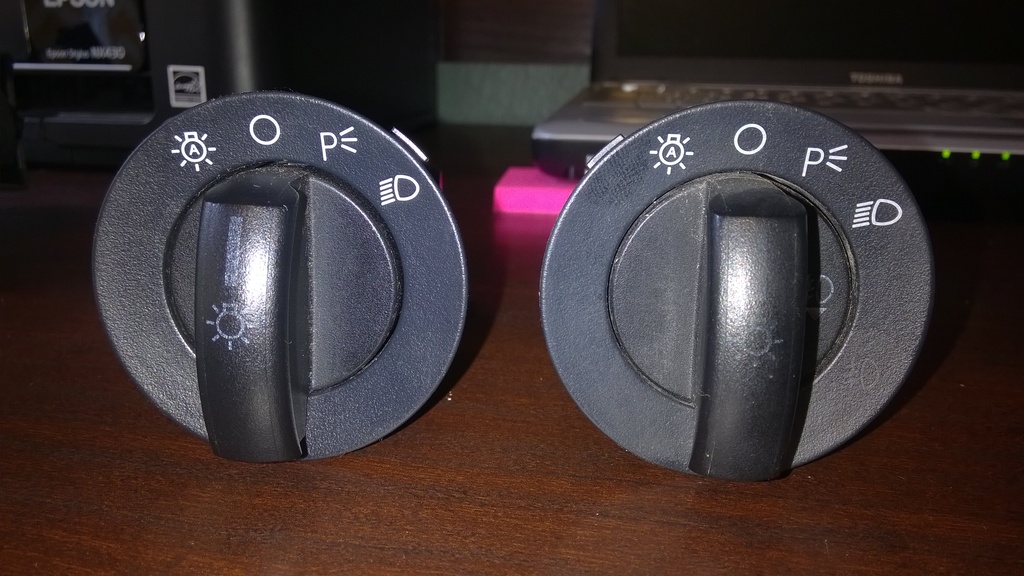
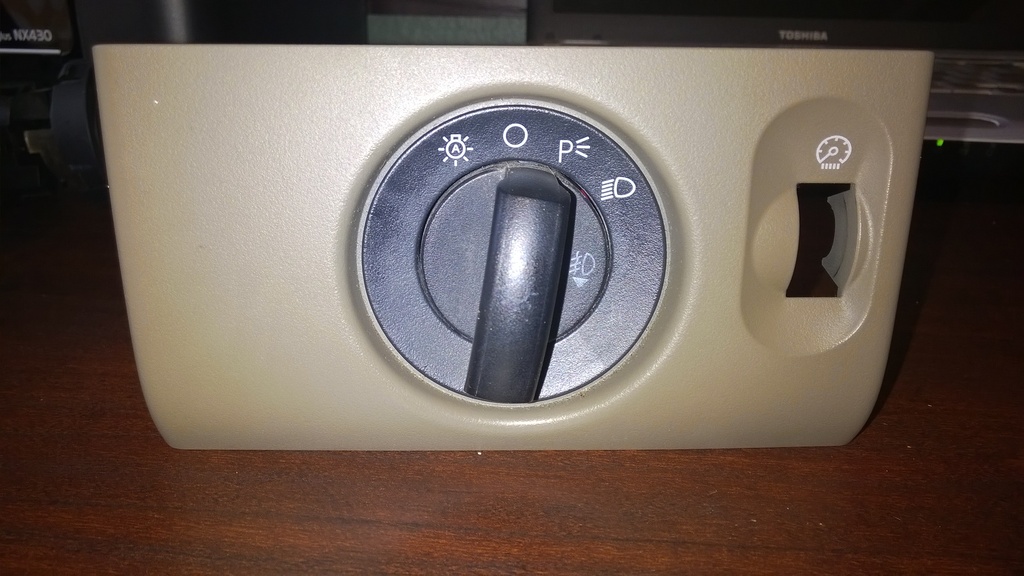
Here is my stock switch with out fog option:
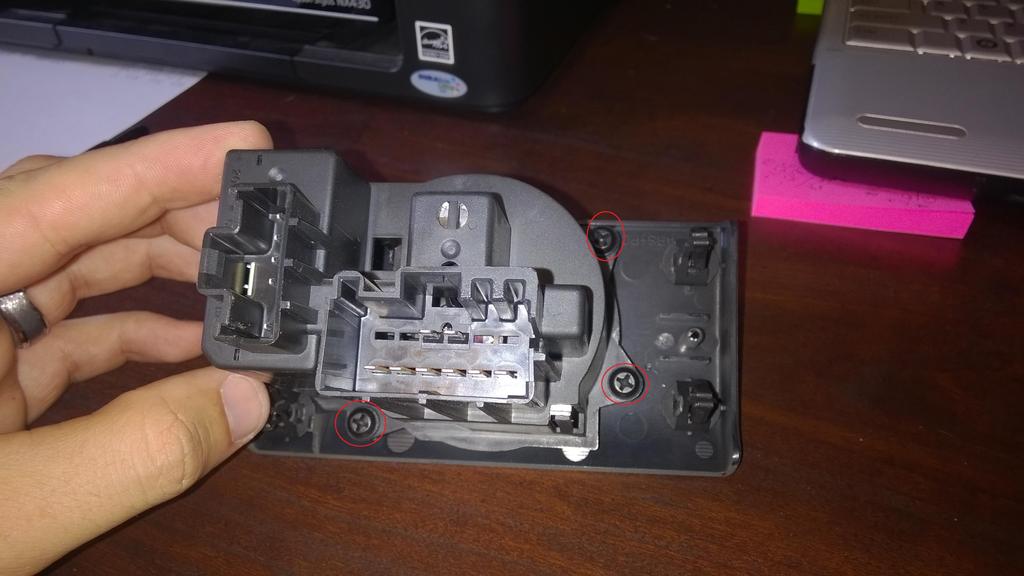
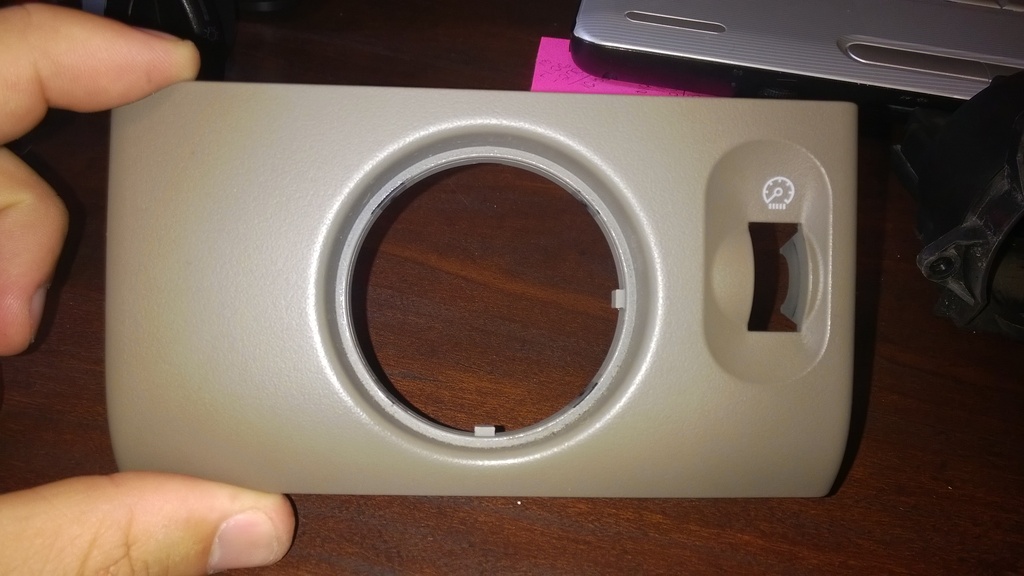
Remove the three screws holding the switch assembly to the faceplate panel:
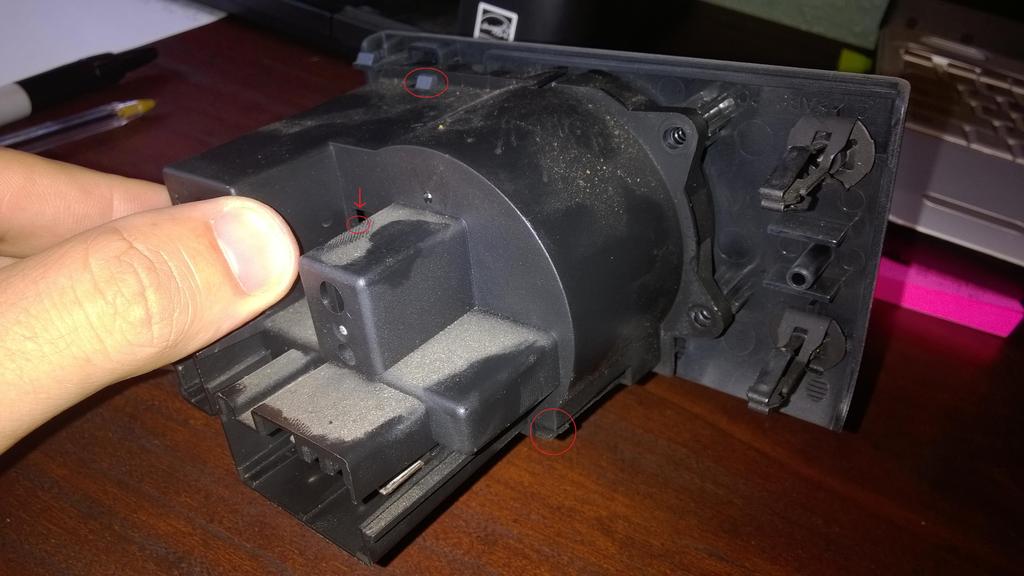
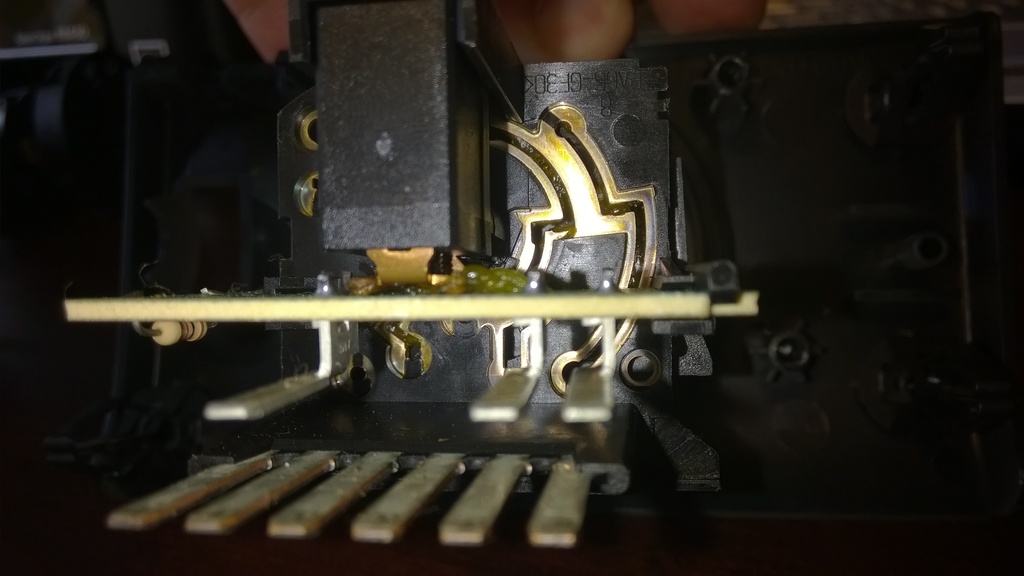
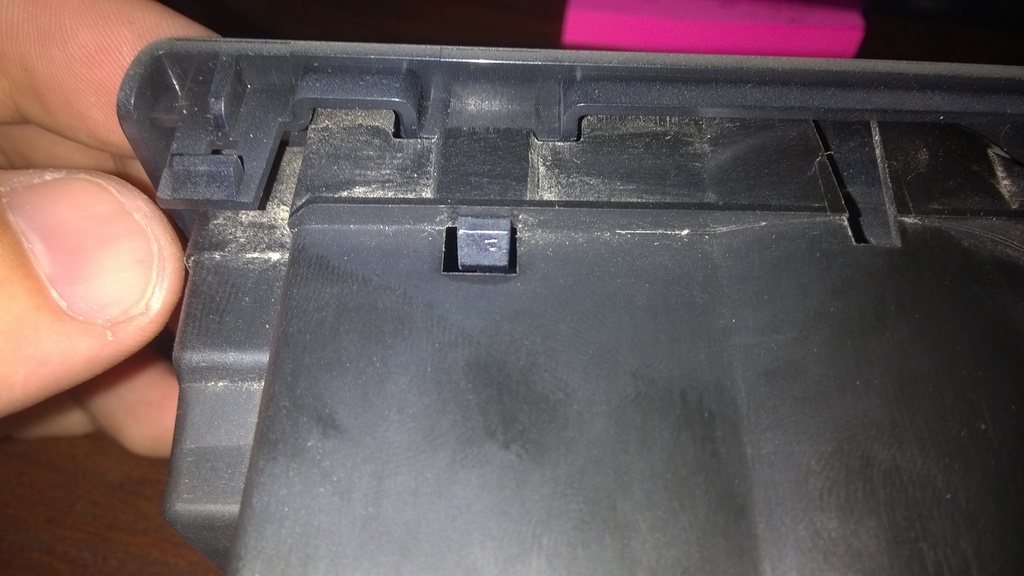
Using a small flat head screw driver release the three snap tabs holding the cover on the switch. Be careful not to break them, two of them are delicate. One tab is located down in the middle of the cover and is easily reached with a small flat head screwdriver:
Carefully remove the cover from the switch. You may need to angle the cover different directions to get it over the switch assembly inside. Once it is removed you have access to the locking tabs that hold the switch to the face plate. On the switch with fog option there is an additional circuit board on the switch that needs to be removed before you can take the switch off the face plate. Simply release the tab holding the board to the switch and it will simply slide out of the slots:
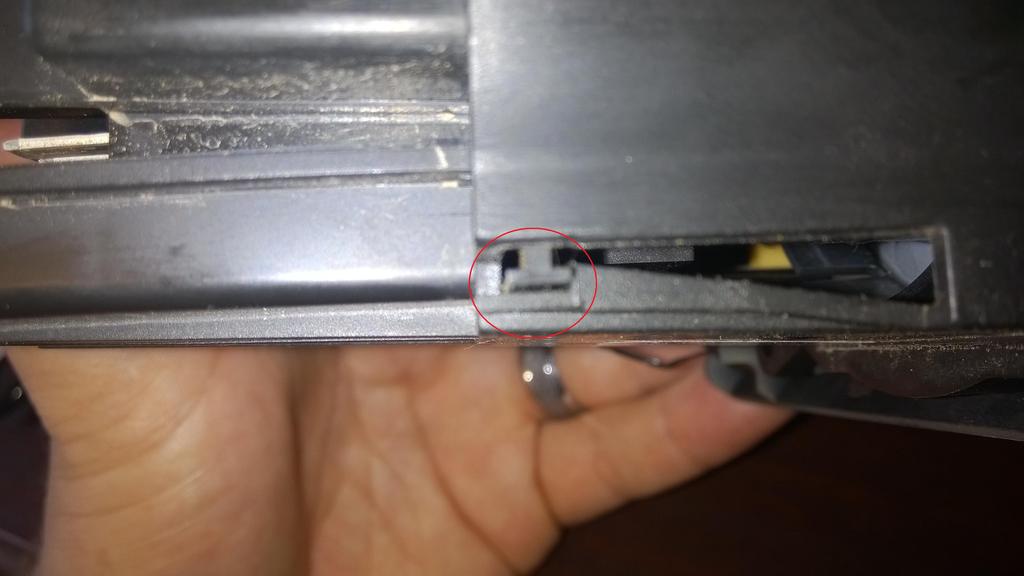
Using your thumbs slightly press down and inward on the four locking tabs located on the back of the switch to release it from the face plate. Alternate pressing on the top and bottom tabs to work it out of the face plate:

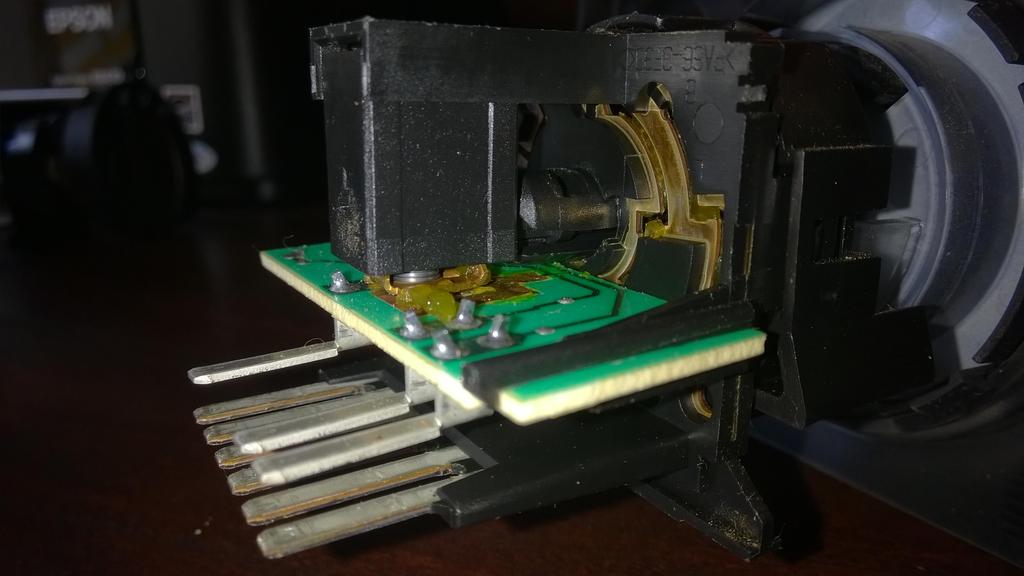
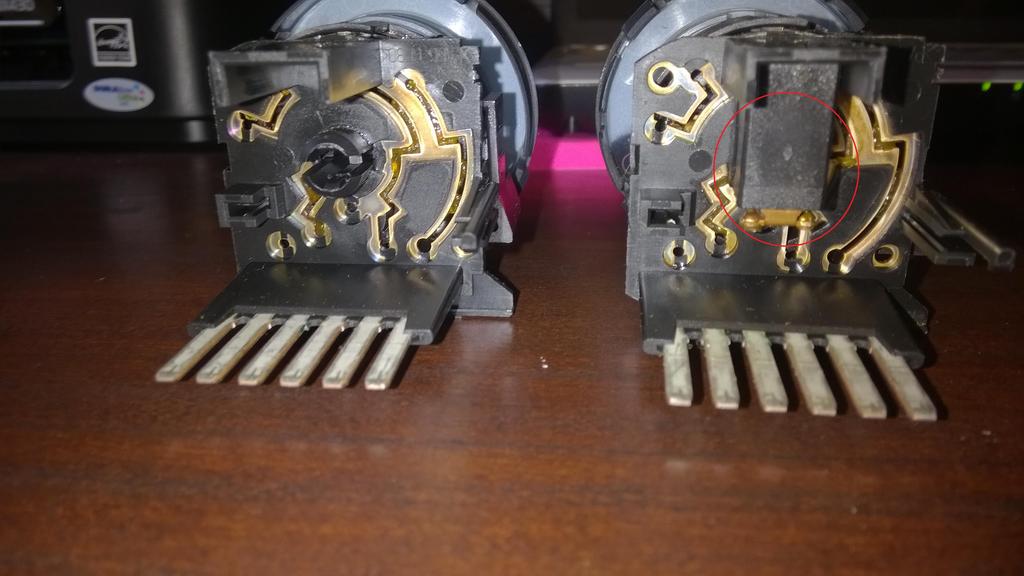
Here you can see the difference in the switches. The fog light option switch on the right and non fog option on the left. The fog light switch has a small box with copper contacts that slide back and forth on the circuit board to make the connection to the fog lights.
Now you can install the new switch on your face plate. Notice the keying tabs on the face plate. Those will only let you install the switch one way, right side up. Take your time and press the switch in evenly, it may take a couple trys to get it to snap into the face plate:
Once the switch is in reinstall the circuit board onto the back of the switch making sure the snap catches and holds the board in:
Work the cover back over the switch, it might take some fiddling to get it back over the switch. Be careful that you do not bend the pins! They need to line up with the holes in the back cover where the plug goes, don't force it! Also make sure your three locking tabs snap back into place:
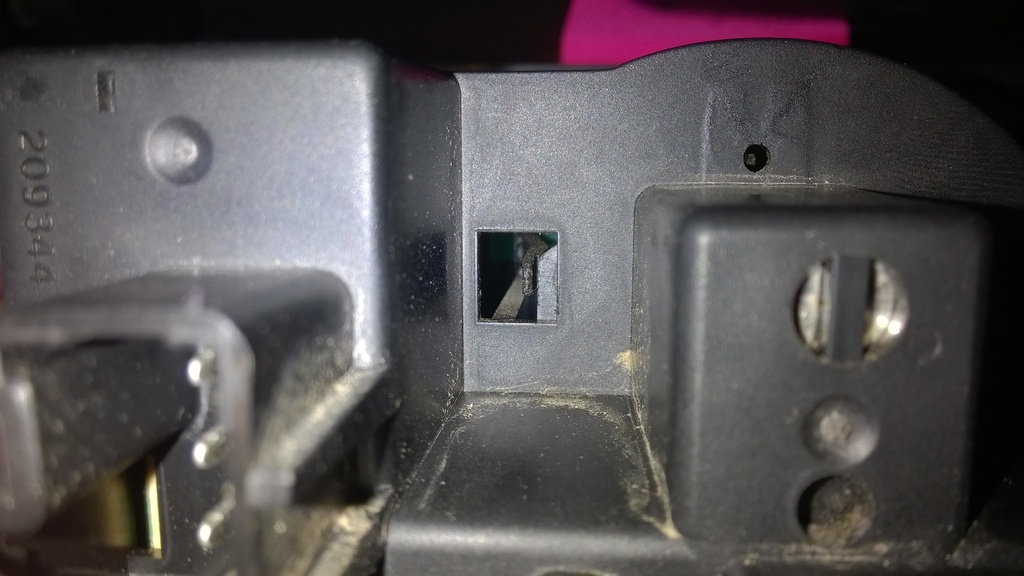
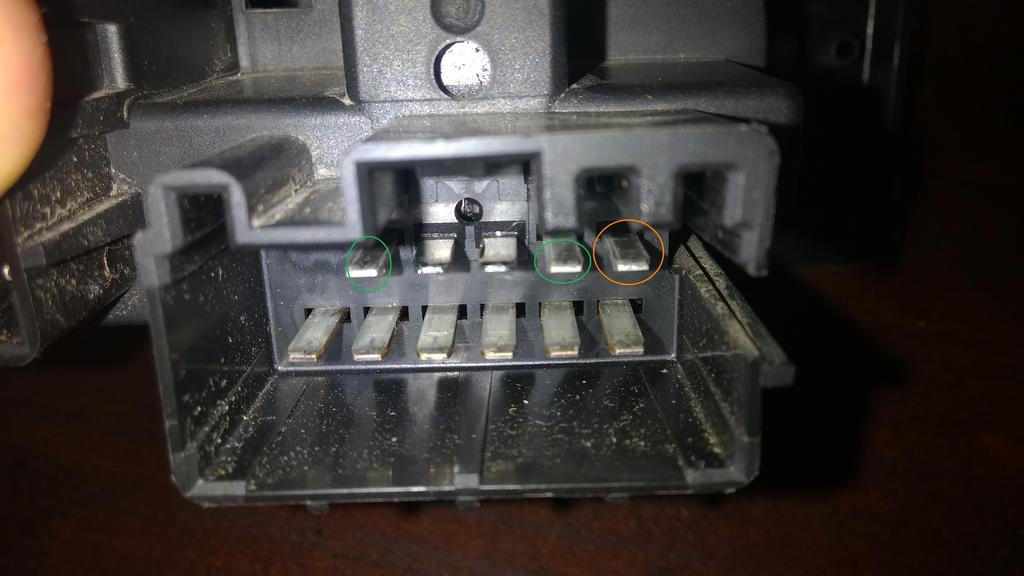
Once the cover is on reinstall the three screws into the face plate. You now have three additional pins in the plug receptacle. The one circled in orange on the top right is power for the LED to indicate when the fog lights are on. My truck already had a wire in the plug for this pin and the LED worked as soon as I plugged it in. The other two pins circled in green are for the fog portion of the switch. You can use those to control your lights. I will be running one wire from one pin to ground and the other to a relay to control the fog lights.
You now have a factory switch to control your aux/fog/off road lights! Enjoy!
My truck is equipped with the auto headlight function so the new switch needed to have auto, off, parking, headlight, and fog positions. I found a switch on eBay for $29.50 and it was installed on a gray interior panel. I had to remove the switch from the gray panel and swap it to my tan panel.
Here is my stock switch with out fog option:

Remove the three screws holding the switch assembly to the faceplate panel:

Using a small flat head screw driver release the three snap tabs holding the cover on the switch. Be careful not to break them, two of them are delicate. One tab is located down in the middle of the cover and is easily reached with a small flat head screwdriver:

Carefully remove the cover from the switch. You may need to angle the cover different directions to get it over the switch assembly inside. Once it is removed you have access to the locking tabs that hold the switch to the face plate. On the switch with fog option there is an additional circuit board on the switch that needs to be removed before you can take the switch off the face plate. Simply release the tab holding the board to the switch and it will simply slide out of the slots:


Using your thumbs slightly press down and inward on the four locking tabs located on the back of the switch to release it from the face plate. Alternate pressing on the top and bottom tabs to work it out of the face plate:

Here you can see the difference in the switches. The fog light option switch on the right and non fog option on the left. The fog light switch has a small box with copper contacts that slide back and forth on the circuit board to make the connection to the fog lights.


Now you can install the new switch on your face plate. Notice the keying tabs on the face plate. Those will only let you install the switch one way, right side up. Take your time and press the switch in evenly, it may take a couple trys to get it to snap into the face plate:


Once the switch is in reinstall the circuit board onto the back of the switch making sure the snap catches and holds the board in:
Work the cover back over the switch, it might take some fiddling to get it back over the switch. Be careful that you do not bend the pins! They need to line up with the holes in the back cover where the plug goes, don't force it! Also make sure your three locking tabs snap back into place:


Once the cover is on reinstall the three screws into the face plate. You now have three additional pins in the plug receptacle. The one circled in orange on the top right is power for the LED to indicate when the fog lights are on. My truck already had a wire in the plug for this pin and the LED worked as soon as I plugged it in. The other two pins circled in green are for the fog portion of the switch. You can use those to control your lights. I will be running one wire from one pin to ground and the other to a relay to control the fog lights.

You now have a factory switch to control your aux/fog/off road lights! Enjoy!