07 Retrofit W/ RX350
#1
 04-25-2014, 08:35 PM

07 Retrofit W/ RX350
Welp, after a month of messing with my retro, breaking 3 different reflector bowls because of adhesion promotor cracking them, trying to adjust rotation, tuning these dang projector and nicking the cut-off shields and having to get a second set of cut-off shields yada yada. Its finally do..kinda..
After getting them rotated and sitting perfect I went to put the lens on and must have clamped the lens down to hard and tweaked the headlights. So for now I am going to shim the headlights at the mounting points to get them in place.
So no need to bore you guys with the beaten to death "how-tos". Everything is essentially the same except in my own unique ways.
Mounting:
I didn't go with the epoxy route. I decided to go with the technique called "spring on bolt" which allows for adjustment left and right after mounting the projector, and also acts as a shock absorber. Sorry no pictures, but here is link to what it looks like. http://www.hidplanet.com/forums/show...-chrome-bezels.
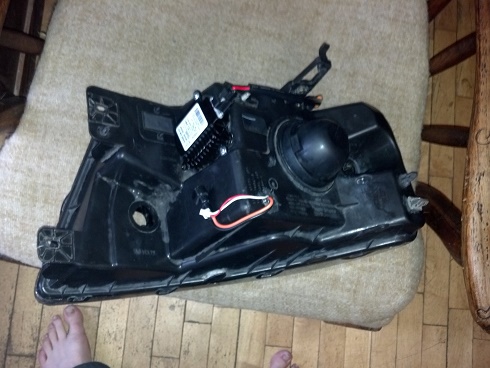
Ballasts:
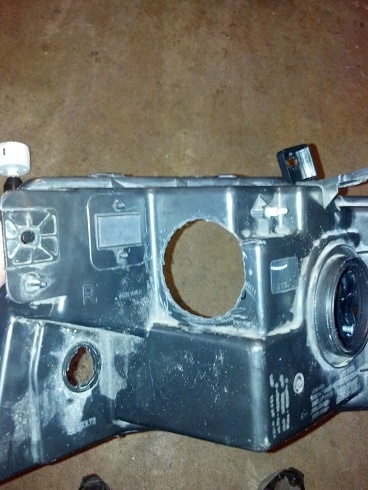
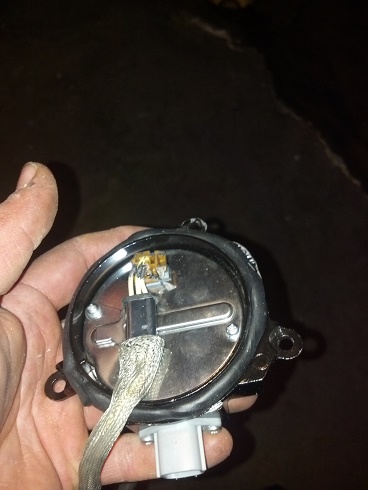
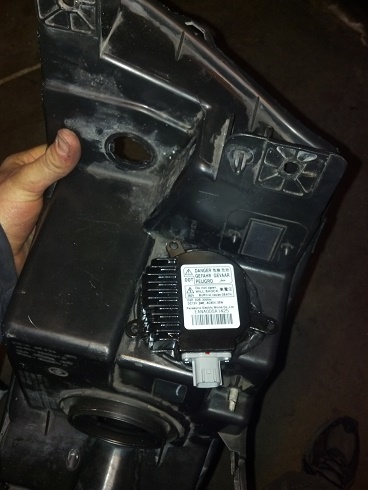
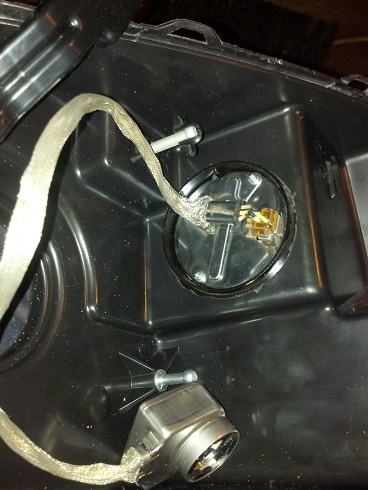
With this retrofit I decided to go all OEM so I am using matsu****a gen V ballasts. the down side is they are only partially potted(water proof) so I had to figure out how to keep these from getting wet.
your best bet is to moung them to the housing by cutting a 3" hole on the side and seating in the ballast. then putting a bead of butyl glue around the rim and bolting them down.
Now onto specs and pictures!!!!!
modded Rx350 projectors (STI-r clear lens, spaced lens legs, EU slope shield swap)
CBIs
Matsu****a Gen V ballasts
G37-r shrouds
110mm amber Xbaled rings
OEM housings
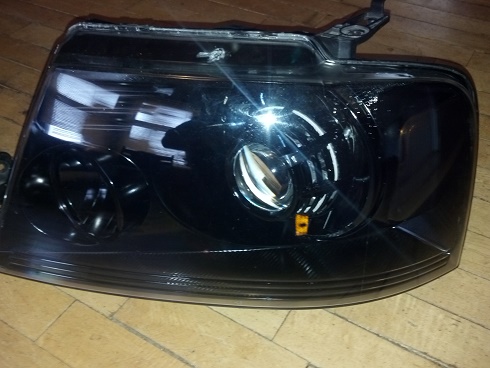
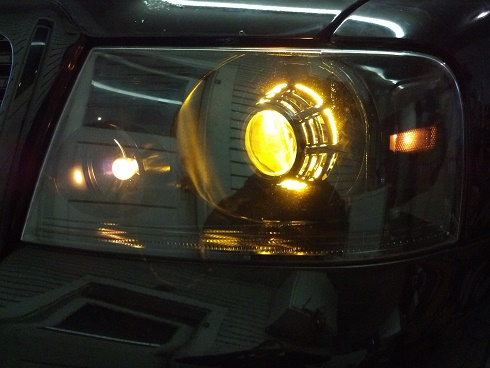
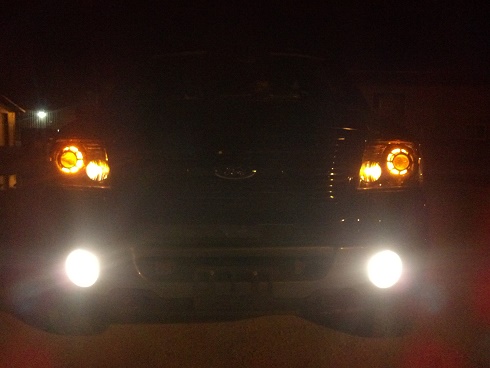
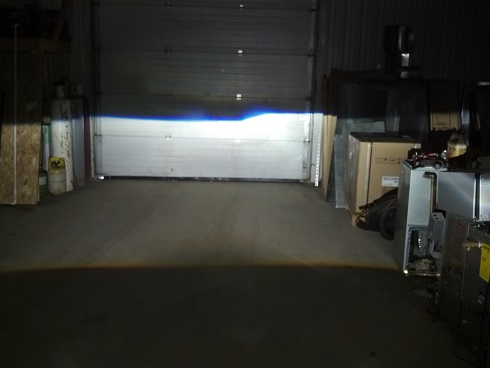
just one headlight output
After getting them rotated and sitting perfect I went to put the lens on and must have clamped the lens down to hard and tweaked the headlights. So for now I am going to shim the headlights at the mounting points to get them in place.
So no need to bore you guys with the beaten to death "how-tos". Everything is essentially the same except in my own unique ways.
Mounting:
I didn't go with the epoxy route. I decided to go with the technique called "spring on bolt" which allows for adjustment left and right after mounting the projector, and also acts as a shock absorber. Sorry no pictures, but here is link to what it looks like. http://www.hidplanet.com/forums/show...-chrome-bezels.
Ballasts:
With this retrofit I decided to go all OEM so I am using matsu****a gen V ballasts. the down side is they are only partially potted(water proof) so I had to figure out how to keep these from getting wet.
your best bet is to moung them to the housing by cutting a 3" hole on the side and seating in the ballast. then putting a bead of butyl glue around the rim and bolting them down.


Now onto specs and pictures!!!!!
modded Rx350 projectors (STI-r clear lens, spaced lens legs, EU slope shield swap)
CBIs
Matsu****a Gen V ballasts
G37-r shrouds
110mm amber Xbaled rings
OEM housings


just one headlight output

Last edited by thelariat02; 04-30-2014 at 10:30 PM.
#2
04-26-2014, 02:11 AM


#3
04-26-2014, 11:16 AM


Join Date: Aug 2004
Location: New Jersey
Posts: 254
Likes: 0
Received 0 Likes
on
0 Posts
#4
04-26-2014, 12:15 PM
Senior Member

#6
04-26-2014, 01:10 PM
#7
04-26-2014, 01:11 PM

Trending Topics
#8
04-30-2014, 10:07 PM

Join Date: Mar 2013
Location: Houston and College Station, TX
Posts: 6,677
Likes: 0
Received 0 Likes
on
0 Posts
#10
04-30-2014, 10:27 PM
 Ya took ya long enough to notice this
 ")
When I finish fixing all the rotation issues. Right now I have the headlight shimmed, need to shim a little more to get where I wanna be.. I just really don't wanna crack these things open again and risk messing this up, my luck I would break yet another bowl.
But don't worry once all is pretty I'll be getting more pictures
#11
05-10-2014, 10:31 PM


#13
06-24-2014, 01:24 AM


