When you click on links to various merchants on this site and make a purchase, this can result in this site earning a commission. Affiliate programs and affiliations include, but are not limited to, the eBay Partner Network.
I'm installing an aftermarket TPMS monitor on top of the dash of my '08 Screw. While the monitor is powered by a rechargeable battery inside, connecting a charging cord to the power port would be a bit of a nuisance. A fused cord for permanently wiring to a power source is also provided. The two locations with possible sources of switched power (power that is on only when the ignition key is switched on) I see as being easiest for me to reach (I'm handicapped so I'm limited to where I can reach) is either the Diagnostic power connector under the dash or the wiring harness under the driver's door (the easier location to reach). Is there a switched source of power in either of those locations (I do not want any power being drawn when the truck is parked and the engine isn't running) and, if so, which wires?
IF the door is easy enough, something like this you could add an inline fuse and use the power window circuit.
- I am assuming it is < 1A draw with the charging cord.
The driver's side door has a Light Blue w/ Black stripe wire in it that is from the Accessory Delay relay.
If you have a roof panel, you can also find this circuit in the overhead console.
If you have the Auto dimming review mirror, there is also a hot in run for the mirror.
- Similar to what some do with a blend mount for a radar detector.
Thanks. I have no idea how to get at the power window wire for the driver's side door. Would there be the same or a similar wire that would run under the driver's side front door opening (accessed by removing the scuff plate) for the power window on the rear driver's side door? That one shouldn't be too difficult for me to get to (keep in mind I'm a handicapped senior citizen).
The power wire for the TPMS monitor already has an inline fuse holder near the bare end of the wire with a 2A fuse in it.
If I mount the TPMS monitor on top of the dash by the left windshield pillar (the ideal location since it is fairly flat and level there), I can tuck the wire from the monitor in the cracks between the dash and the pillar, then under the rubber molding around the door.
You are going to need to find the circuit at a connector, in this case the driver's side kick panel where it leaves the truck and goes into the rubber boot to the door.
In the door sill, there is no way to identify which circuit is which.
You are going to need to find the circuit at a connector, in this case the driver's side kick panel where it leaves the truck and goes into the rubber boot to the door.
In the door sill, there is no way to identify which circuit is which.
Well, it turns out I can go by color code. Here, I've pulled the sill cover off and cut the tape to expose the wires.
It took me quite awhile to find the correct wire. I finally got lucky on the fourth try (the first three I tried, the ones with tape on them, were close but no cigar—the leads were hot fulltime; I added more tape later).
Now that I knew I could tap into power in the door sill, the next step was to mount the base for the TPMS monitor on the dash. First, I had to clean off any protectorant off the dash so the foam mounting tape would stick.
That took awhile and umpteen alcohol swabs and wiping down with damp paper shop towels because the surface was chalky (even though it didn't look like it).
Eventually, the surface came clean and didn't deposit out on the swabs. Here, I've mounted the TPMS monitor and base and tucked the charging wire between the dash and the pillar through the existing crack. I was able to route the wire inside the joint (lower left in picture) between panels further down the pillar to underneath the door weatherstrip.
Here, I'm in the processing of running the wire (actually, a cable) under the weatherstrip.
The cable came out here in the tray holding the wiring in the sill.
I tried using one of these connectors to make the splice but that did not end well (mutter, mutter, mumble, mumble) so tossed it (and its buddies).
I dug out an extension cord, some solder, and my soldering gun, then soldered the connection and thoroughly taped it (the foil is to catch any possible solder drips although I didn't have any; better safe than sorry). Sorry for the lousy pictures.
I then dug around in the tray until I found the probably corresponding ground wire (the digging around for those two wires was so much fun ), then stripped and soldered it to the charging cable.
Here, I've started replacing the tape I had to cut with gaffer's tape. The camera view changed because I moved back to laying down on the seat while working; I did the same while digging around for the wires (that was much easier on my rickety, old back; this old age business is for the birds!).
Here, all the tape is in place, ready for the sill cover to be replaced. The inline fuse holder nestles neatly inside the tray but can still be easily accessed if the fuse should ever blow.
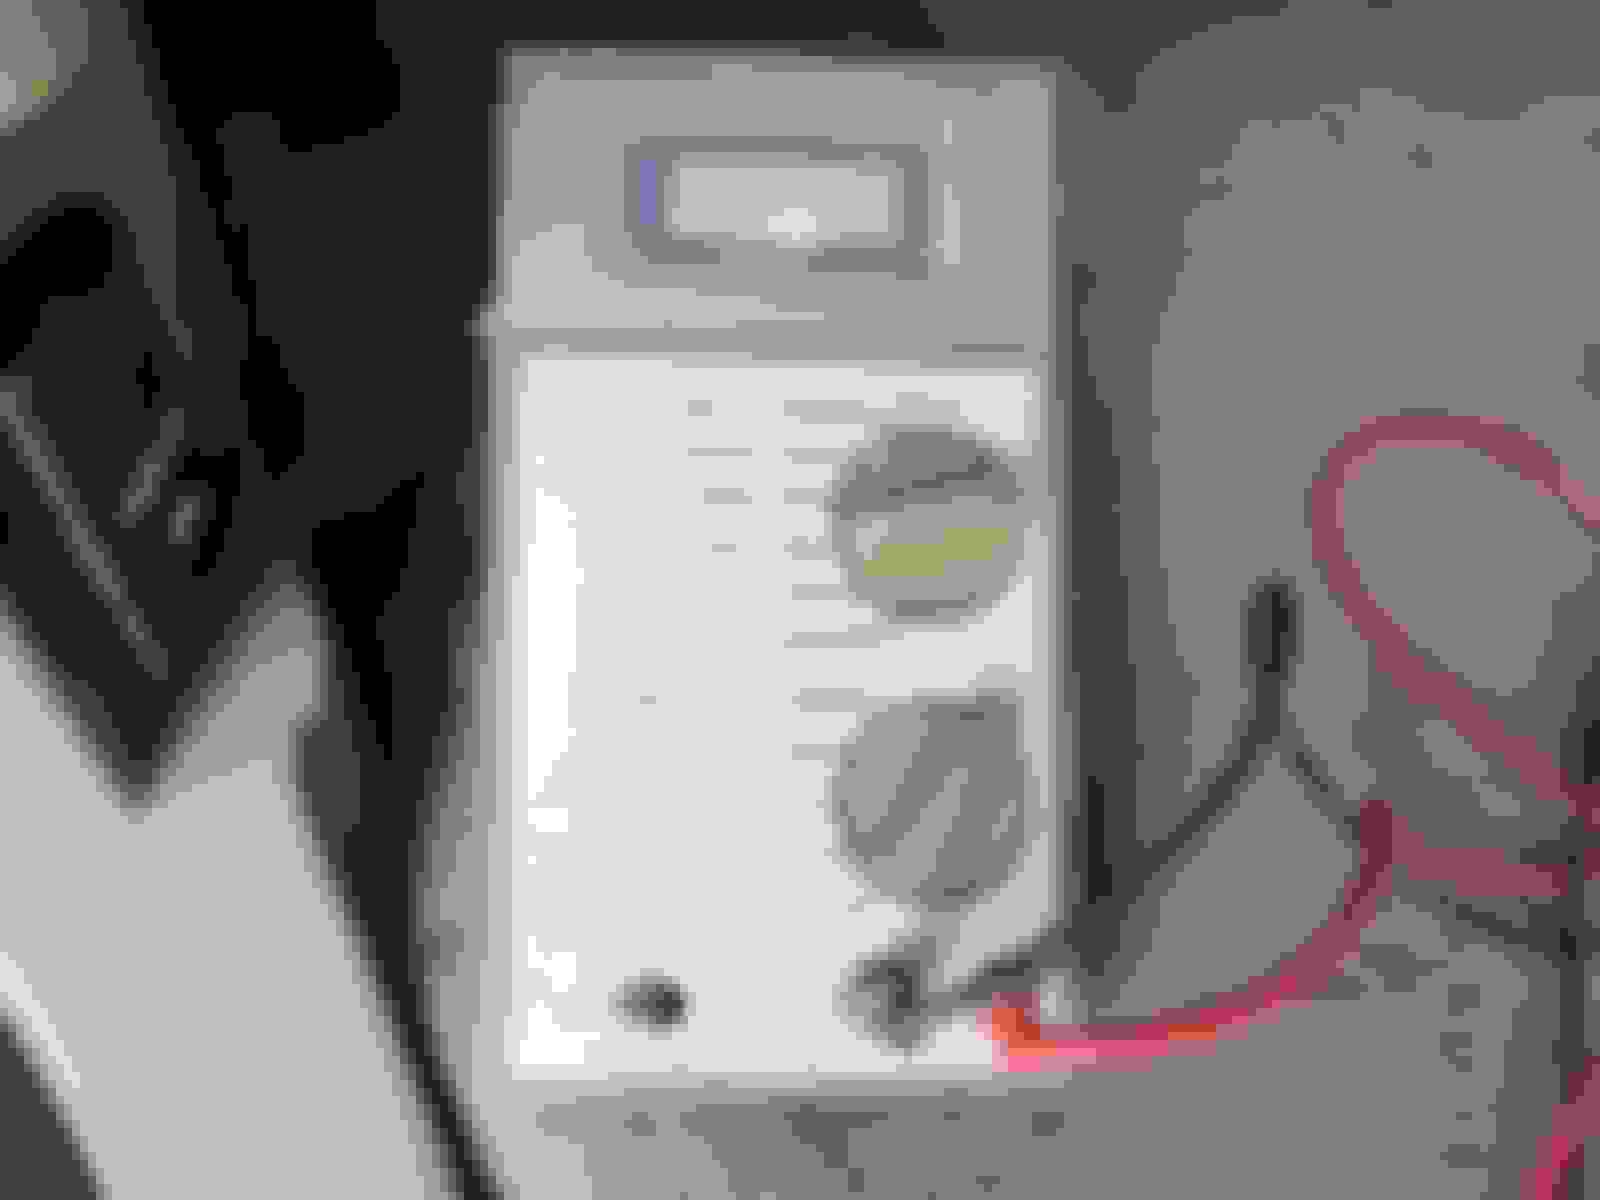
This is the DVOM I was using to verify the wires I dug out and to chack connections. It's a Micronta from Radio Shack that is least 30-35 years old. It's an antique but it functions better than I do now.
Here is the finished installation from the driver's door...
...and looking through the windshield.
It's all done with no sign I was fooling around in there. In all, it took me two hours (at least half of which was digging for and testing wires) and only three broken nails. All I need to do now (after resting a bit) is program and install the sensors on the valve stems on the wheels.
Thanks for all your help! I never would have found the wires I needed without it!
Last edited by Lady Fitzgerald; 03-12-2017 at 04:56 PM.
 03-10-2017, 08:24 PM


") ), then stripped and soldered it to the charging cable.
), then stripped and soldered it to the charging cable.